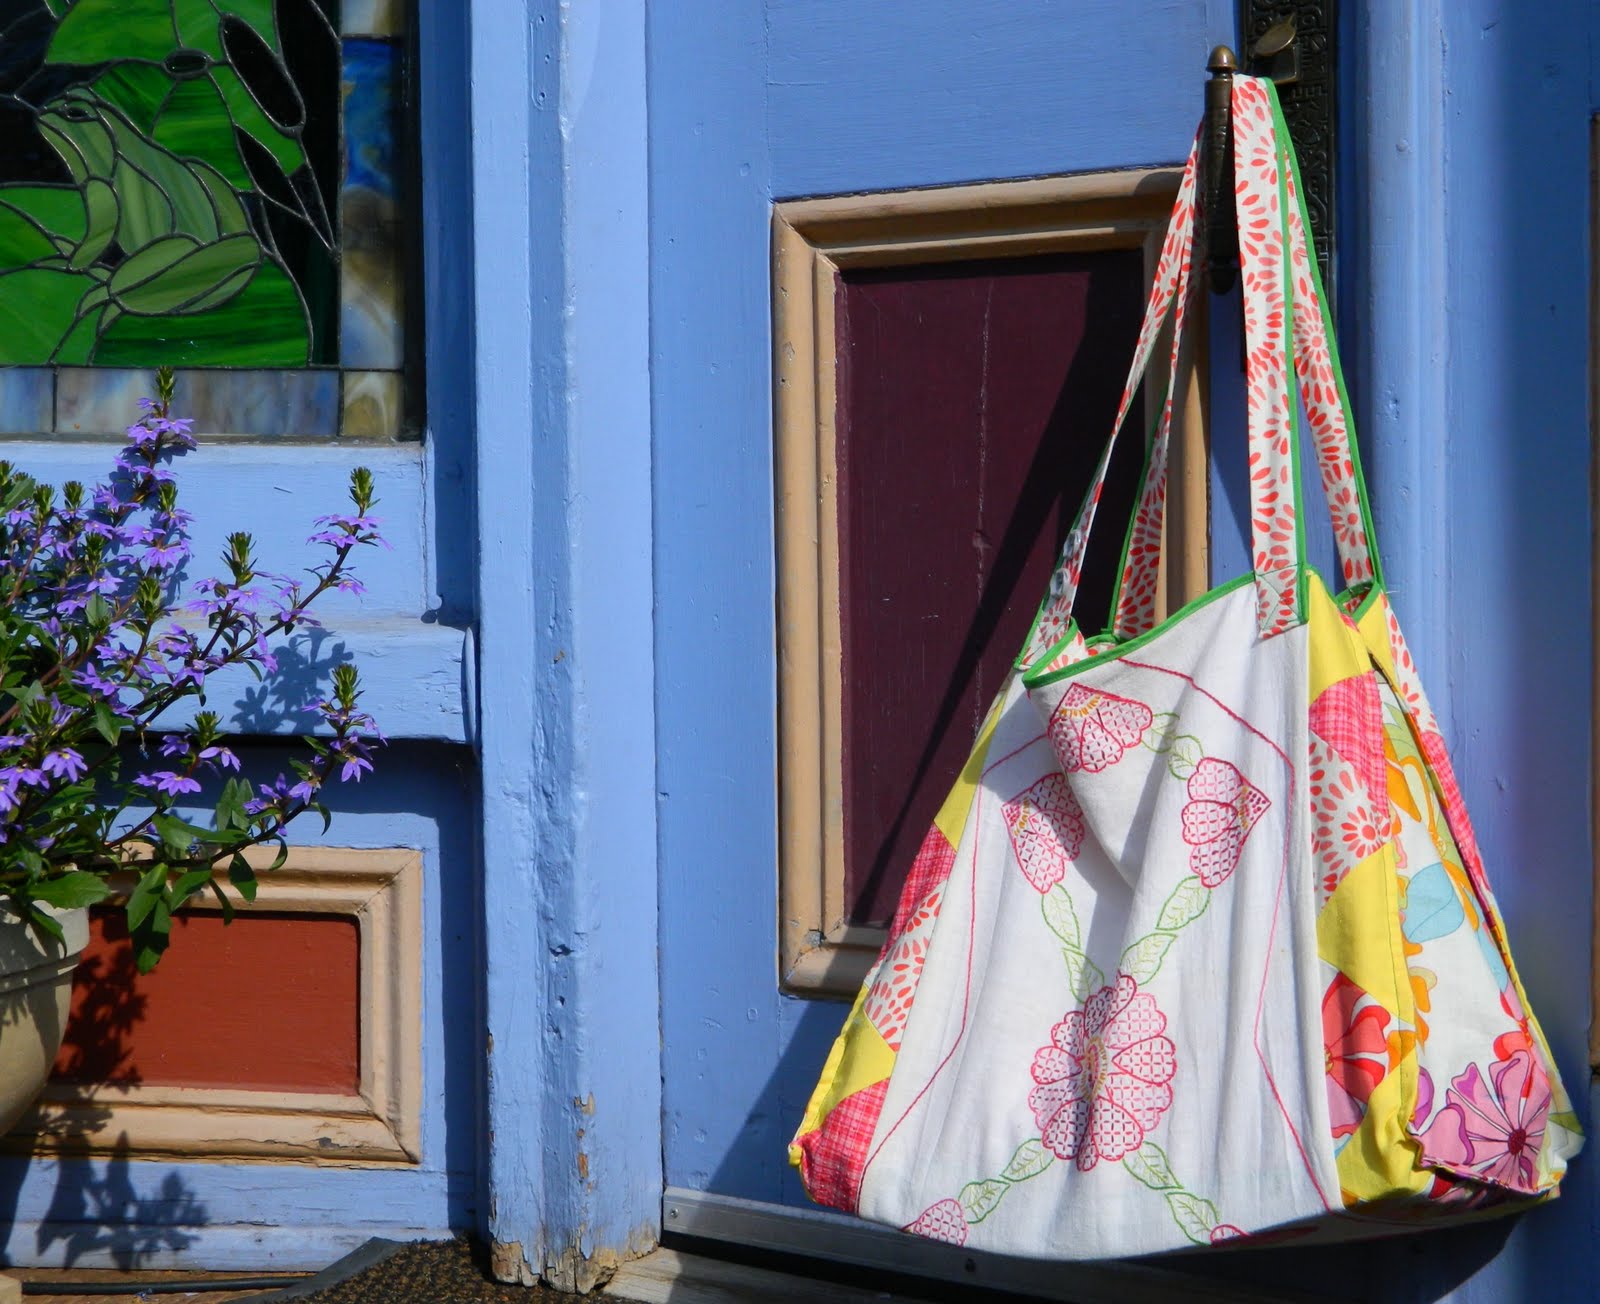
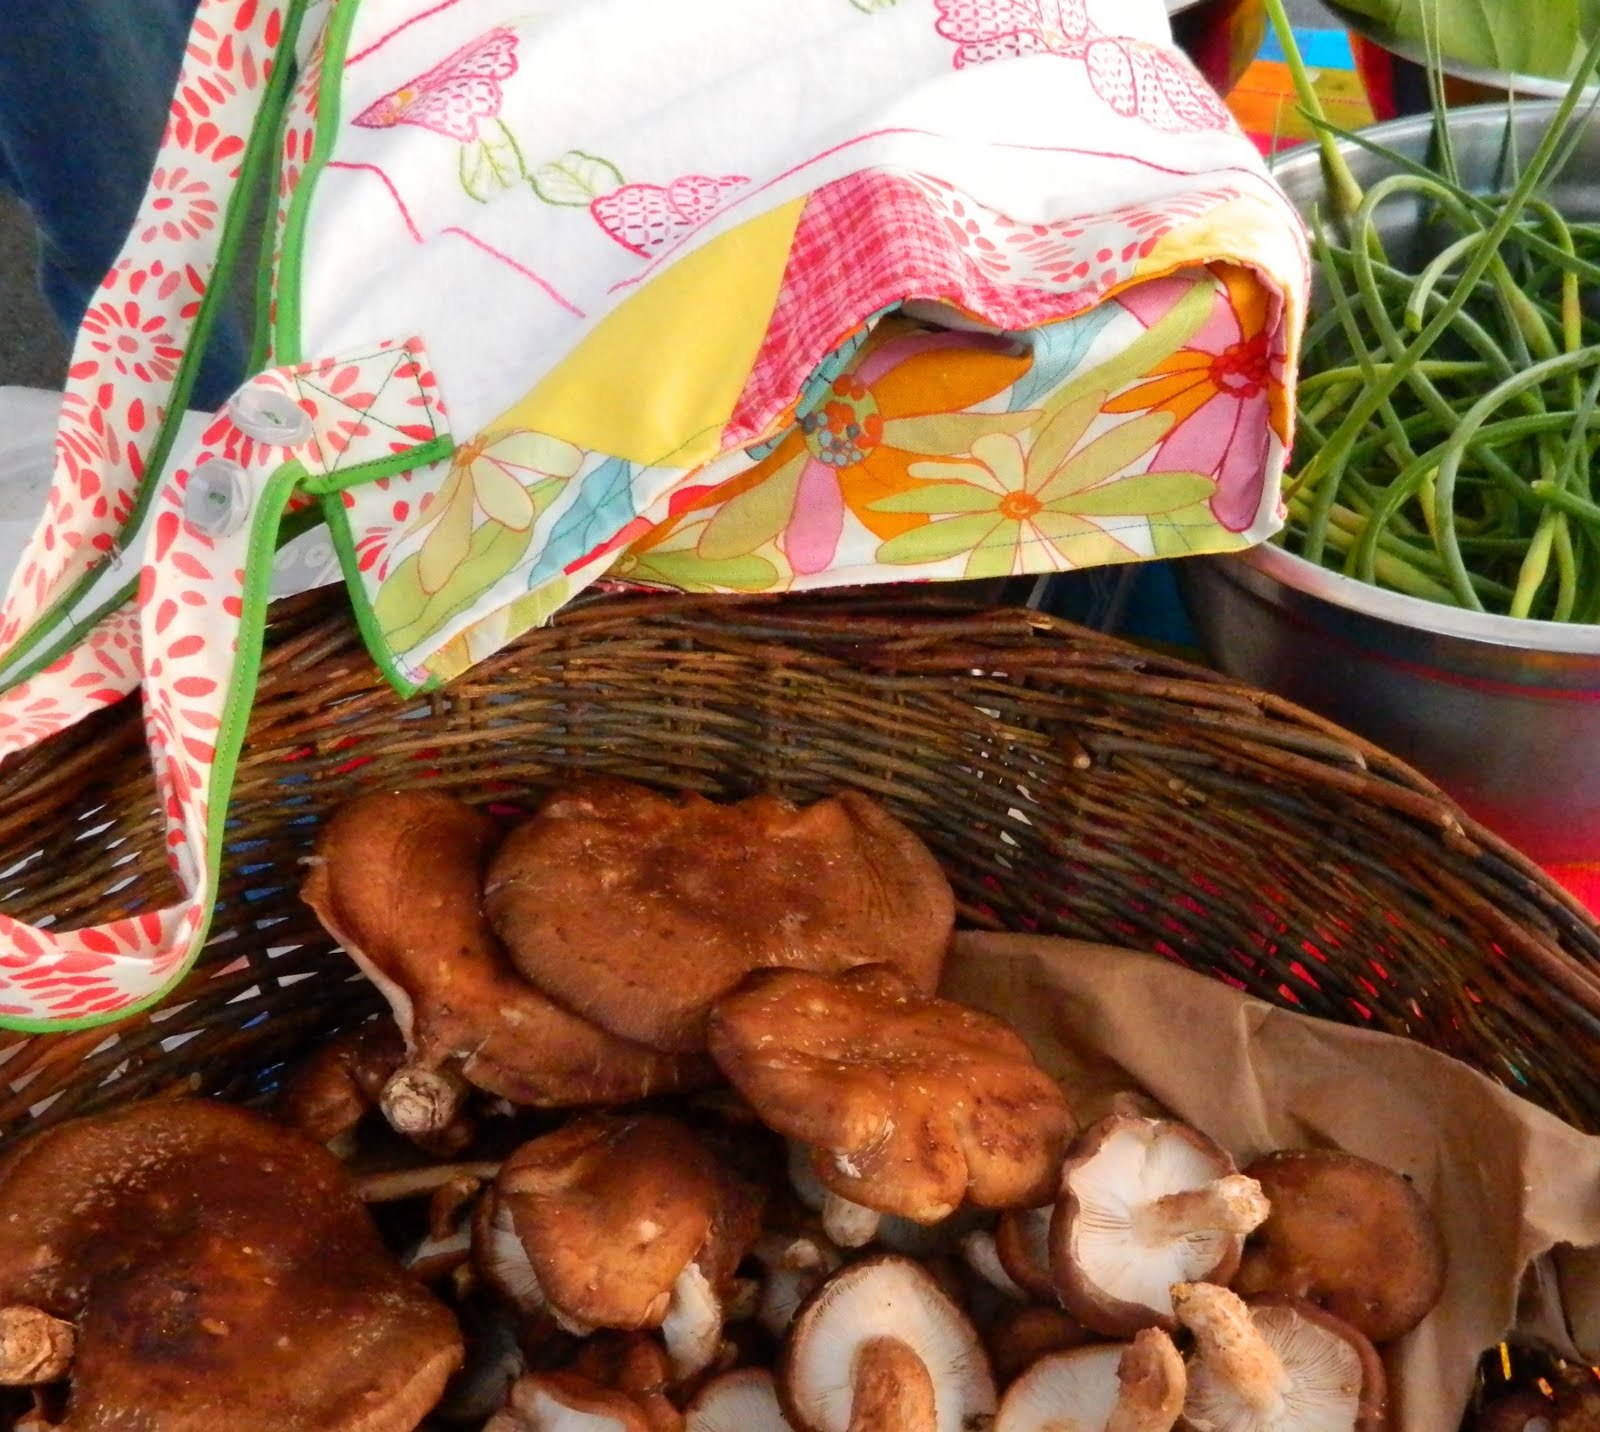
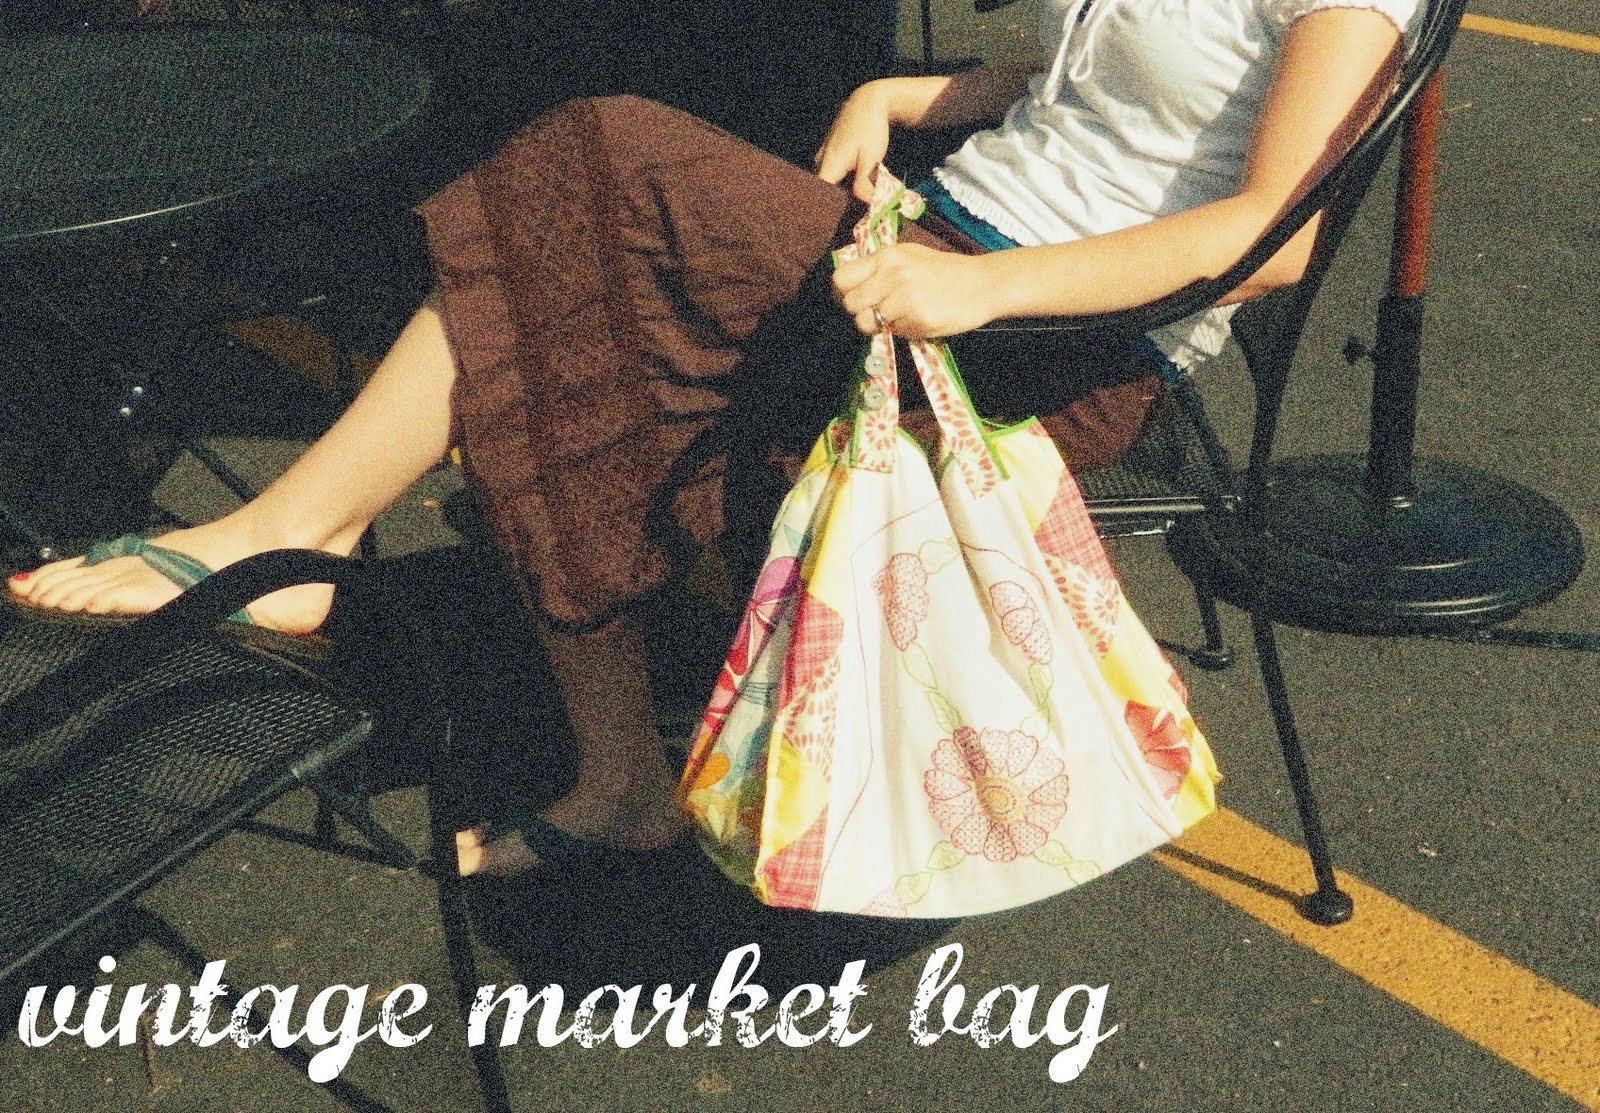
Happy Friday! Wow, it seems this week has gone by quickly (I guess the long weekend…). So earlier in the week, I showed you my Market Bag I made for Simple Simon and Co.’s Vintage Crafter’s Challenge.

It was fun to make, and is a great way to reuse a vintage find.
Today I wanted to give you the tutorial – it’s not exactly a beginner’s sewing project.
It’s not hard it just has a million steps.
Sometimes I make something knowing it will make a great tutorial, and sometimes I just take pics as I’m making something to kind of give you an idea how to do it. That’s really what this is. I tried to be detailed, but it was kind of a tricky tutorial to write. If you have any questions, feel free to shoot me an email: jessica(at)makeitlovely(dot)com
Good luck!
Here are the supplies you’ll need:
- Vintage table runner(approx 13″x38″)
- Bias tape
- 1/2 yard for lining fabric
- 1/2 yard for side panels
- scraps/fat quarters for the triangle detailing
- piece of cardboard for stabilizing the bottom
- Sewing machine/thread
- water soluble pen
- scissors
- triangle pattern
Step 1: Begin by cutting out the pieces.
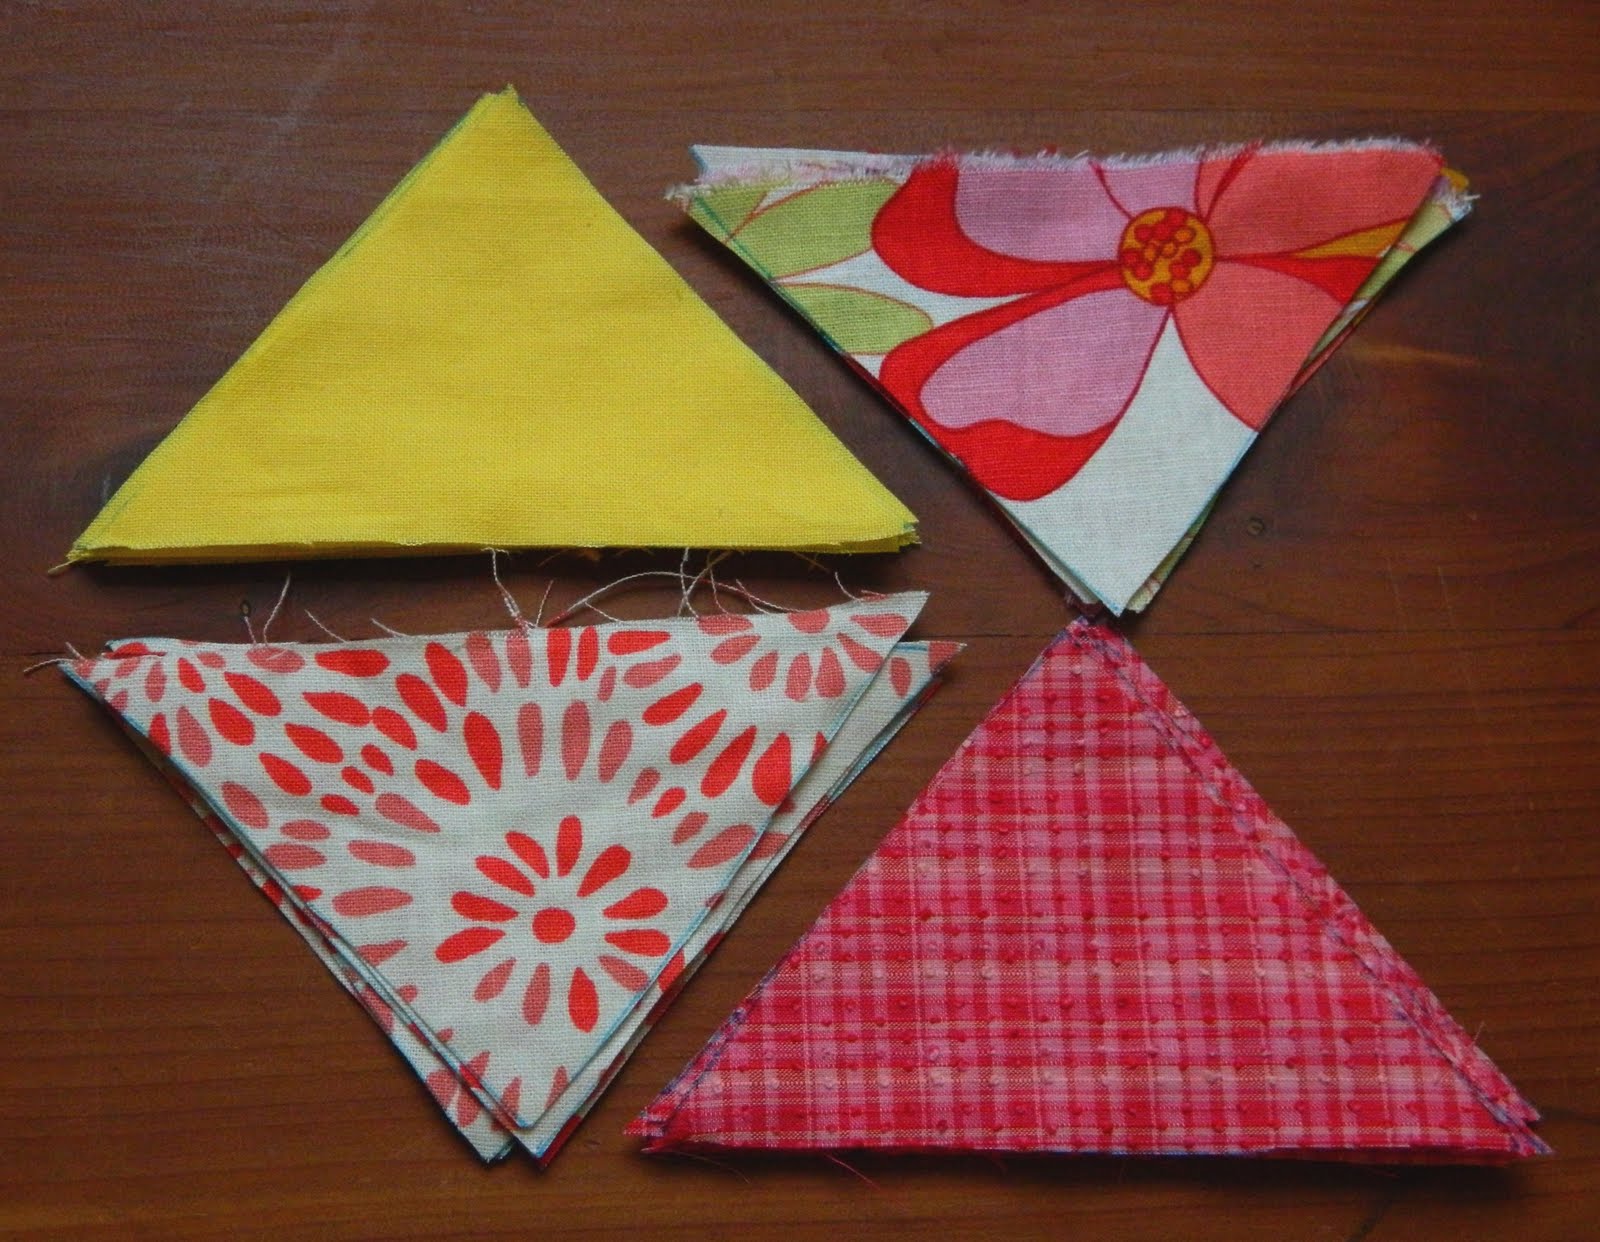
- 35 triangles
- 2 side panels 11″x13″
- Bottom lining insert 12″ x 16 1/2″
- 2 lining pieces 14″x16 1/2″
- 2 Straps 2 1/2″ x 30″
Step 2: Lay the triangles out in the order you would like them to be pieced.
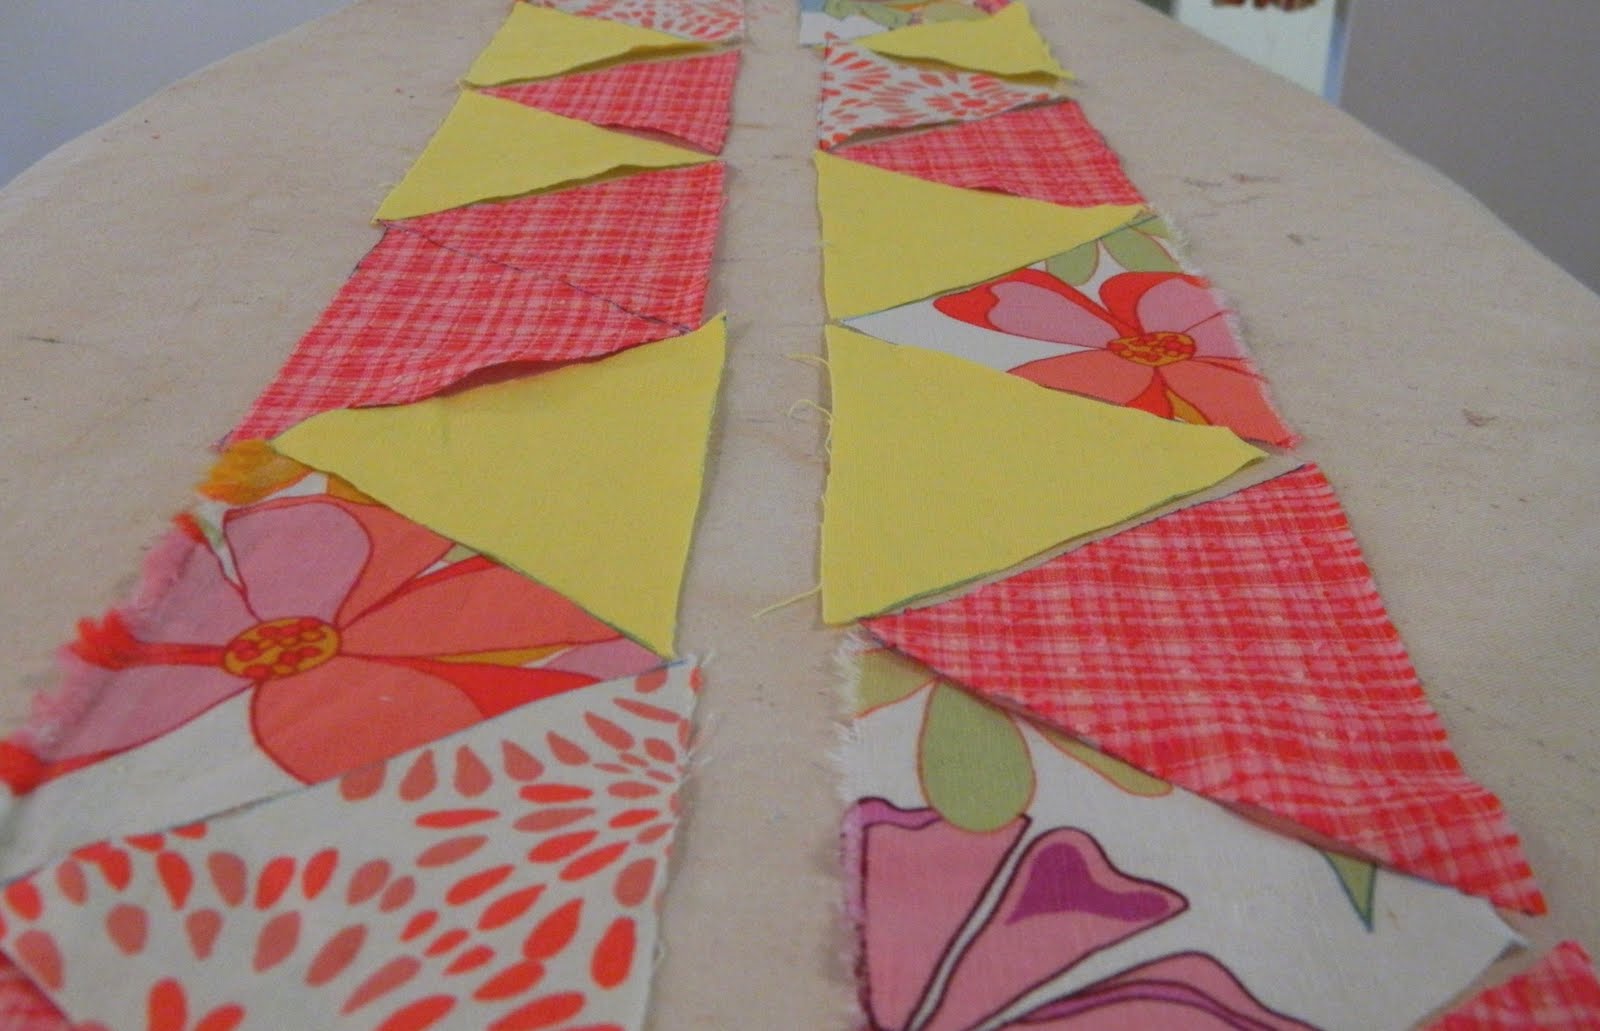
Using 1/4″ seam, sew the triangles right sides together.
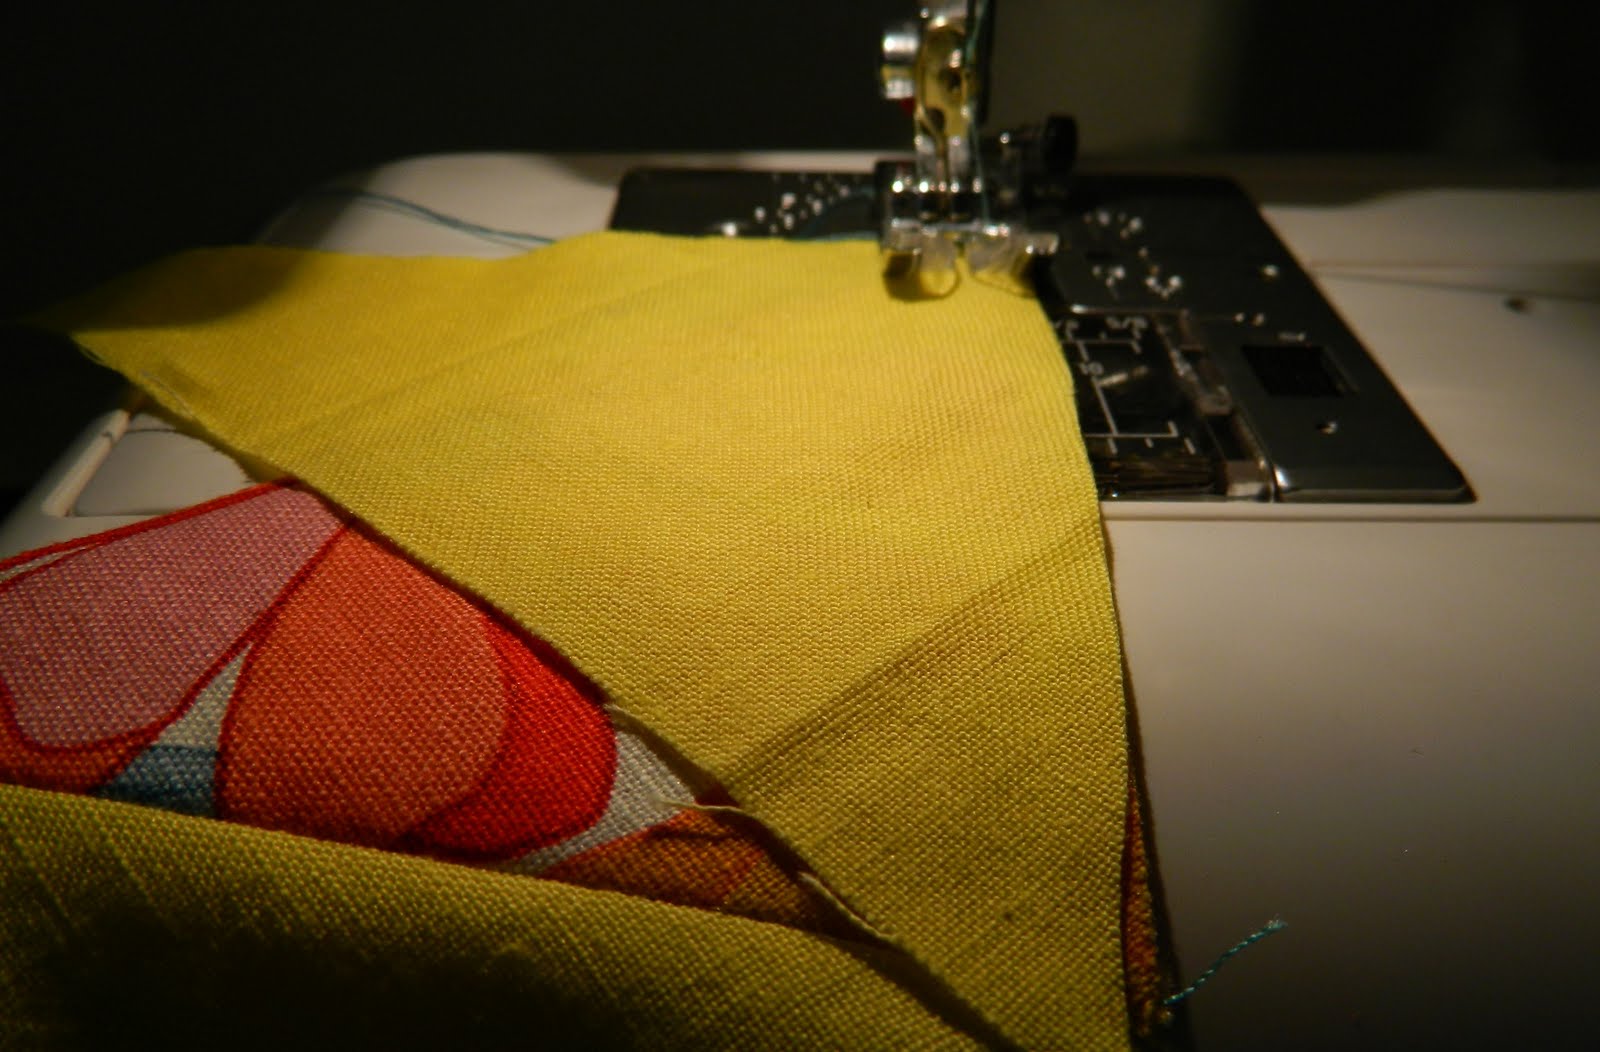
Press the seams open as you go.

Make two strips, each 38″ long.
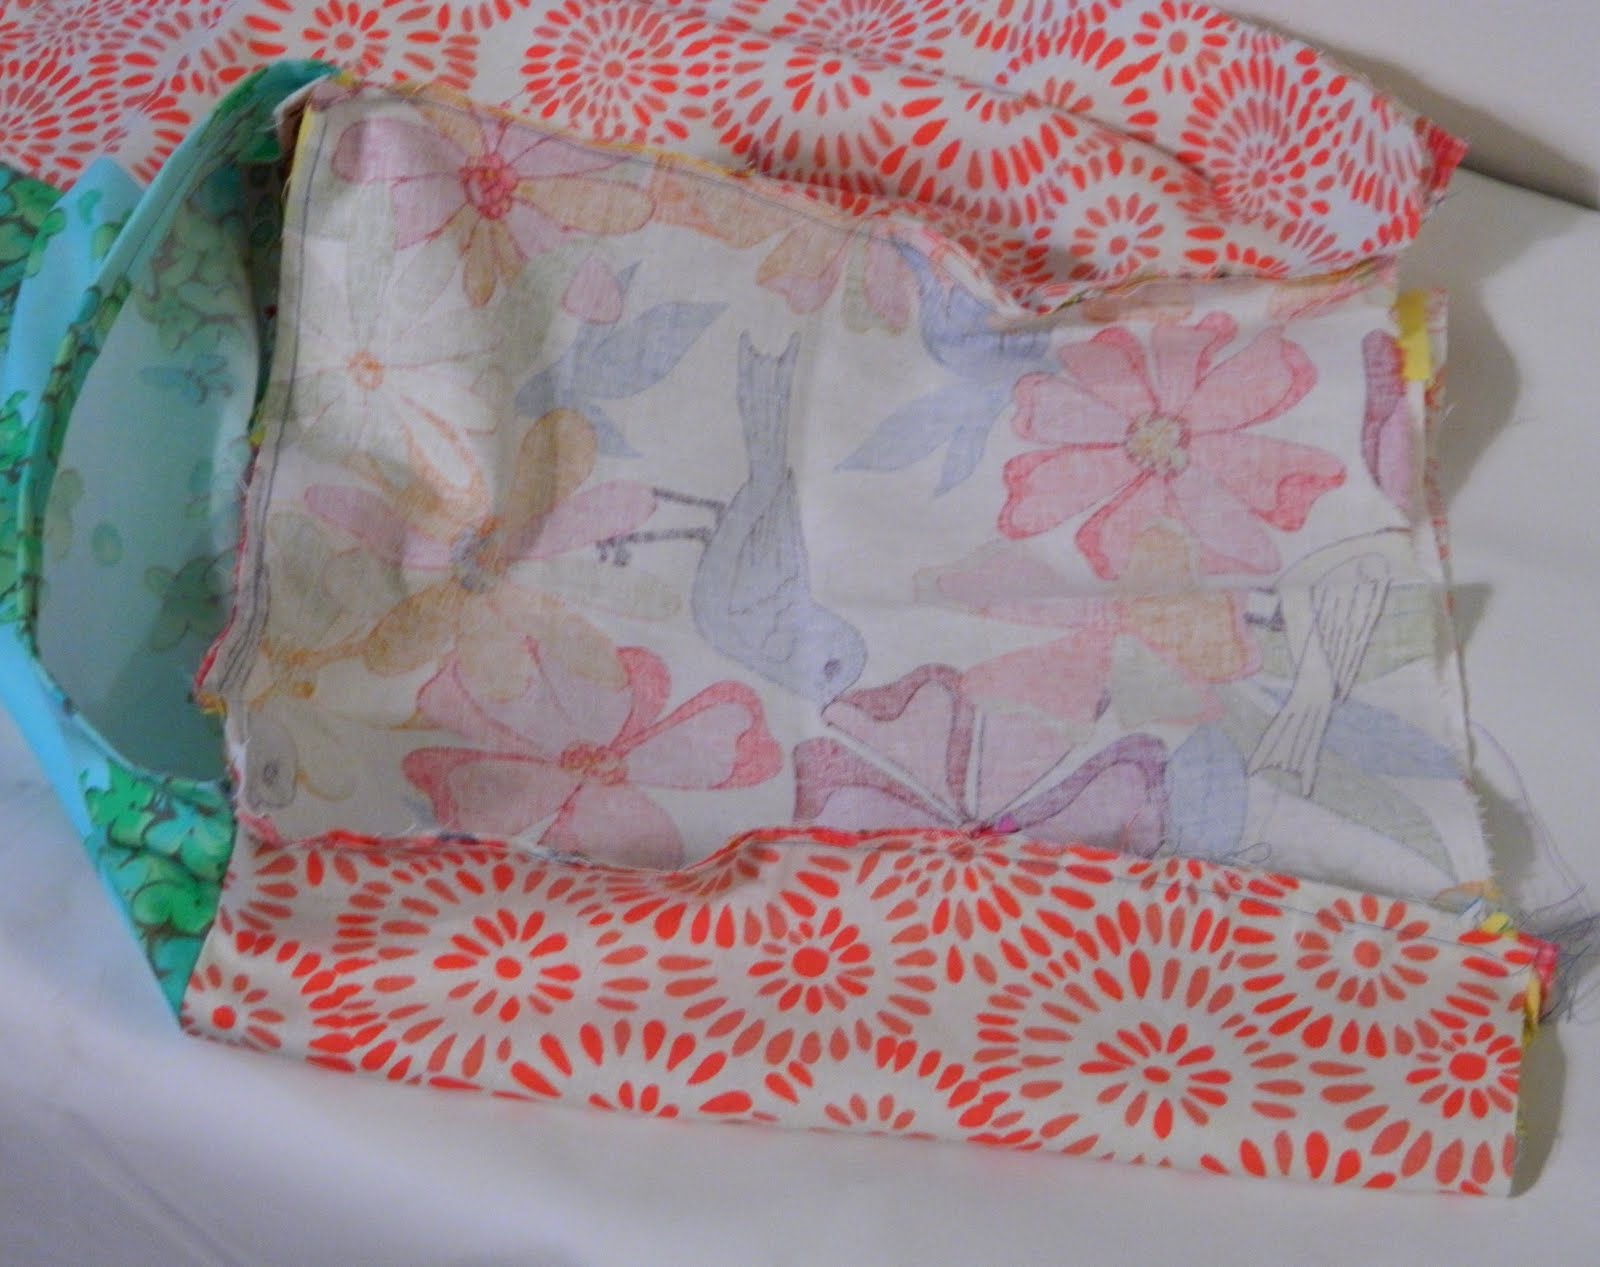
Step 3: Once you have pieced the triangle strips, pin them right side down onto the table runner, matching up the edges. (you are essentially widening the runner by adding these strips)
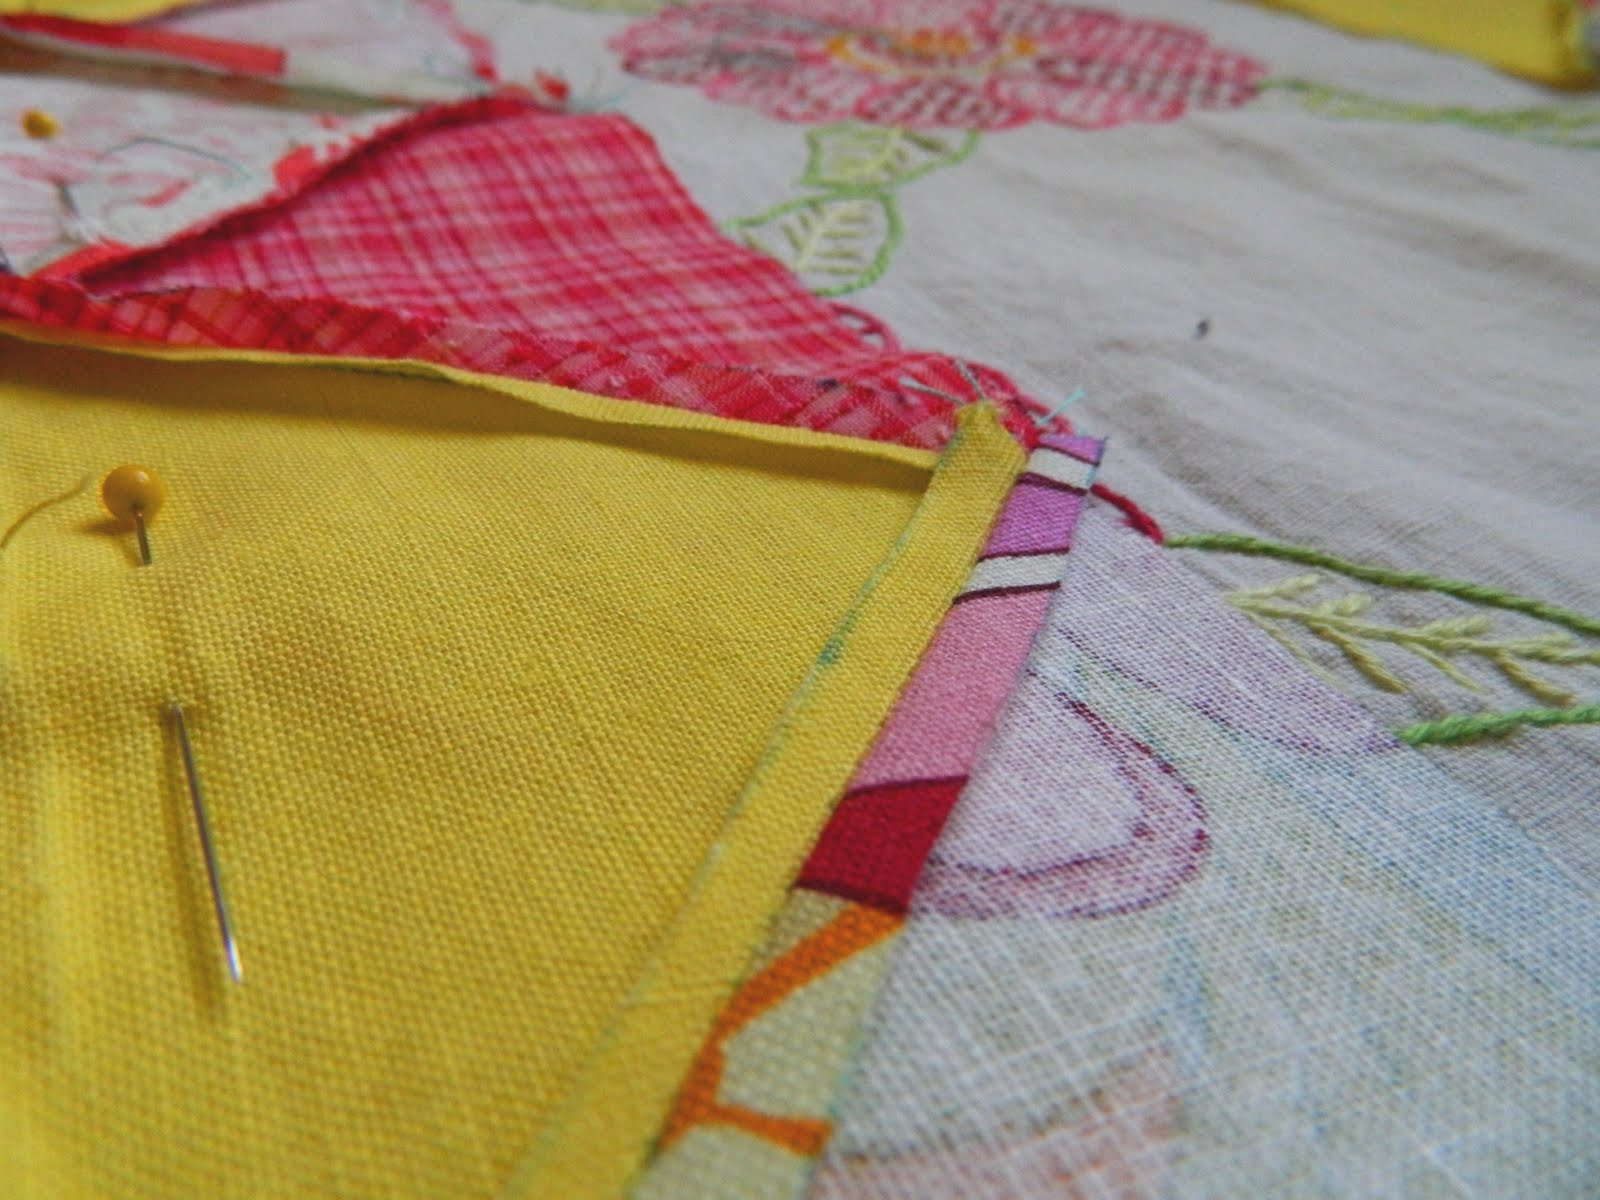
Sew along the pinned edges. You now have a pretty front, bottom, and back to your bag.
It should measure 16 1/2″ x 38″.

Step 4: Fold and press under the short edges of your 12″ x 16 1/2″ bottom lining insert.
Top stitch them down.

Pin the 16 1/2″ edge of the insert right sides together with one of the 16 1/2″ edges of a lining piece. Sew together using a 1/4″ seam. Press the seam flat. Sew the other lining piece onto the other edge of the insert.
Now you have one long lining piece 38″ x 16 1/2″.
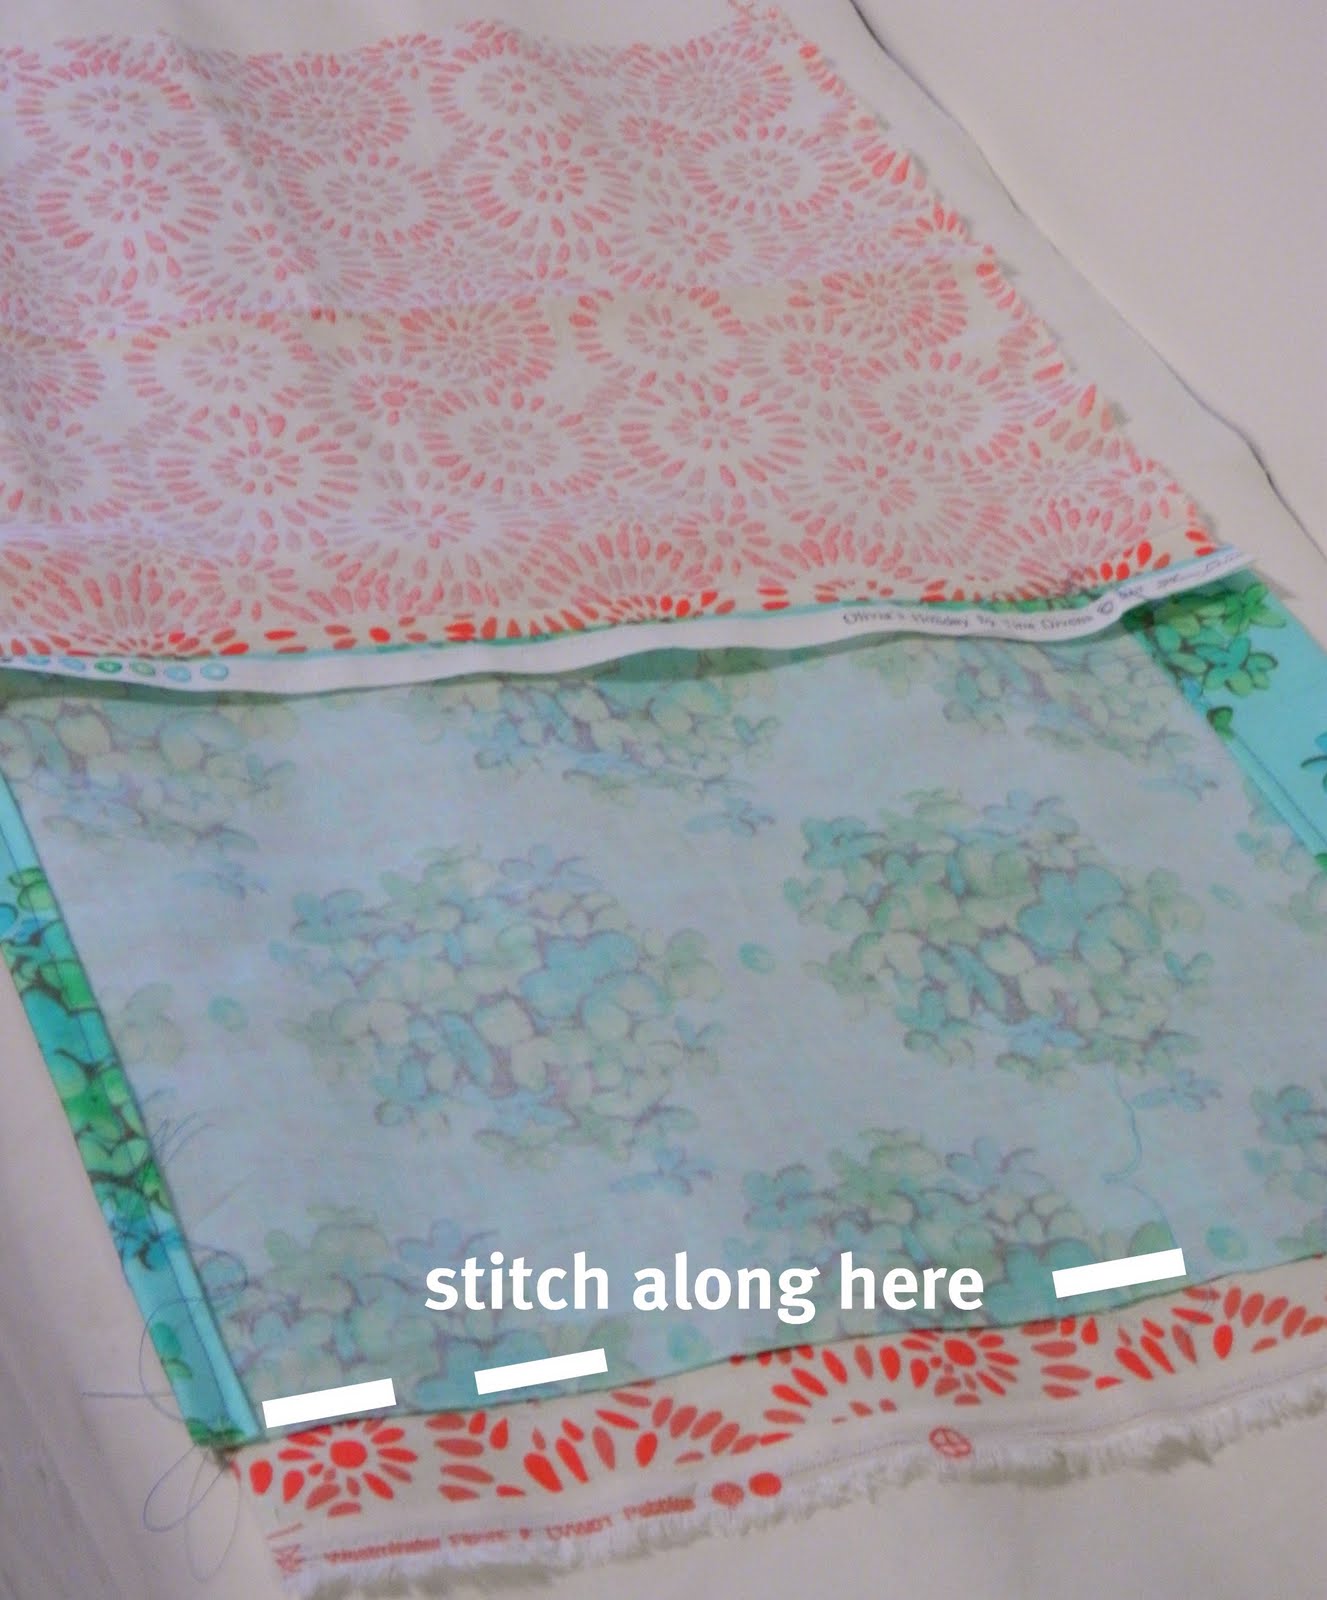
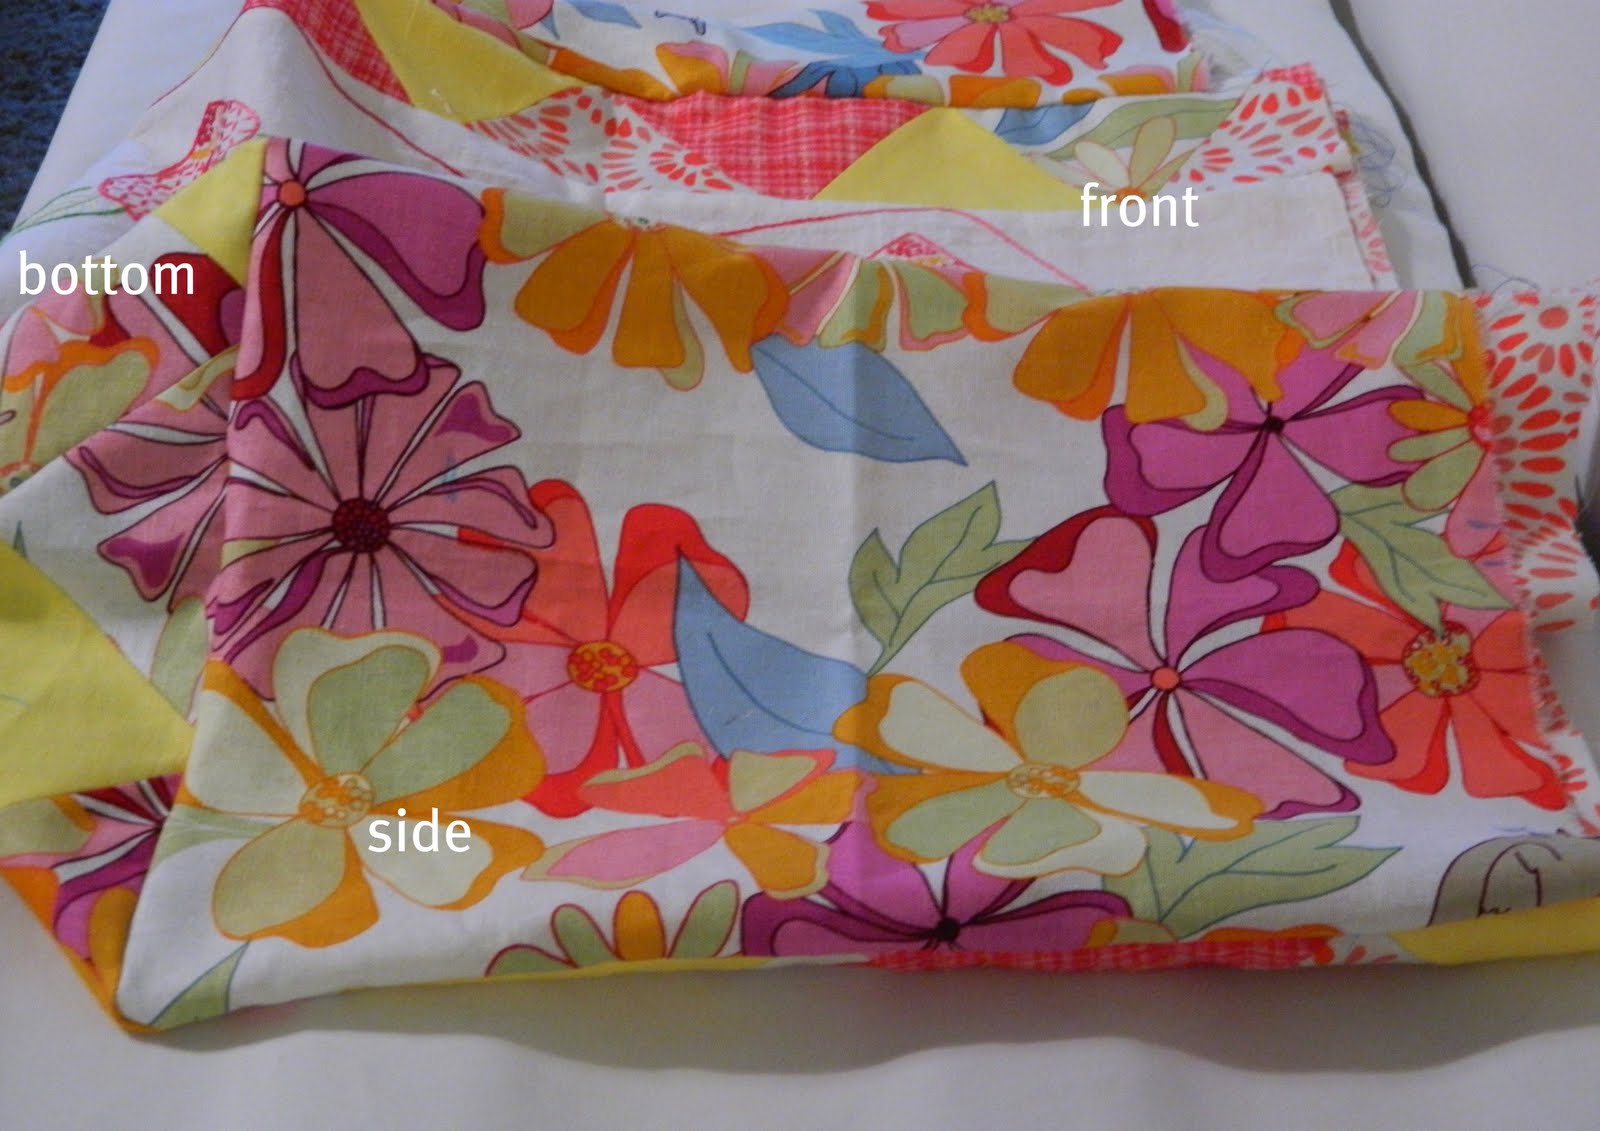
Step 5: Lay the lining piece, wrong sides together, with the front piece (how it will be when you are finished). Take a side panel and pin the right side of it to the long edge of the lining and front piece. Like this:

Then sew along those three sides – but do not sew the insert (the blue/green fabric in the picture.)
So on the side, you are sewing the side panel, the front of the bag, and the lining. Along the bottom, you are sewing the side panel and the front of the bag(the runner).
When you are finished, each side should look like this:
This is the outside view.
Step 6: Okay – are you still with me? Have you had to refill your coffee cup?
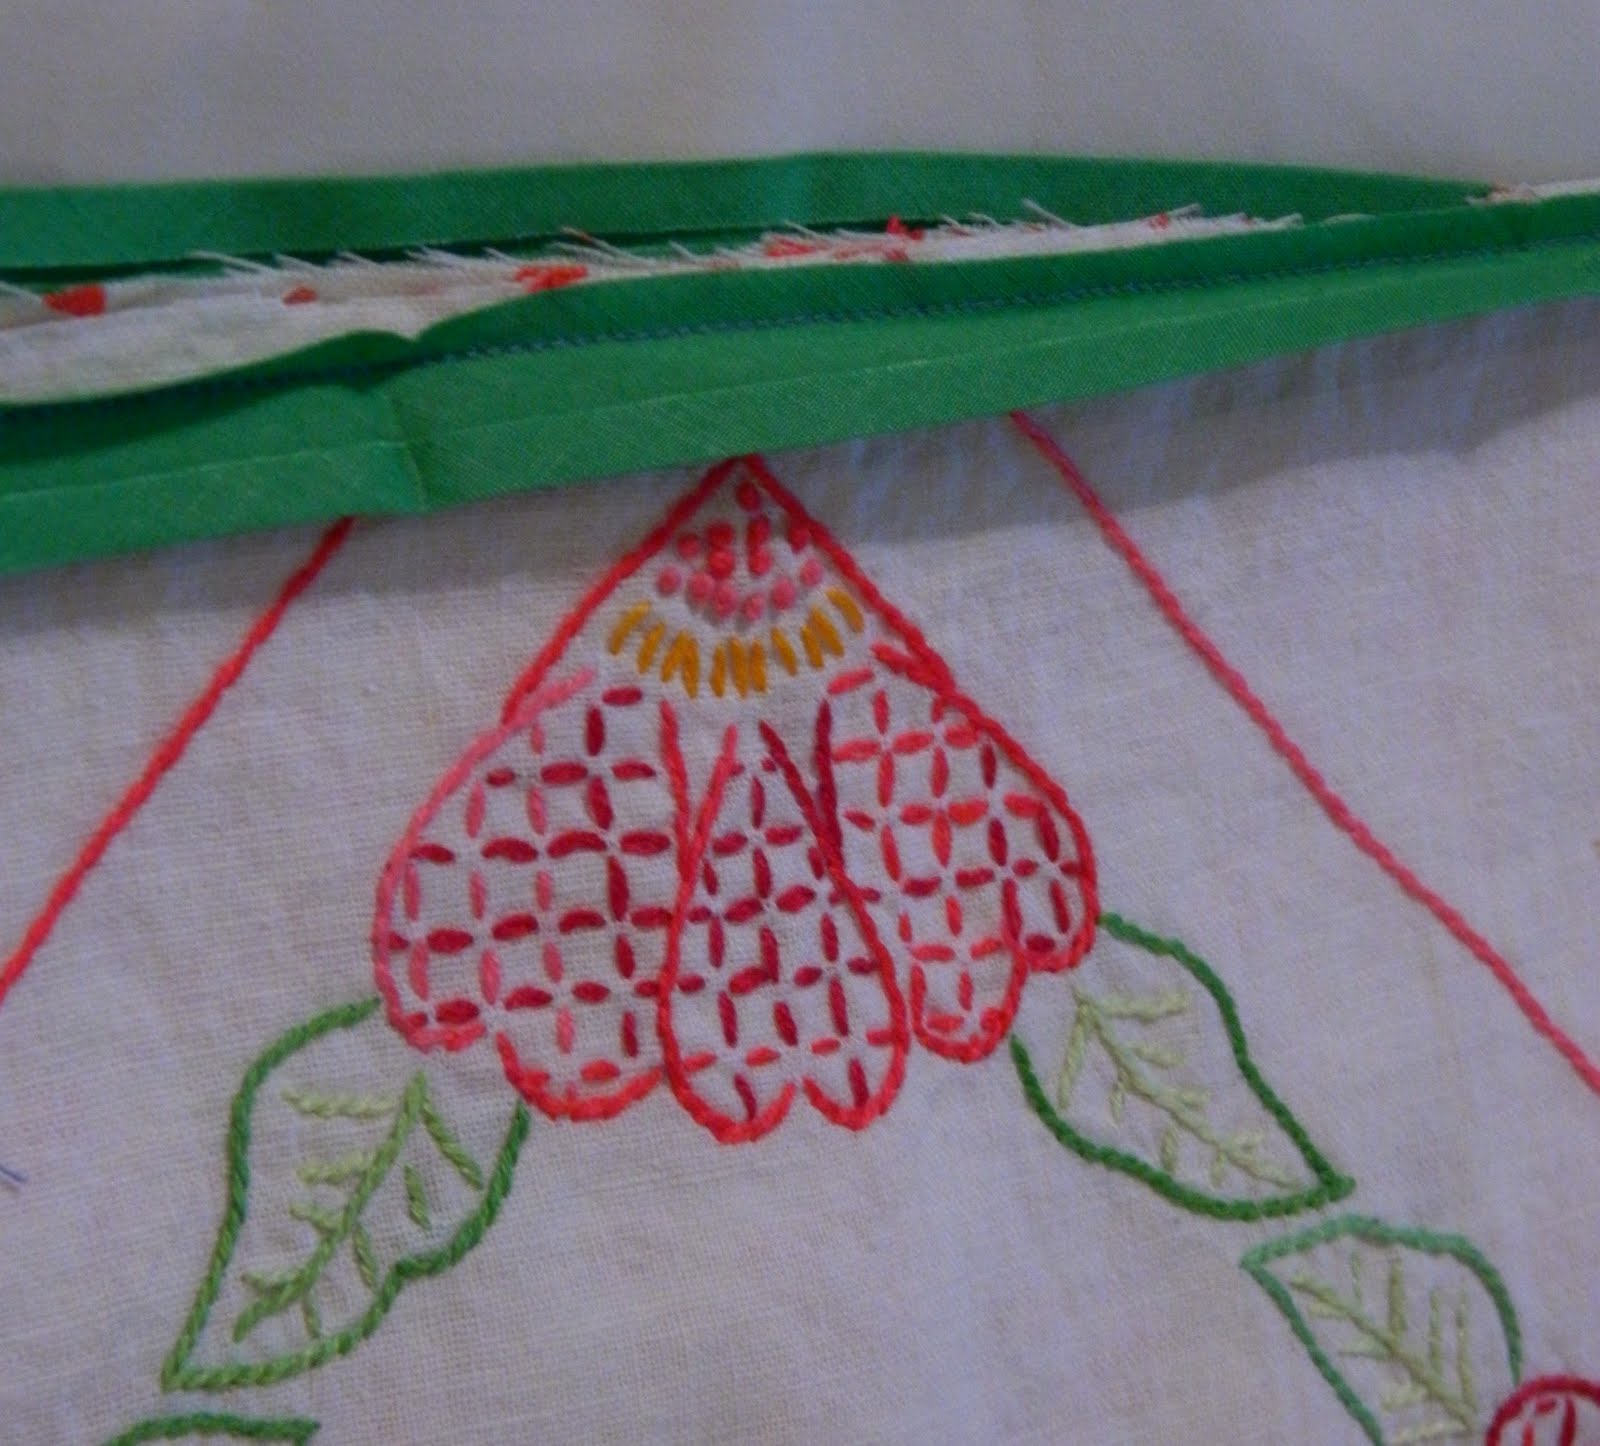
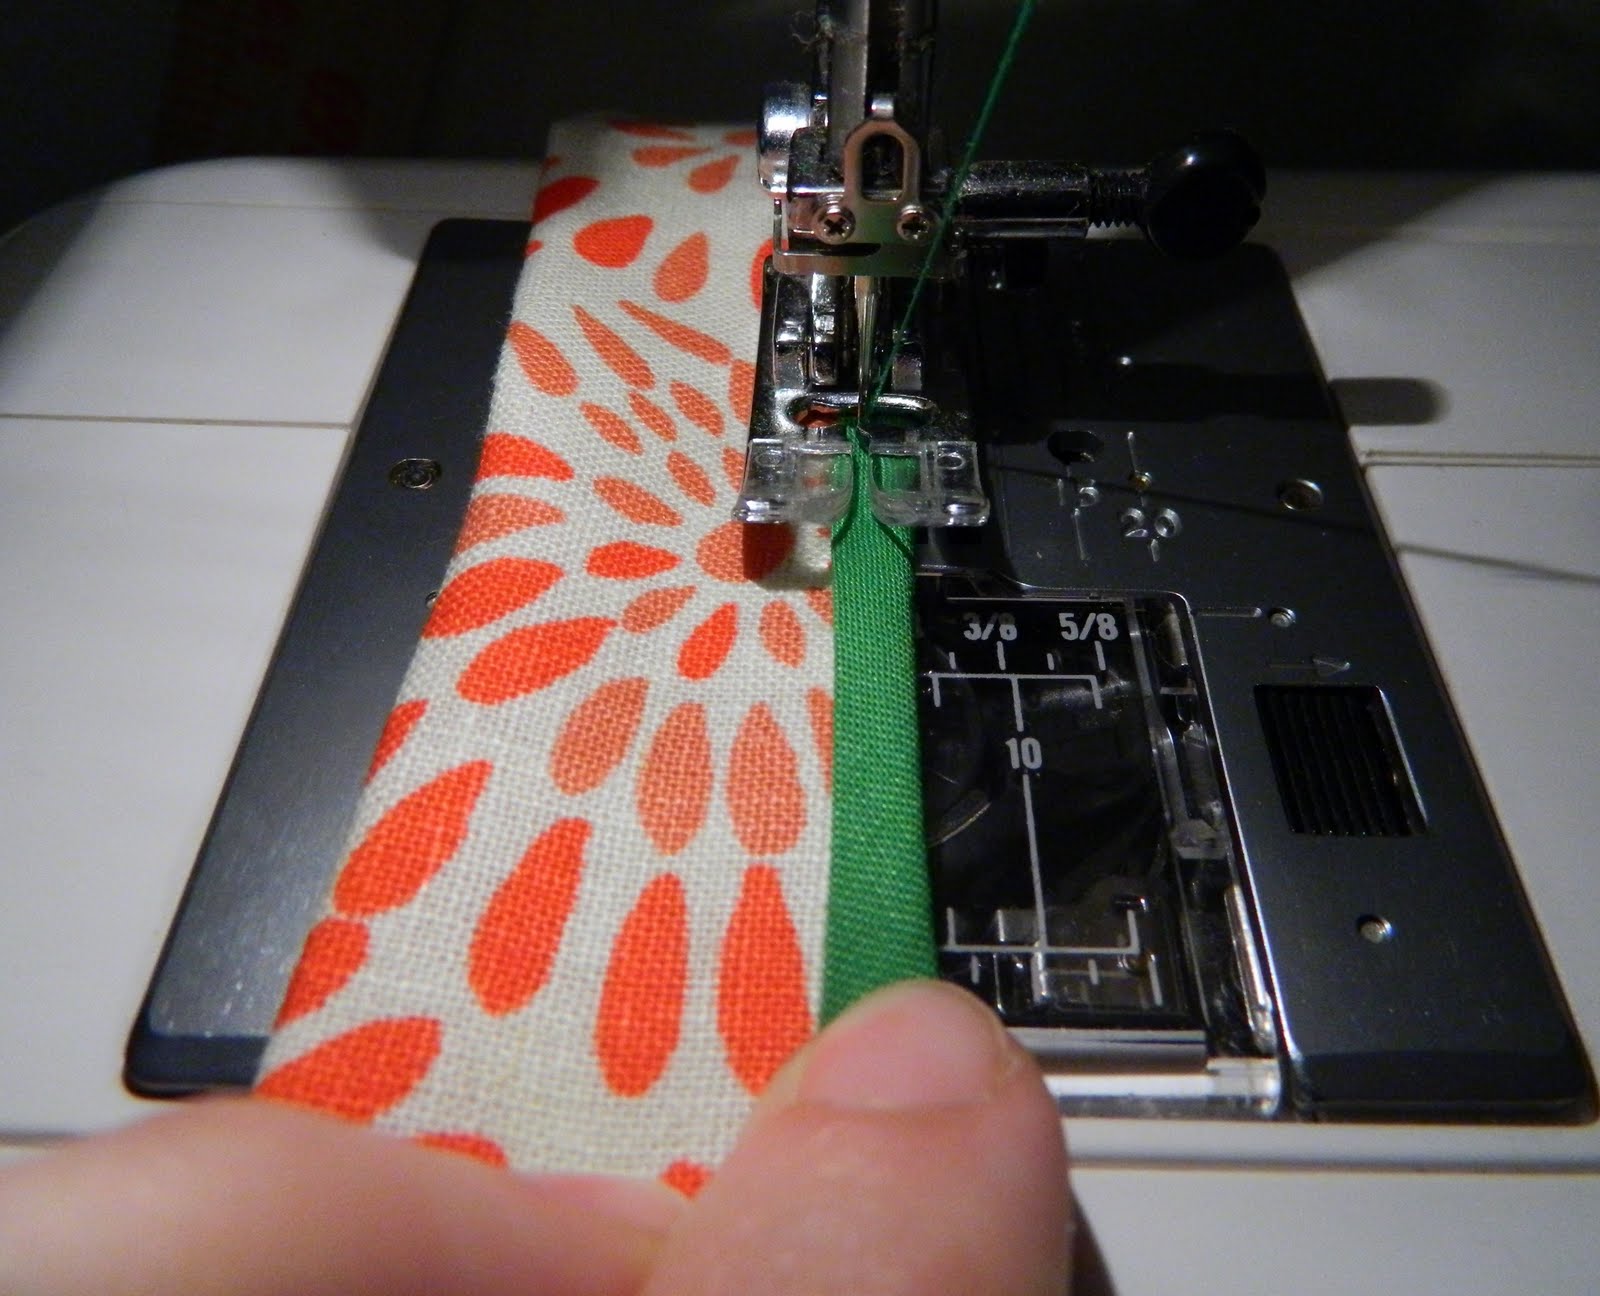
Now it is time to sew the bias tape all along the top of the bag. Follow the directions on the package.
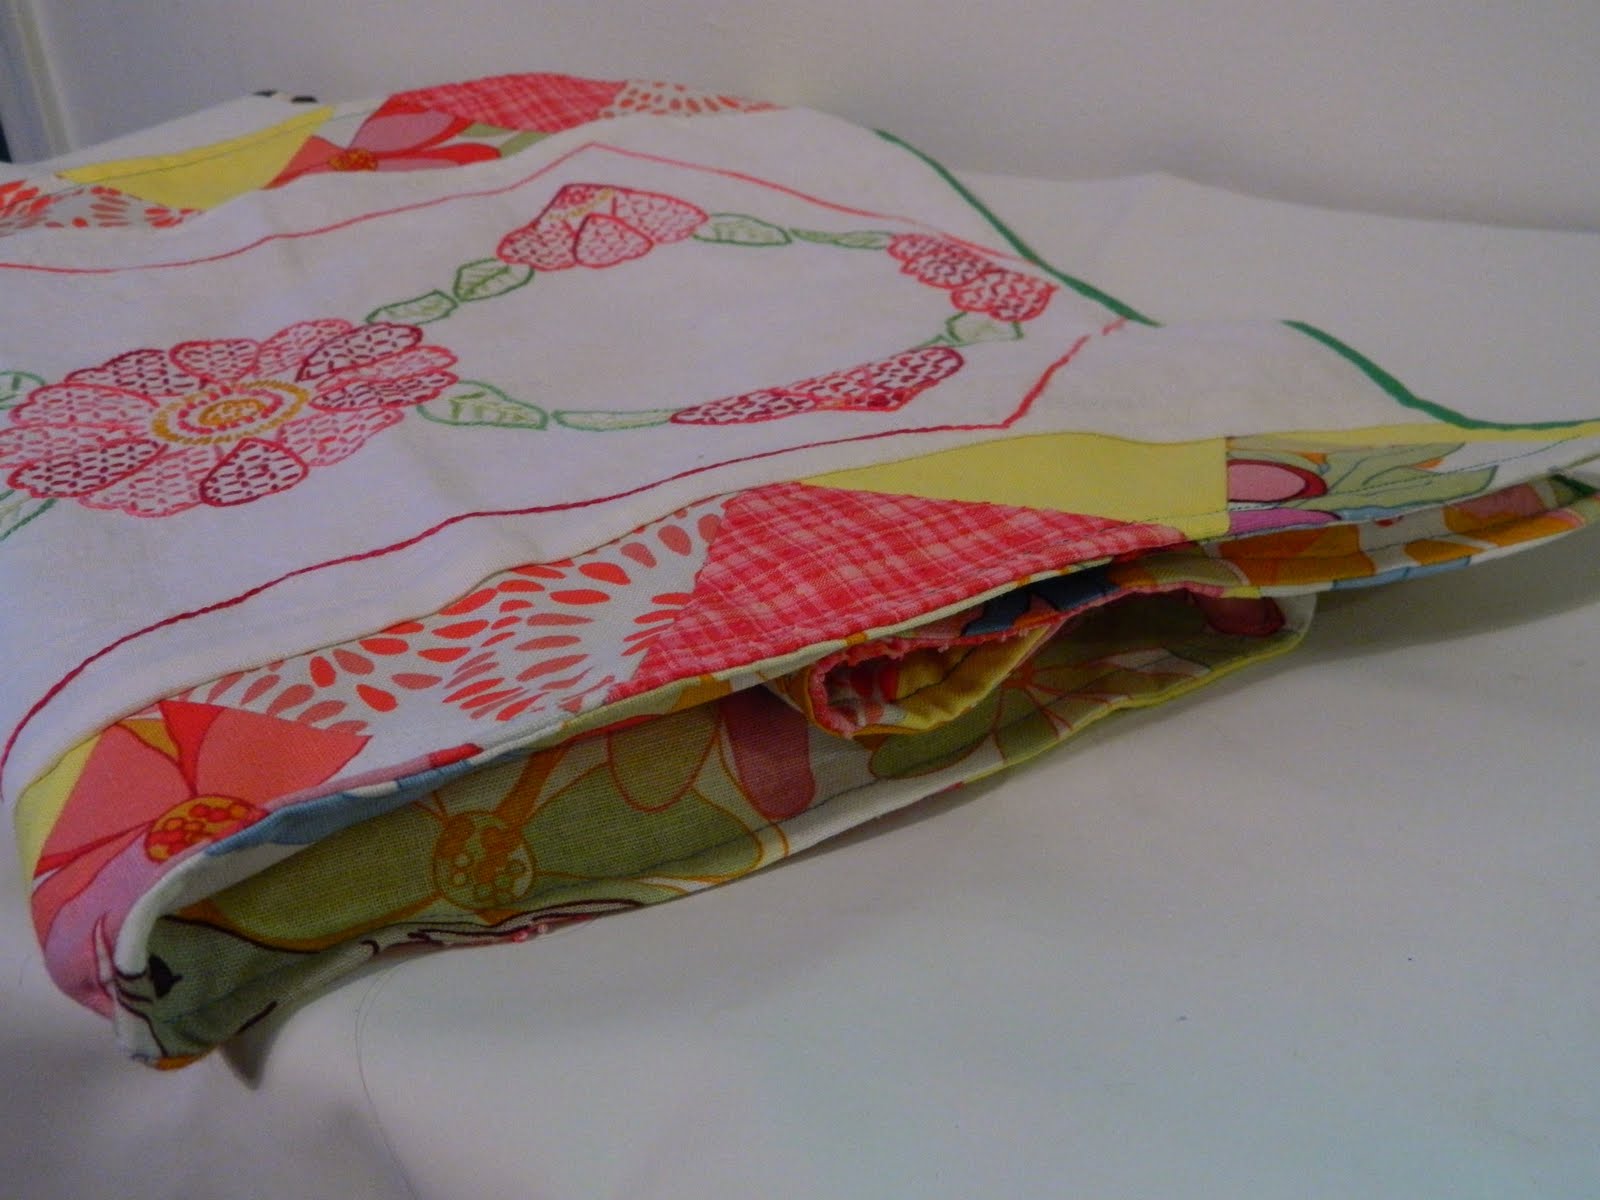
Now you are going to french seam the side seams. This not only covers your raw edges on the inside of your bag, but it adds shape to the bag. First, pin it like this:
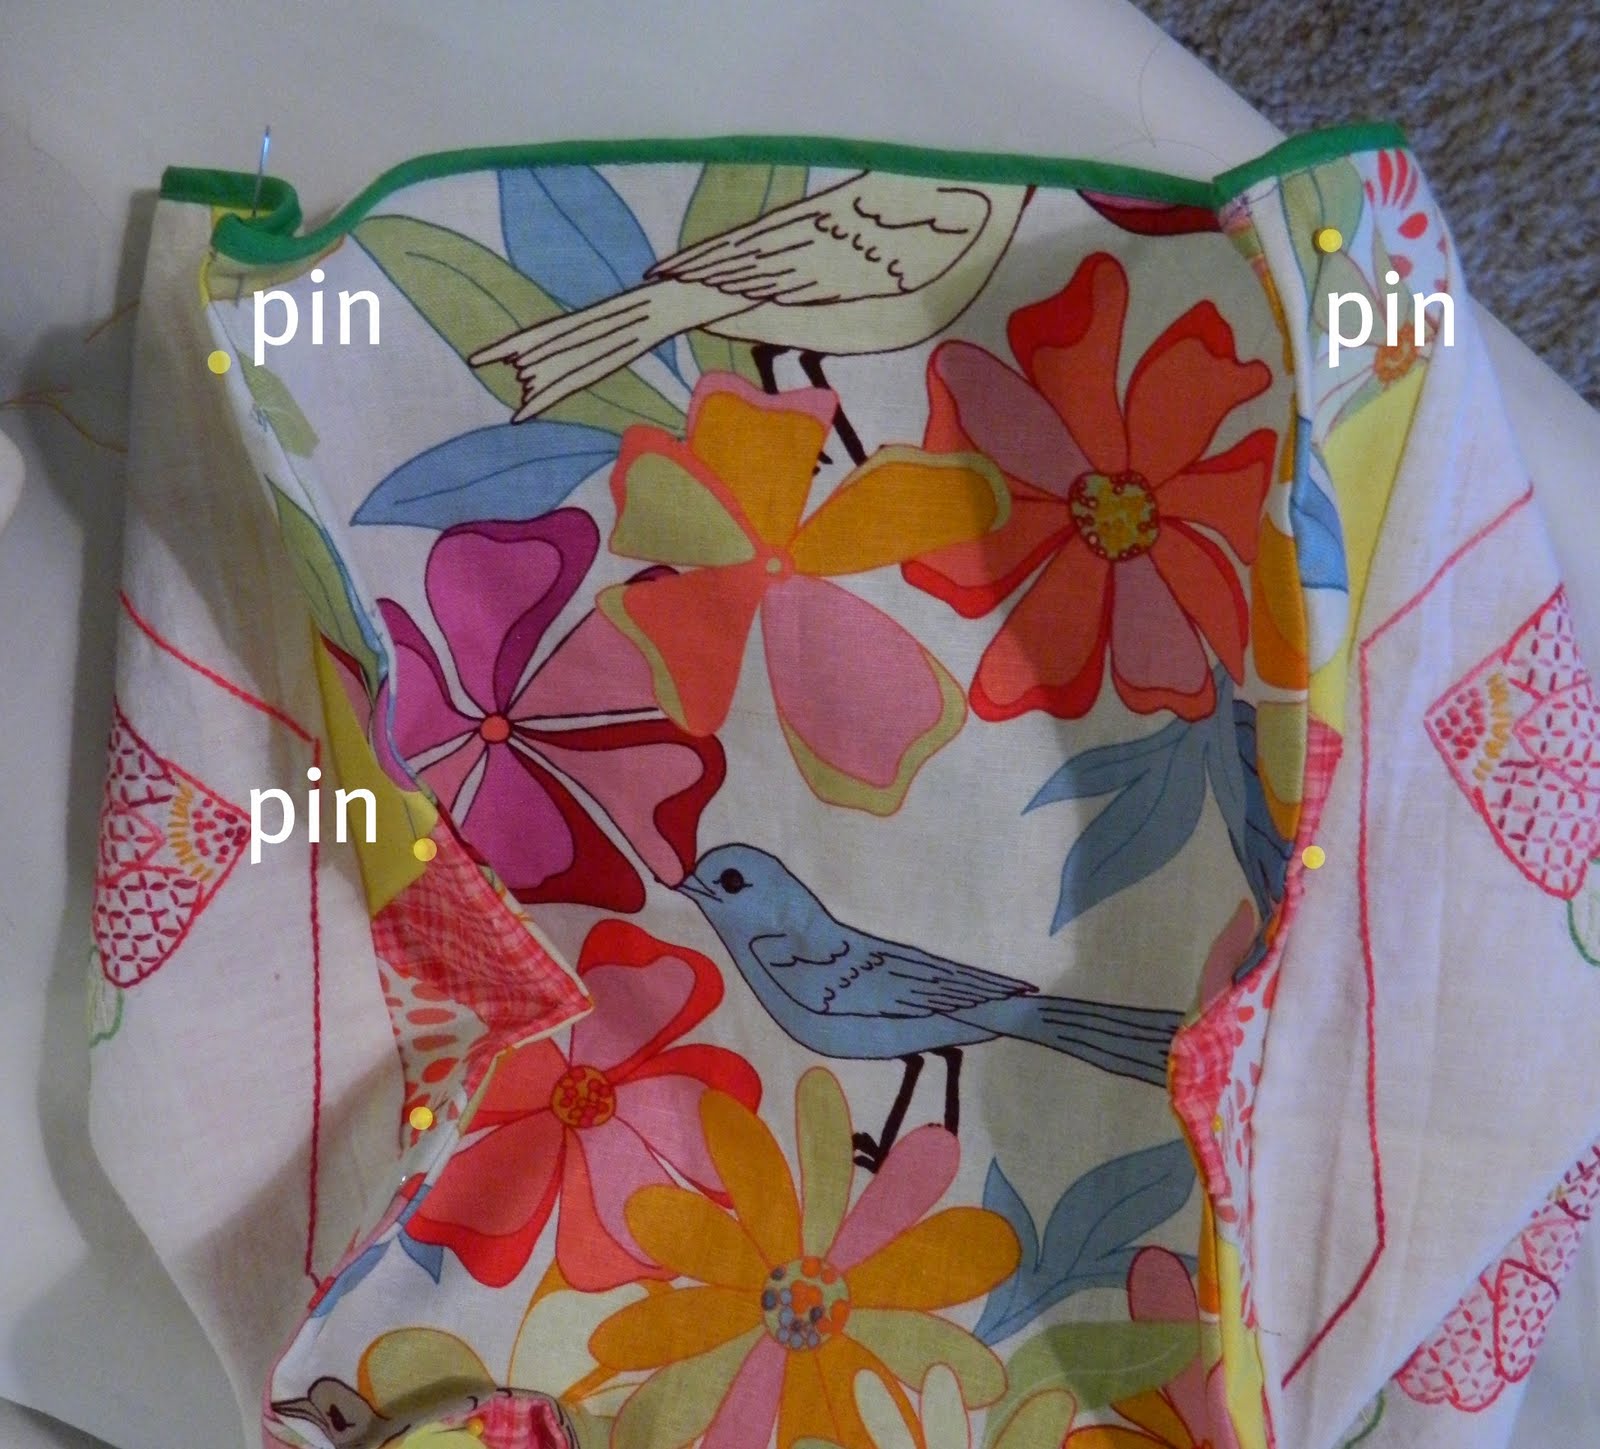
Sew down the side, along the bottom, and up the other side, careful not to catch the lining insert in your french seam- use about 3/8″ seam, enough to catch the previous seam inside.
Insert the cardboard into the lining.
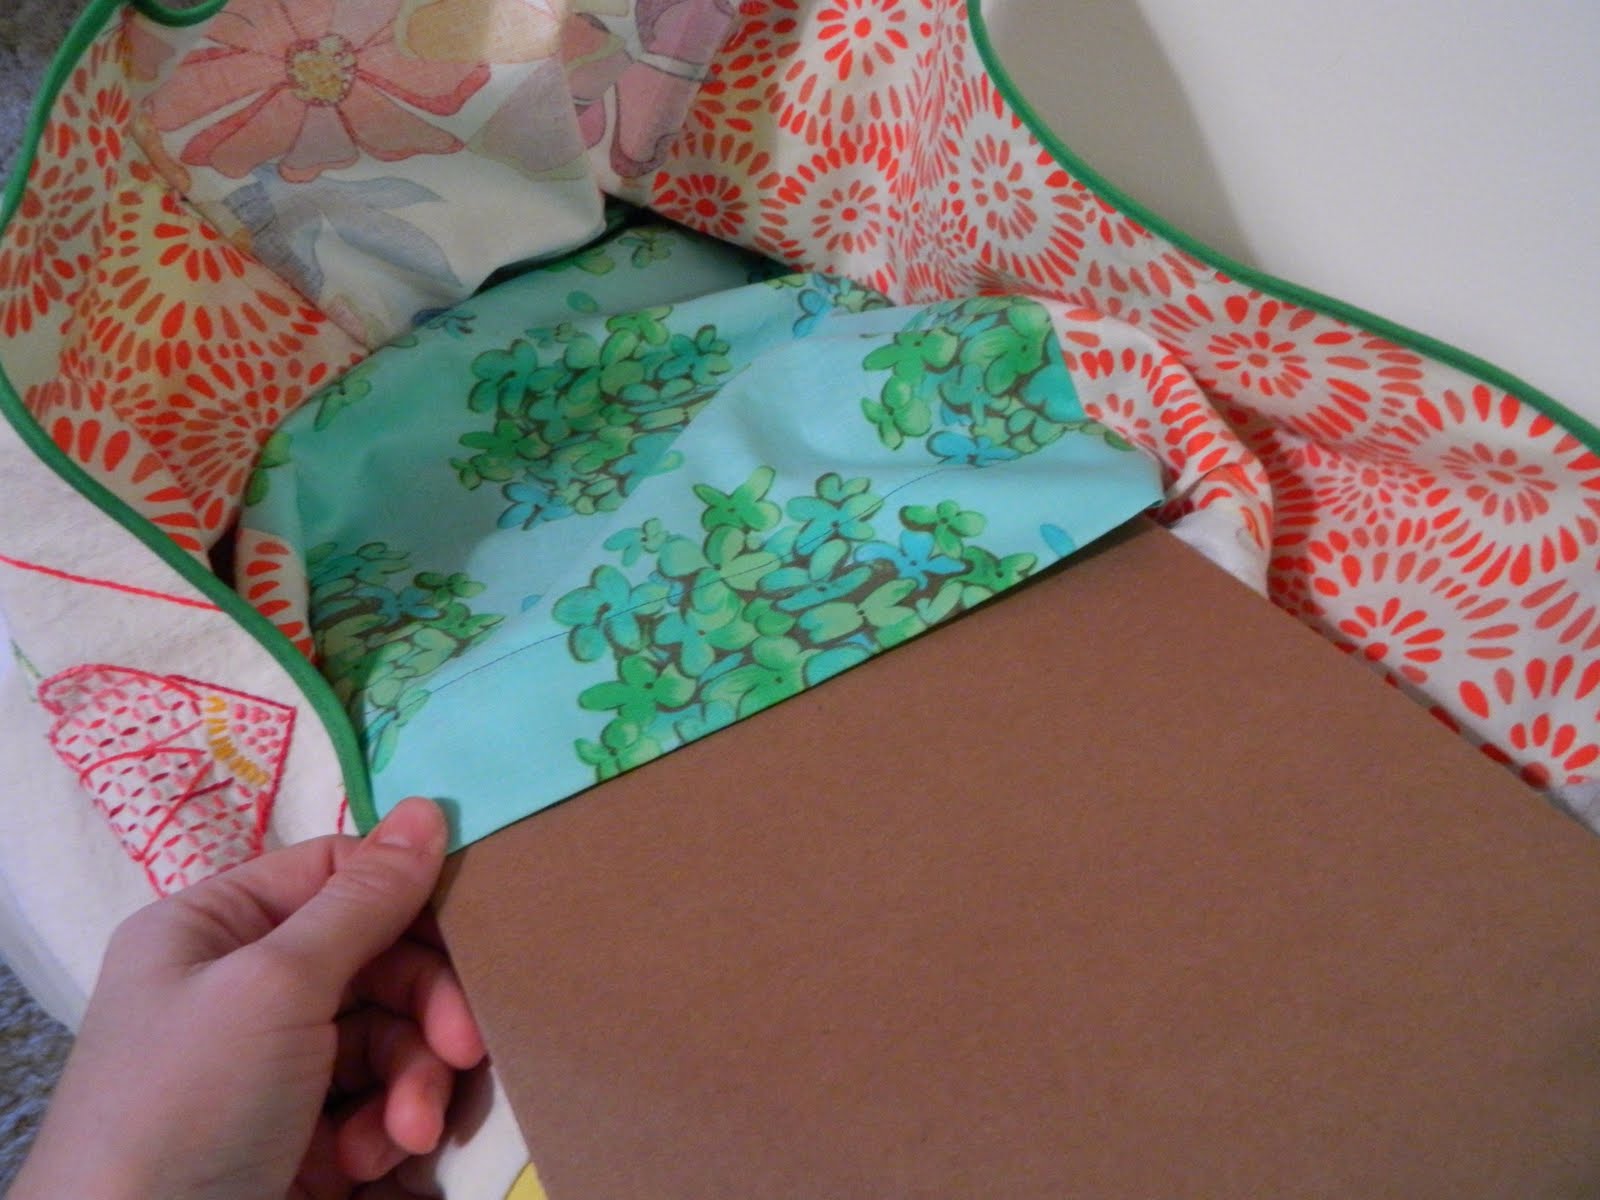
Now it looks like a real market bag.
Oh wait – you still need handles. Okay – this is the last step I promise!
Step 7: Fold the straps in half lengthwise and press. Sew the bias binding on, covering the raw edges.

Then, fold under one end and stitch it onto the bag – using the “x in a square” pattern for stability.

And I think that’s it! Think you can whip one up tonight before the Saturday Farmer’s market?
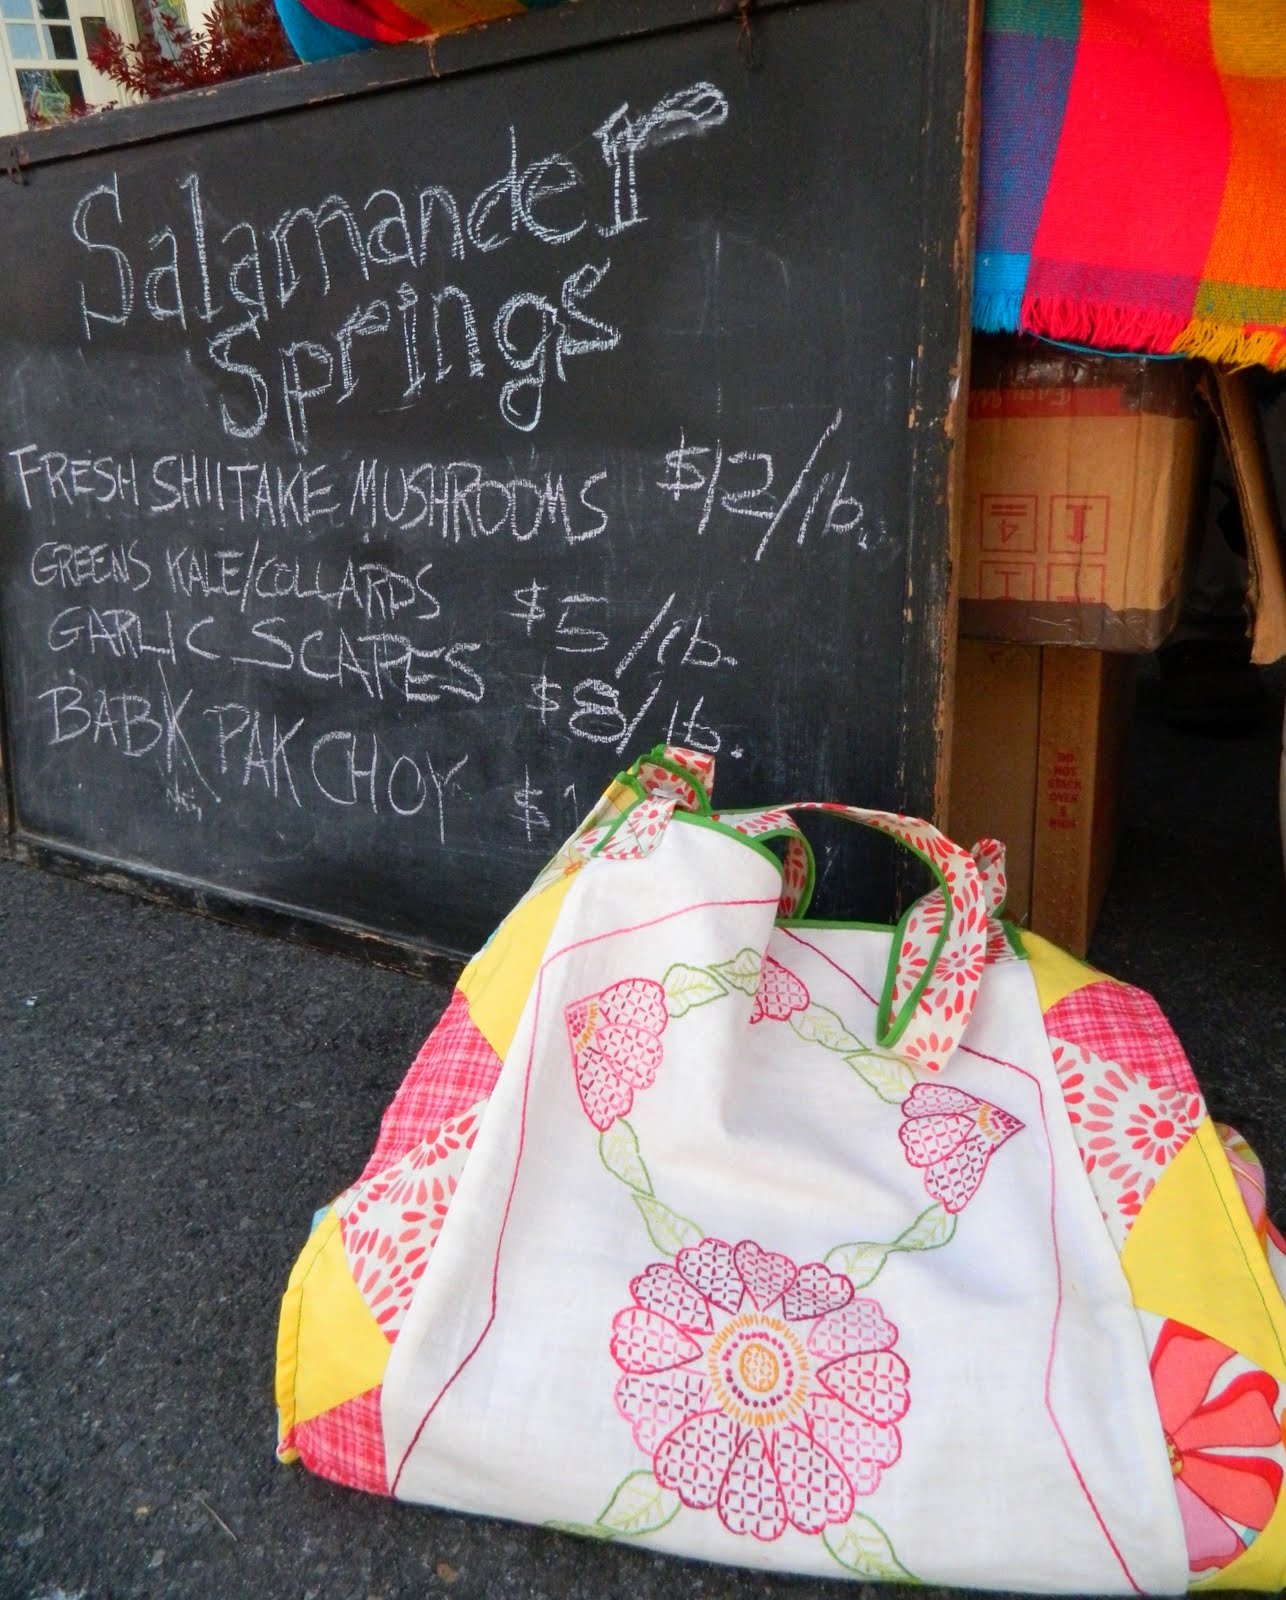
Sure you can! Have a happy weekend
xoxo
jessica