Last week I did this tutorial as a guest post on Just Chic.
I thought I would post it here too in case you missed it!

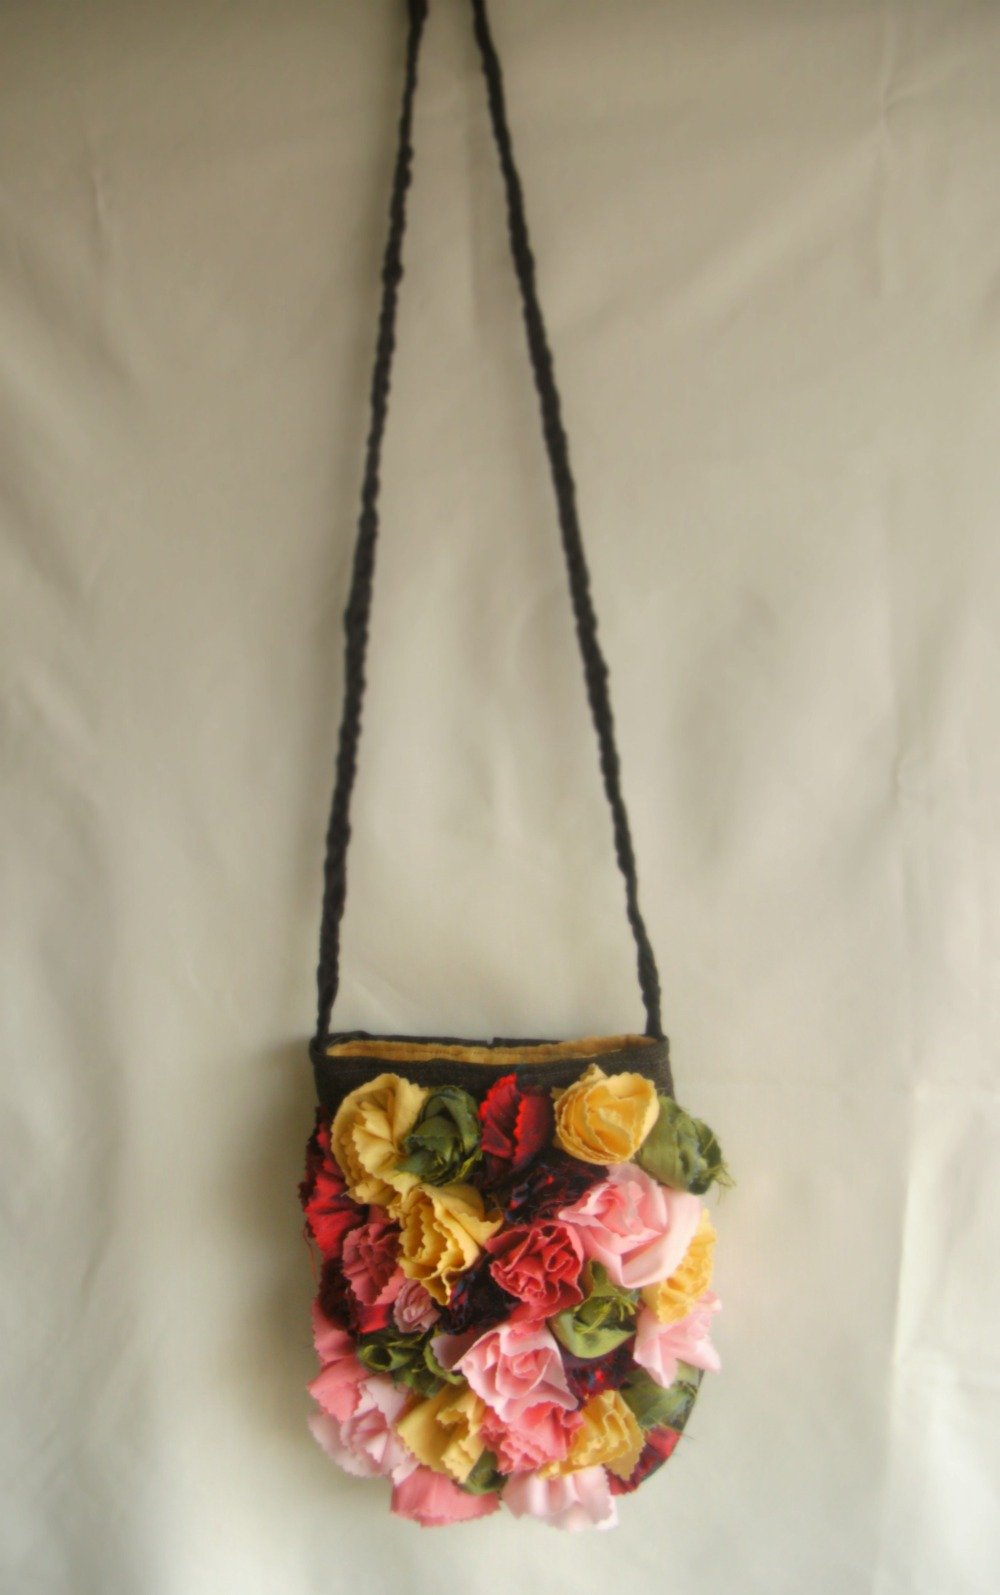
A Bouquet for Every Day
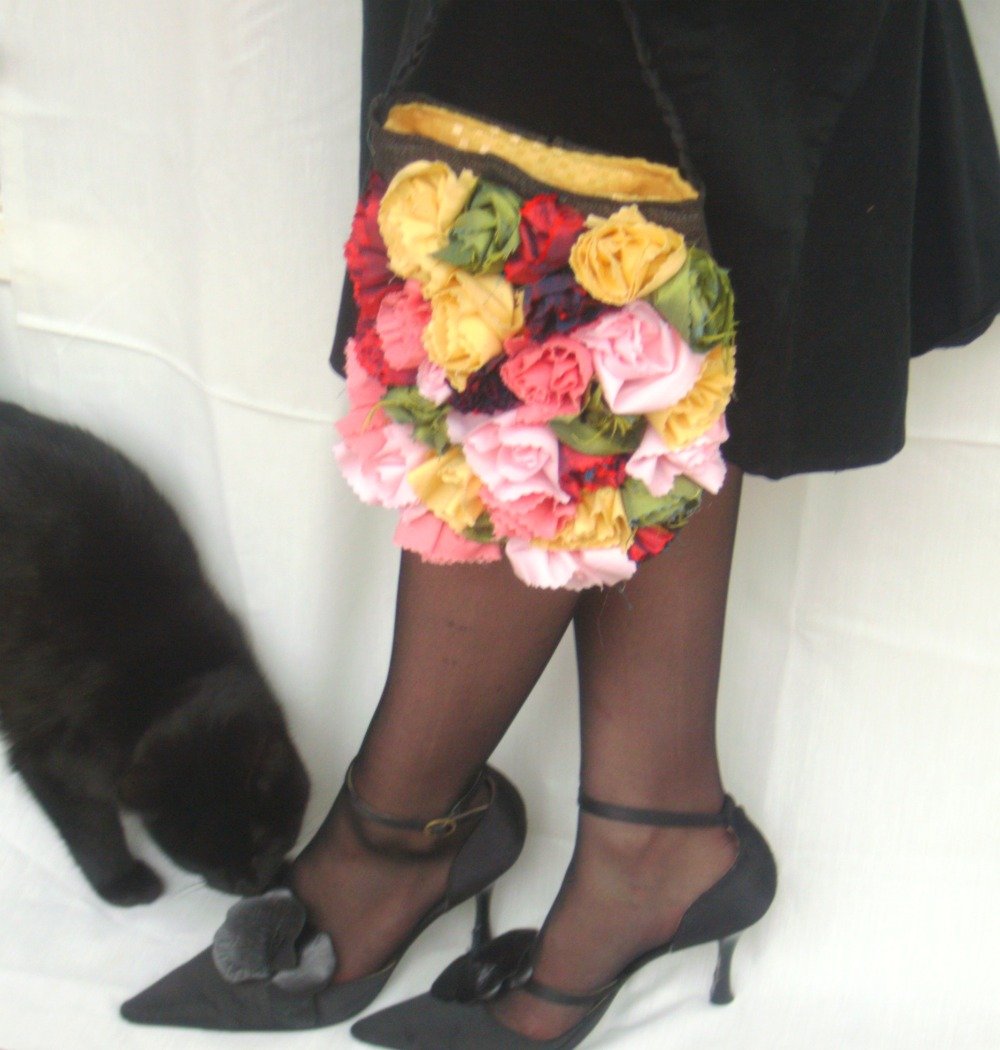
It’s a sweet little bag that will make you feel as though you are carrying a lovely bouquet of roses with you everywhere you go! I was inspired by this Anthropologie bag:
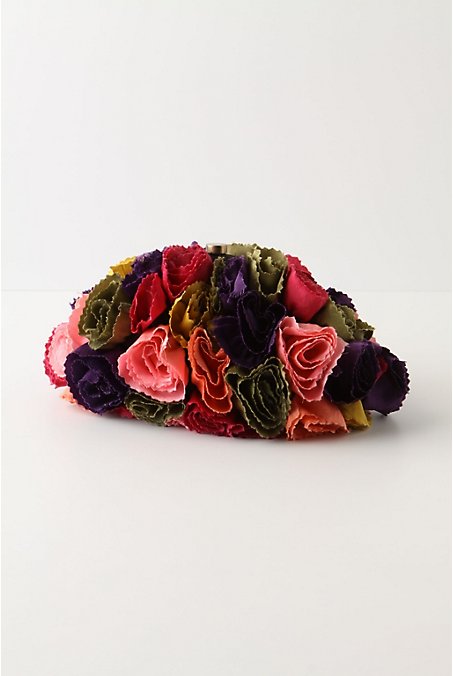
I read some of the reviews about the bag – and many said that it turned out to be too bulky since the flowers were on all sides – so I decided to design mine with roses on one side and with a slightly different shape.
Here’s the tutorial so you can make your own!
Supplies:
- 1/2 yard of fabric for the bag (fabric A)
- various colorful scraps for the roses – thinner fabrics work best here
- such as silk, voile, light cotton- you will probably need about a fat quarter of each color
- 1 spool of 3/4″ black grosgrain ribbon
- 1/2 yard of contrasting fabric for the lining (fabric B)
(if you want to make it the same as the outside - you will have enough with the 1/2 yard)
- 2 small magnets
- hot glue gun
- needle and thread
- sewing machine/thread/scissors/yard stick
- pinking shears
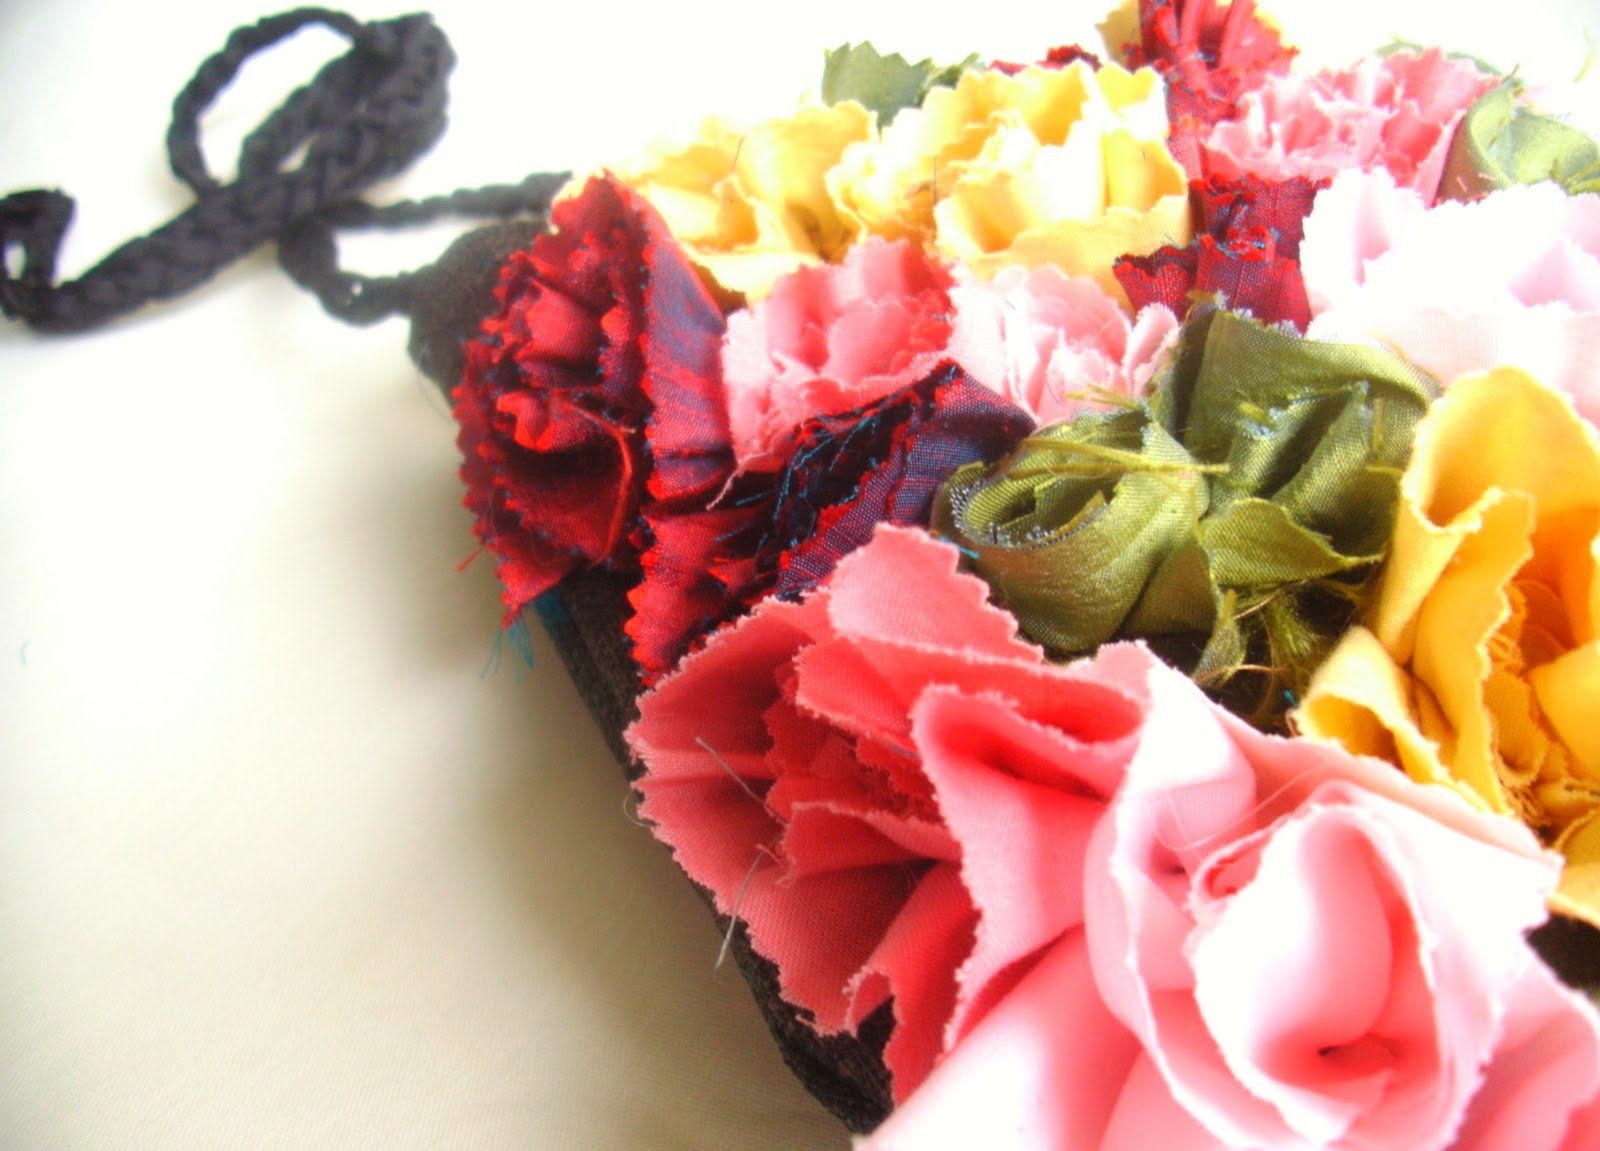
- Step 1: Make the fabric roses. This might take a while – but I thought it was really fun.
I decided I needed about 30 roses to fill the front of the bag.
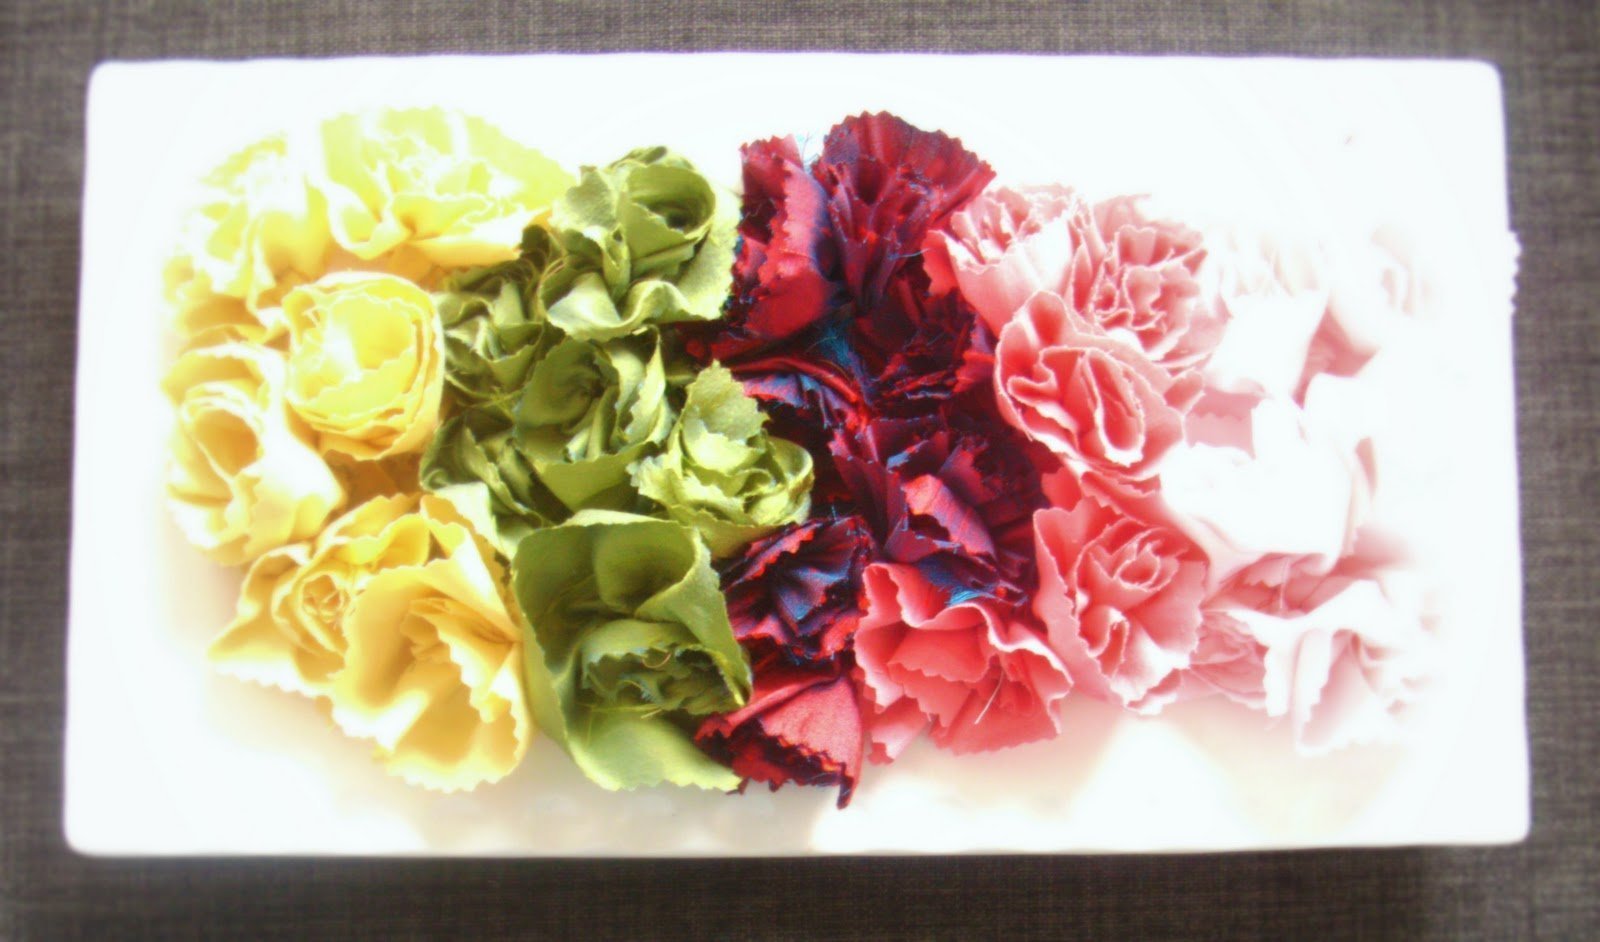
I chose 5 different colors:

I made –- 6 green roses
- 6 yellow roses
- 6 light pink roses
- 5 dark pink roses
- 7 dark red roses
Begin by ironing your fabric well. On one edge of your fabric measure 2 inches and put a mark. Then measure 1 inch and put a mark. Measure 17″ from that edge Make the marks again – but this time start with a 1 inch mark, then a 2 inch mark. You will need to make as many marks as flowers that you want out of that color. (if you want 6 roses, make 6 marks on each side)
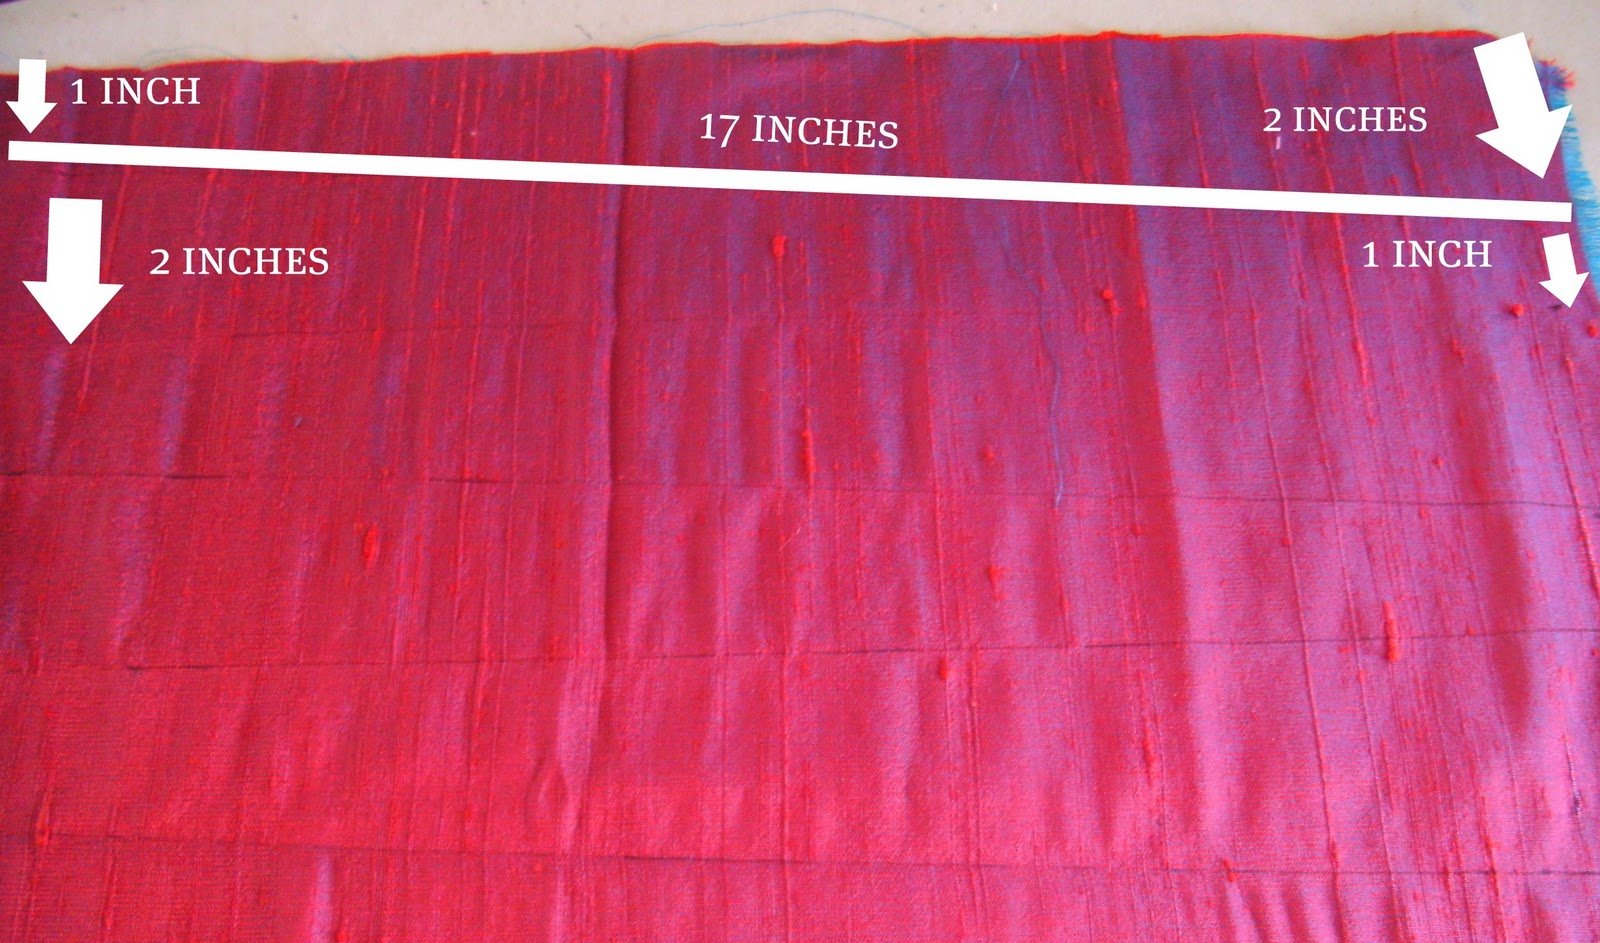
Then draw a diagonal line connecting the 2″ mark on the edge to the 1″ mark that is 17″ in.
Draw another diagonal line from the 2″ mark 17″ in, to the 1″ mark on the edge.
Continue in this manner for all the marks. Are you thoroughly confused yet?
Cut along those diagonal lines with pinking shears. It should look like this when you have them cut out.
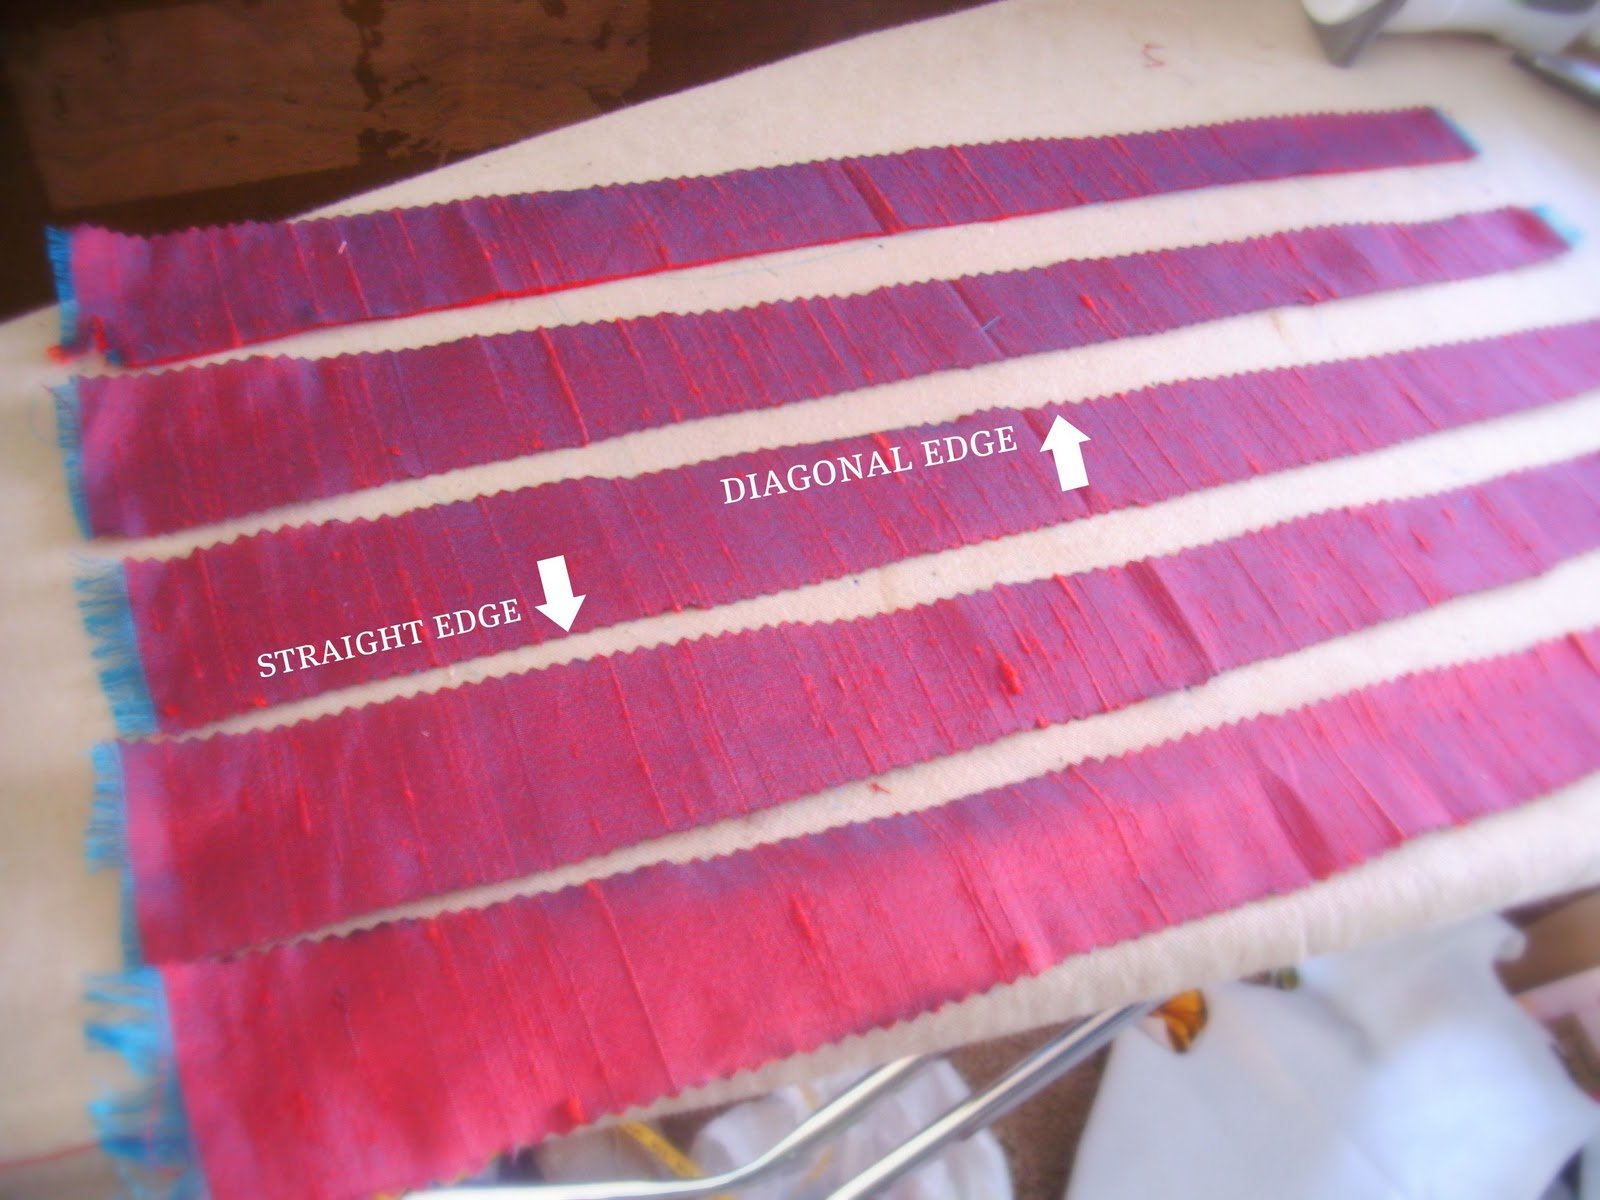
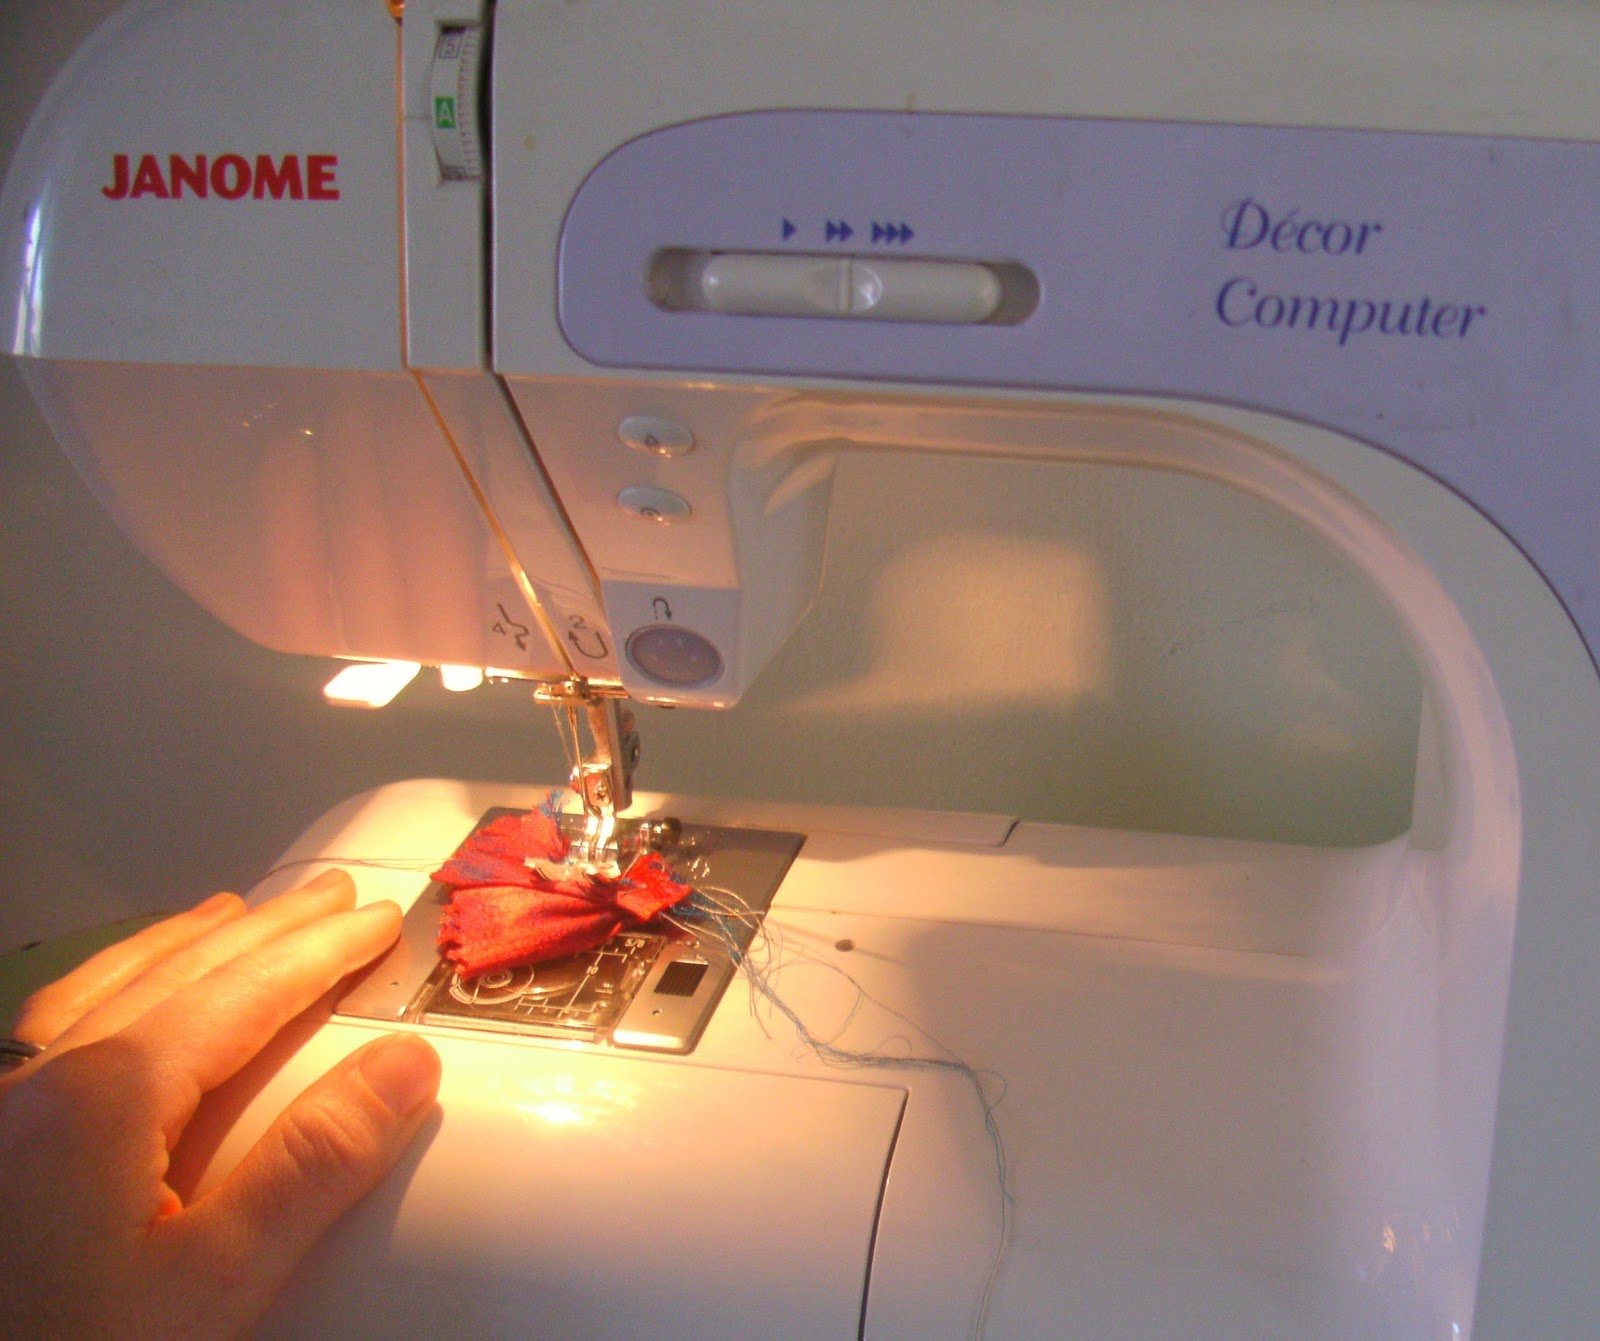
Notice that each strip will have one edge that is straight and one edge that is a diagonal. The straight edge is the one you will sew along in this next step. - Step 2: Using a basting stitch (the largest stitch on your machine) sew along the straight edge of your fabric strip about 1/4″ from the edge. Pull on the thread to gather it.
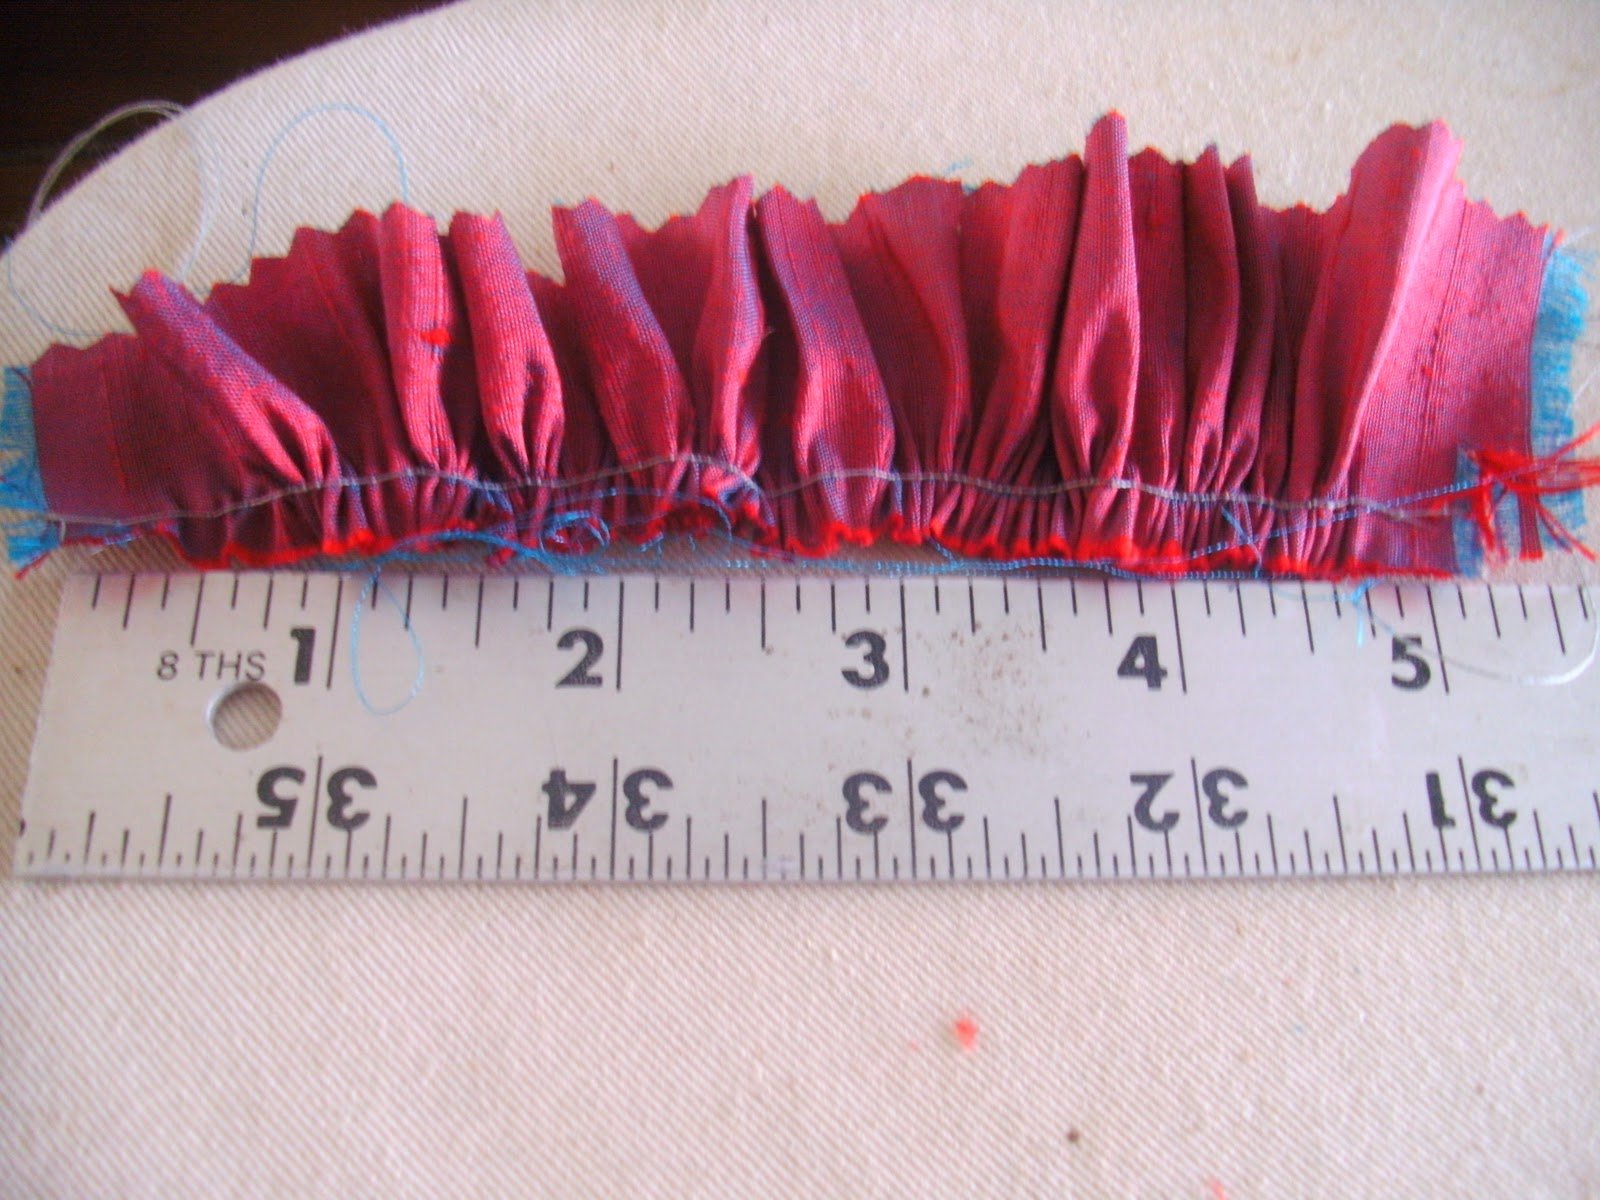
It should be about 5 inches.
Starting at the 1 inch end roll/fold the fabric (keeping the straight edge in line with itself)

When you have finished rolling it, fold the end back
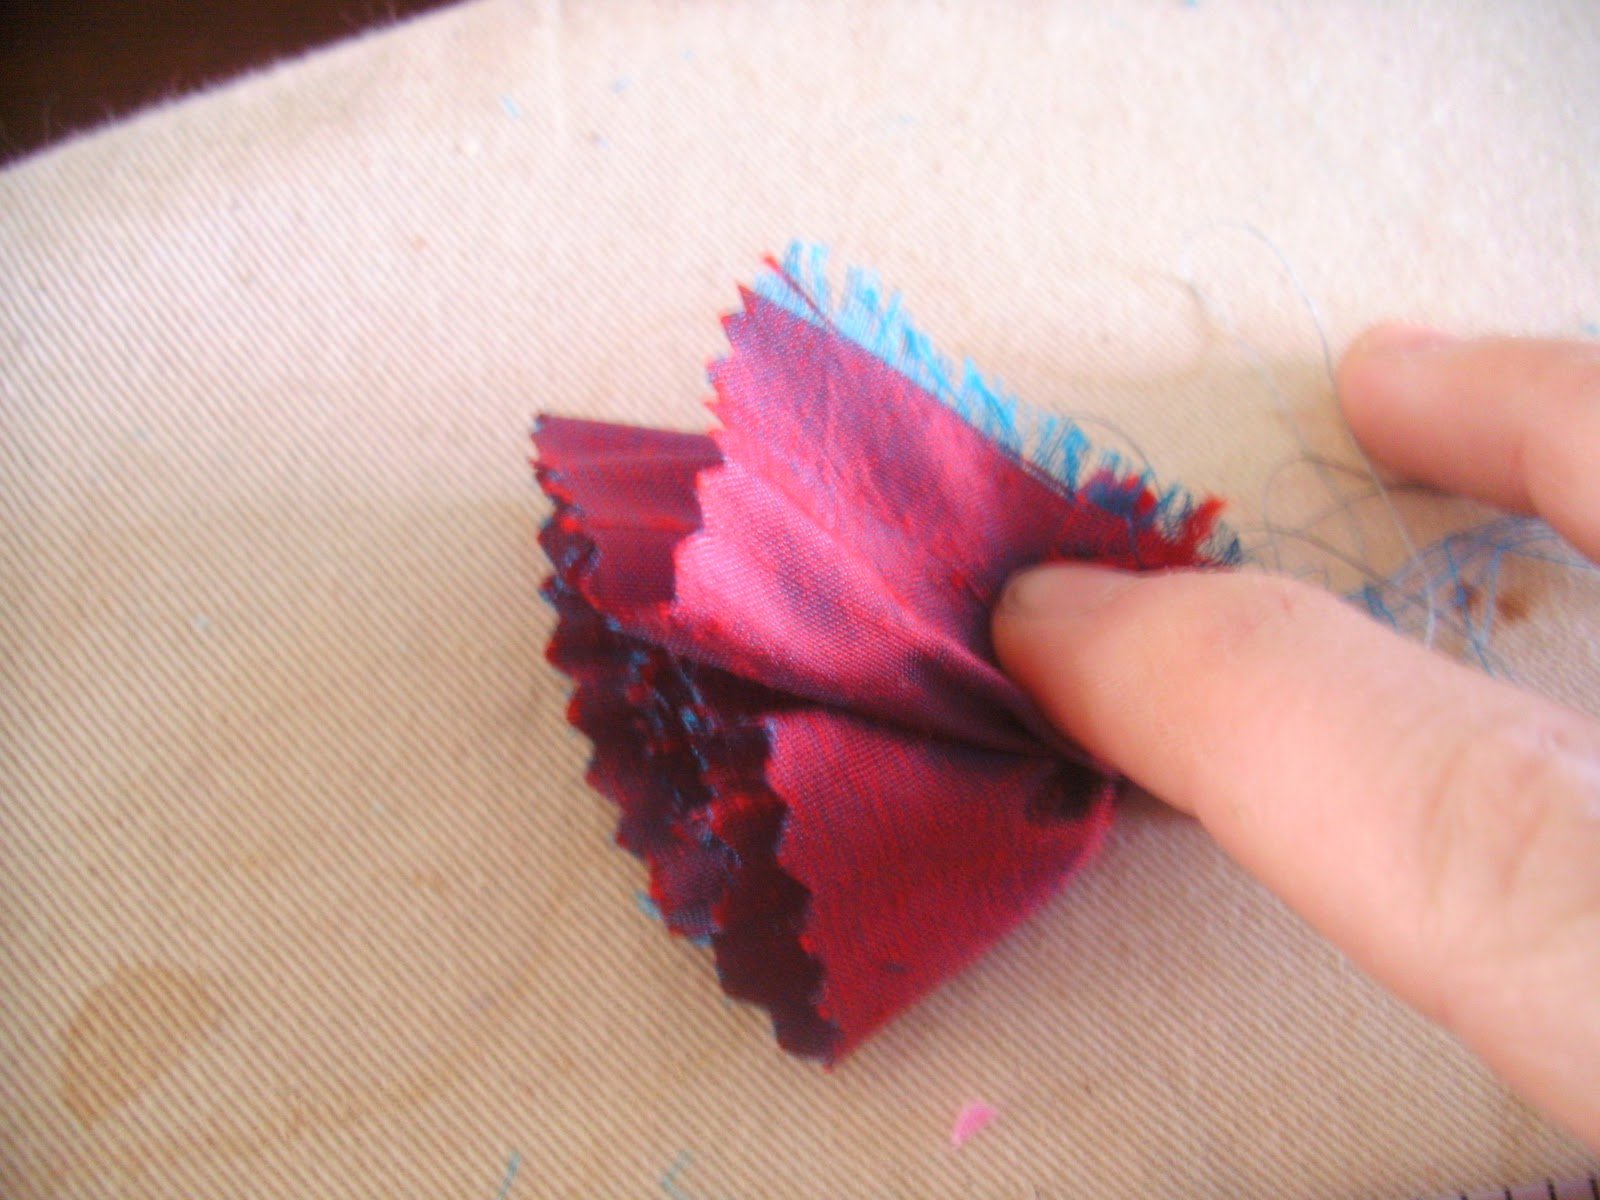
and stitch 3 or 4 stitches in the middle of the flower.
(Don’t forget to switch your machine back to a regular stitch!!)
Now fluff it out. Isn’t it pretty?

So just keep making these roses until you have 30!
I went color by color, and I would baste all the edges of one color.
Then gather and roll and stitch each one.
That way I could look at one whole color as finished – it made it go faster for me.

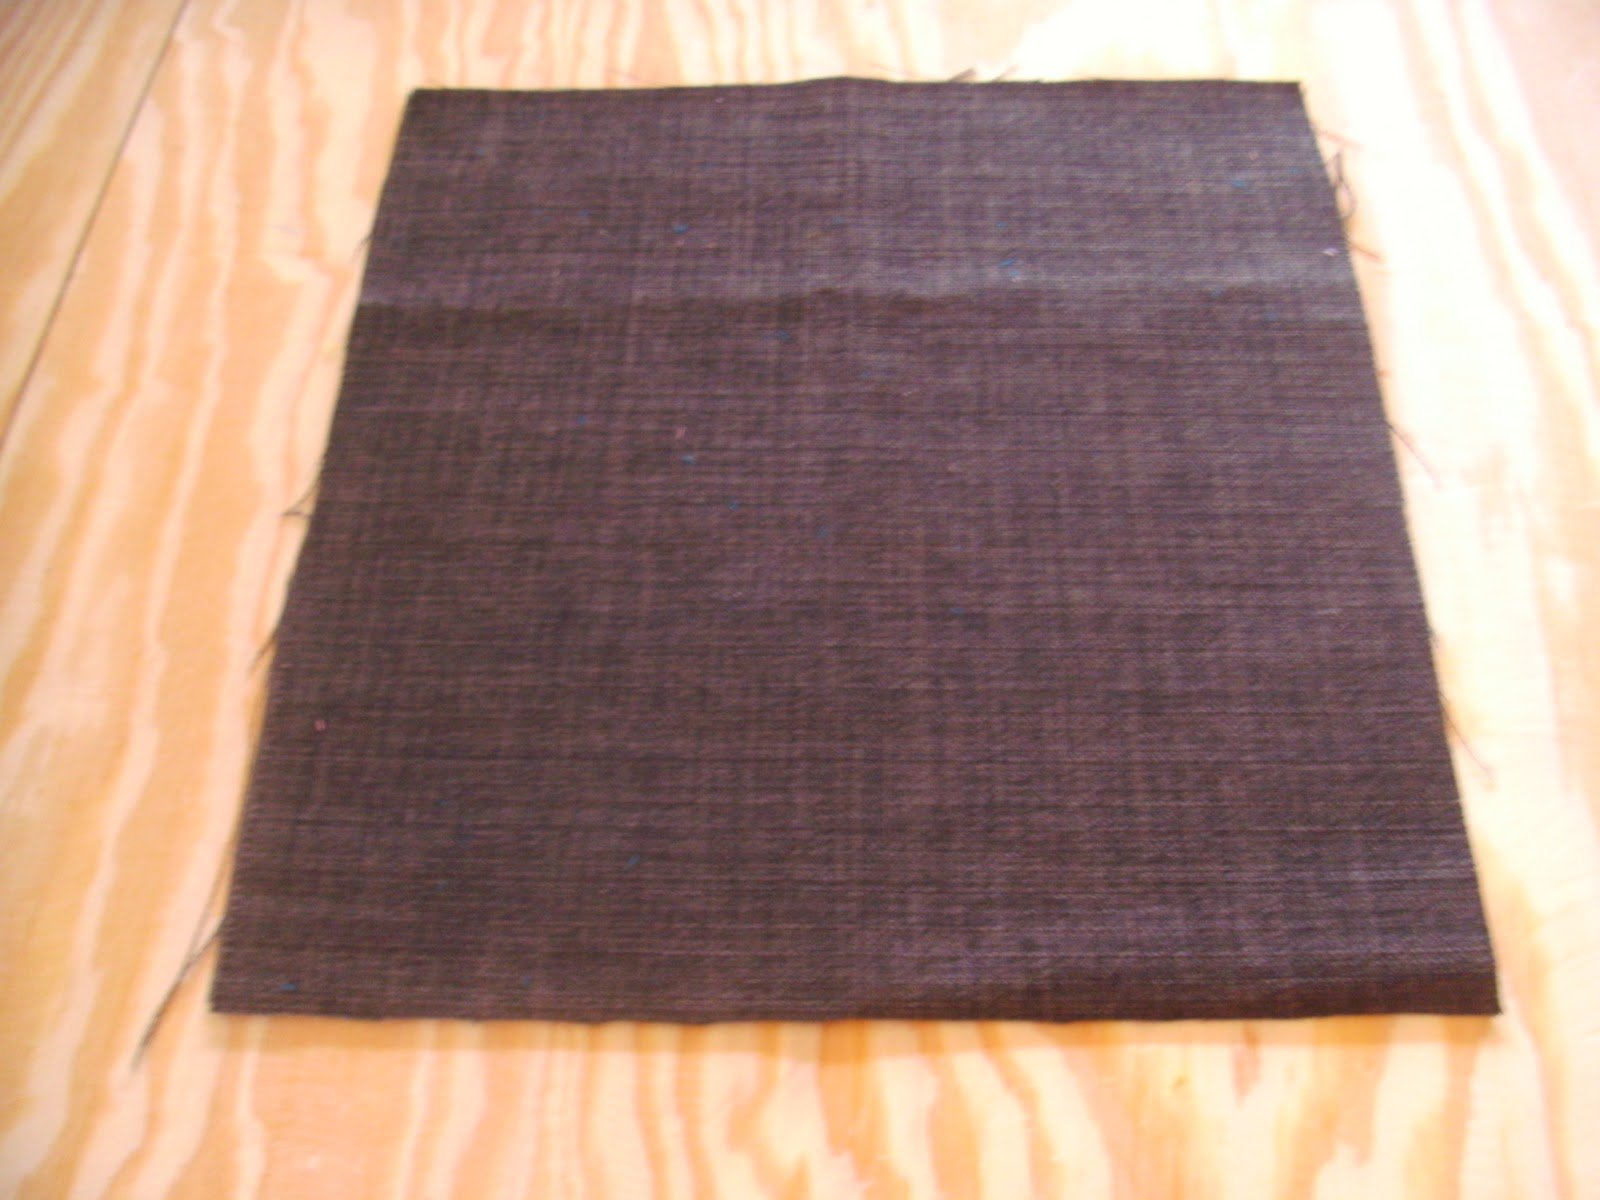
- Step 3: Now it’s time to make the bag. Cut a 2 rectangles 9″ wide and 11″ long out of fabric A
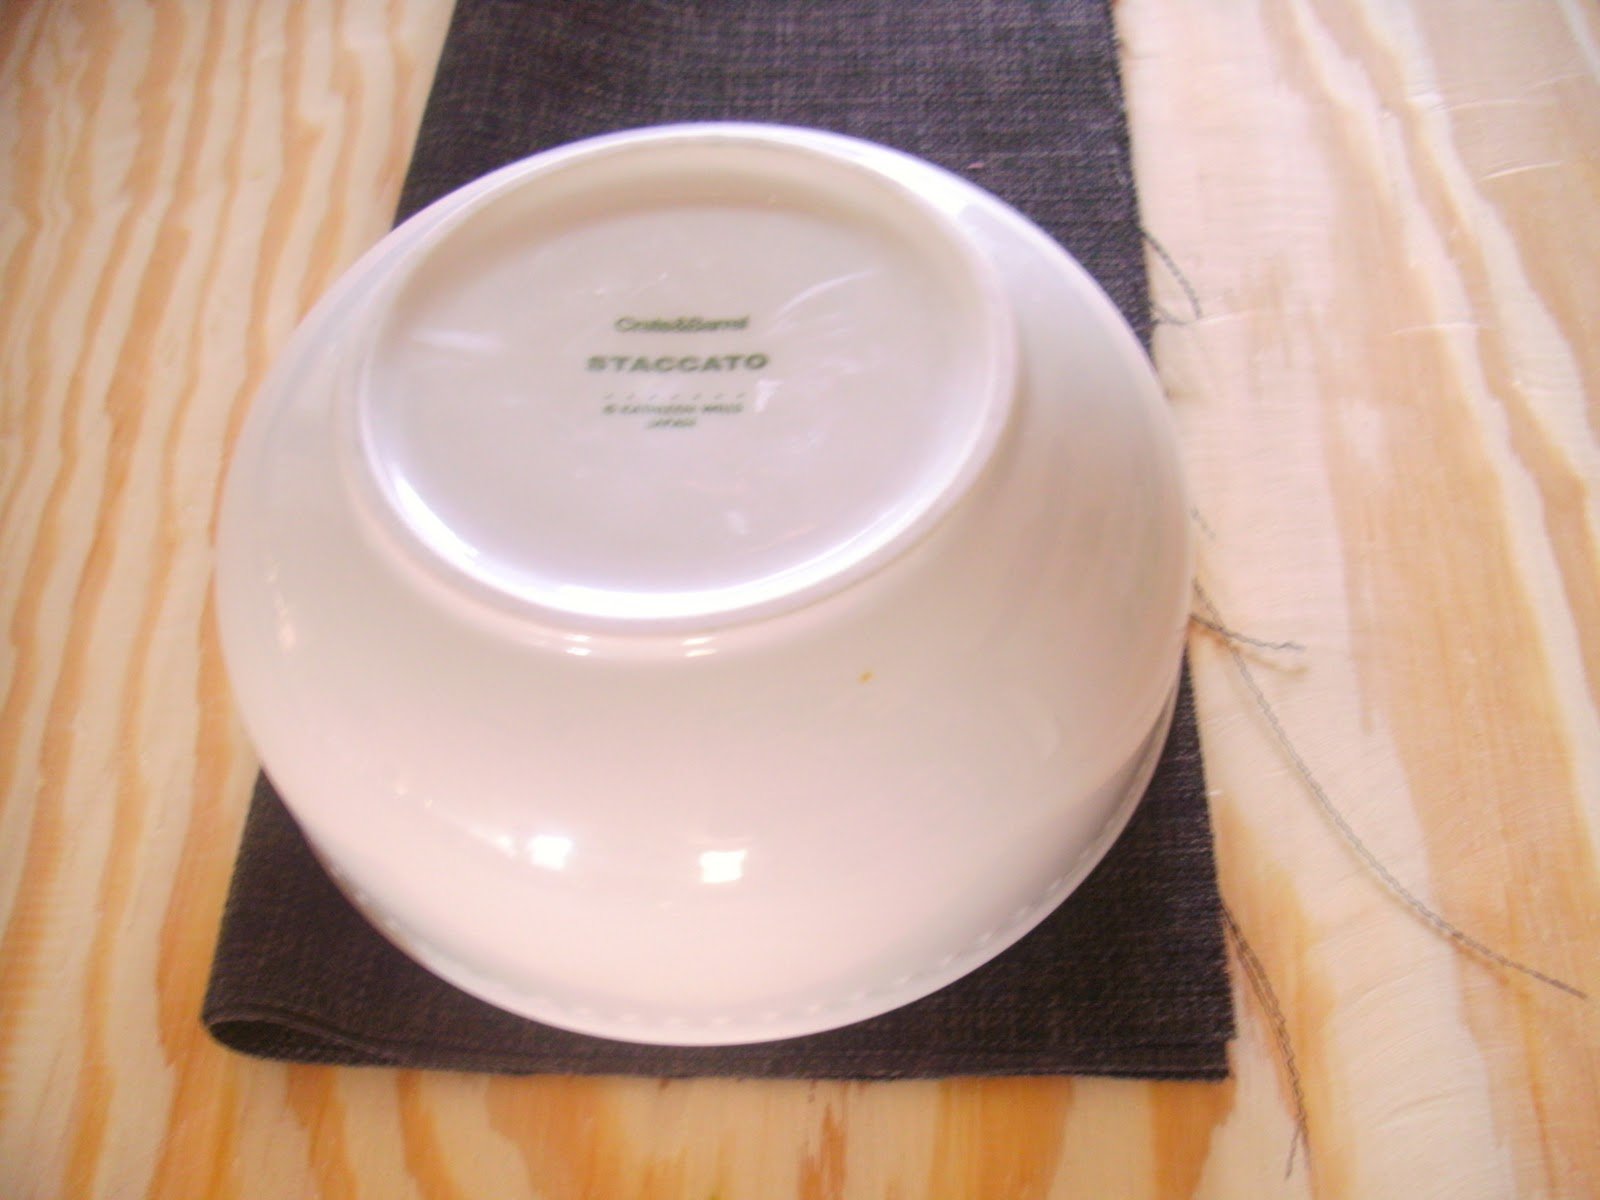
Fold it in half lengthwise(like a hot dog bun) and draw a curved line at the bottom right corner.
I used a bowl as a guide. Then cut along that line.
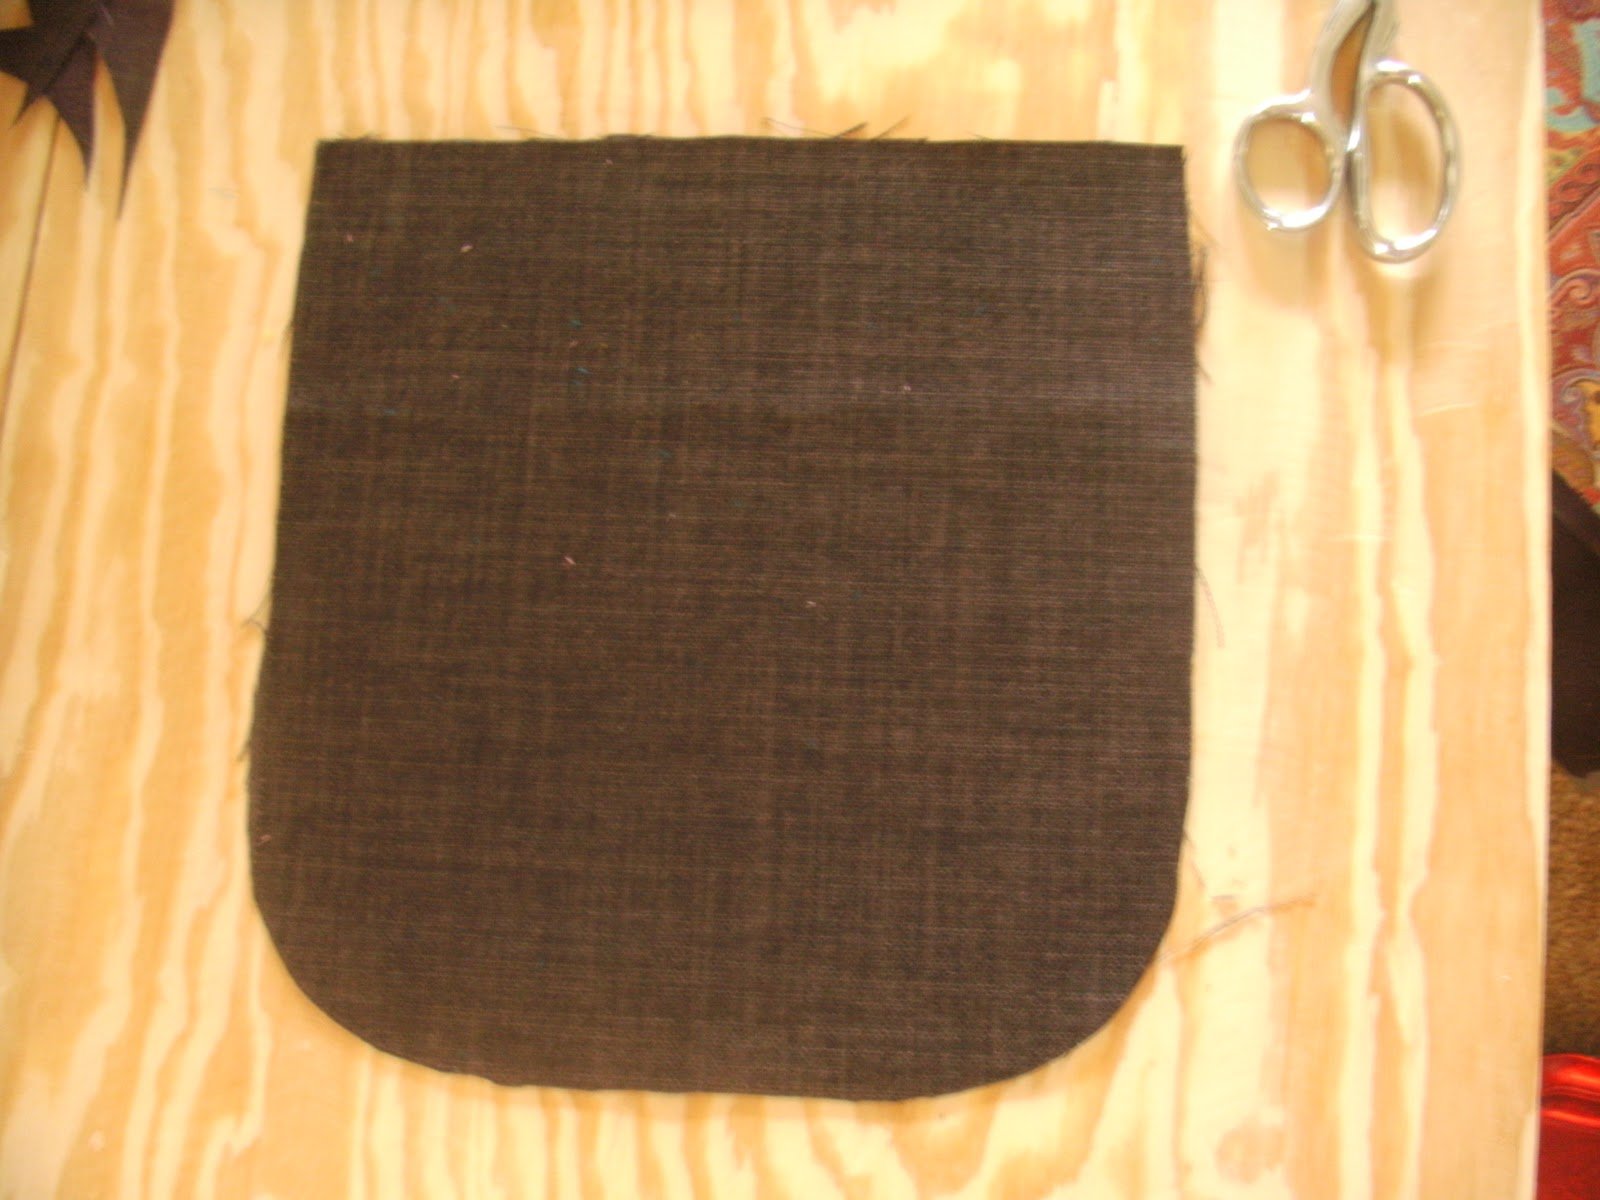
When you open it back up, it will look like this:
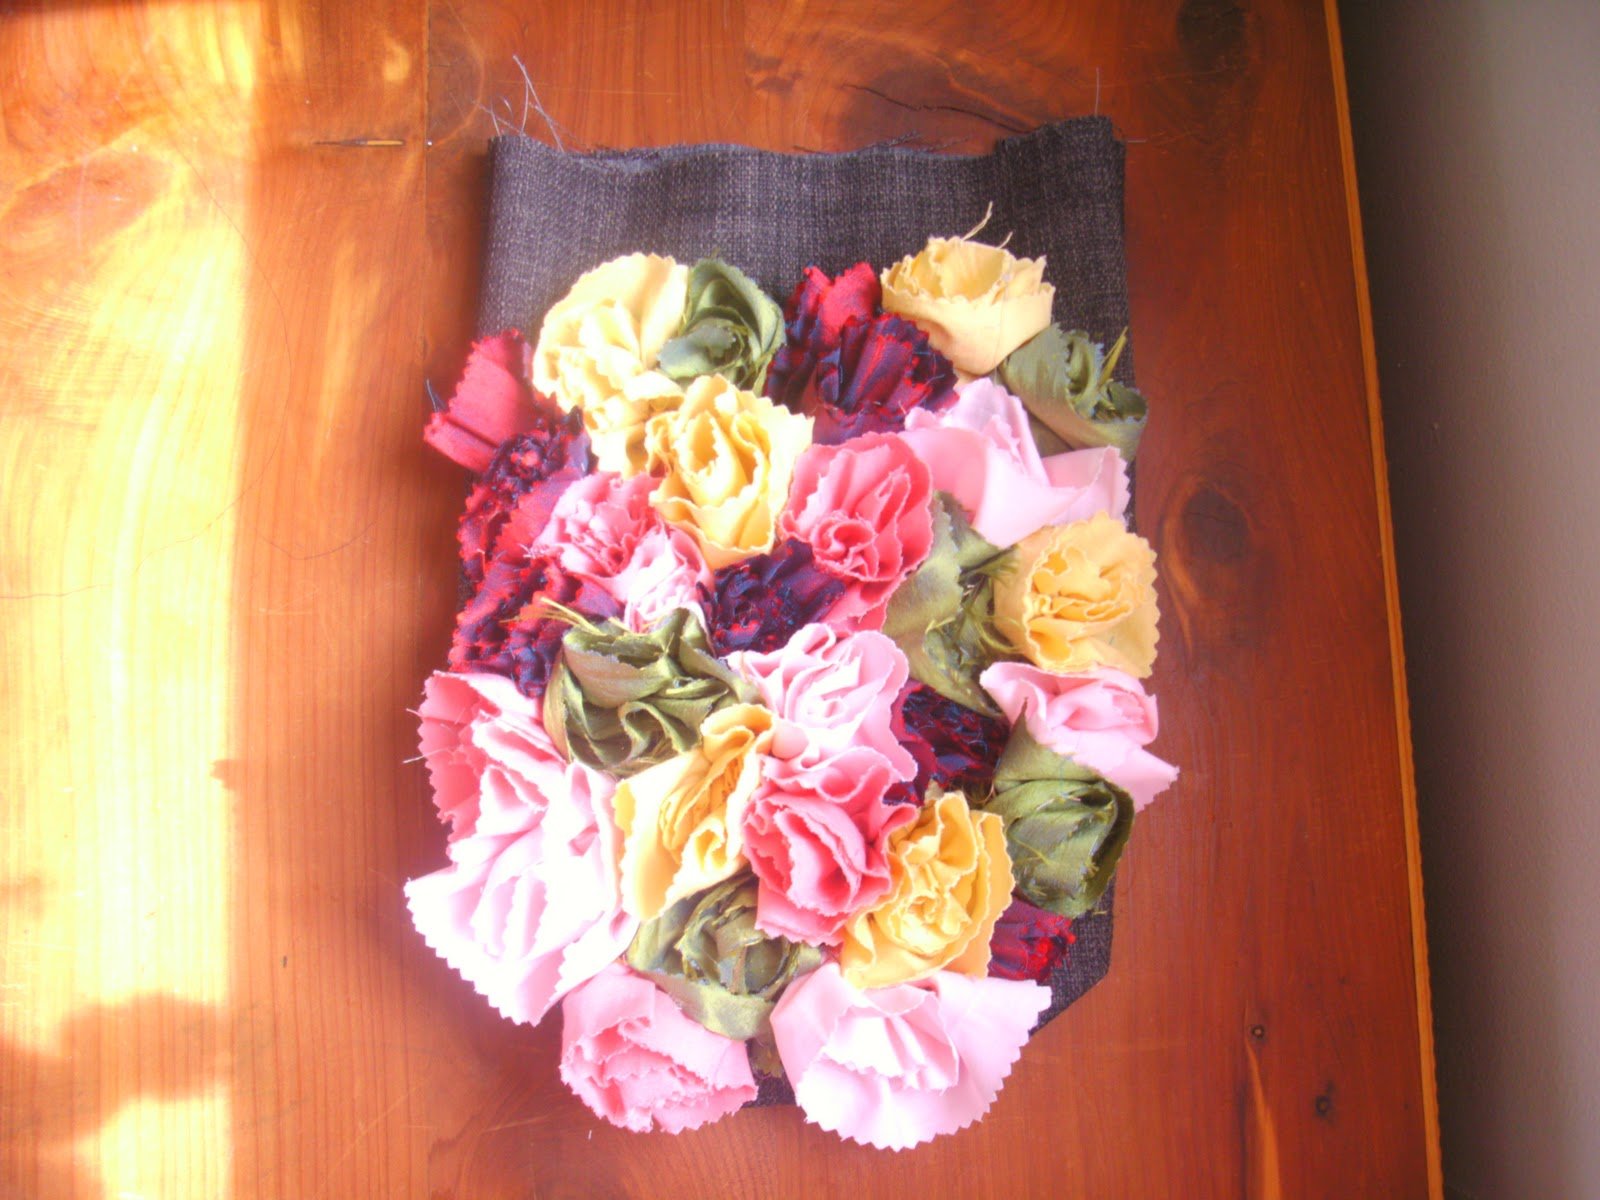
- Step 4: Select one of those pieces to be the top piece. Bring over your flower collection and start pinning them on. I started in the center, and worked my way out.
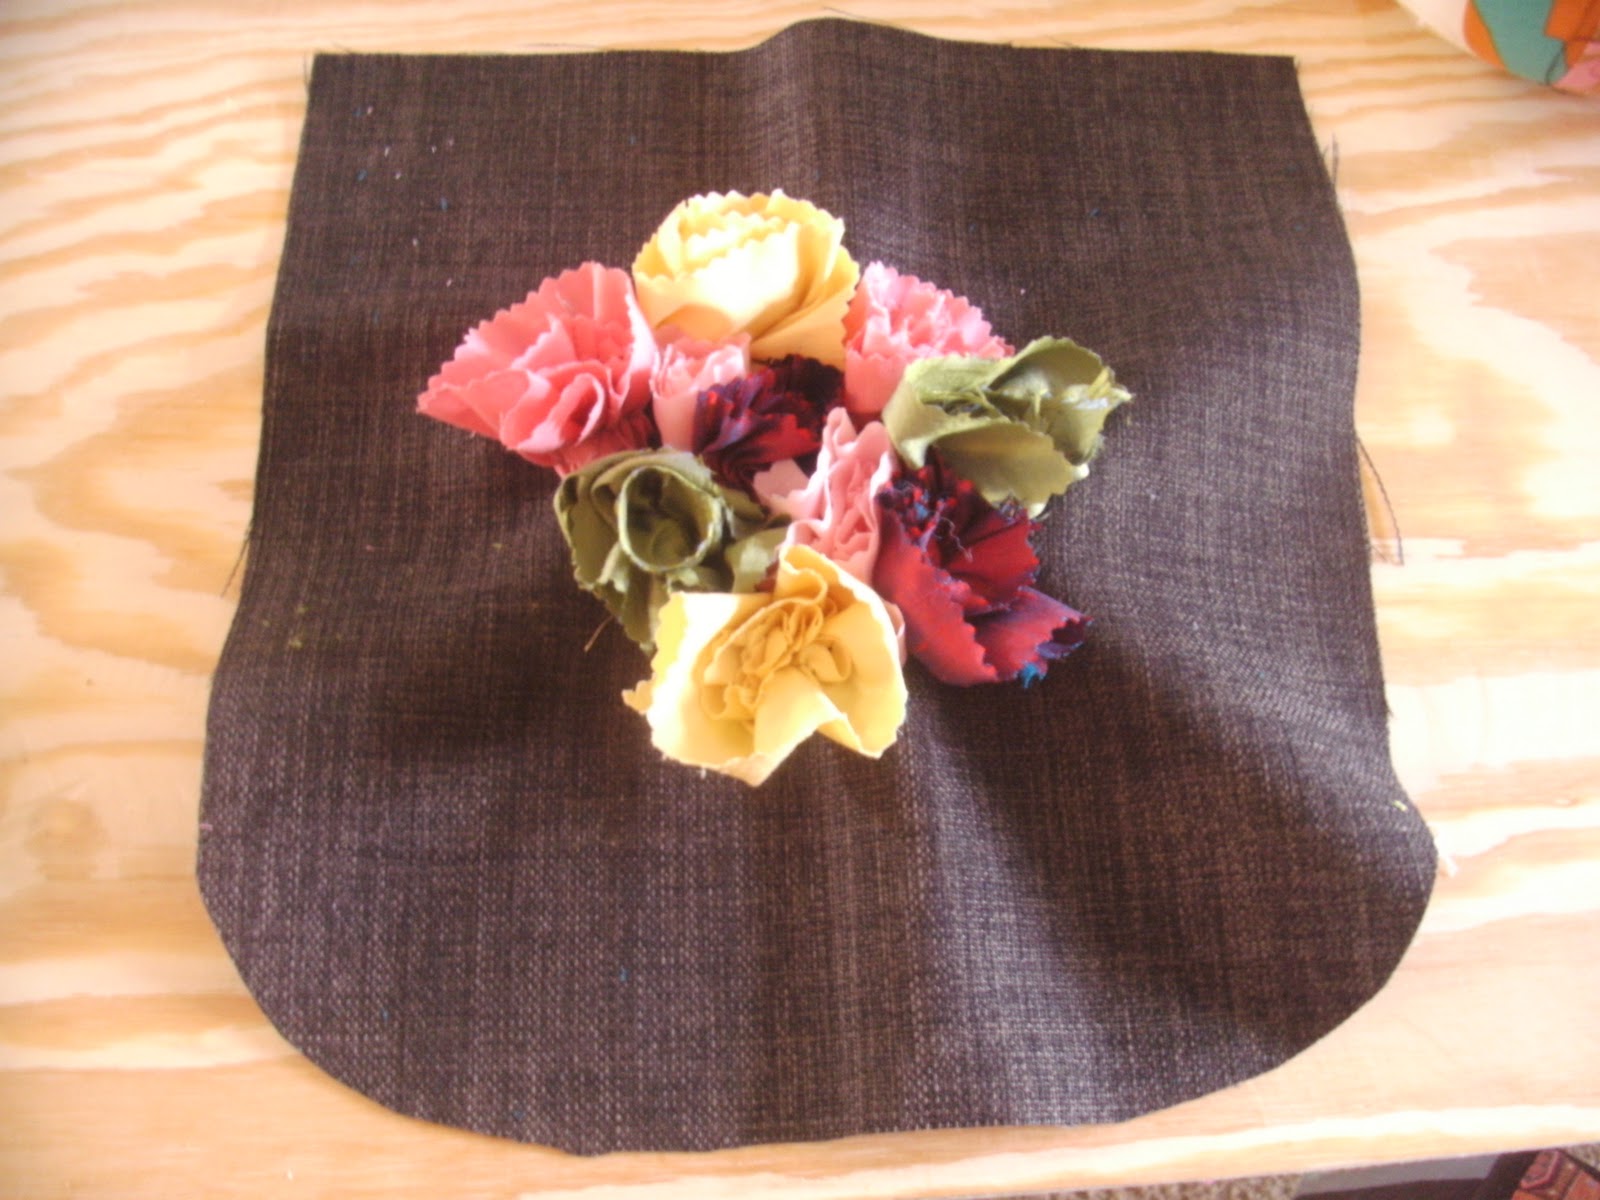
Don’t worry about filling up the whole space – you will adjust the size of the bag to fit your roses.
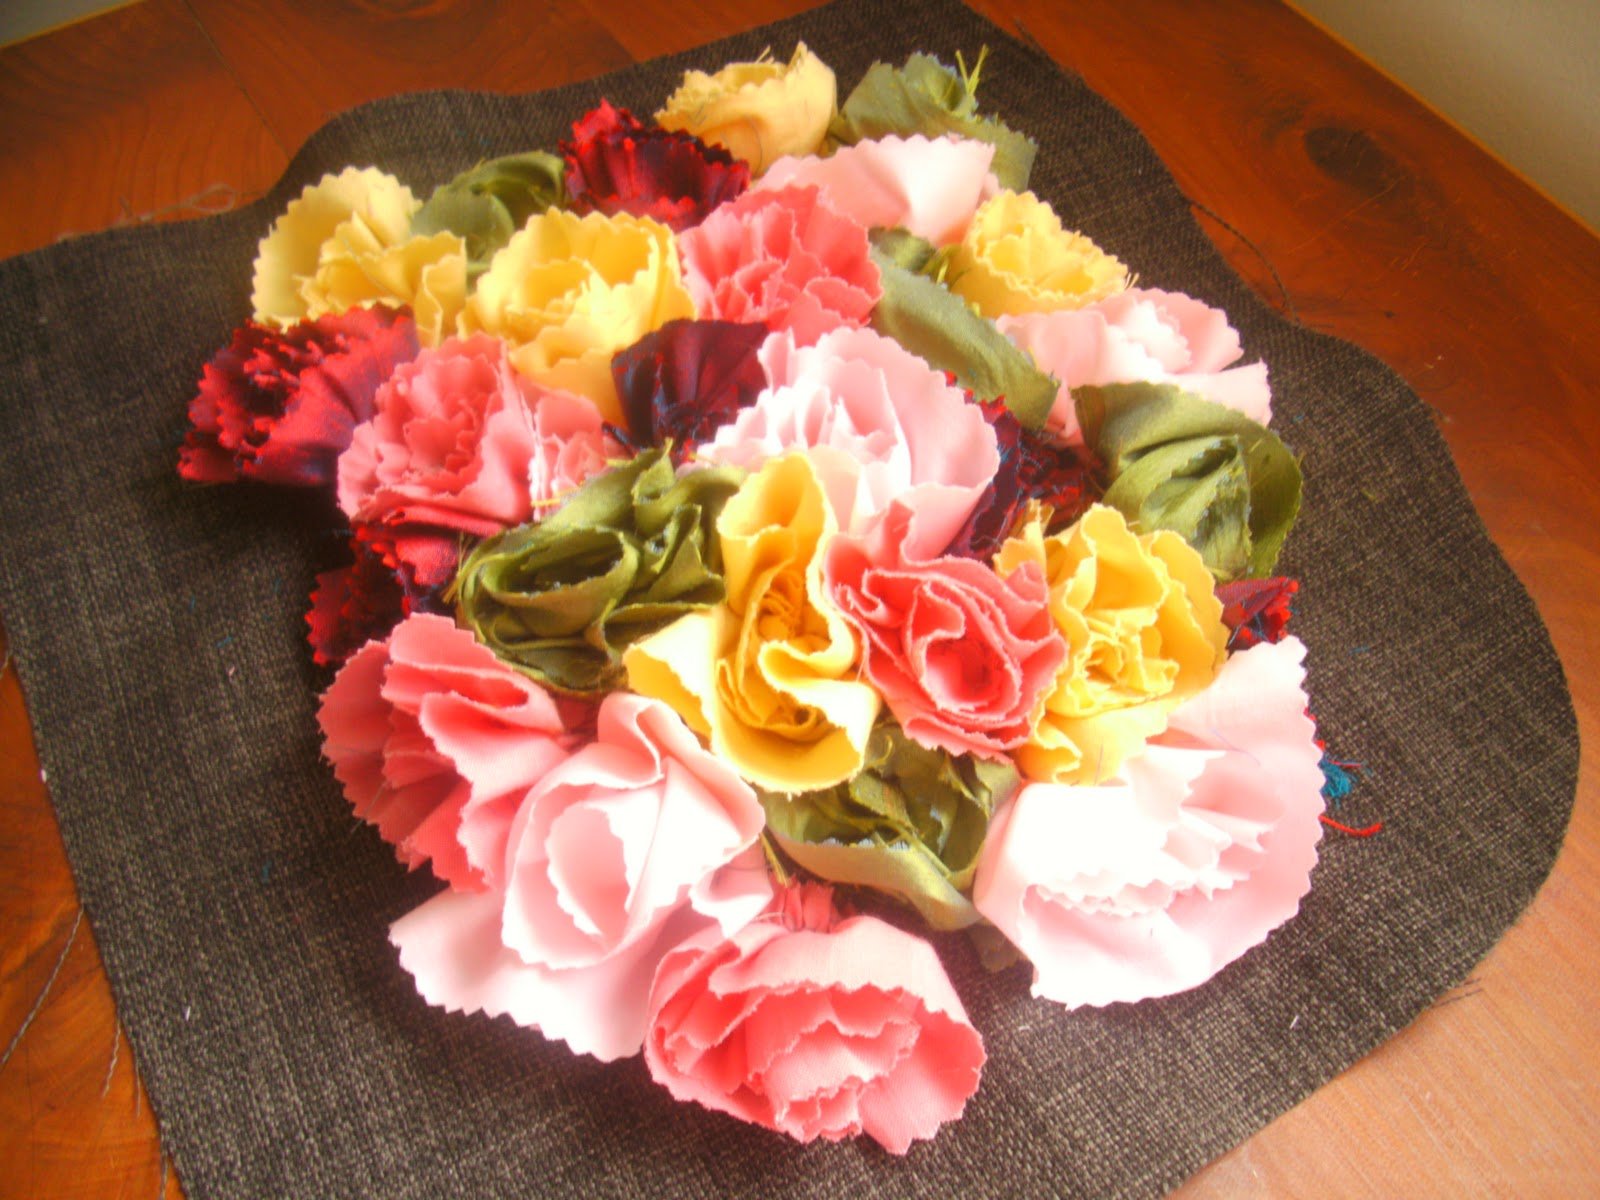
- Step 5: Thread a needle and, starting in the center, hand sew each rose on. Just a couple of stitches per rose will be fine. I just kept one piece of thread going between several flowers. I didn’t knot and cut off each one.
- Step 6: Lay the other piece of fabric A on top of the roses.
Pin the sides and bottom of the fabric together.
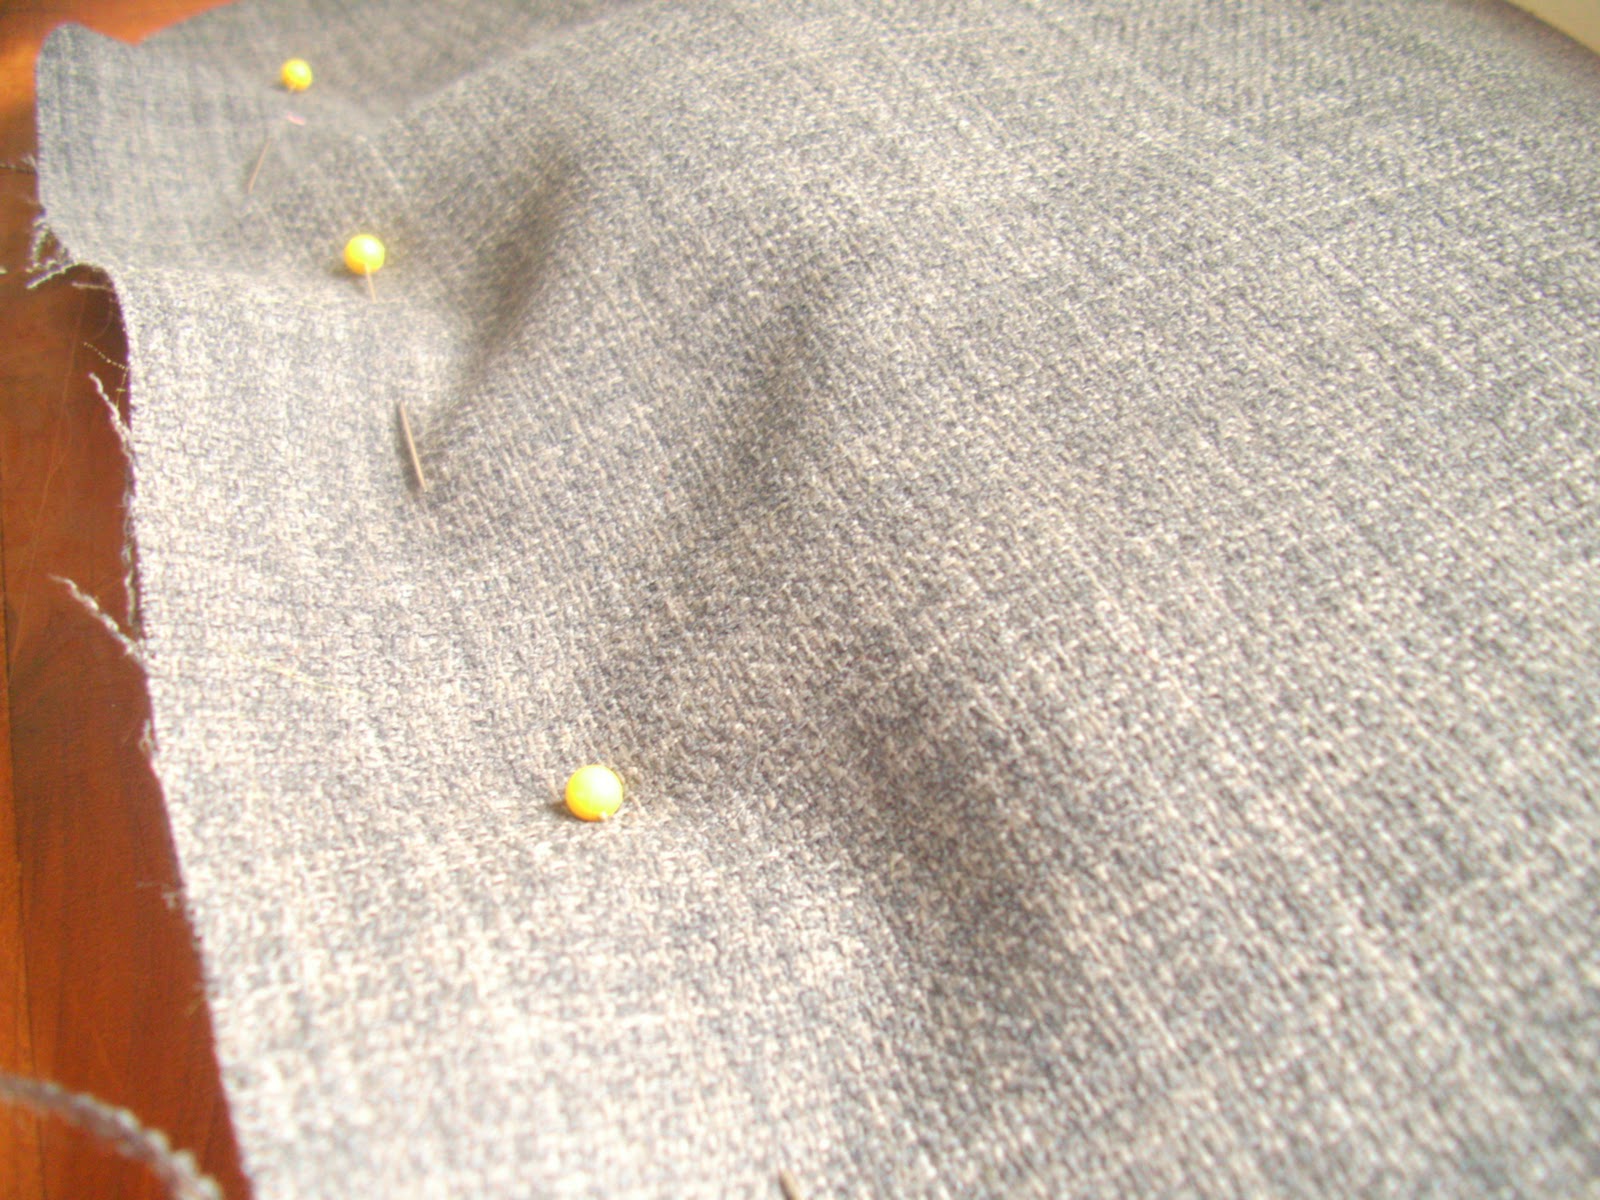
Sew around – be sure not to catch any roses in your seam.
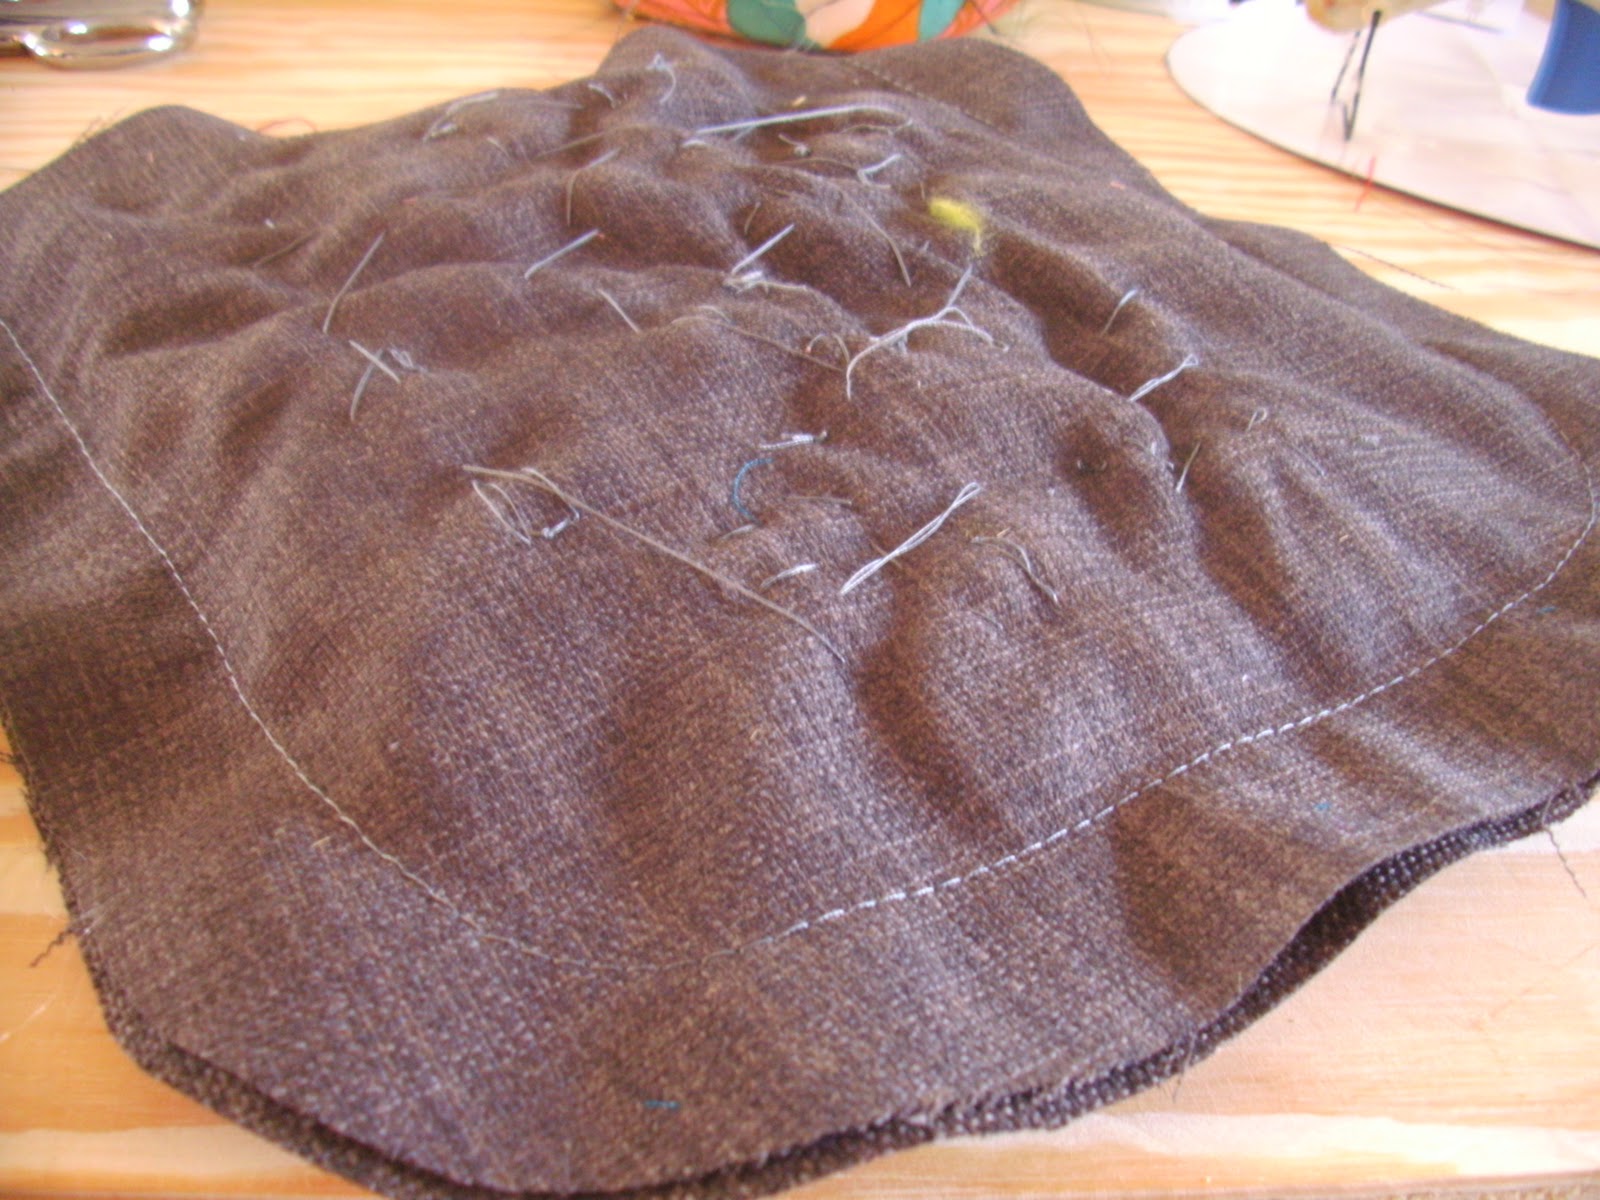
Flip it right sides out and see how much you need to adjust your bag size.
I needed to take my seams in about a 1/2″.
So flip it back – inside out – and adjust your seams.
When you’ve made the adjustments, it should look about like this:
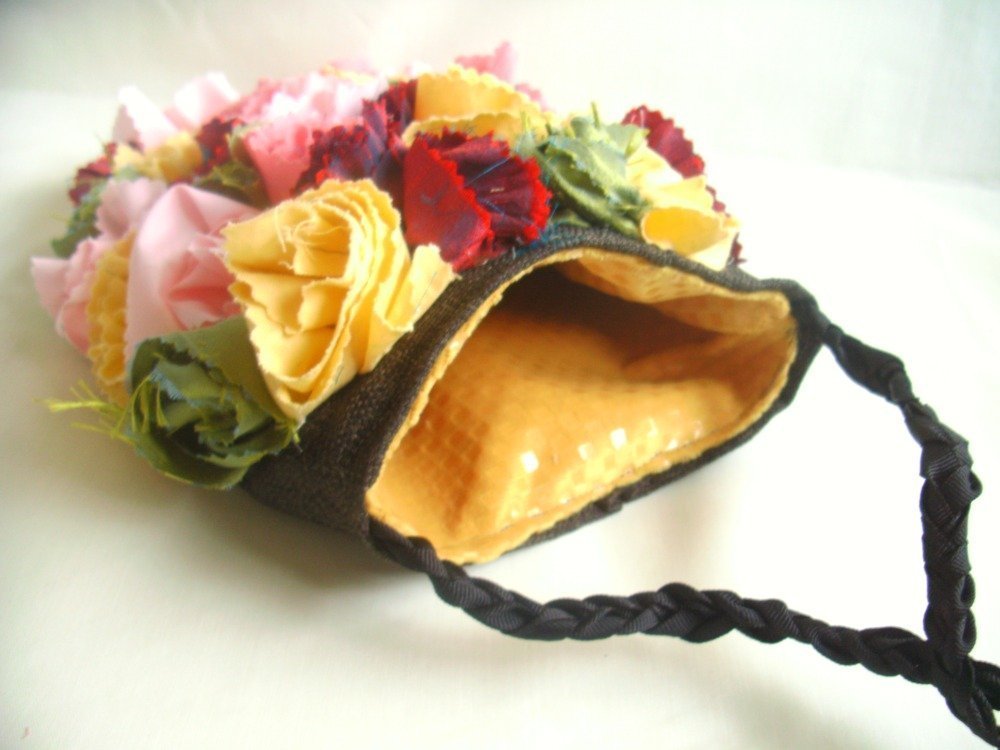
- Step 7: You’re in the home stretch! Now it is time to line it.
Lay the bag on top of the lining fabric (fabric B) and trace the bag shape – making it about 1/4″ larger all the way around. Right sides together, sew around the sides and bottom of the lining.
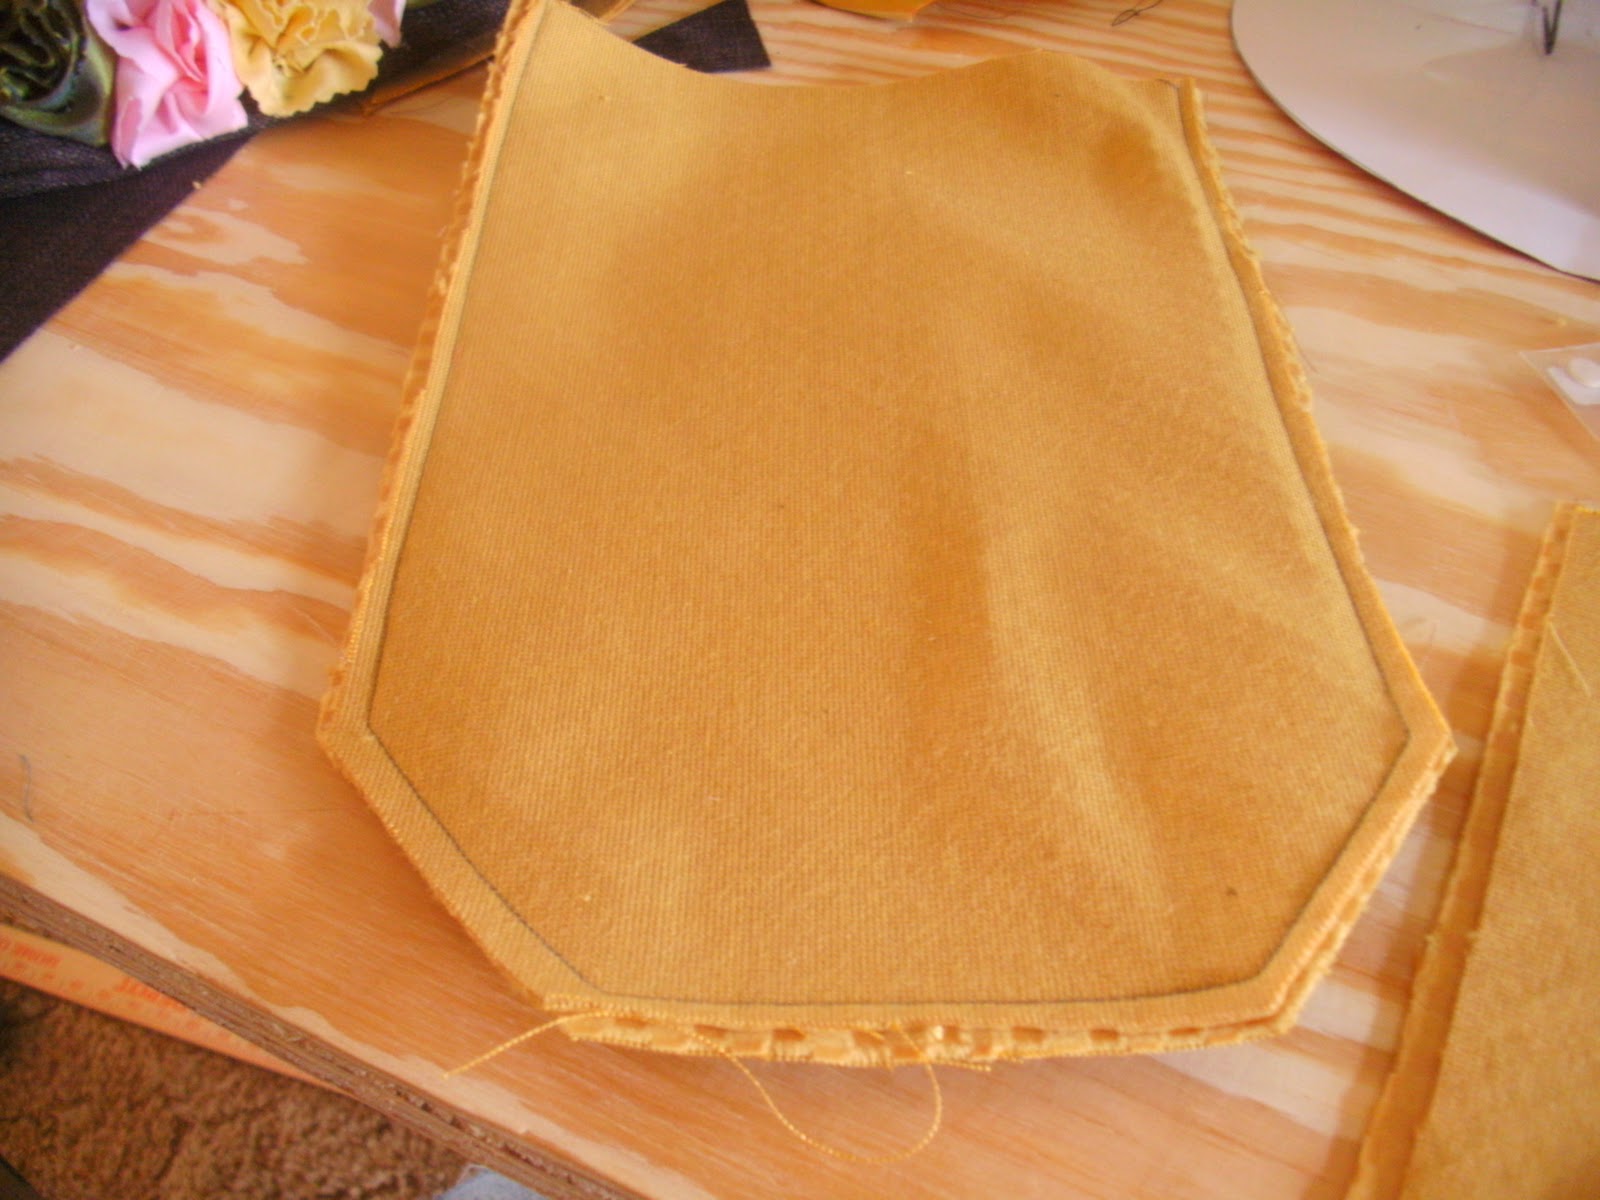
Using a zig-zag stitch, sew around the raw edges of the seam.

- Step 8: You can choose any strap or handle you like for this bag. I chose to braid 3/4″ black grosgrain ribbon. Cut 3 pieces of ribbon, each 2 yards long. Tie a knot in one end and braid.
Fold over the top of the lining and pin.
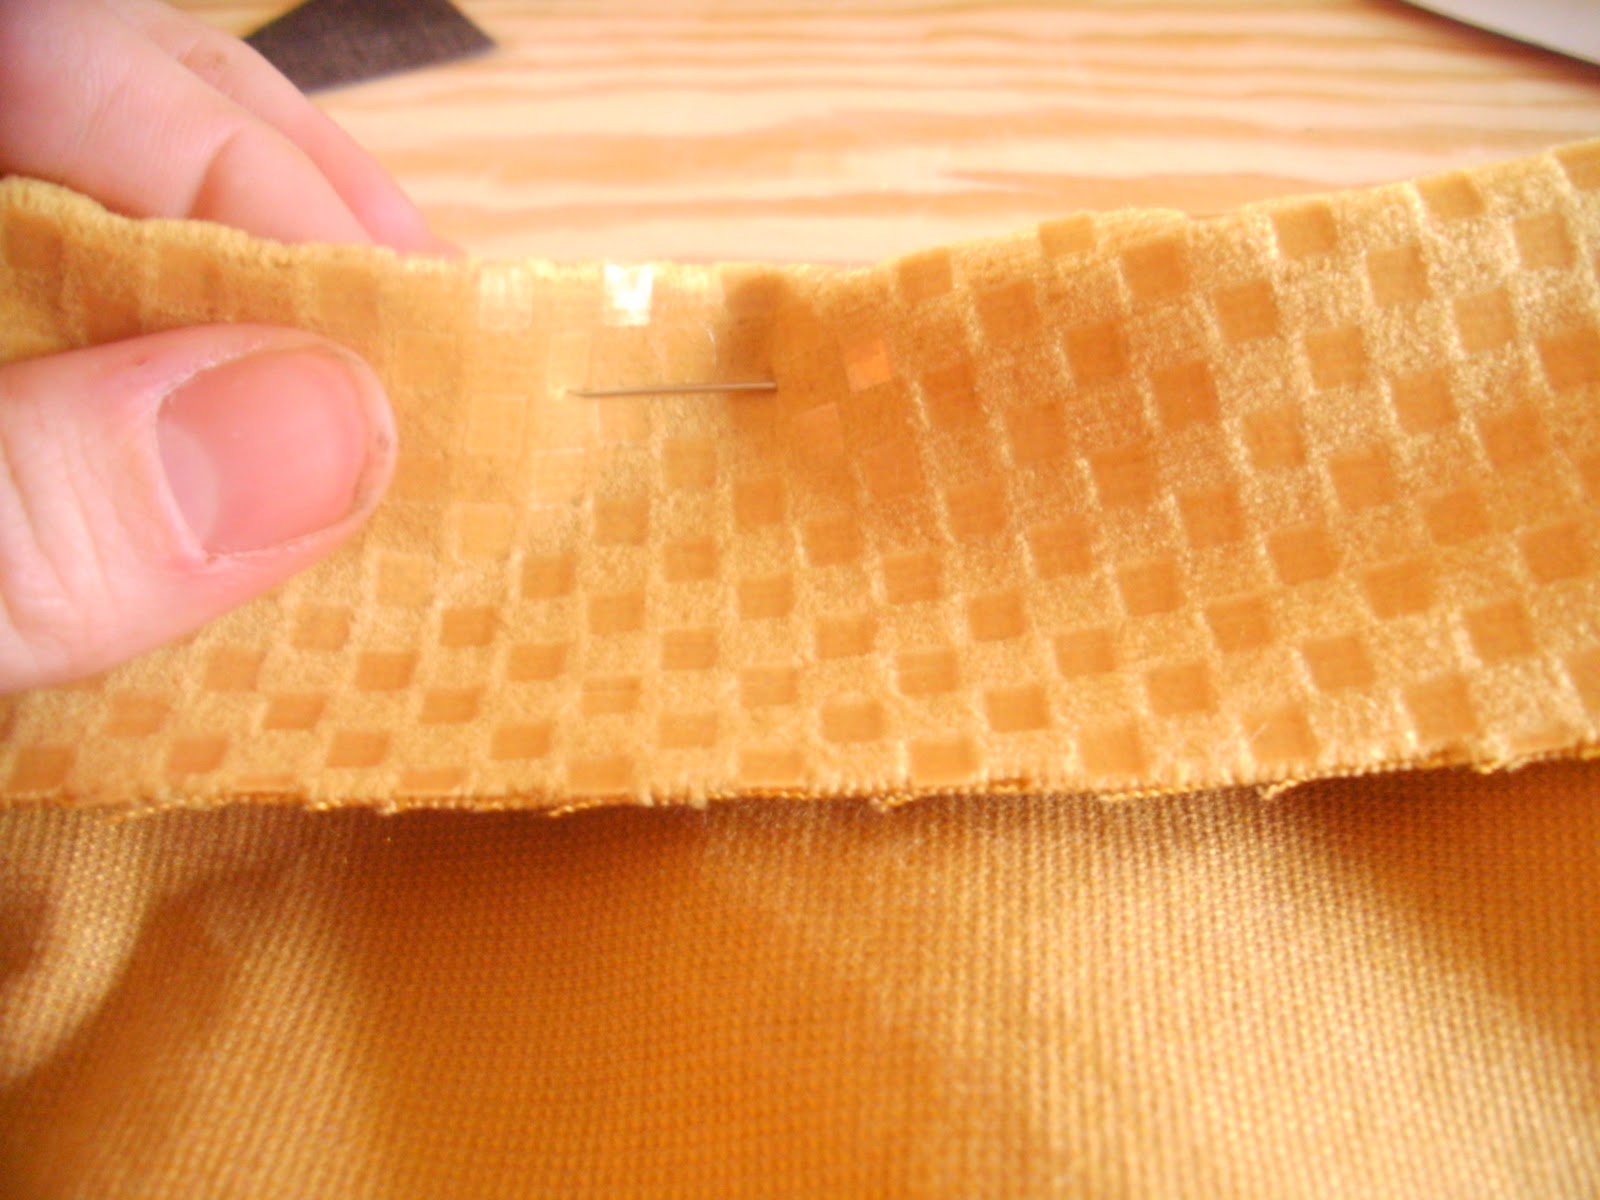
Under the fold, place one magnet.
Put a dab of hot glue on the top of the magnet and press the folded over fabric into the glue.
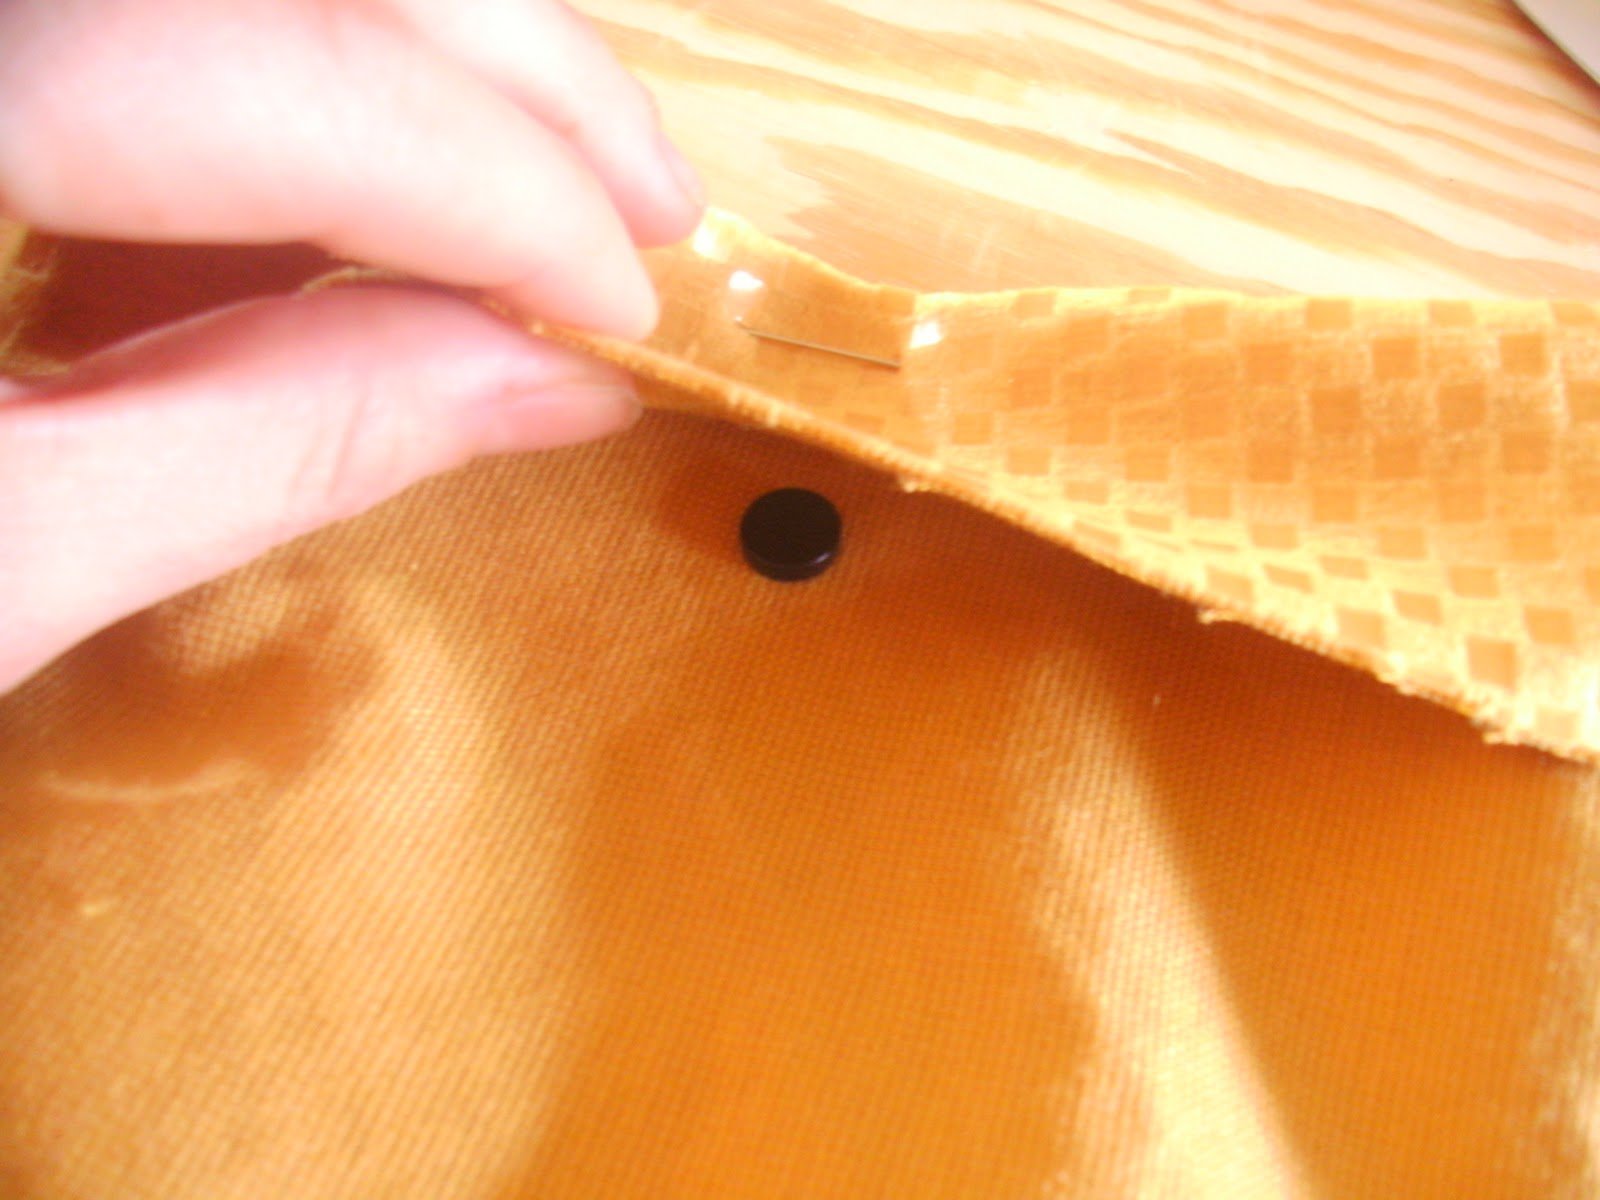
Repeat with the other side. - Step 9: Slip the lining into the bag. Fold down the top edge of the bag – it should be slightly taller than the lining – you don’t want the lining to stick out.
Stick the ends of the braid in between the lining and the bag.
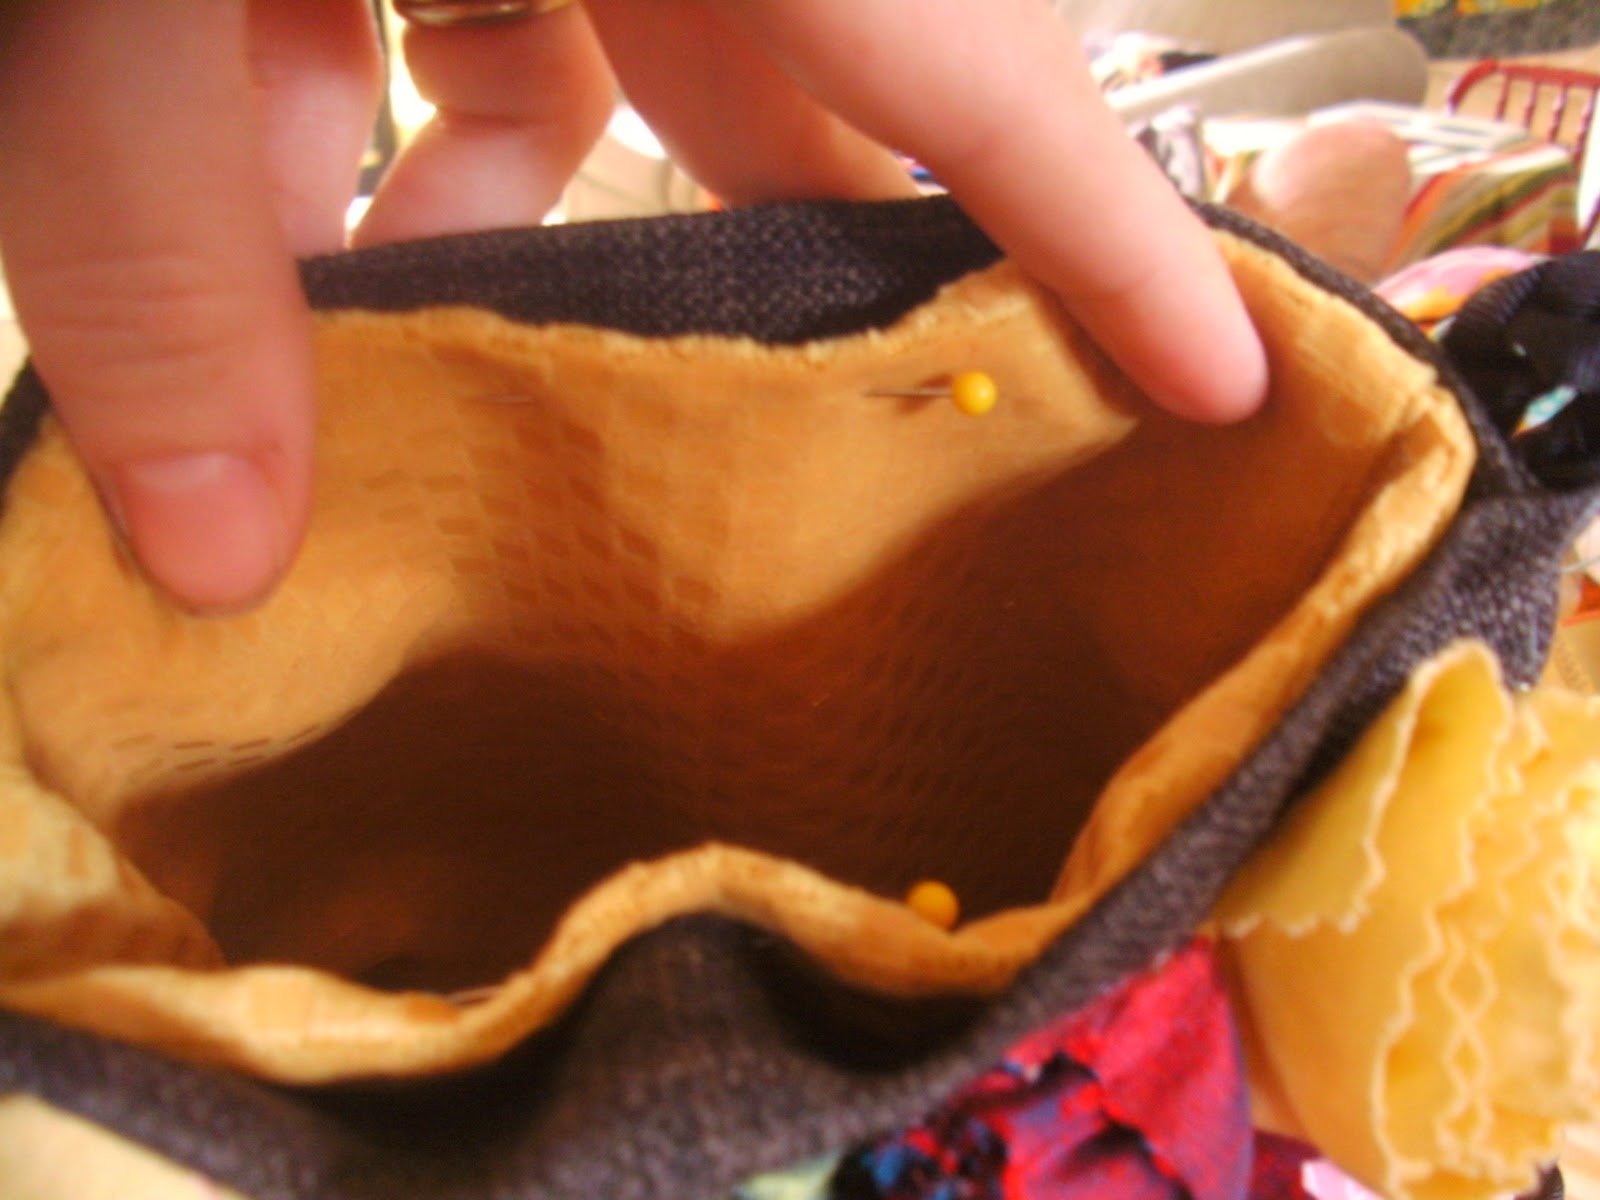
Pin everything really well.
Put the pins on the outside of the bag – you don’t want them on the inside because you might sew over them!
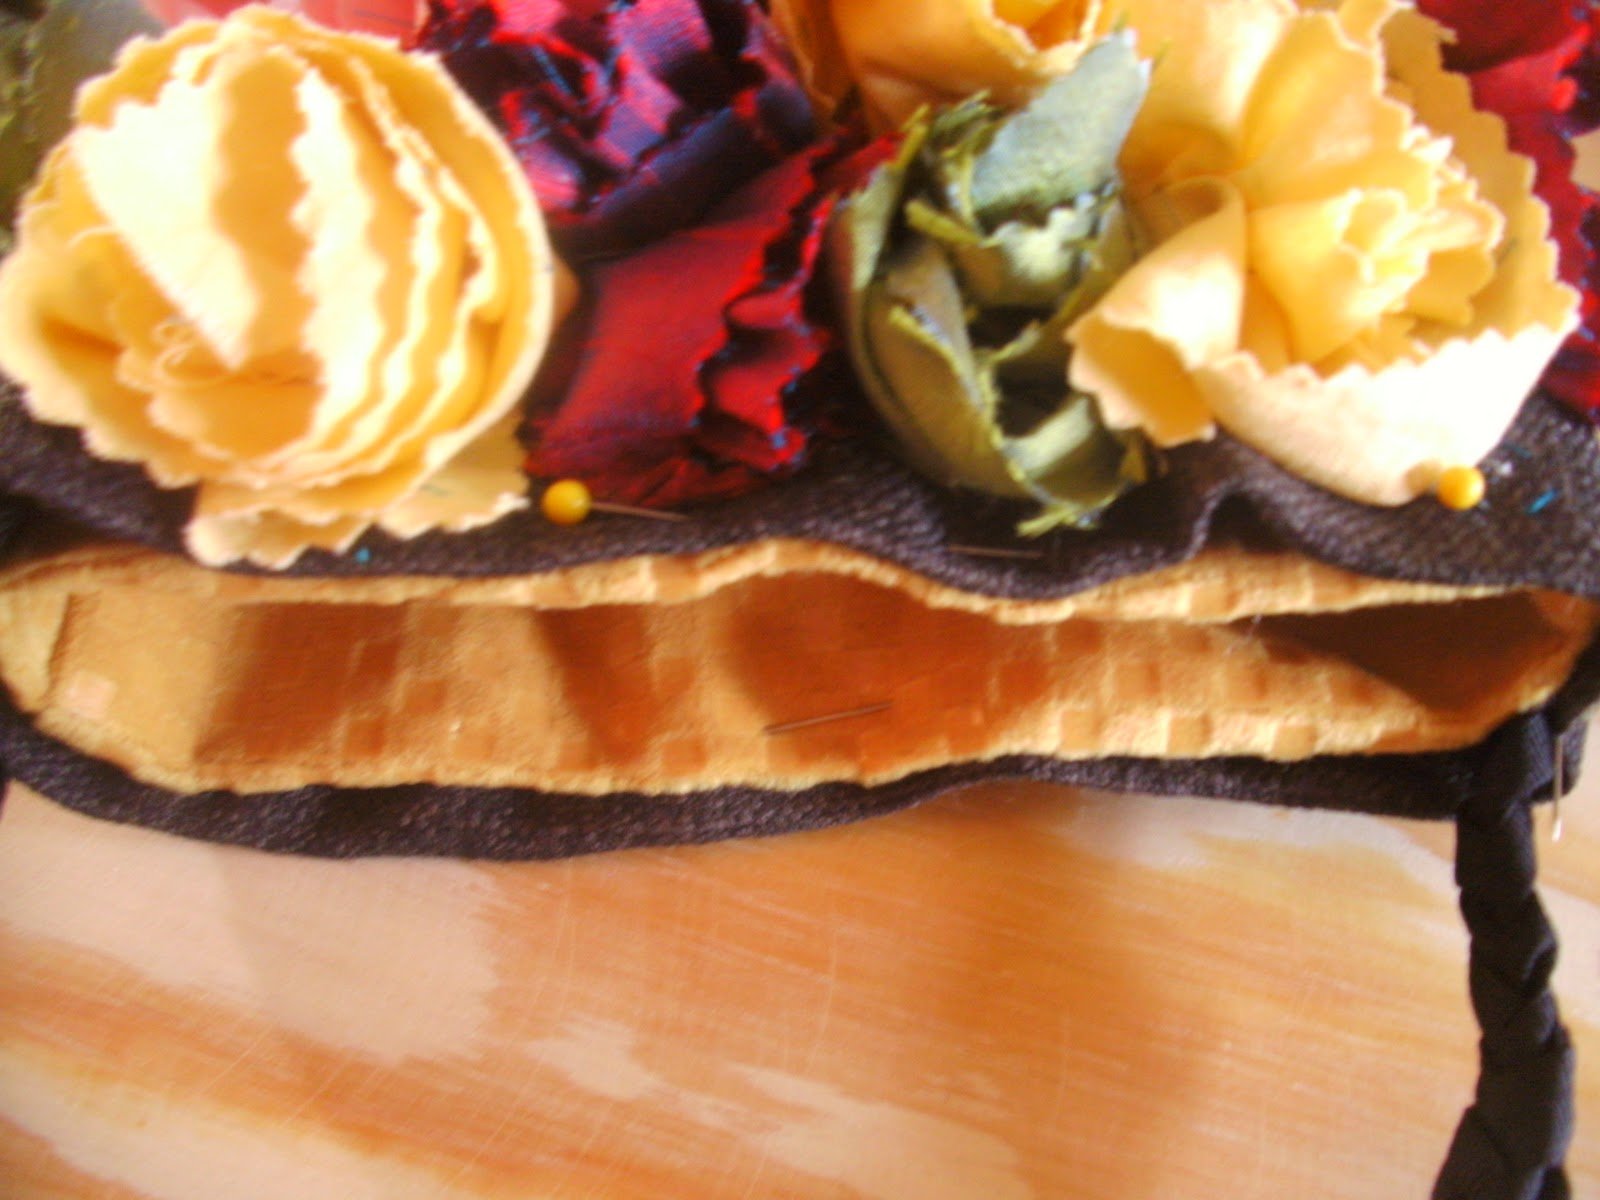
Topstitch all around the bag opening – go slowly, especially over the ribbon straps.
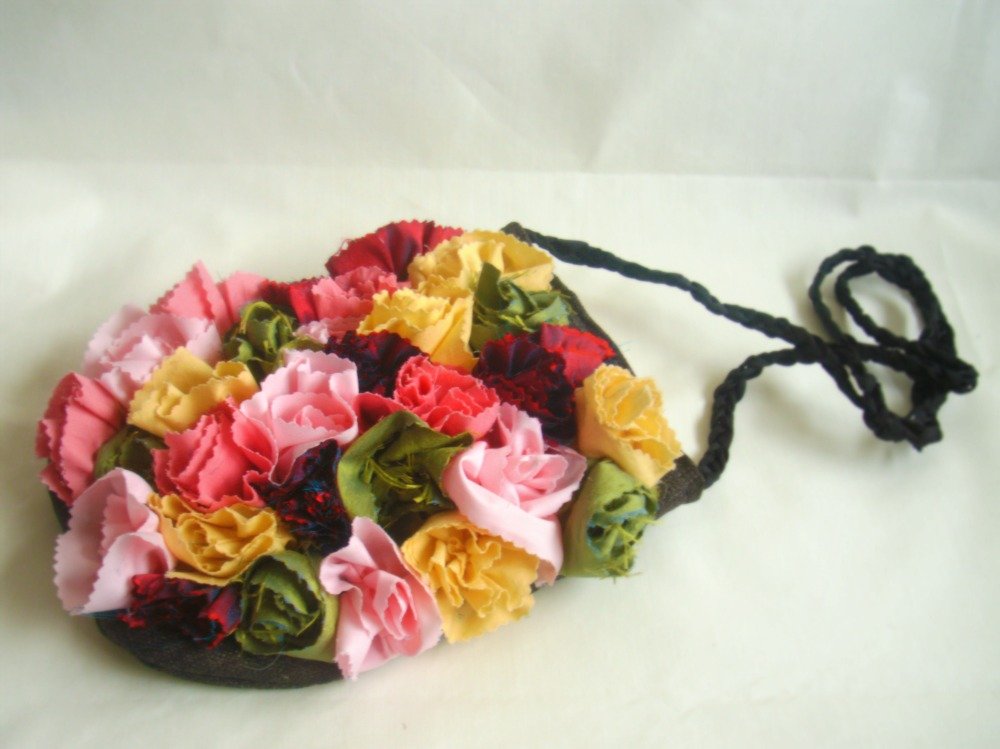
As a finishing touch, I got out the trusty hot glue gun and glued some of the edges of the flowers down and to each other – just to keep it looking nice and full.
That’s it! A gorgeous new bag to go with any outfit!
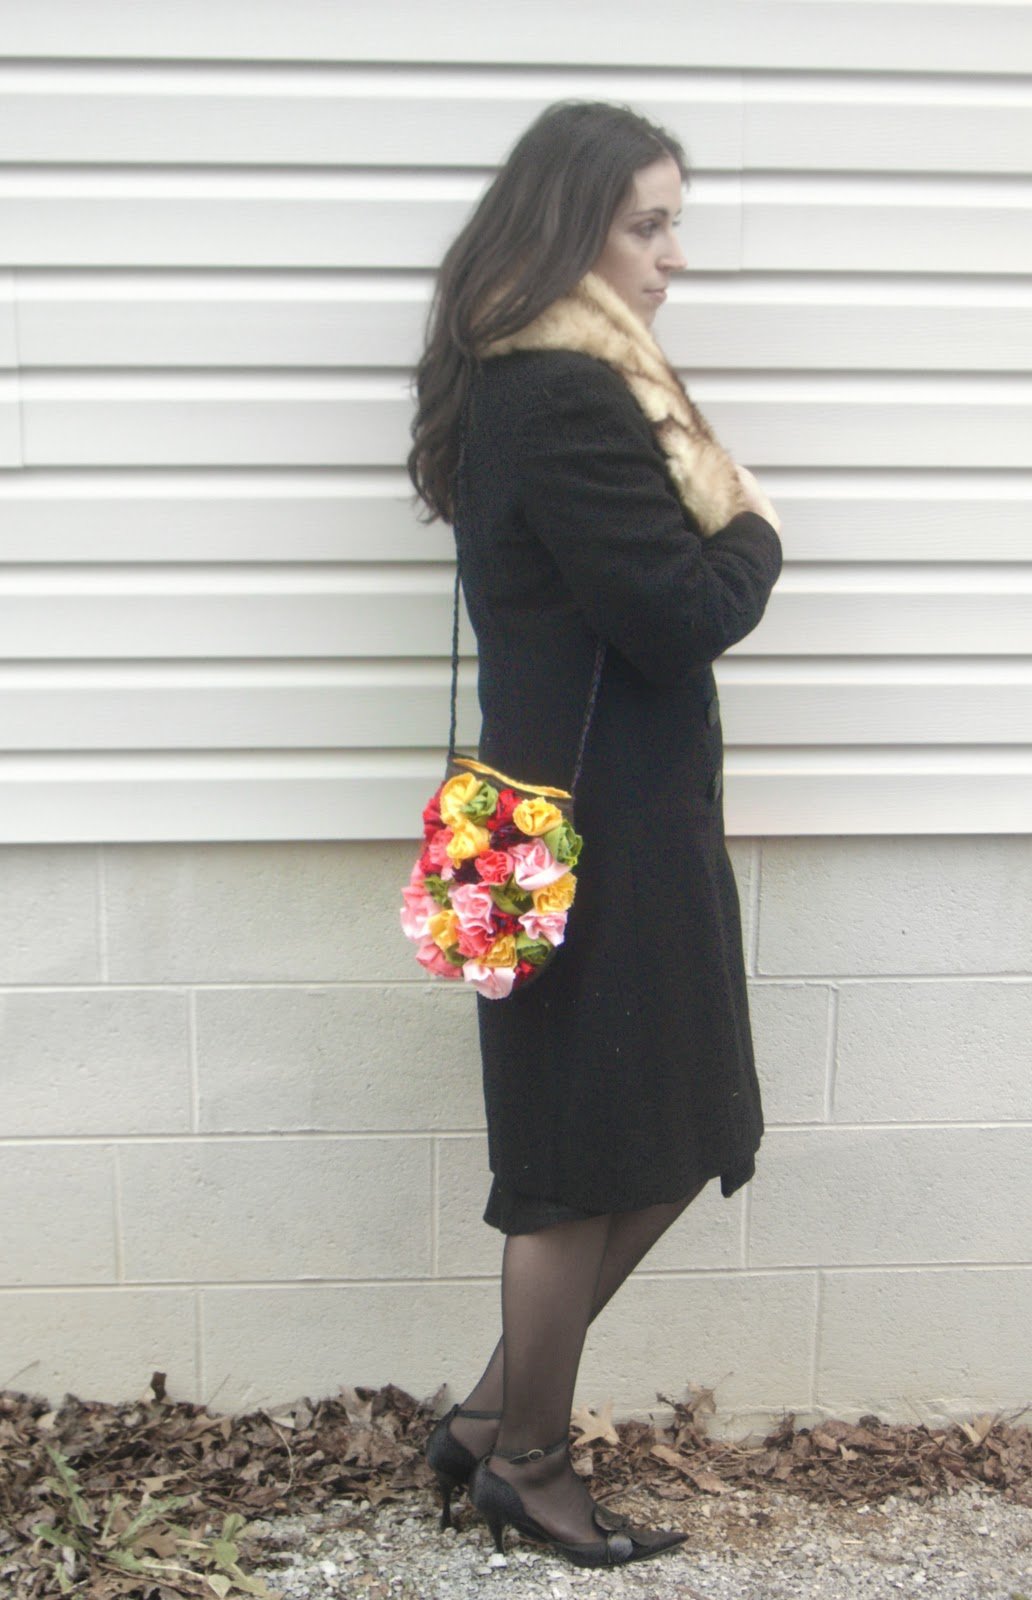
Happy sewing and happy weekend! – jessica