It’s football season y’all!
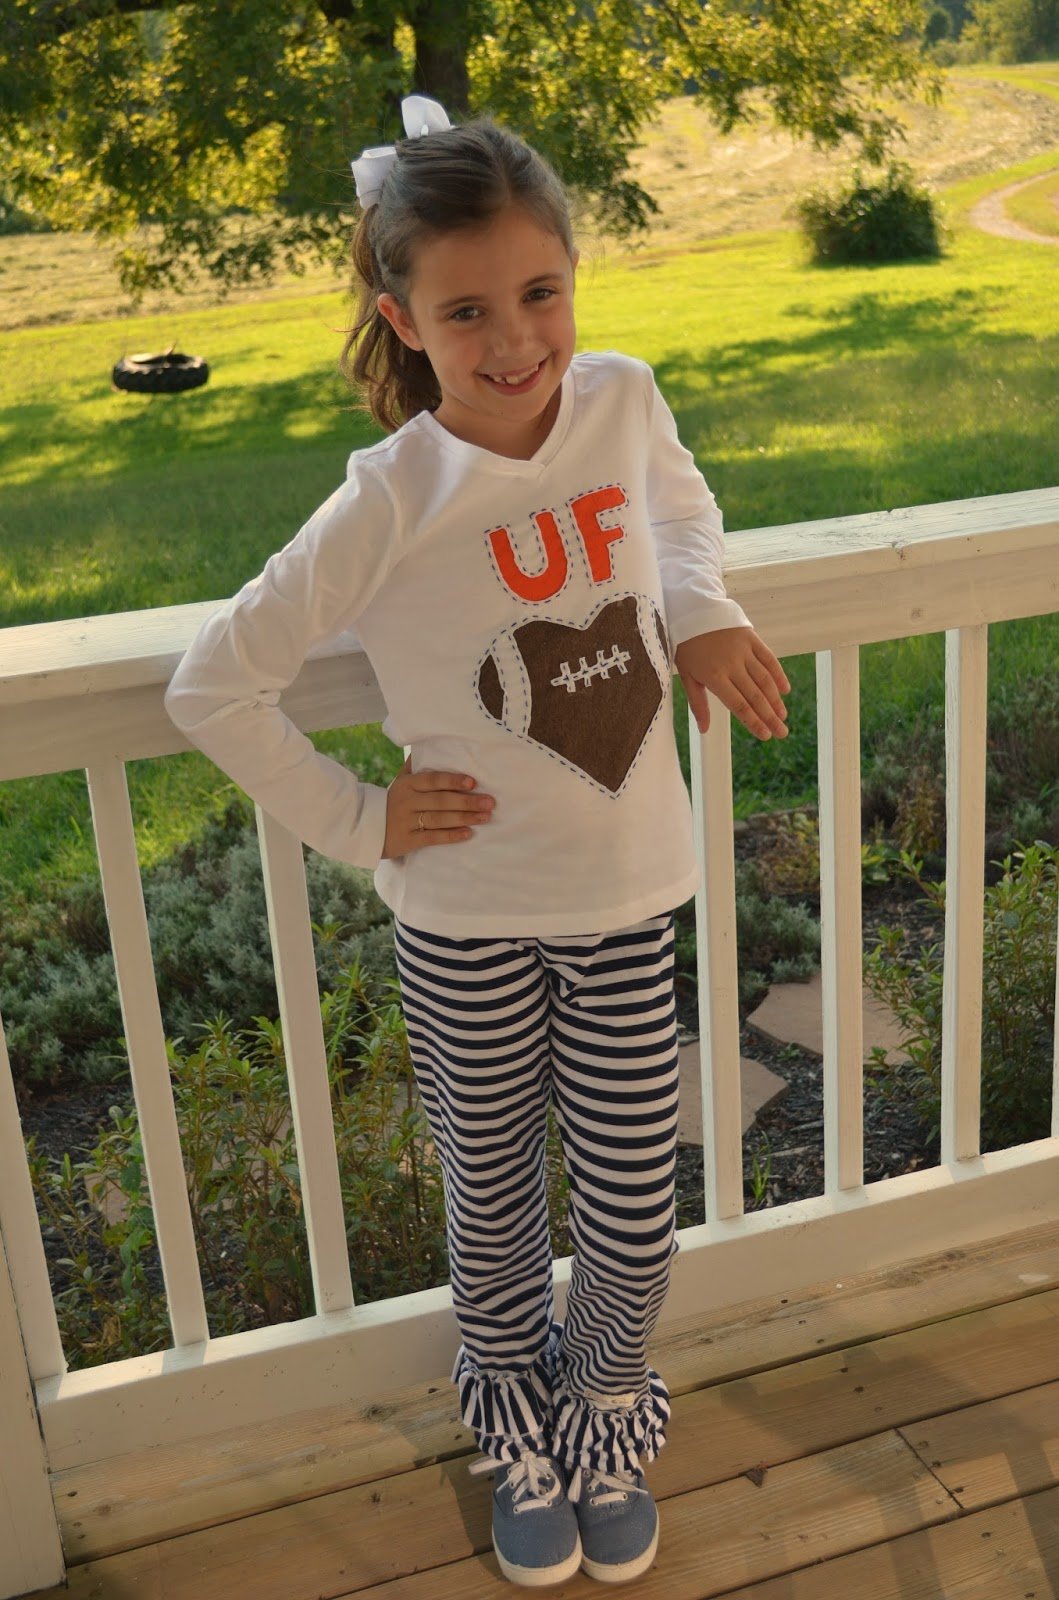
So today I lit a pumpkin spice candle, turned on the game, and whipped up this little t-shirt for Charlotte!

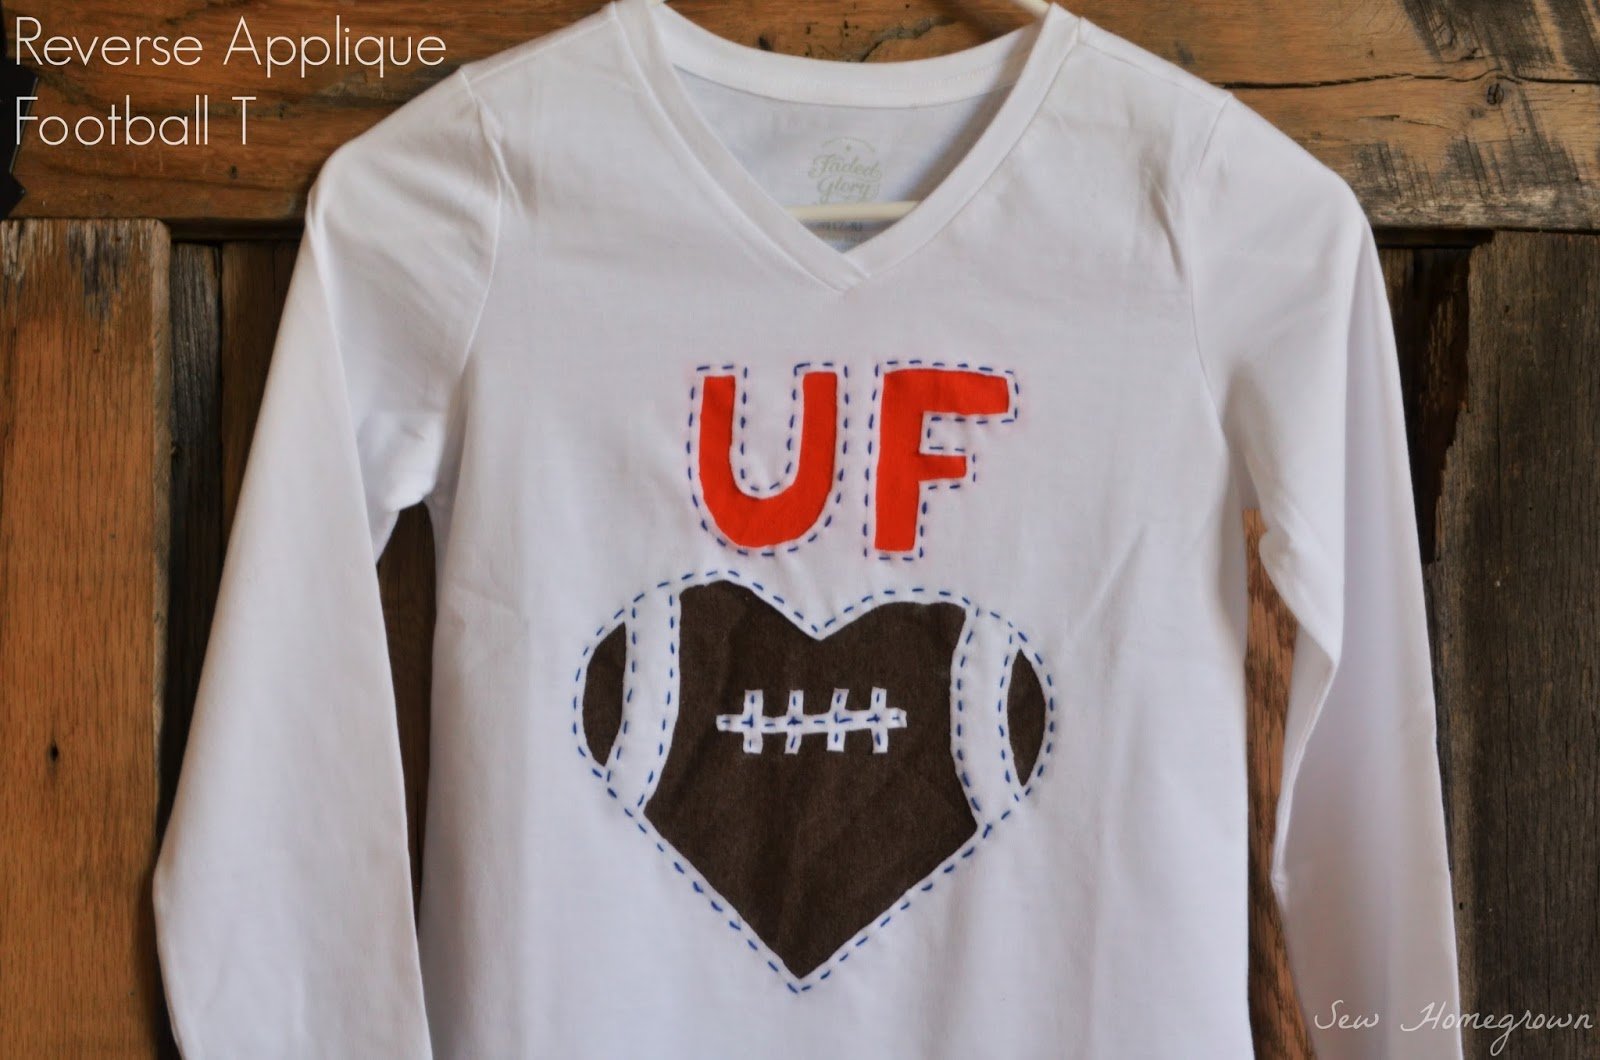
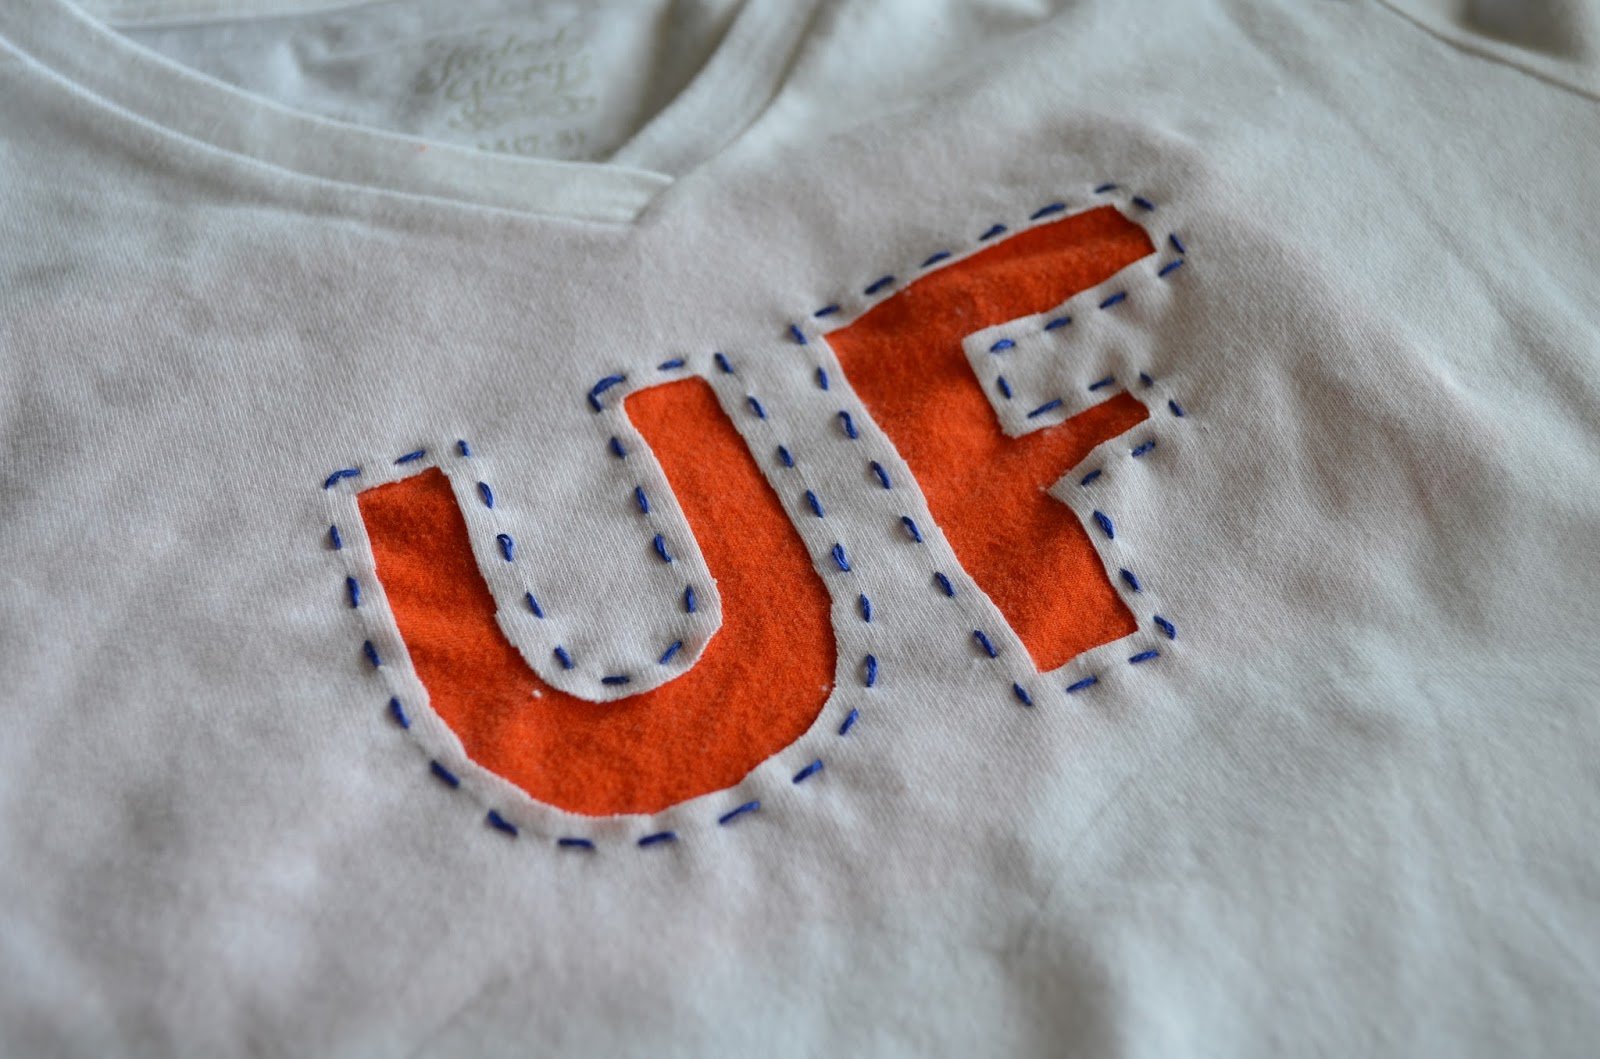
Y’all, I am so in love with reverse applique. It’s like regular applique but faster and easier and…reverse.
I’m gonna make one for my other two kiddos too! and maybe myself!
You know you want to try it out – keep reading for the tutorial!
Supplies:
- t-shirt
- jersey knit material (or an old t-shirt you can cut up)
- embroidery floss
- needle
- scissors
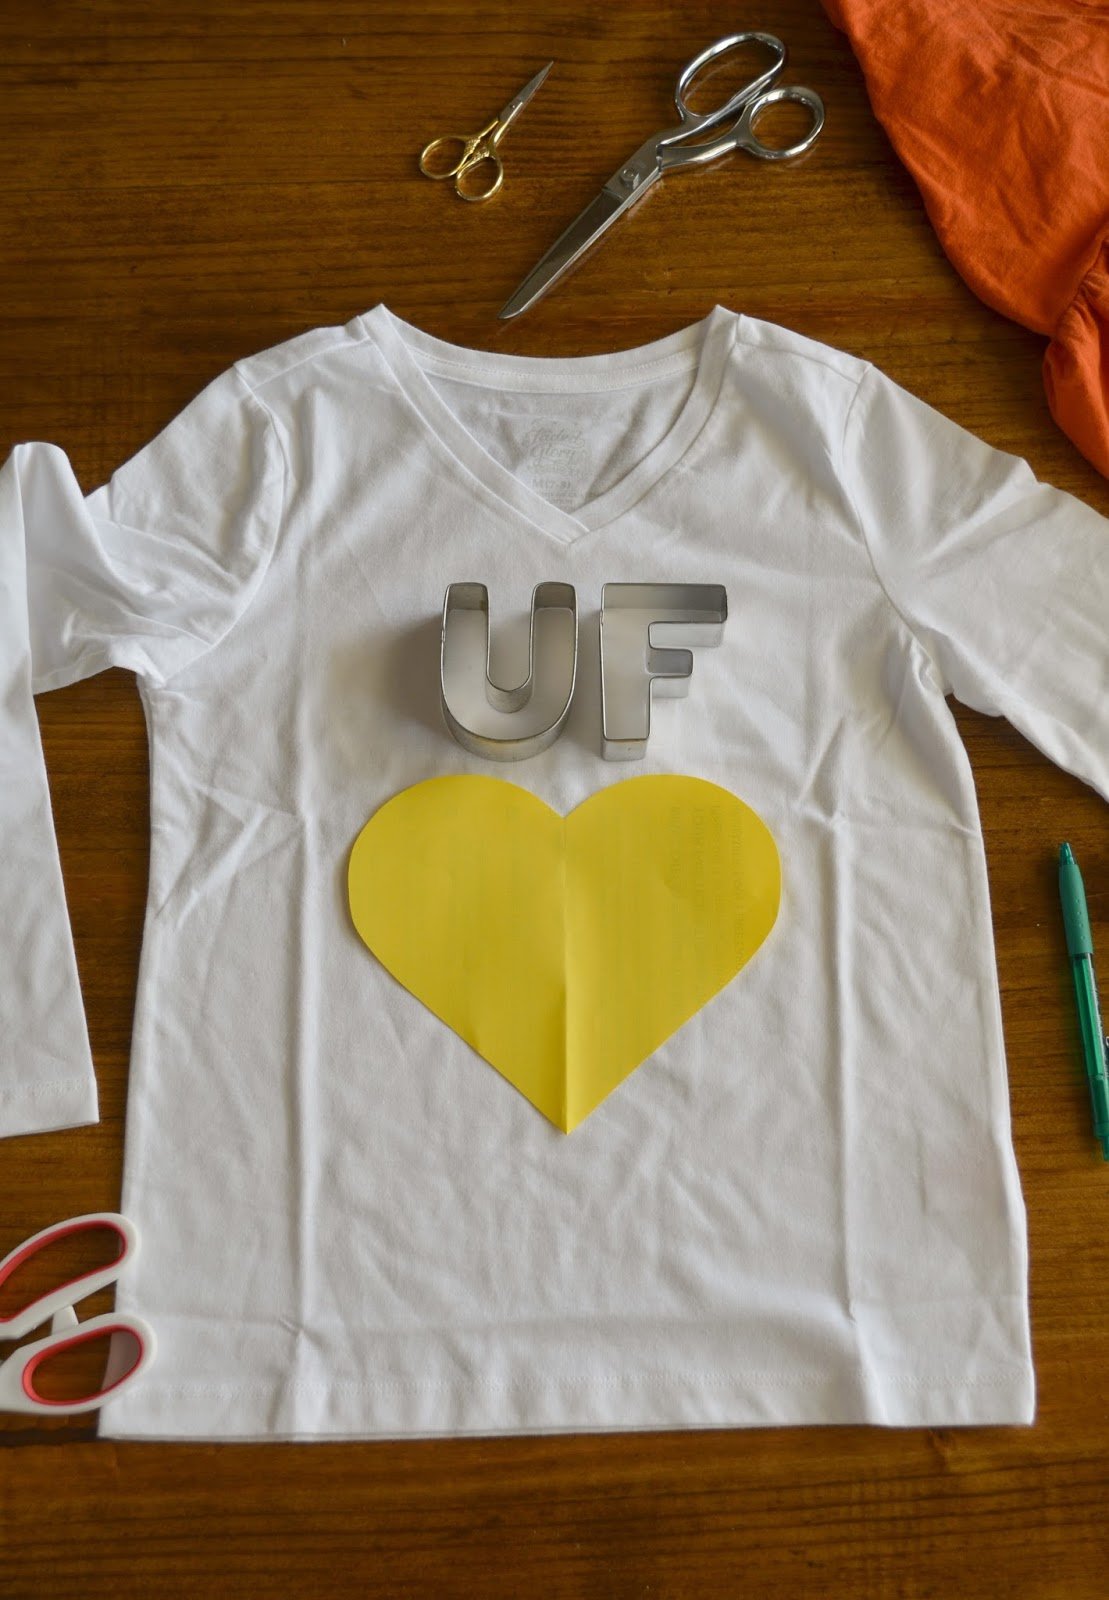
Step 1:
Trace your pattern onto the shirt.
I used cookie cutters, but you could also print something out that you find online. This will be the line that you sew along.
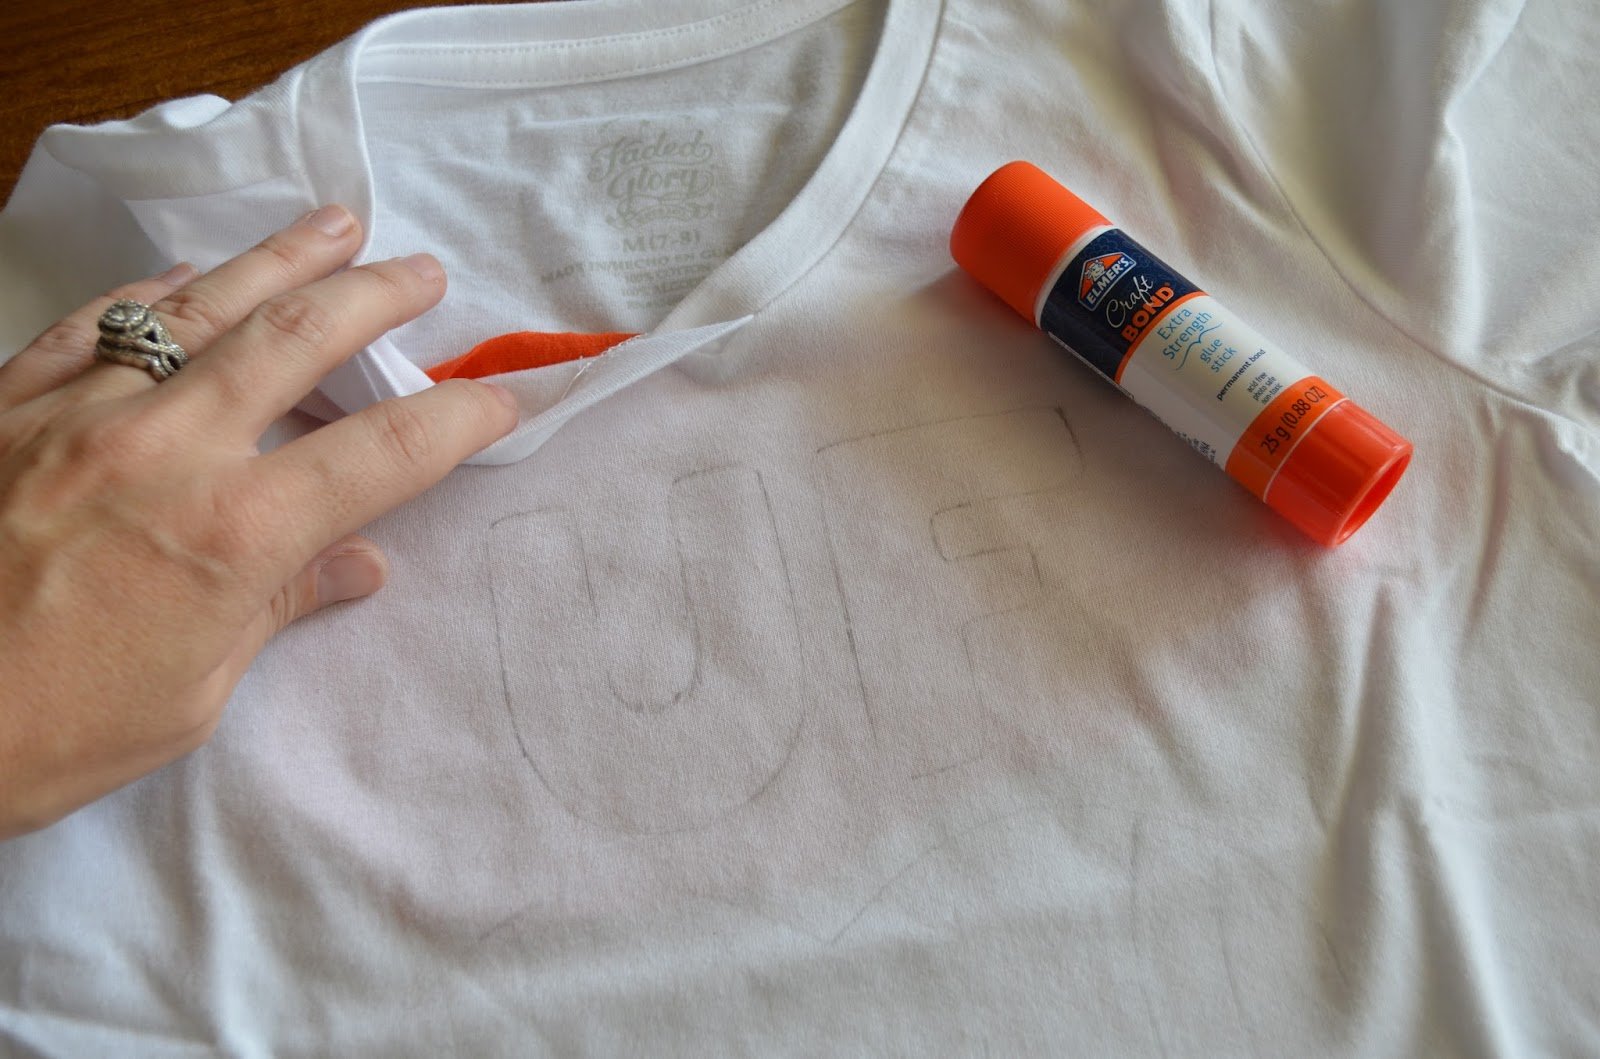
Step 2:
Place your colors of knit under your design.
You can either just pin it in place, or use a little craft glue to baste it.
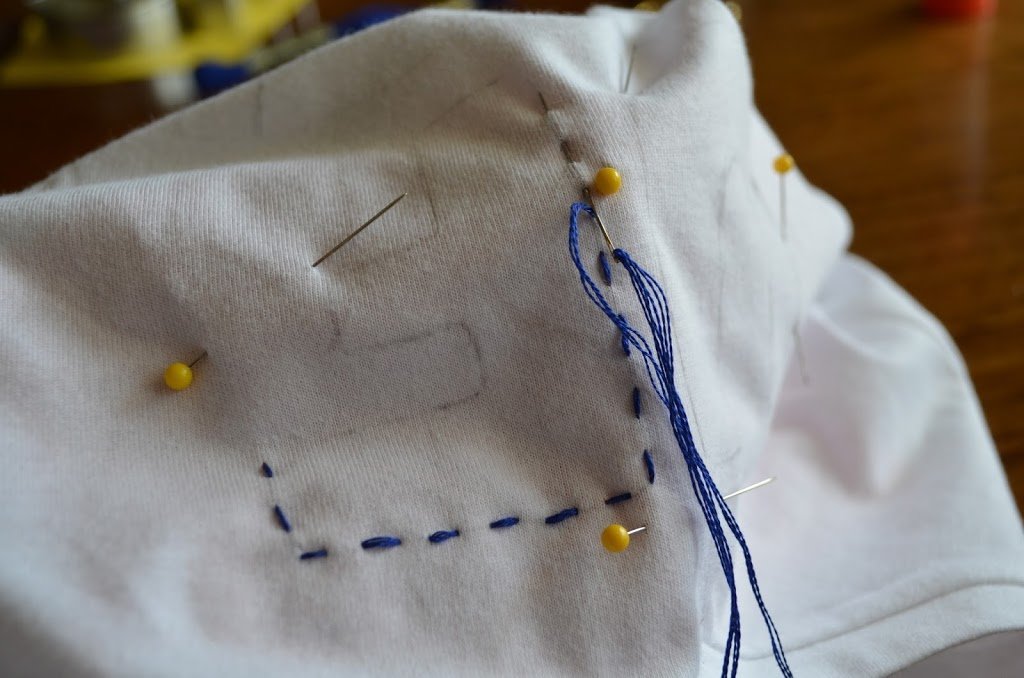
Step 3:
Sew along the design that you traced with embroidery floss. You can just use a running stitch. (be careful to only sew two layers, not the back of the shirt!)
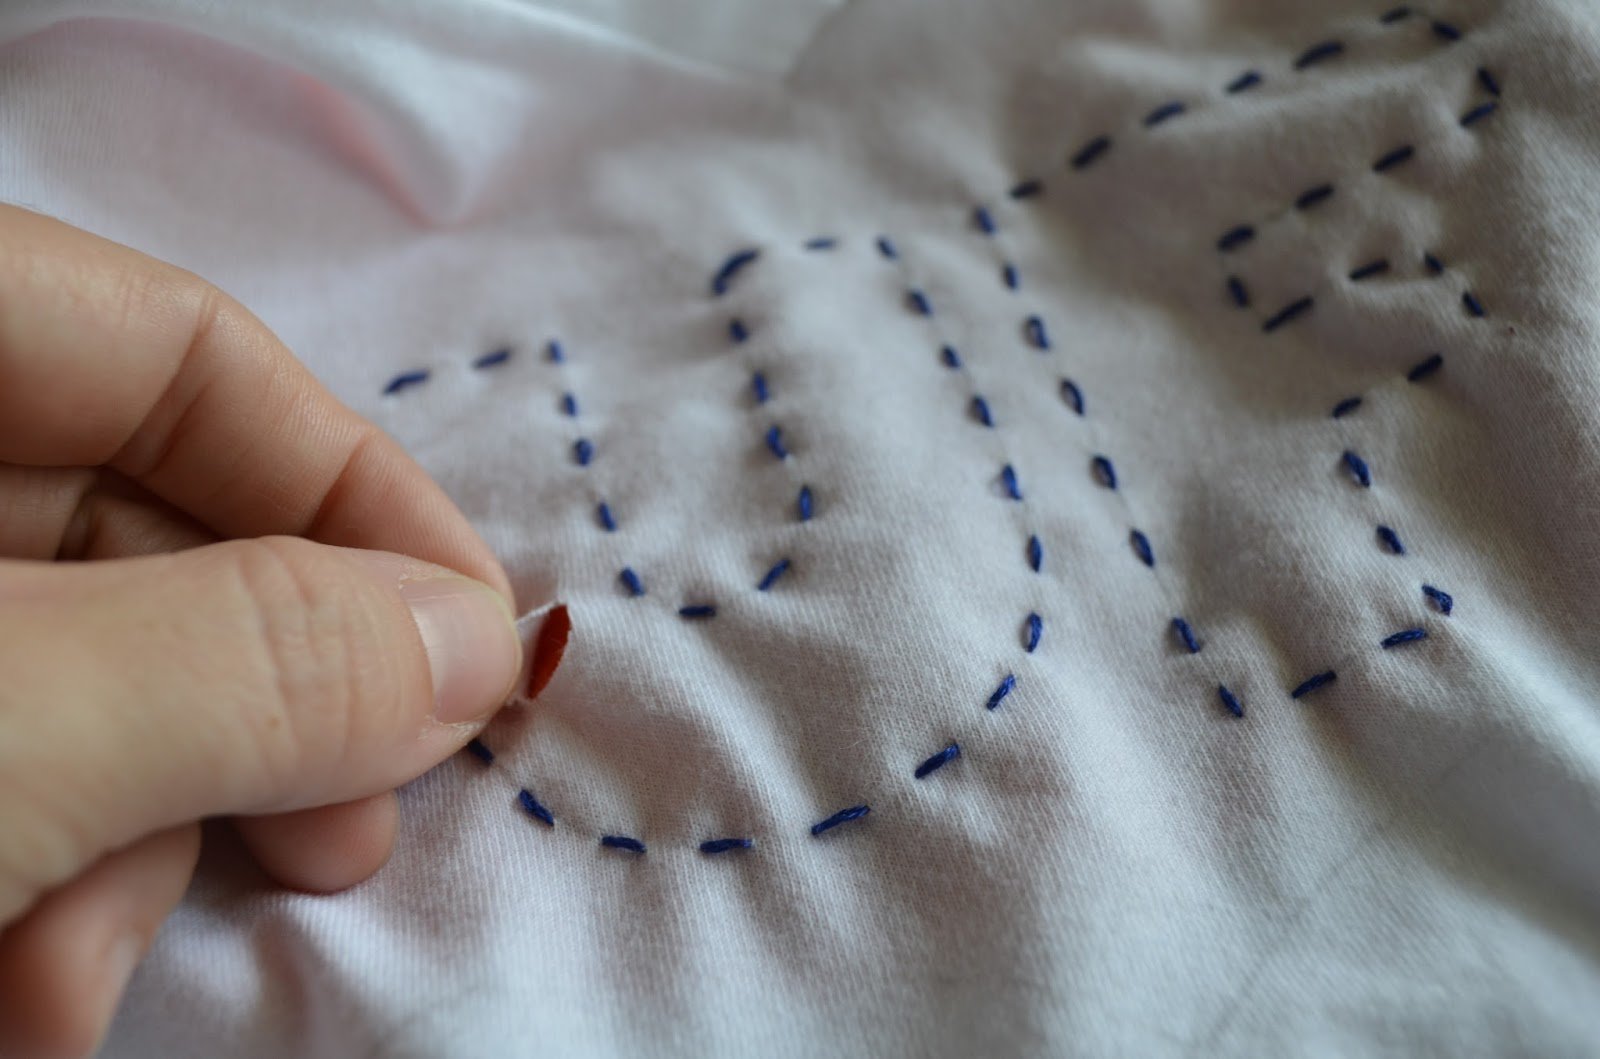
Step 4:
Now carefully separate the top layer from the bottom layer and make a small slit with your scissors in the top layer.
I highly recommend a pair of tiny applique scissors for this, but you can use regular fabric scissors in a pinch.
Step 5:
Now slide your scissors in sideways and begin to cut away the top layer of t-shirt, revealing the color beneath. This is the most fun step!!
Step 6:
Turn the shirt inside out cut the excess around the edges – this is most important if your t-shirt is white.

And you just repeat those steps for the football! I love this heart-shaped one for the girls, but I’ll do a regular shaped one for Hunter’s. I think she liked it!

Happy Football Season!
Jessica