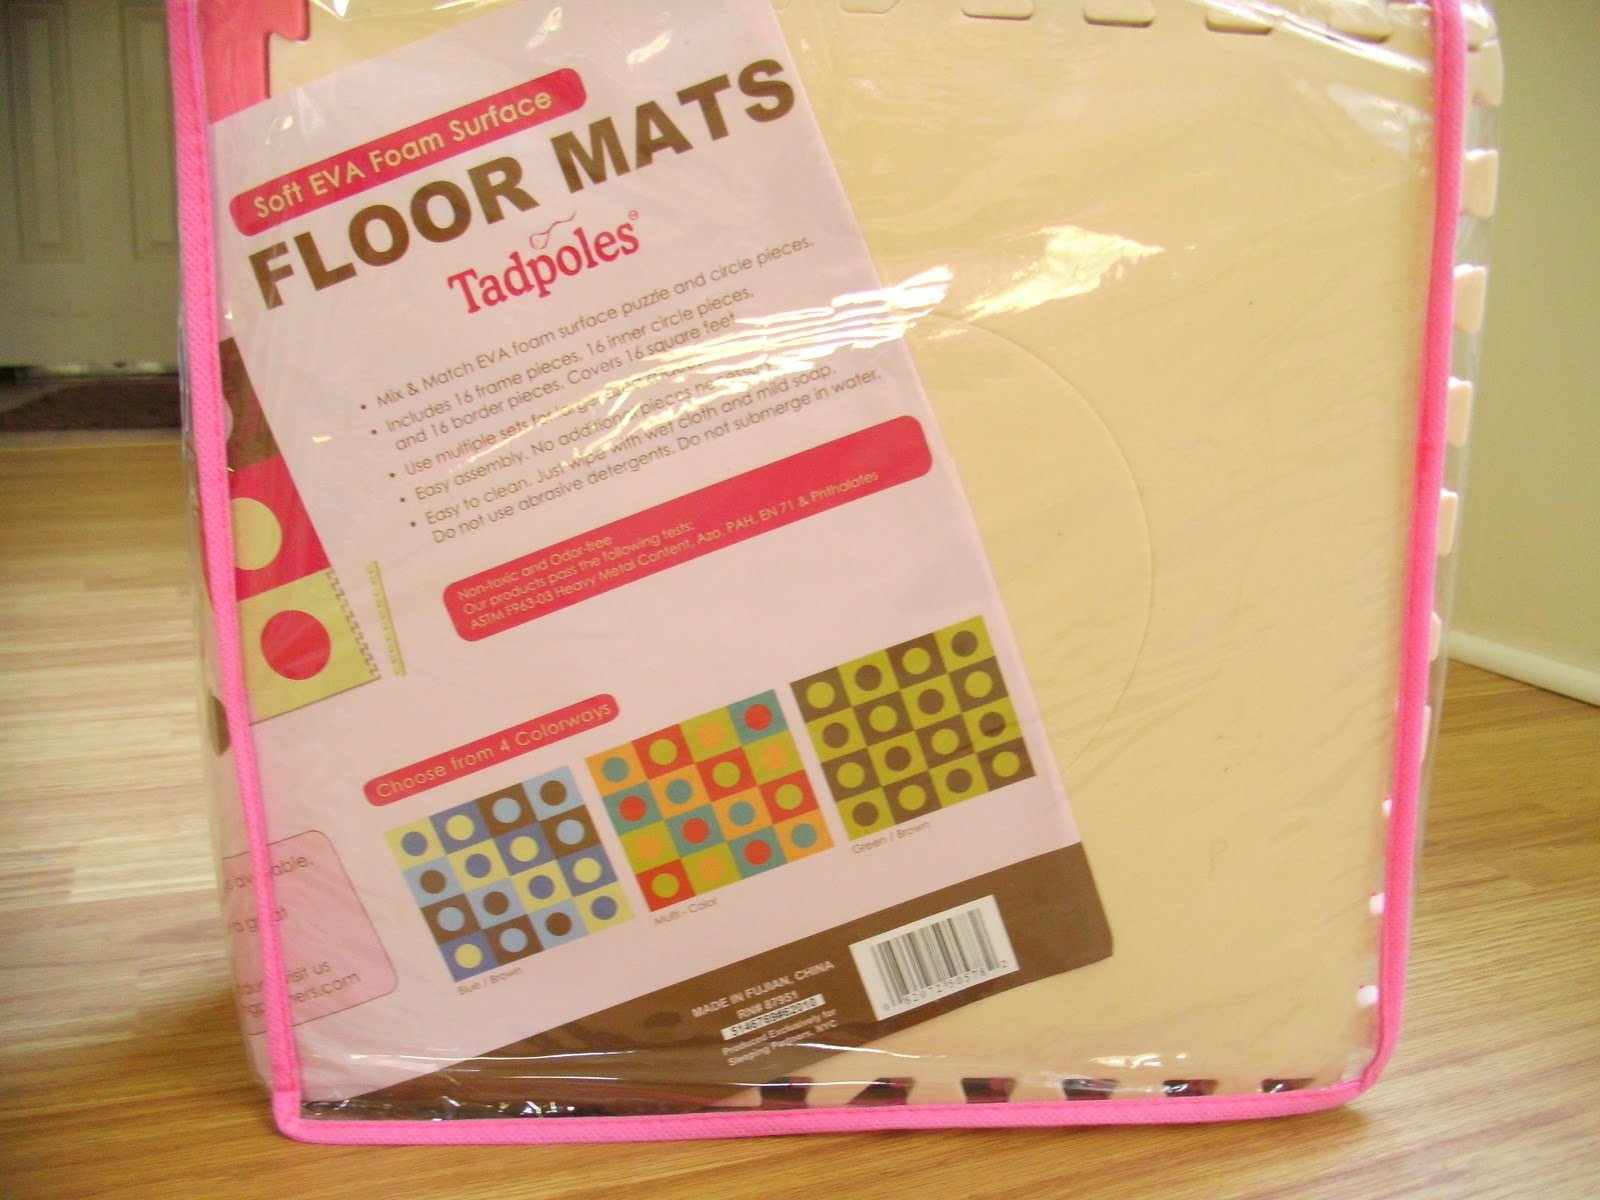
The idea for this rug was first conceived when mom and I found a foam Floor Mat at Ross for $12. I have been wanting to make a rug for Charlotte’s room for sometime now, but making rugs is really hard – what do you use for the base? Well, this playmat was the perfect solution.
Browsing around online I found this rug at Anthropologie:
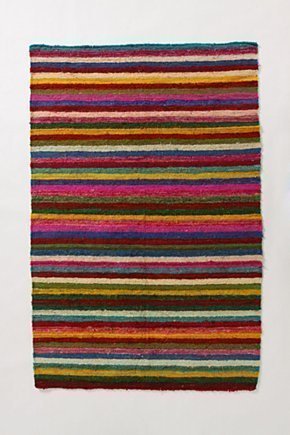
It was the perfect inspiration! This rug costs $198.
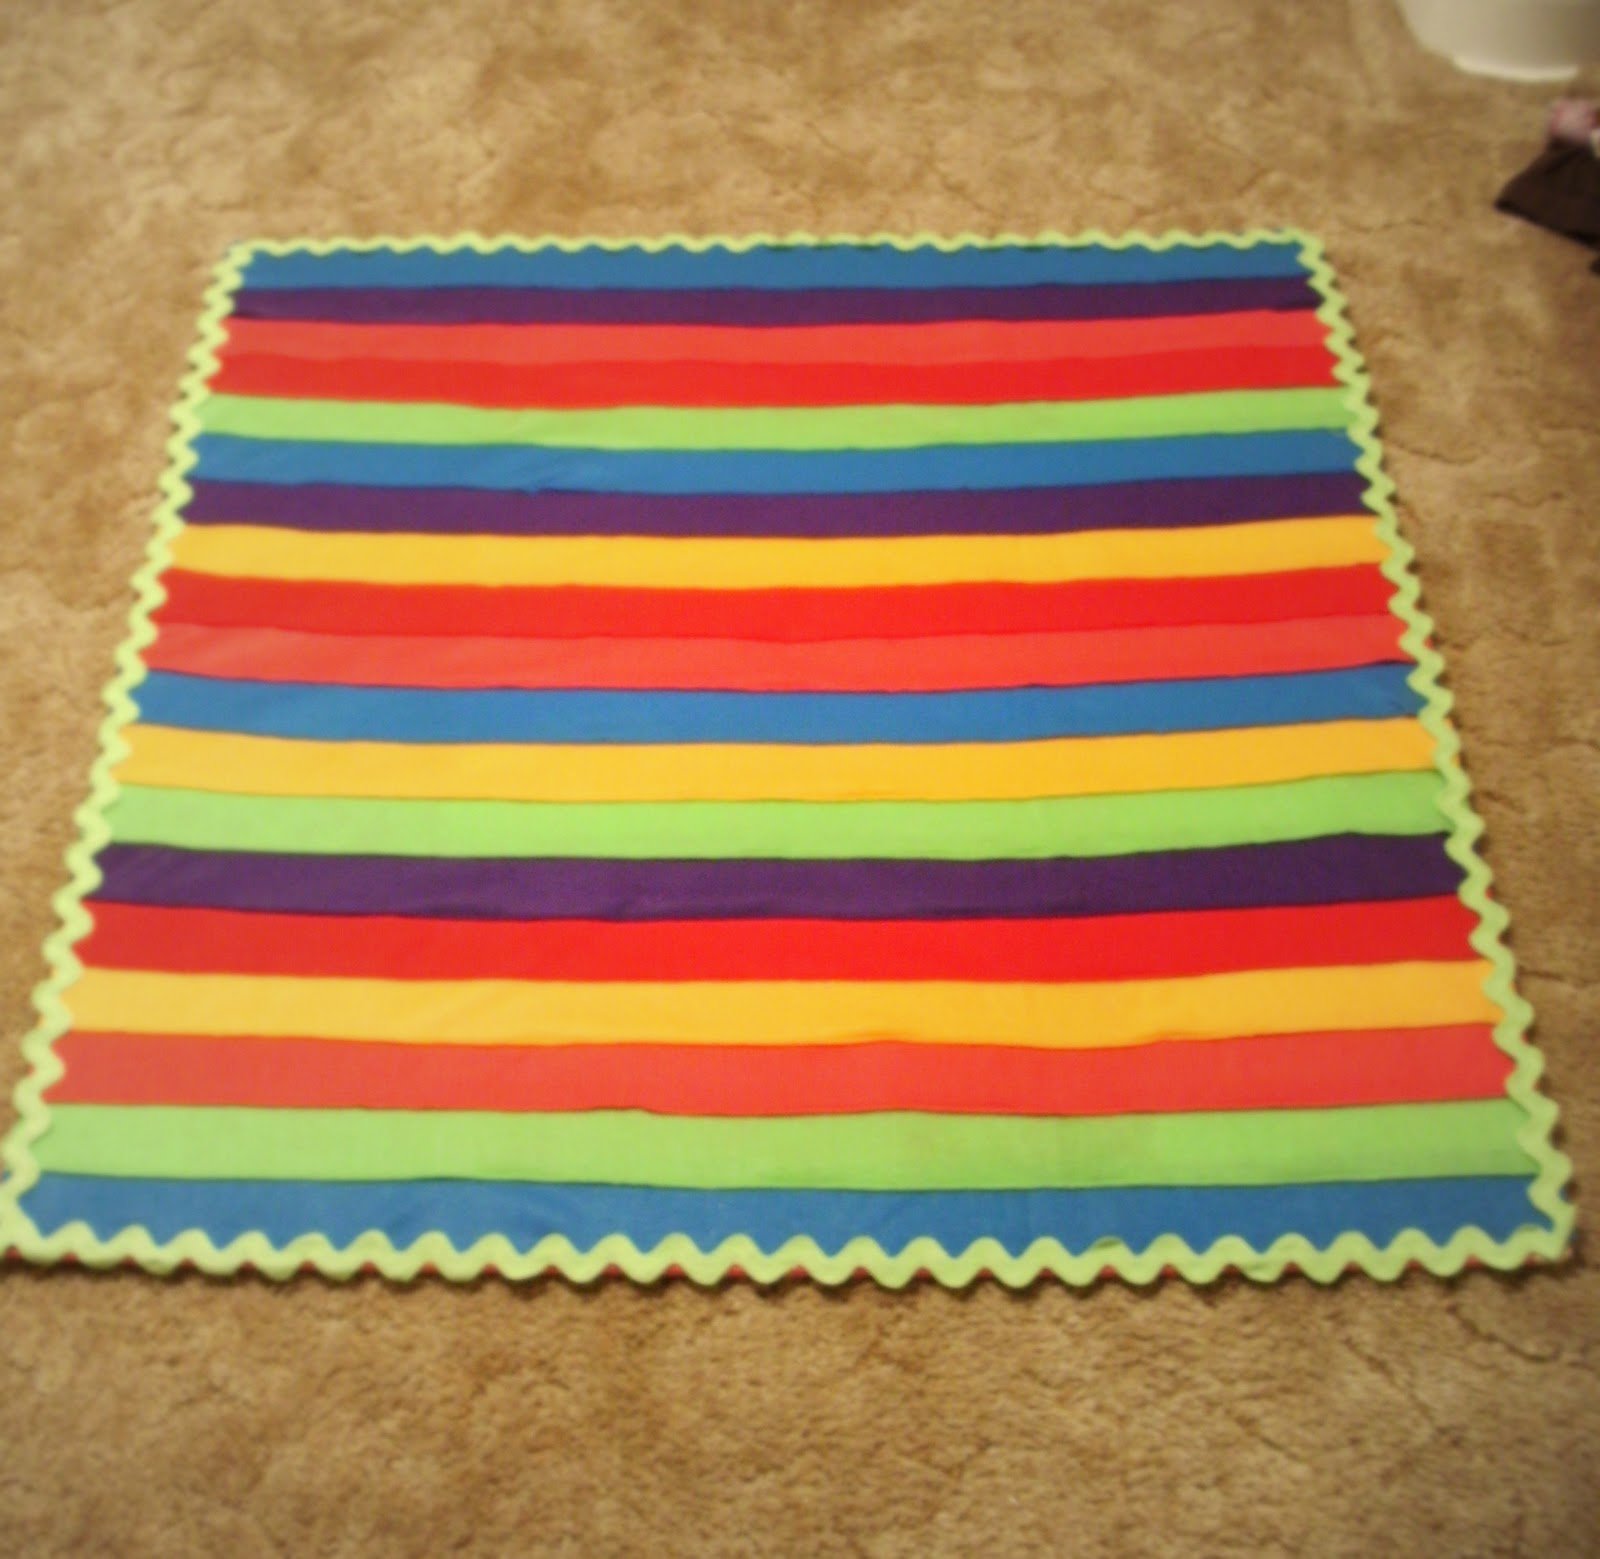
The one I made cost $30.

So when your hubby comes home and you haven’t done the laundry and there’s a frozen pizza in the oven…just show him the beautiful rug you made and tell him you SAVED him $168……of course that never happened here…..Anyway, this is a very simple project. All you need to know how to do is use scissors, sew a straight line, and use a staple gun.
(these instructions are for a 4’x4′ square rug, but you could buy as many of those little playmats as you like
and interlock them together to make whatever size you want.)

Here are the supplies you will need
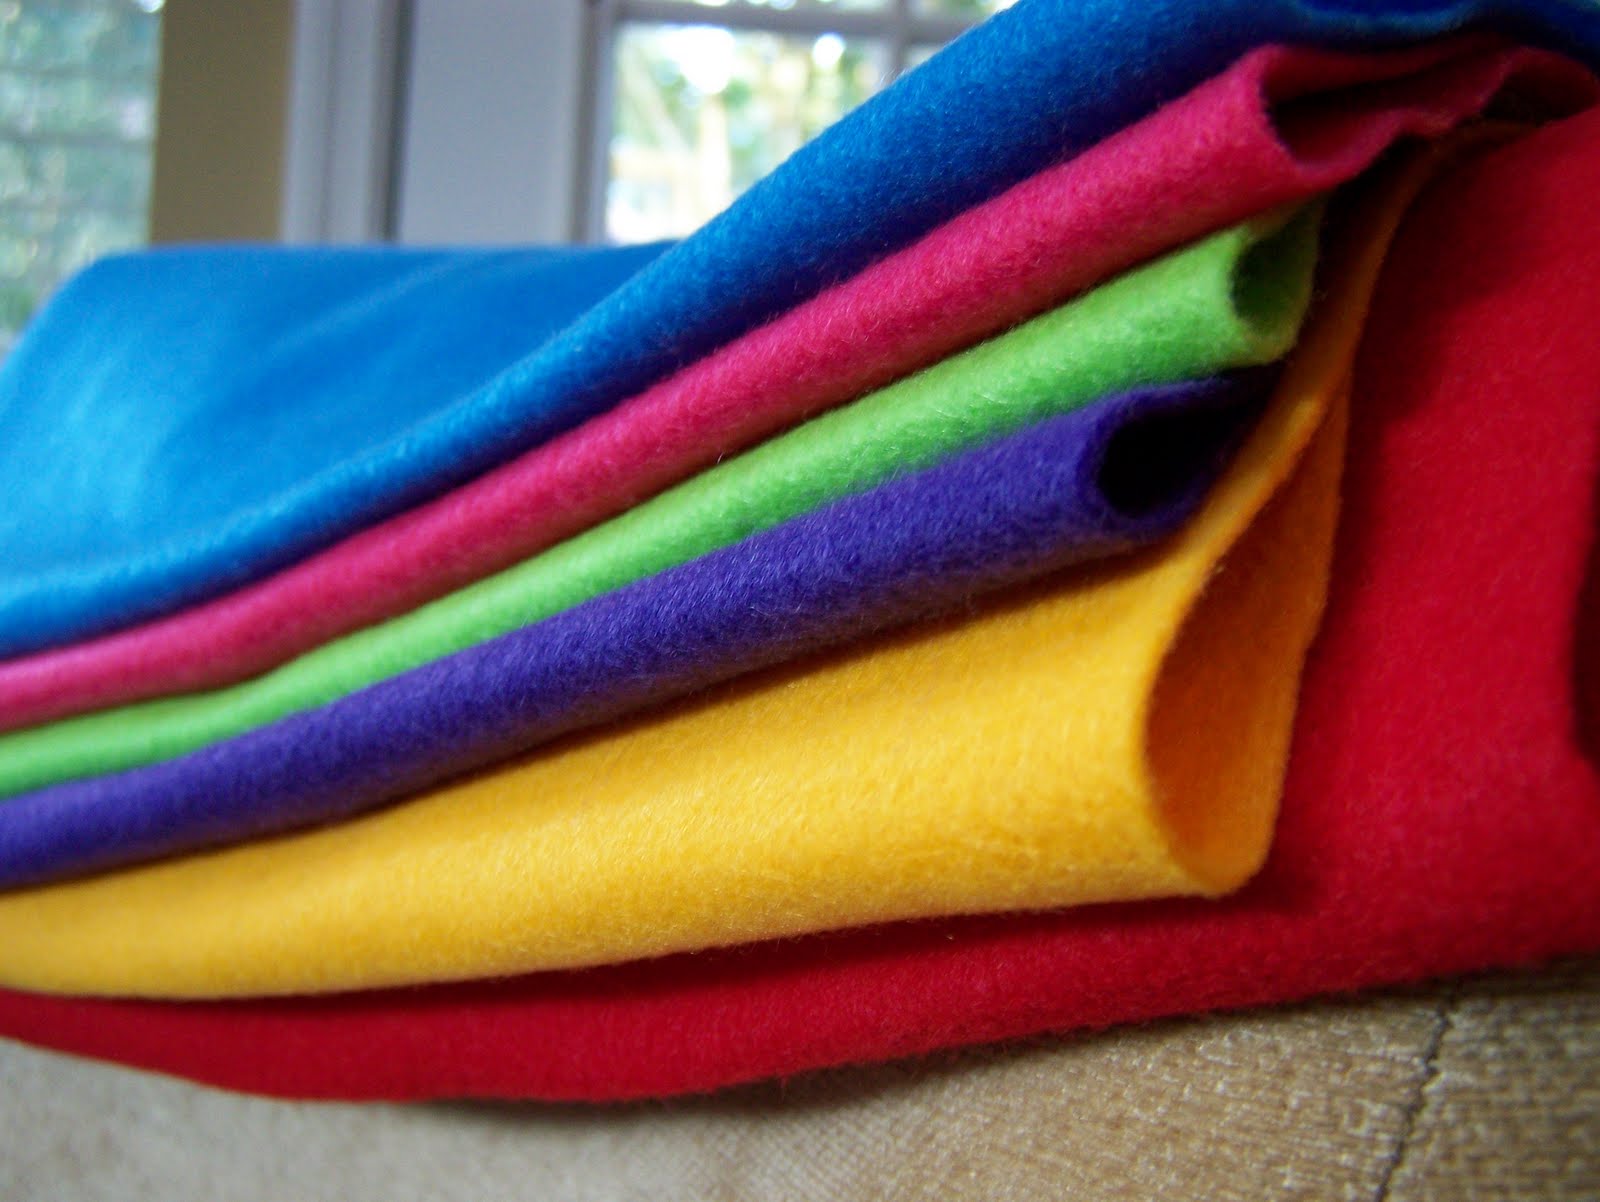
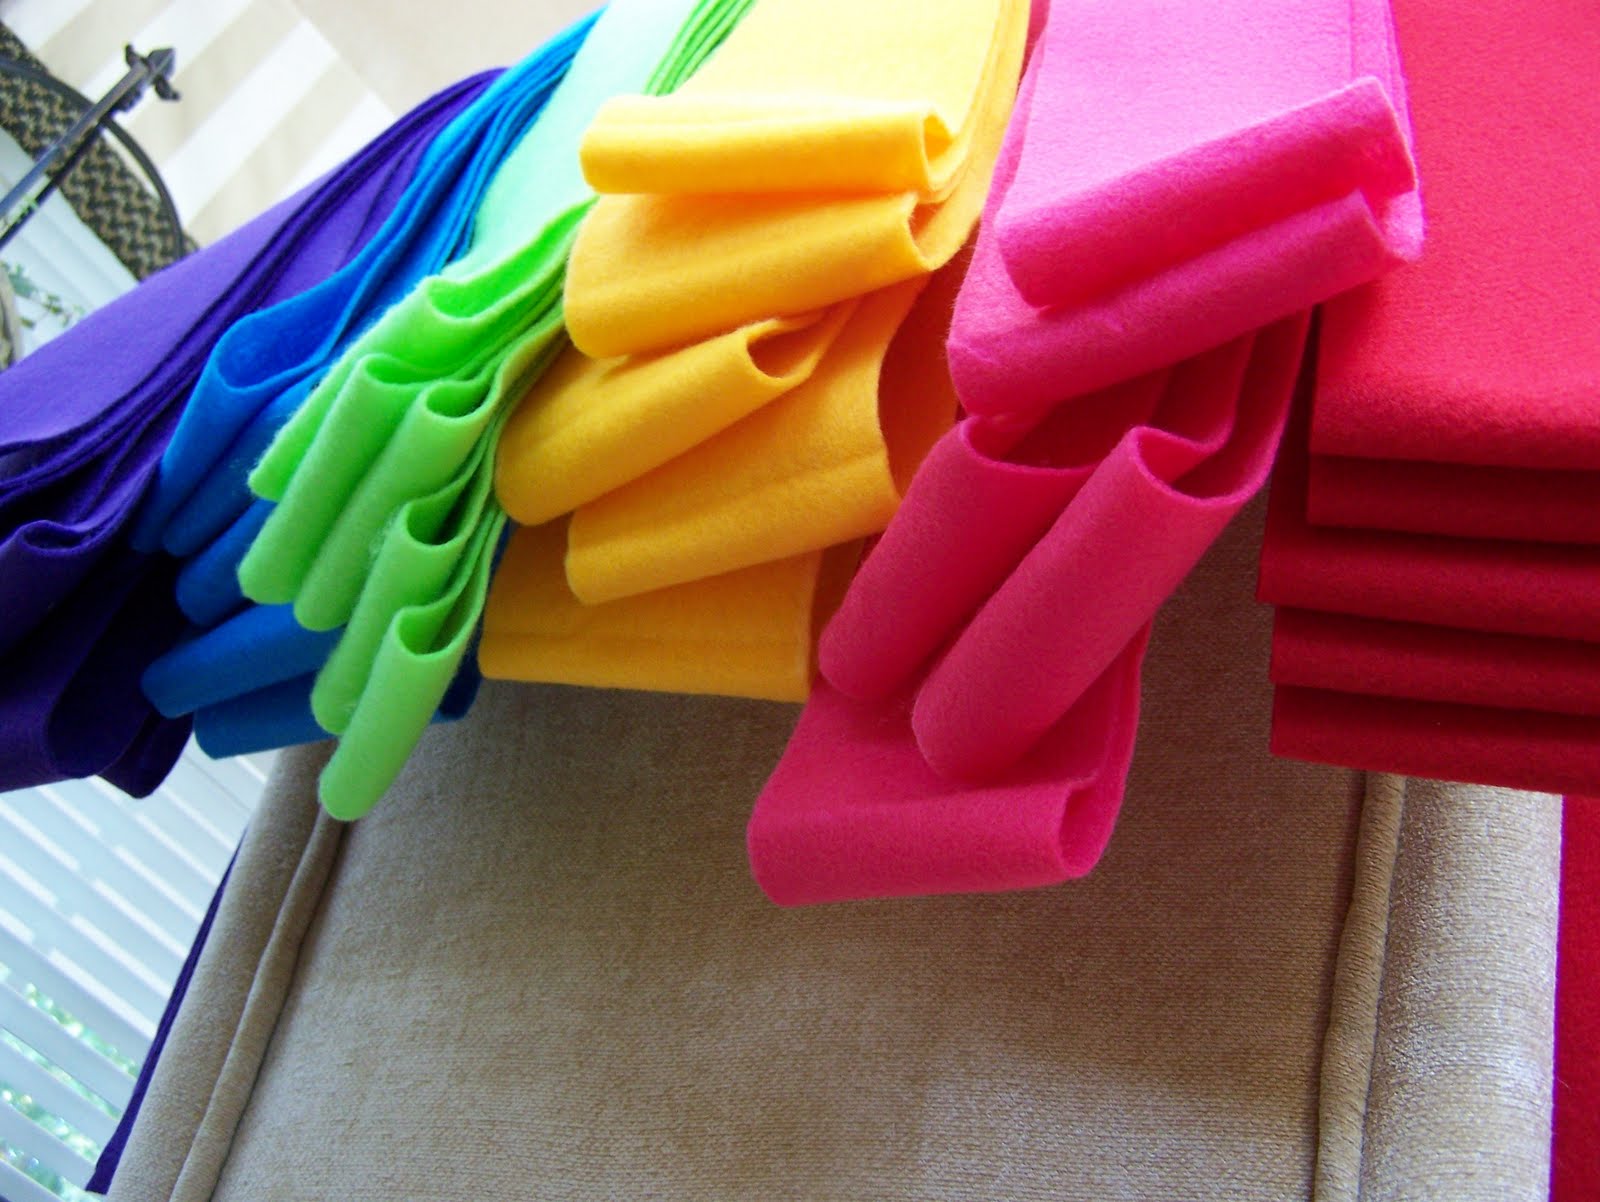
3 yds of 72″wide felt
(I bought mine at Joanns. It was on sale and cost a total of $9.)
I bought six colors, a half yard each.
Scissors
Glue Gun
Staple Gun
Sewing Machine/Thread
Yardstick
Foam interlocking Floor Mat
Optional: Some cute trim – such as ribbon or this extra-large rick-rack.
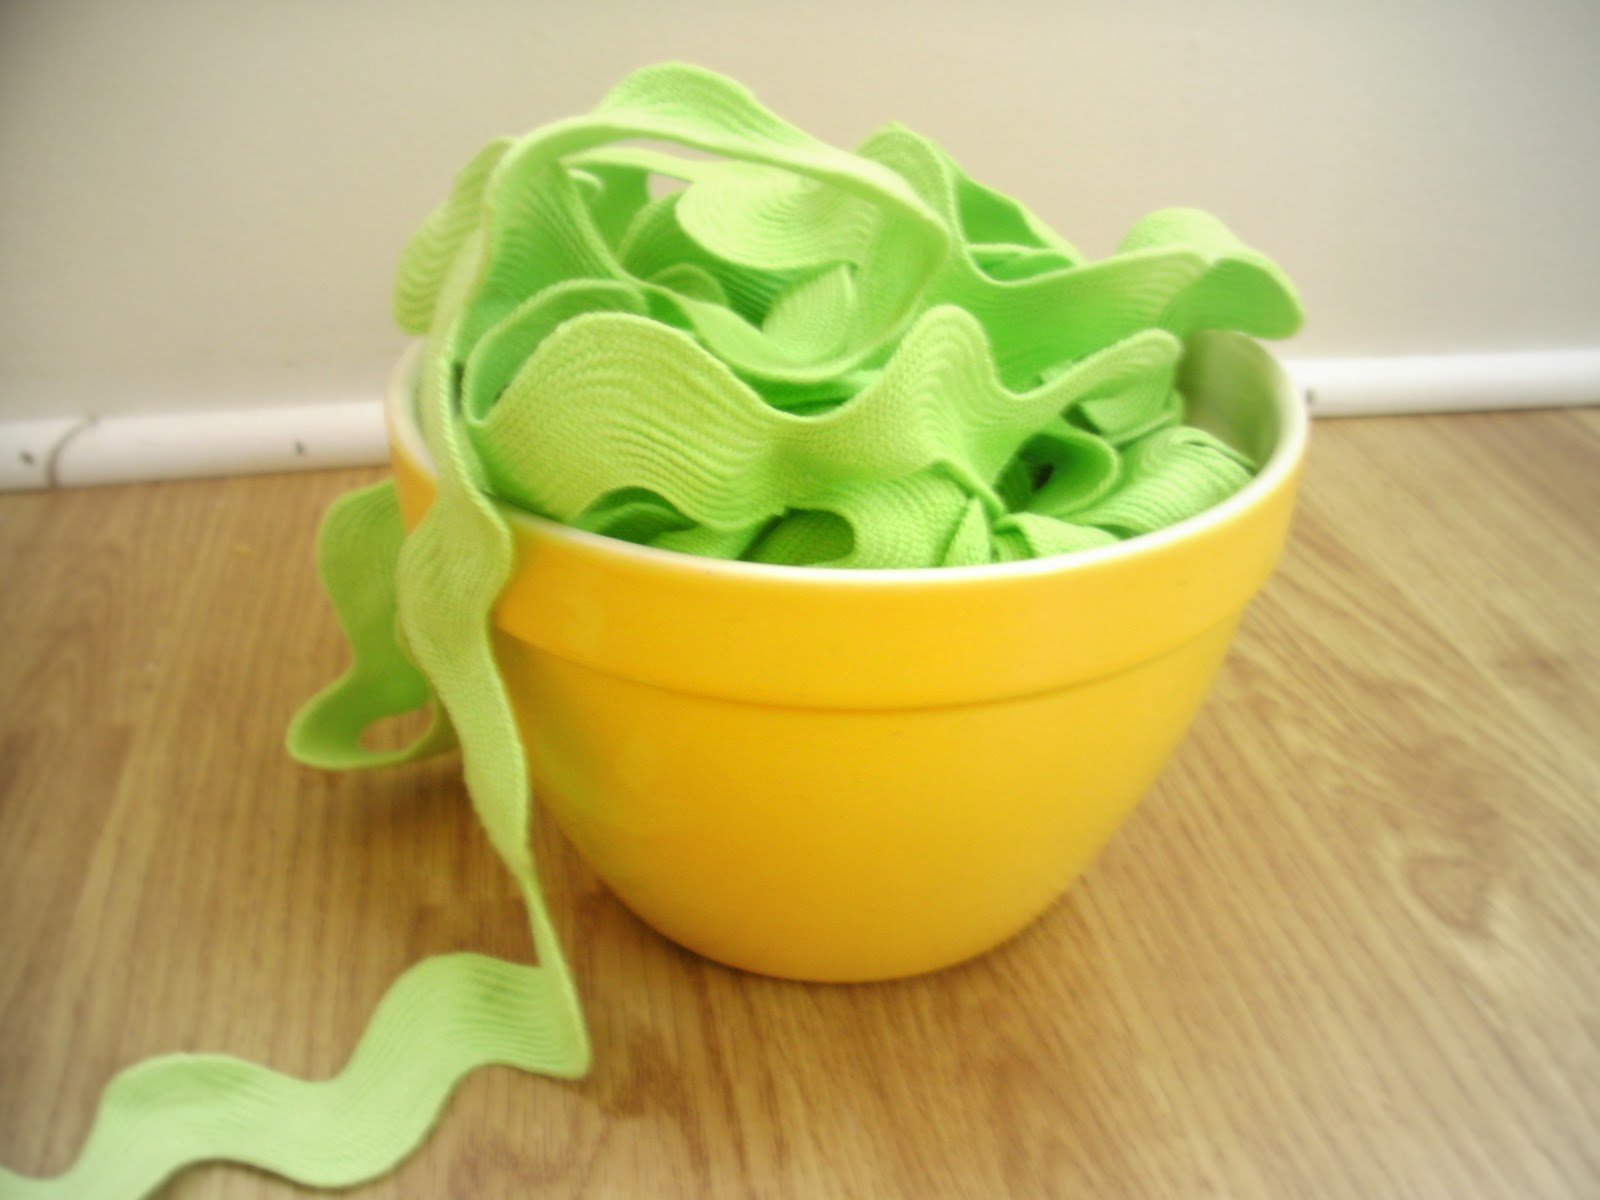
**Several of you asked where I bought that rick-rack I used on the snuggle quilt.
I bought it at this store in TN. I spoke with one of the owners today,
and she said that if you would like some, just give them a call and they will ship it to you.
It only costs about $1.10 a yard and they have EVERY color!**
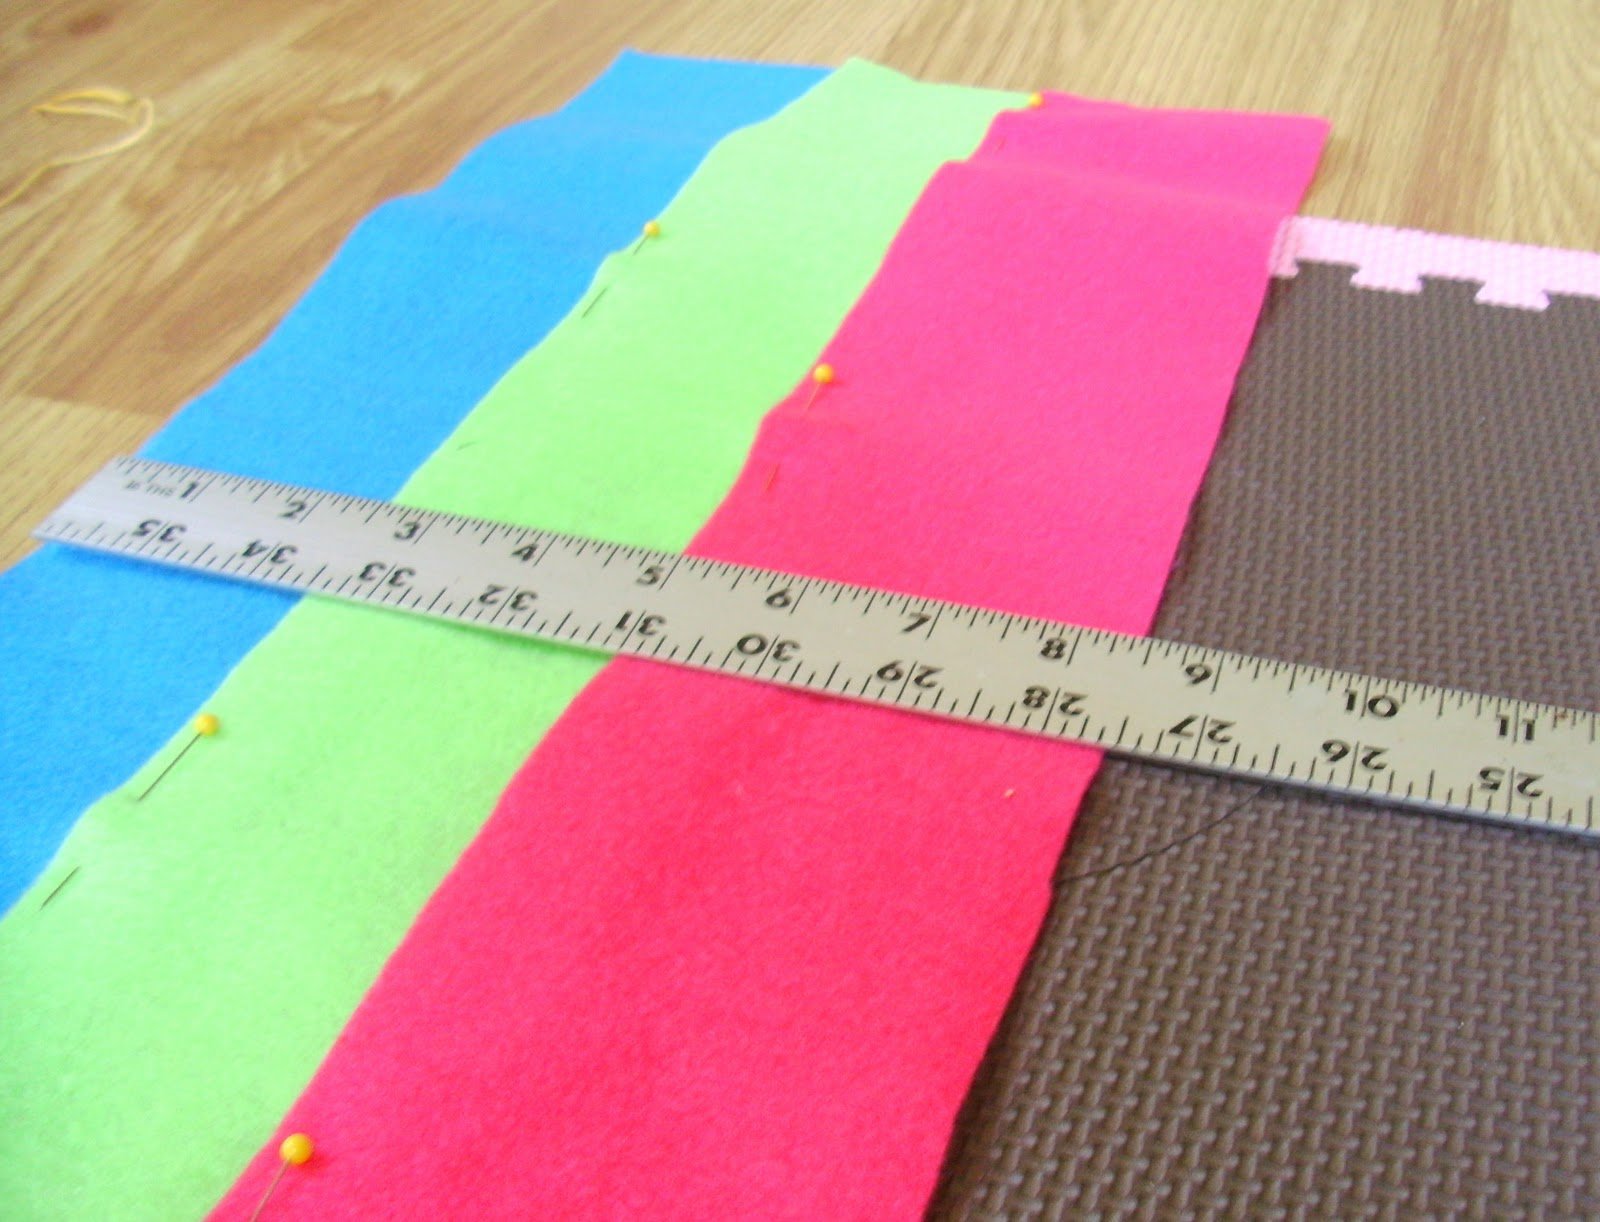
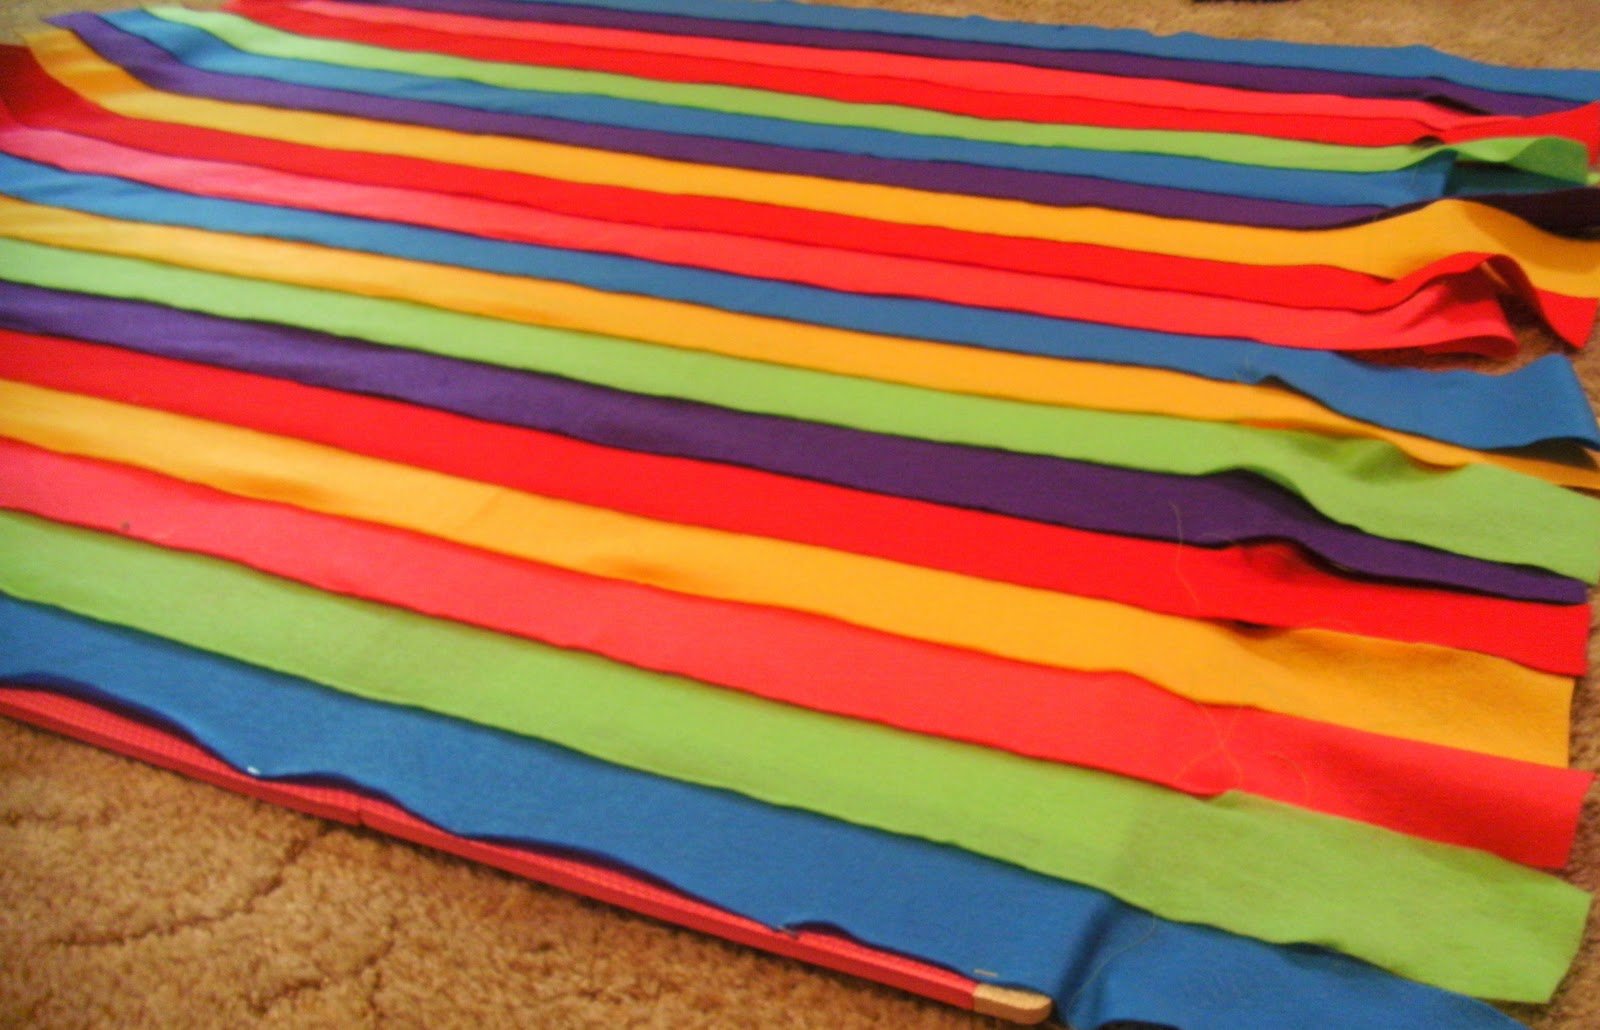
Okay – back to the rug. Once you have selected your felt colors, cut each half yard into 3 1/2″ strips – using the entire width of the fabric. If you bought half yards, you will get 5 strips of each color.
Now it is time to do the fun part! Design your rug!
Assemble the playmat.
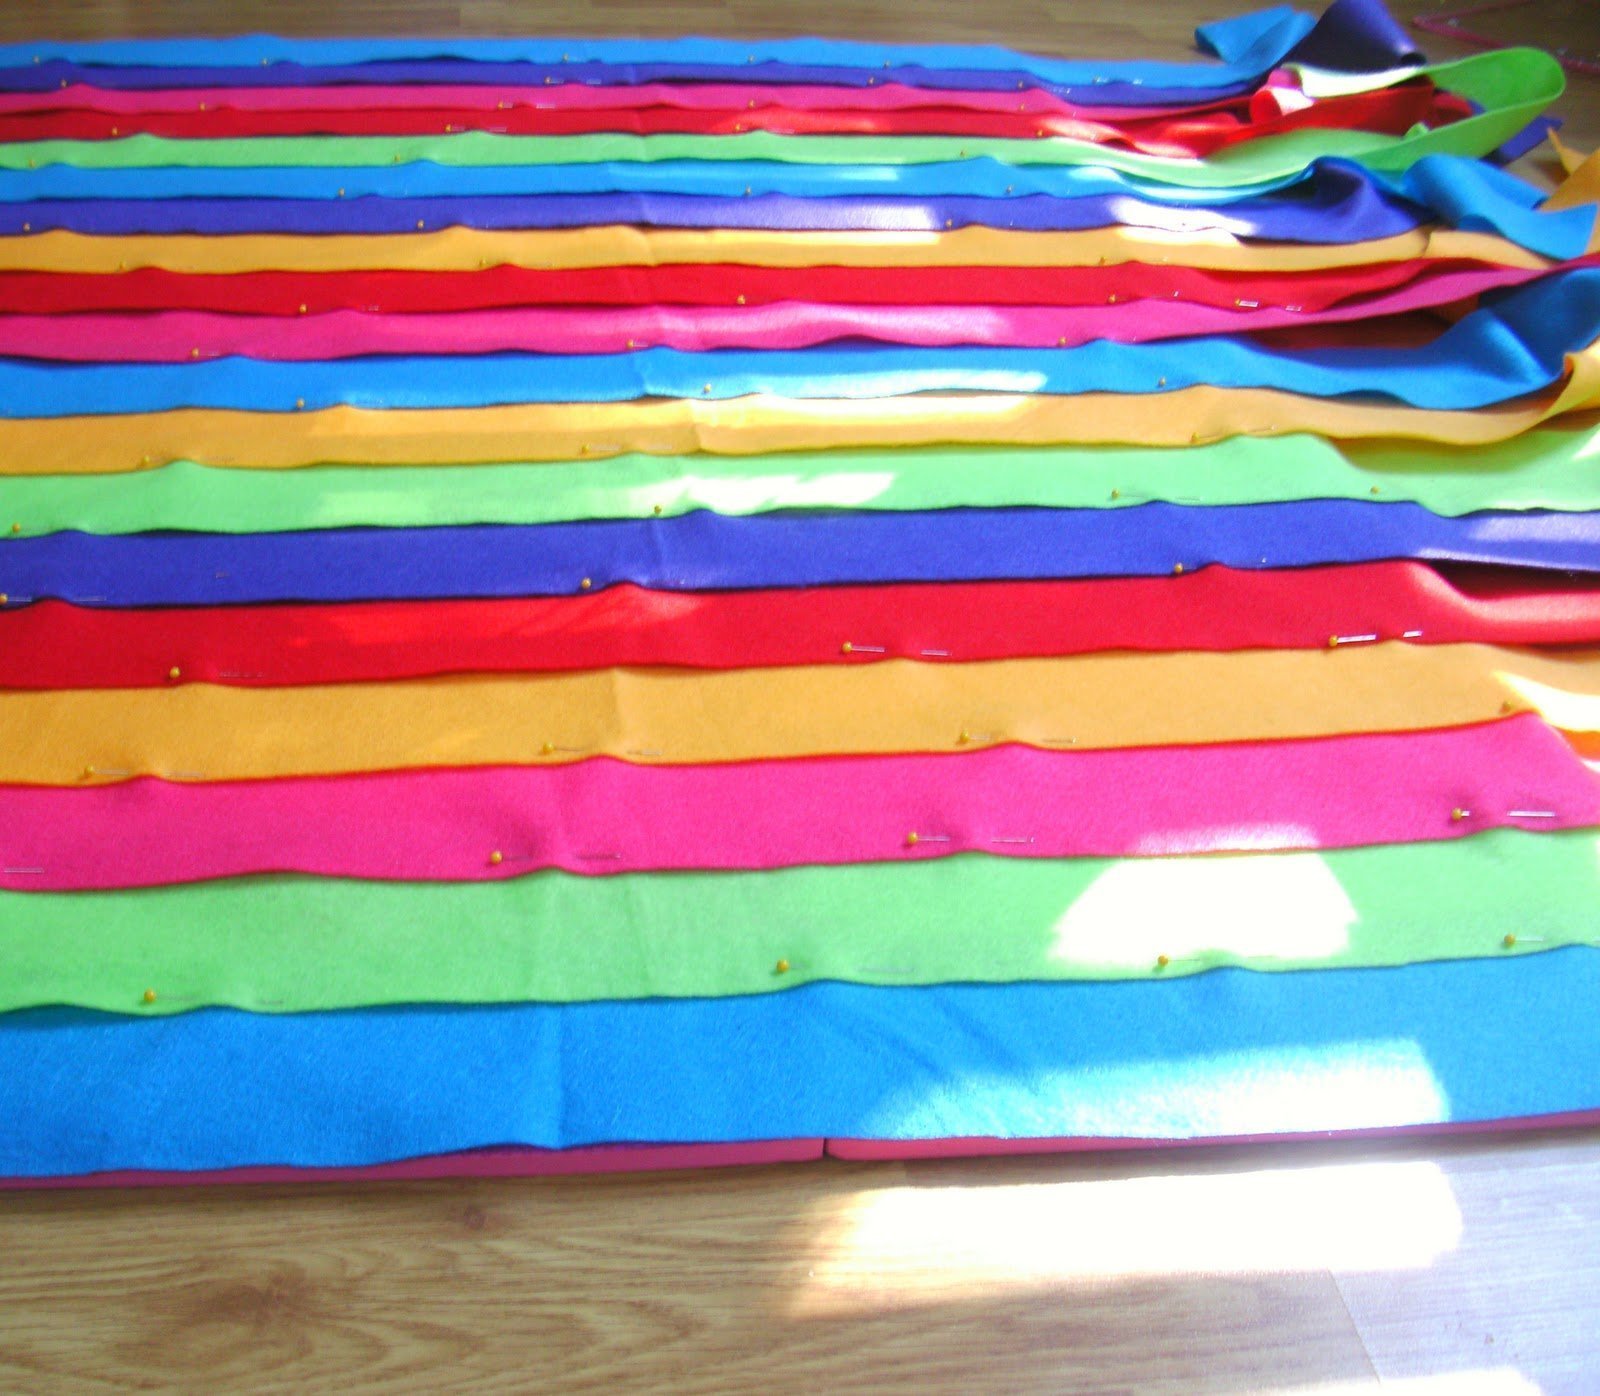
Lay the strips on top of each other – overlapping so that they make 2 1/2″ wide strips. Play around with the order of colors. I kept the repeat random.
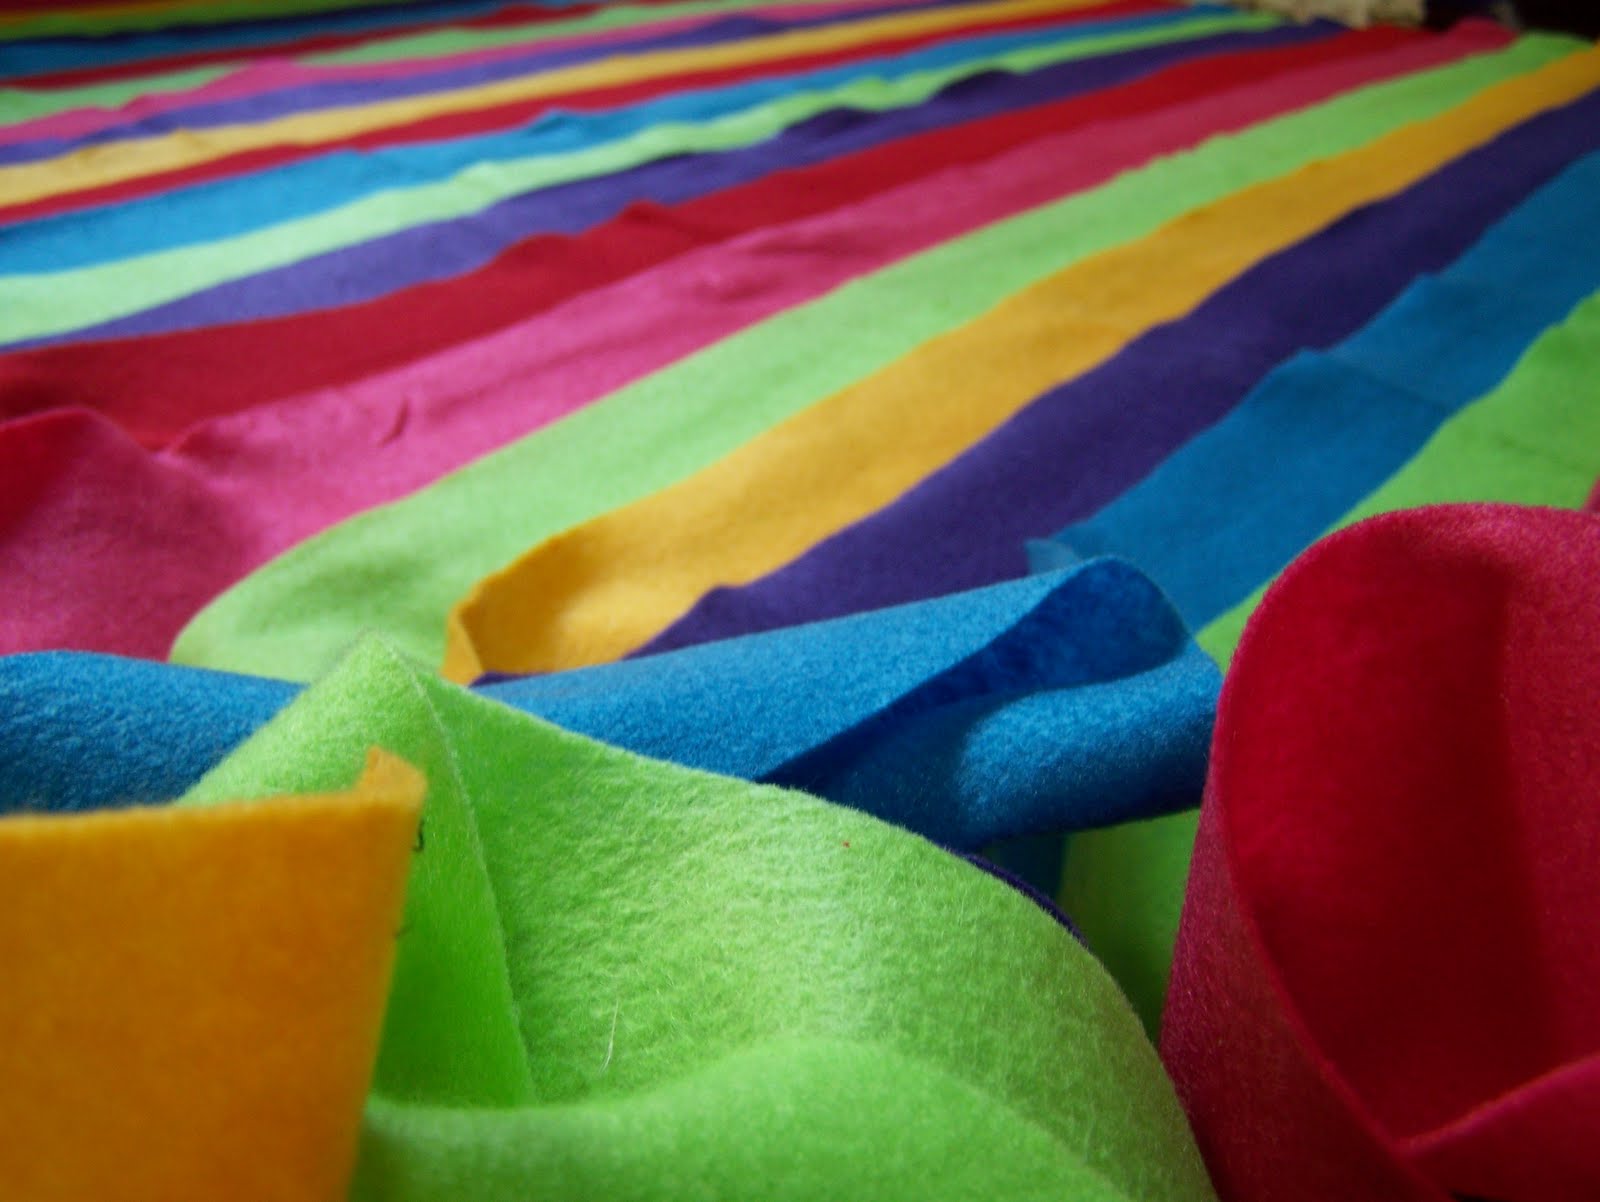
When you are happy with you design, pin the strips together, making the strips 2 1/2″ wide.
Isn’t it pretty??!!
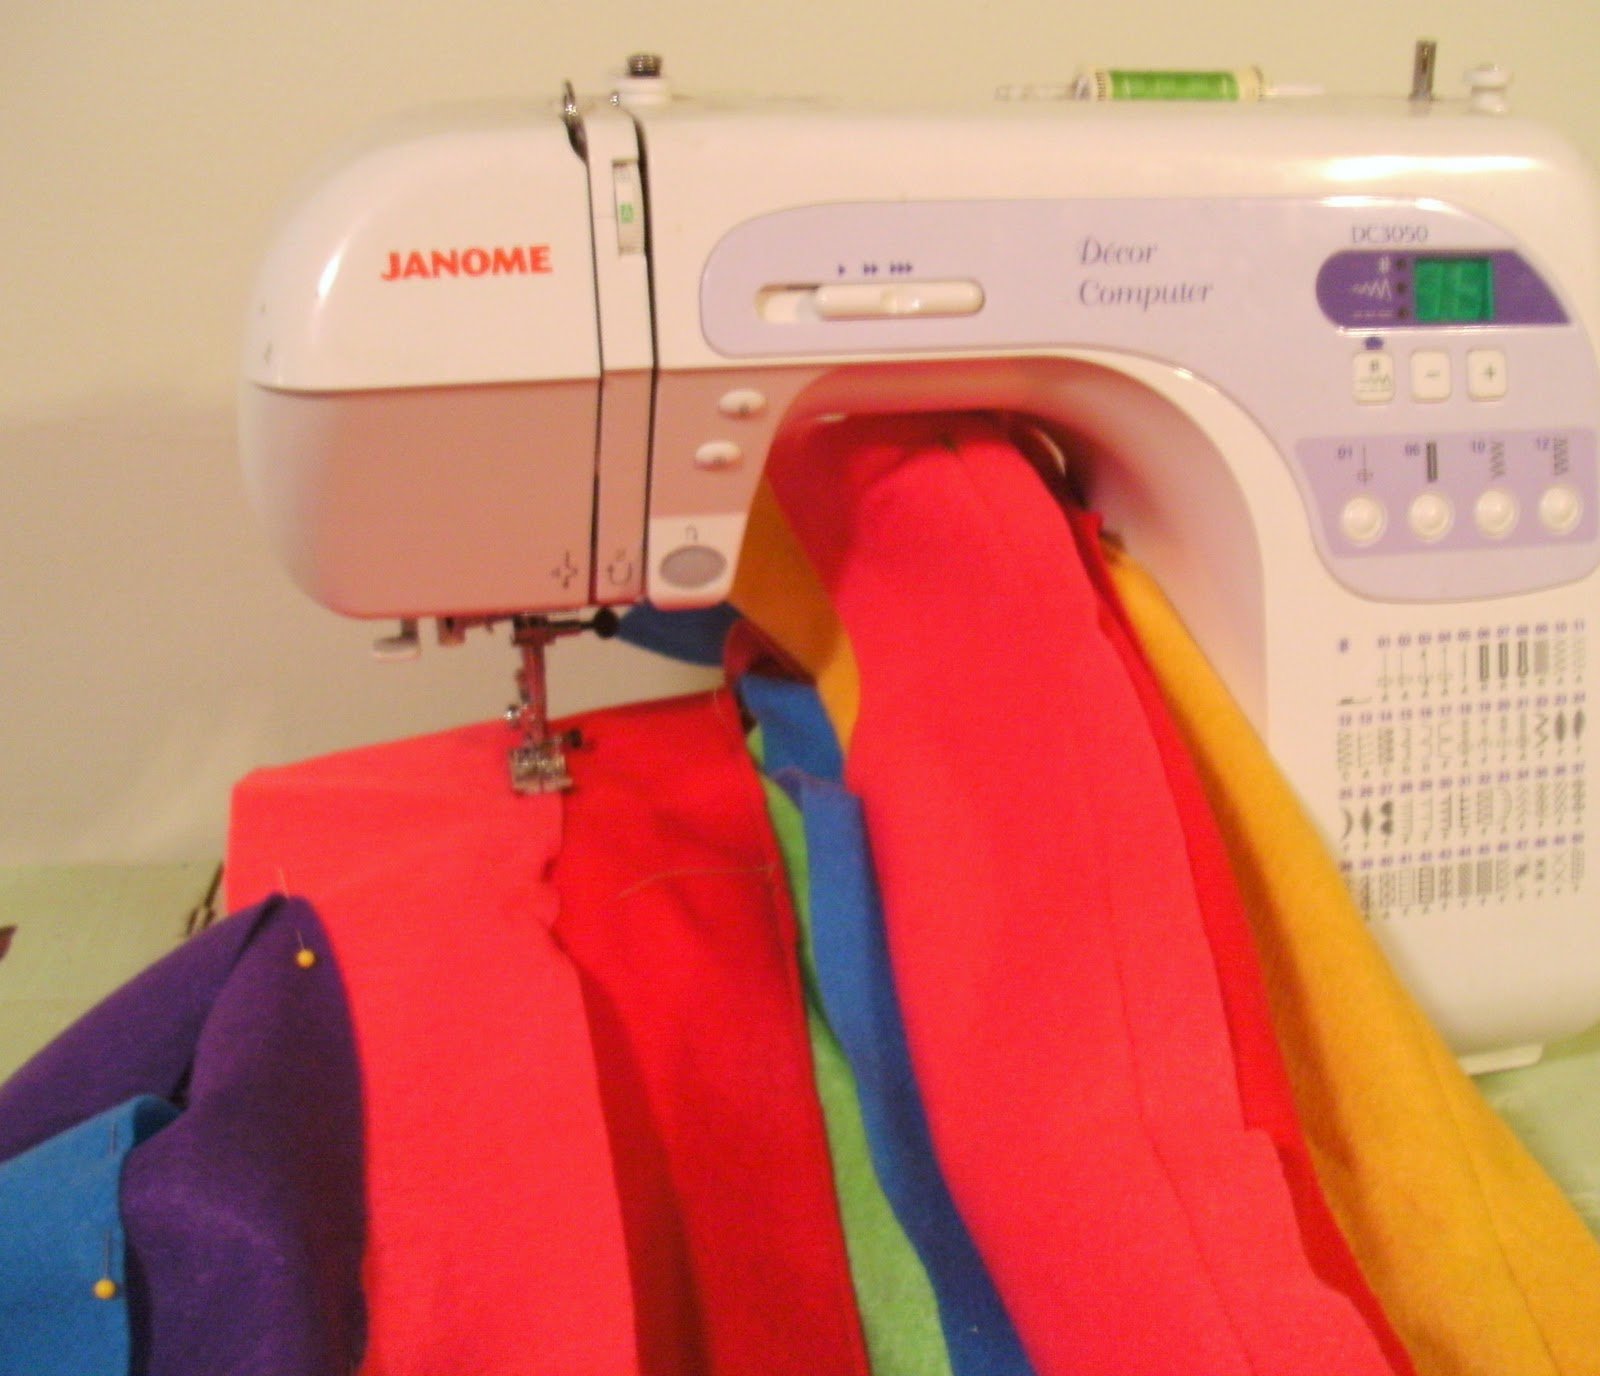
Carefully lift it over to your machine. Starting at one end, topstitch the first strip to second strip. Sew about 1/8″ away from the edge of the strip on top.
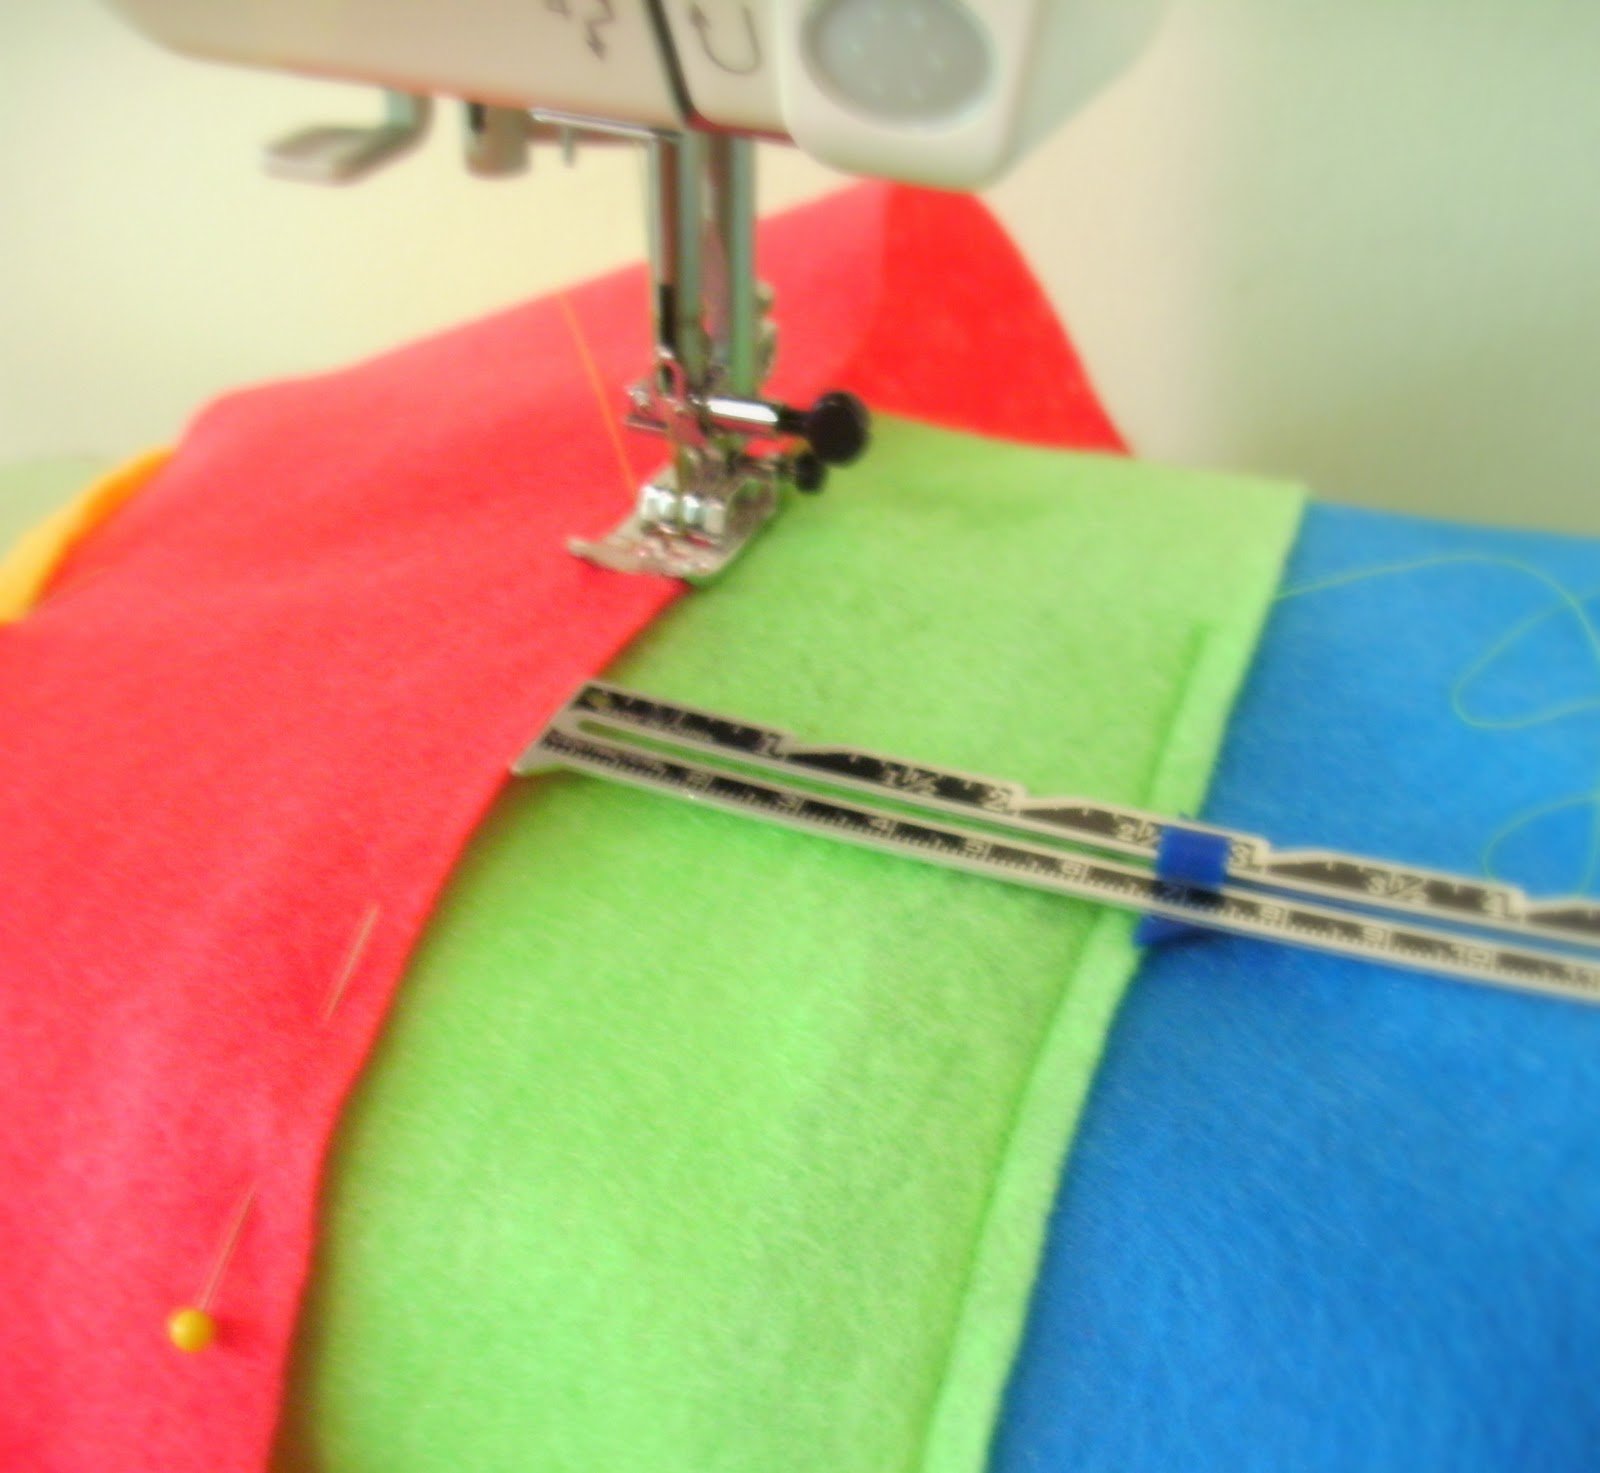
Once you have sewn one, you will notice that underneath on the “wrong side” of the rug, there will be about 1/2″ overlap. Be sure you have that, because that is how you will attach it to the playmat. Continue sewing the strips together until they are all one piece. Enjoy this process – don’t rush! It’s kind of like sewing a rainbow.
I found it helpful to use that little ruler to make sure they stayed 2 1/2″ wide. As you go, roll up the rug so it will fit under your machine.
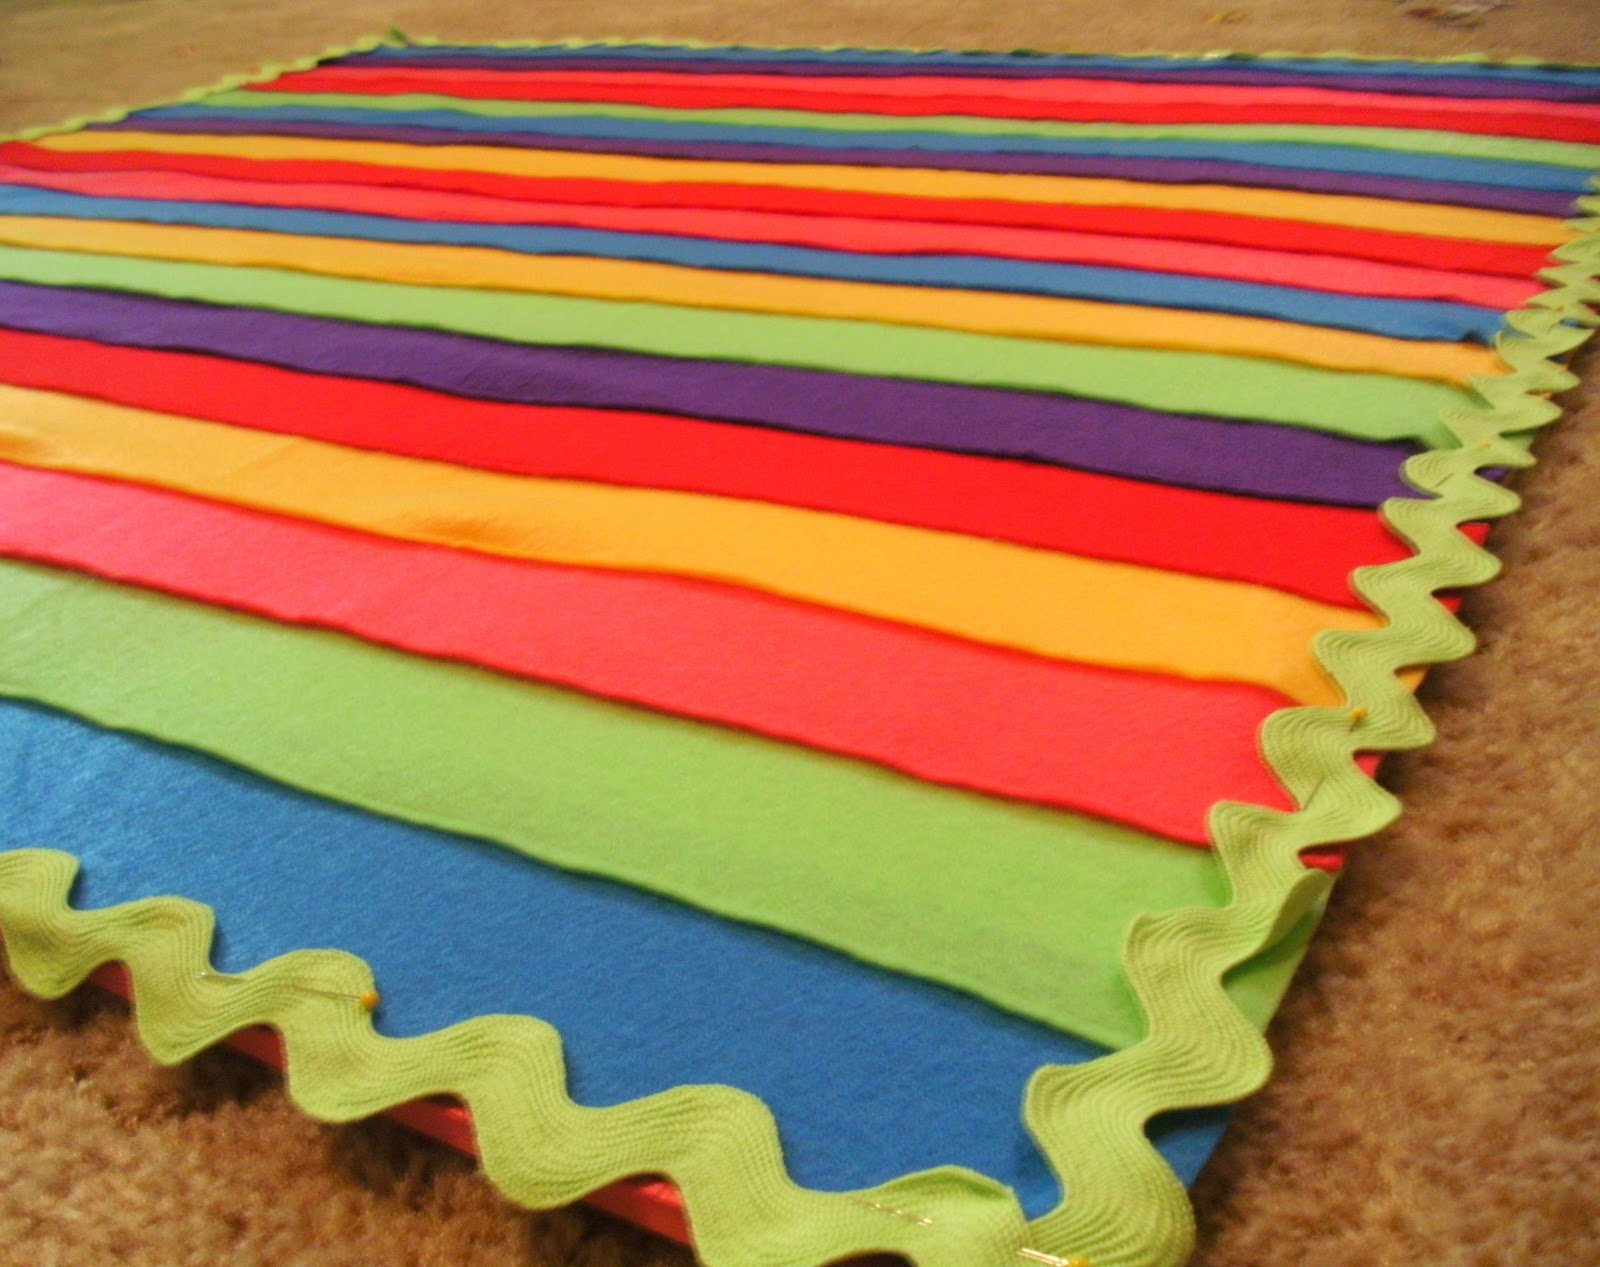
When you are finished sewing, lay the first strip you sewed, onto the playmat -right side up. Staple it along the top of the rug.
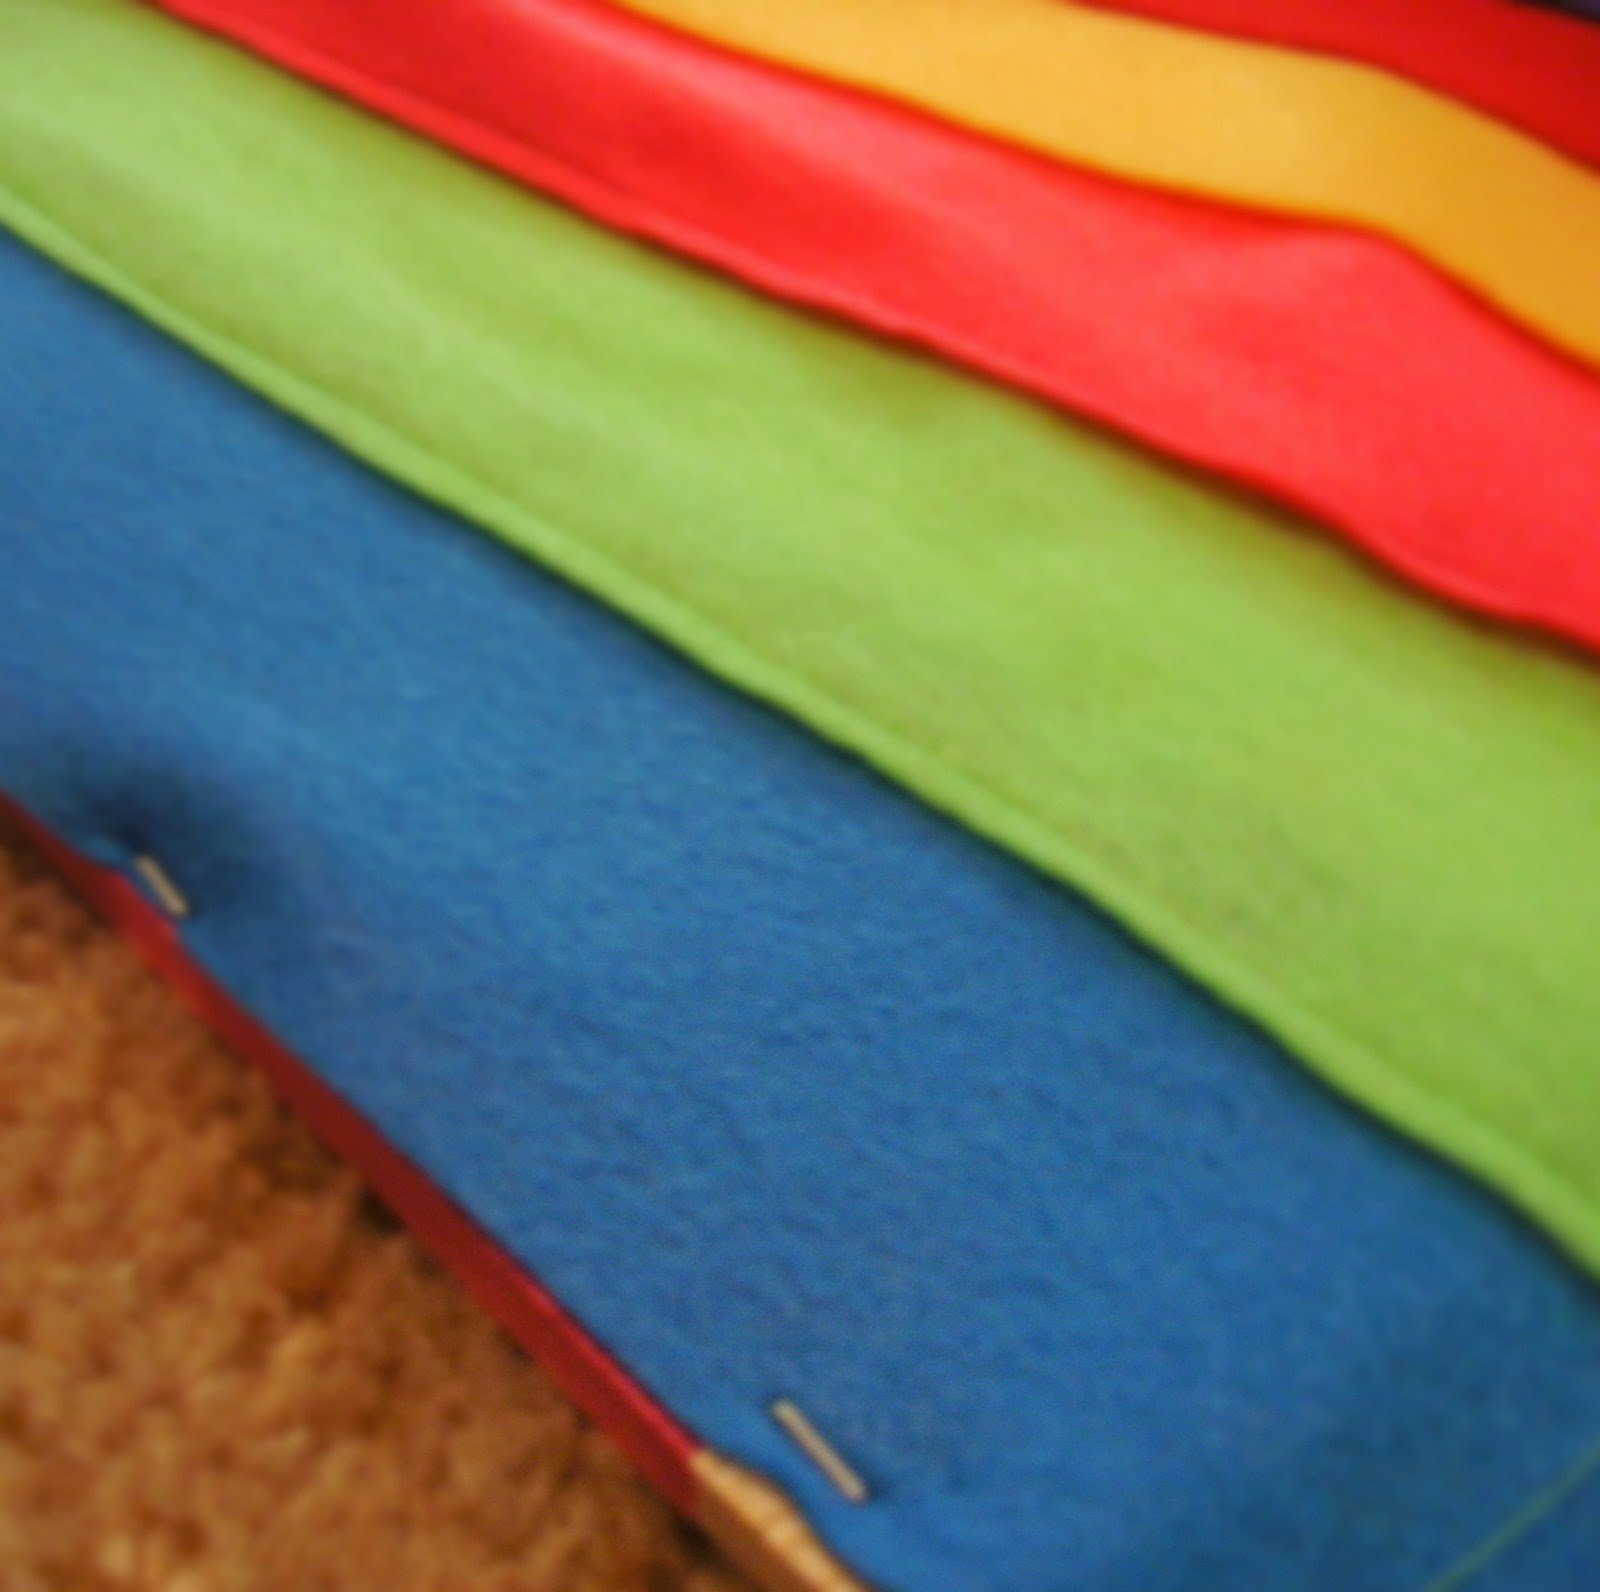
Flip the rug top over so that you can see the wrong side and the 1/2″ overlaps. Take the 1/2″ overlap from that first strip and staple it to the mat. Be sure to pull it taut so that you don’t get any unsightly wrinkles.
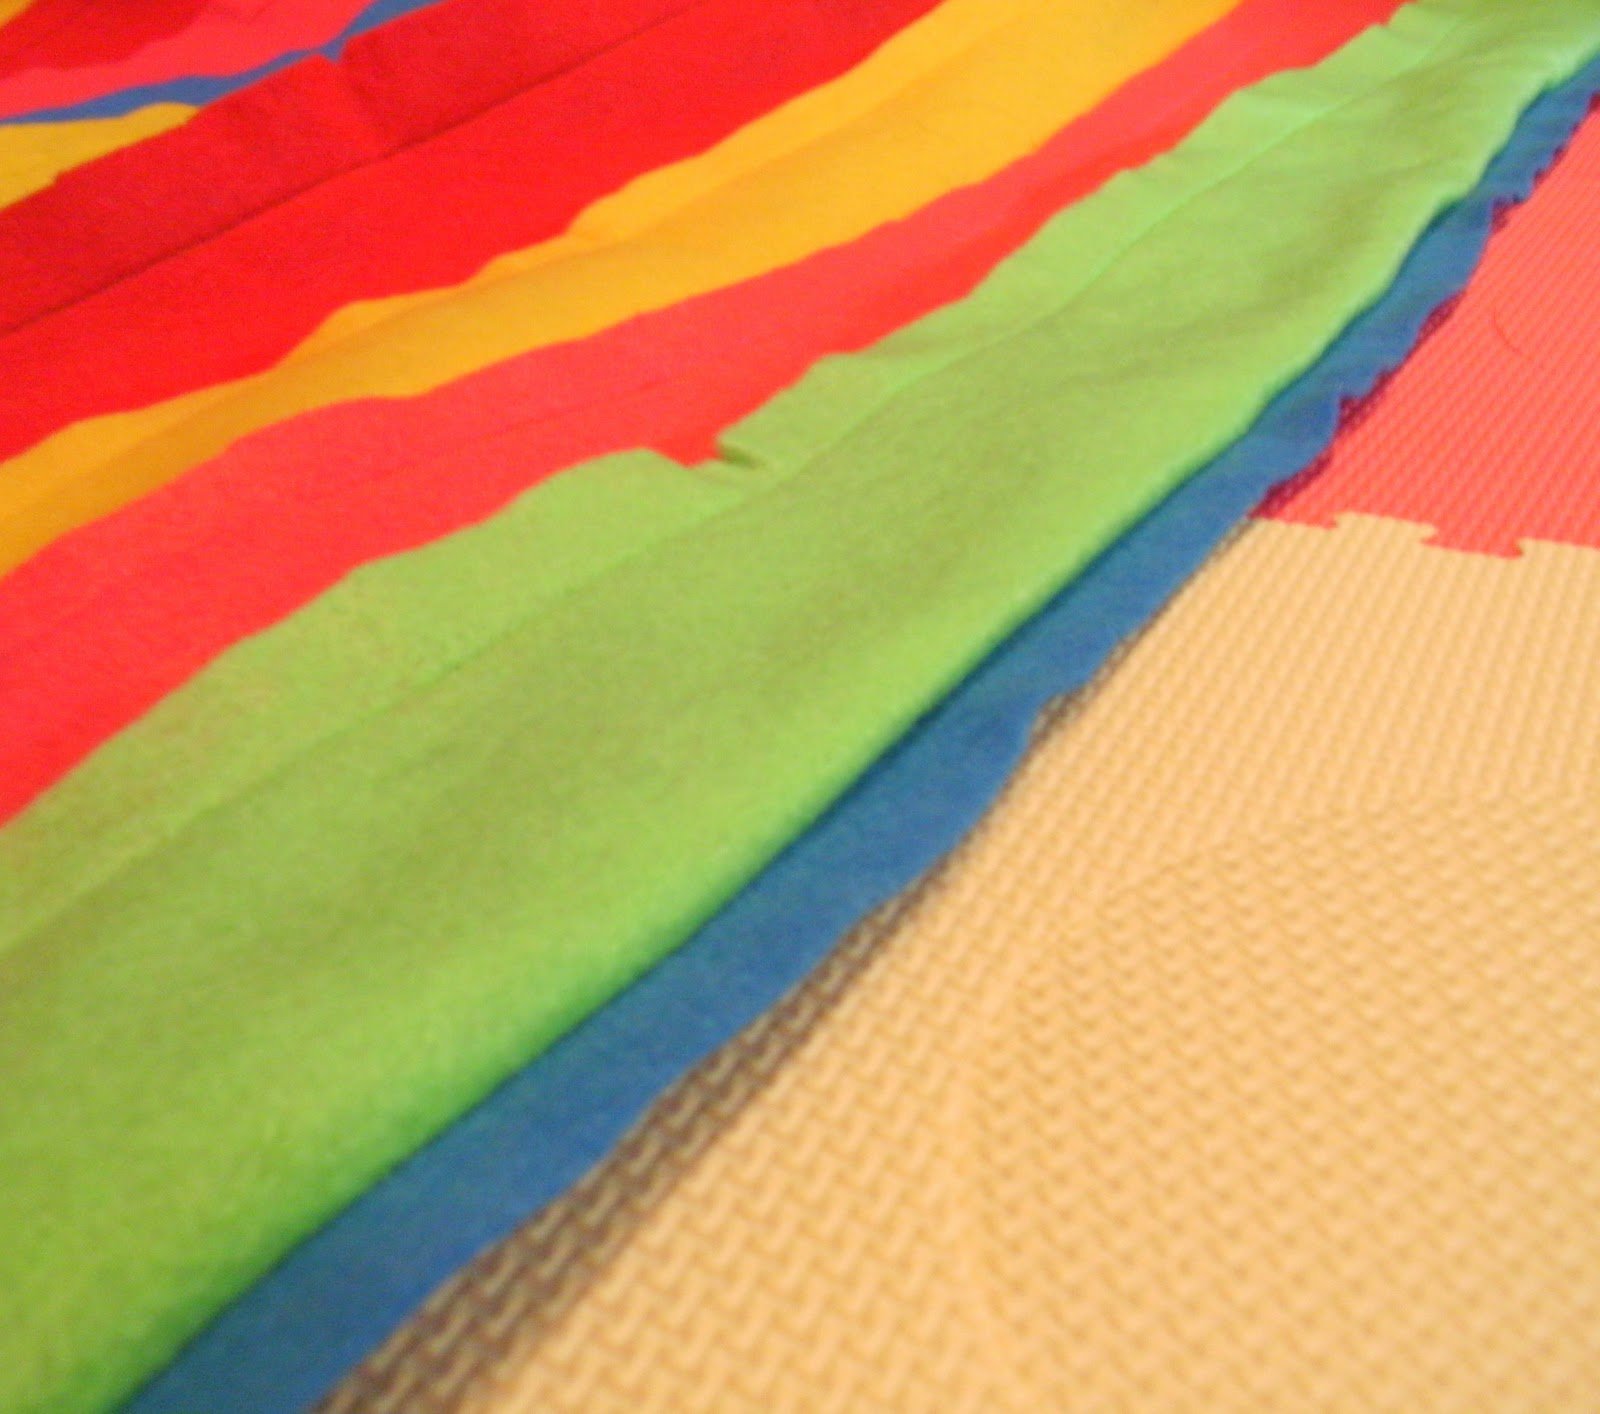
Staple every other strip. Lay two strips down – keeping the rug “flipped” up so that you can see the overlap of the strip. Staple gun that to the mat. Continue stapling until they are all secure.
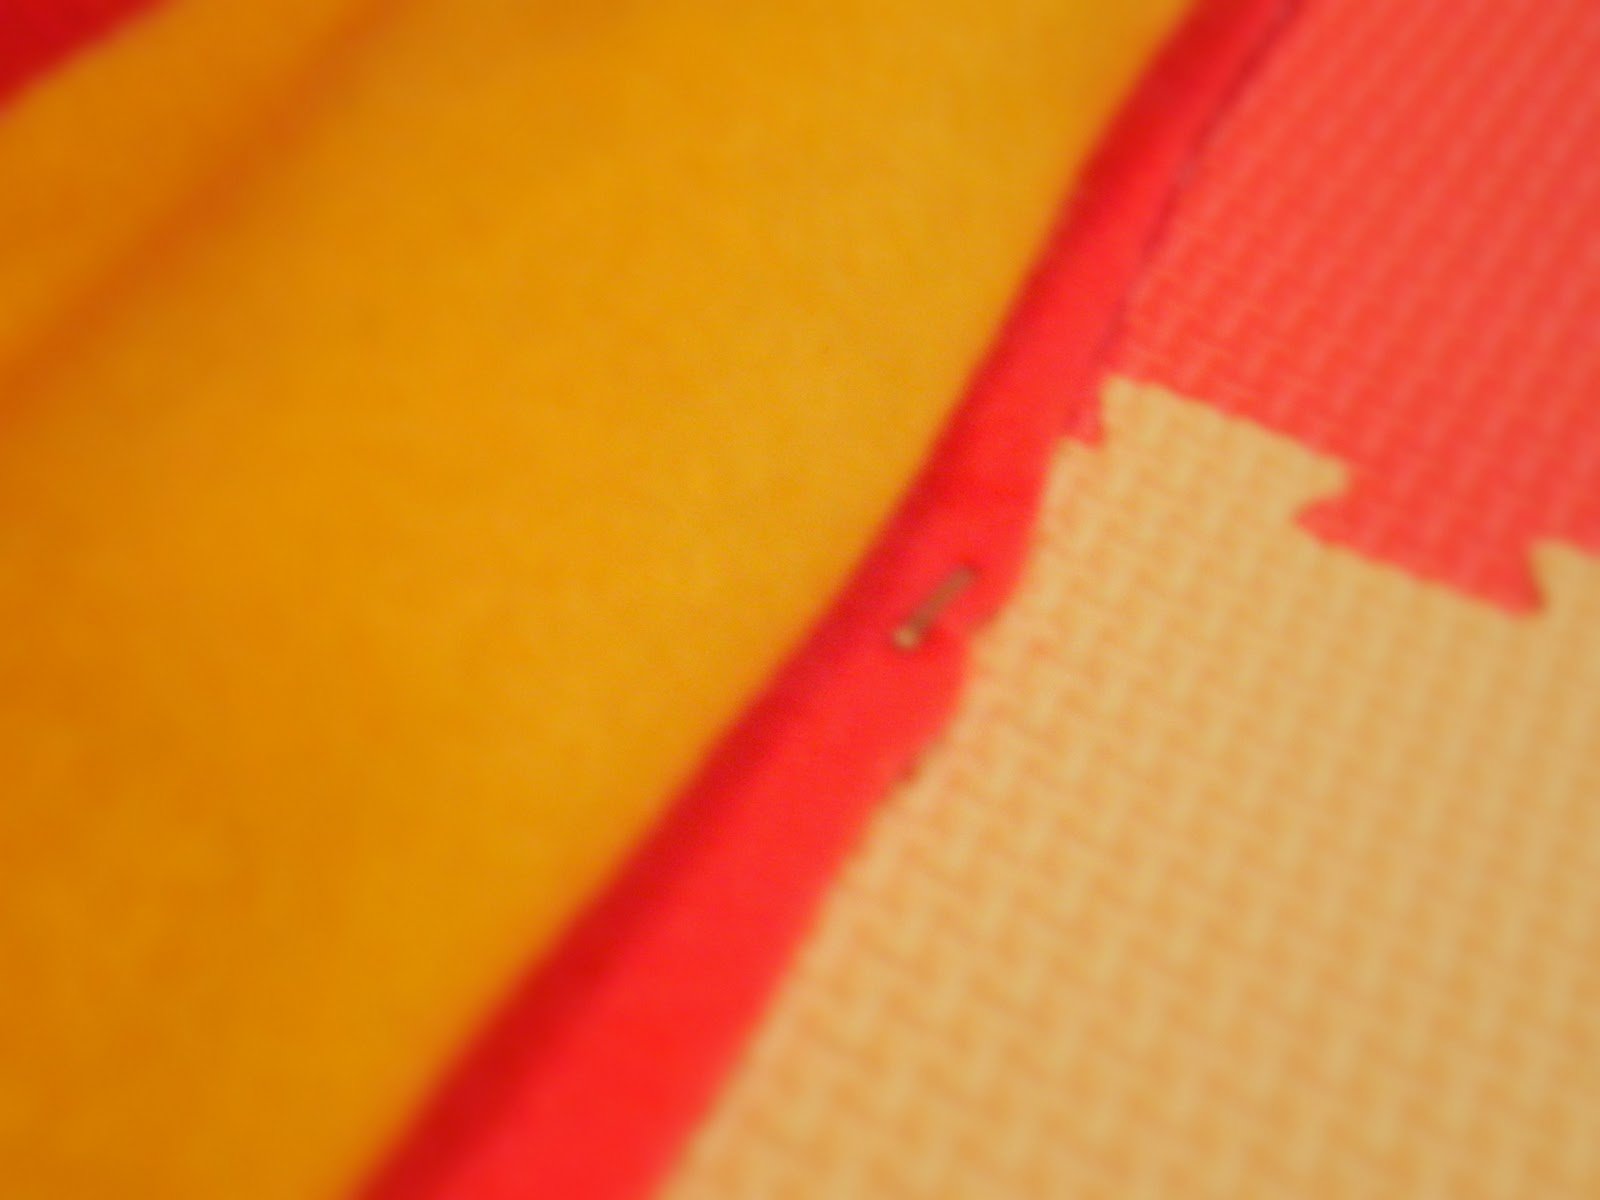
I used about 8 staples per strip.
Now that the strips are all attached,
trim the rug top to exactly the same size as the mat. Staple along the two sides and bottom edge. You will hide these staples with the trim. Heat up your hot glue gun. Pin the trim to the edge of the rug. The last step is to glue the trim around the edge. Use lots of glue since it is a rug and will be played on.
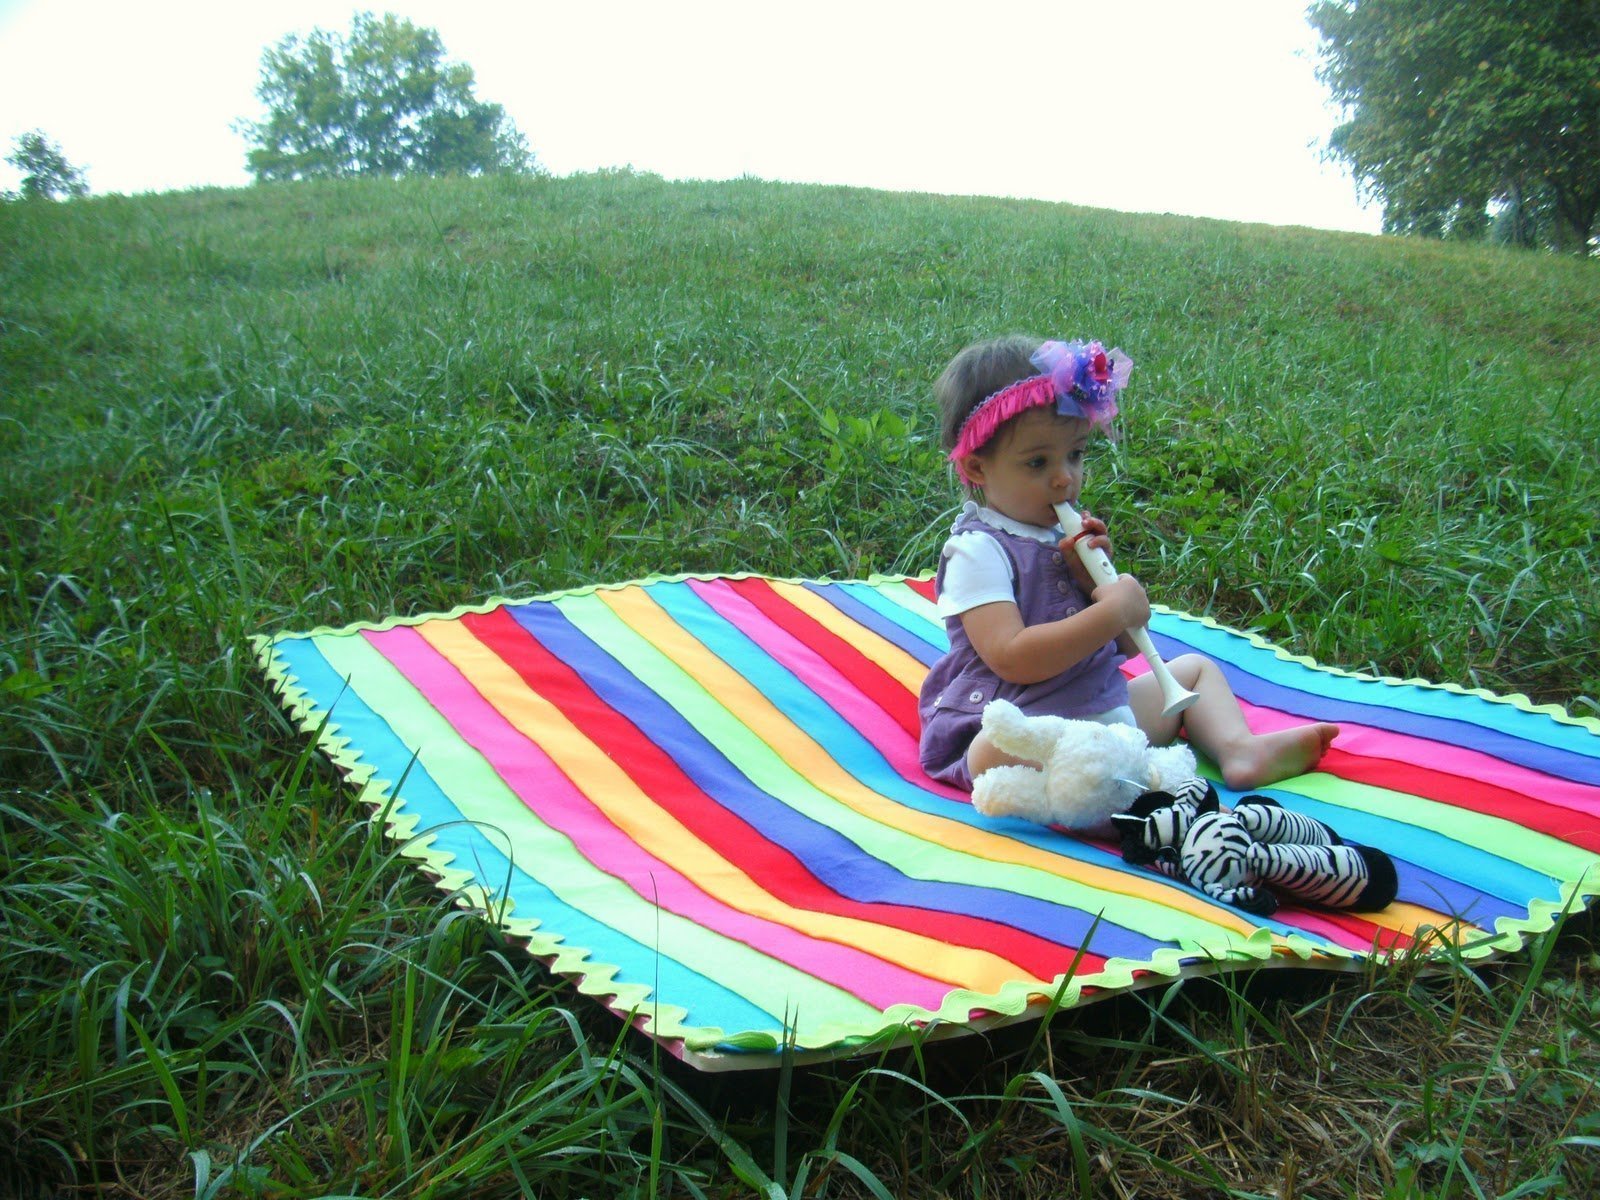
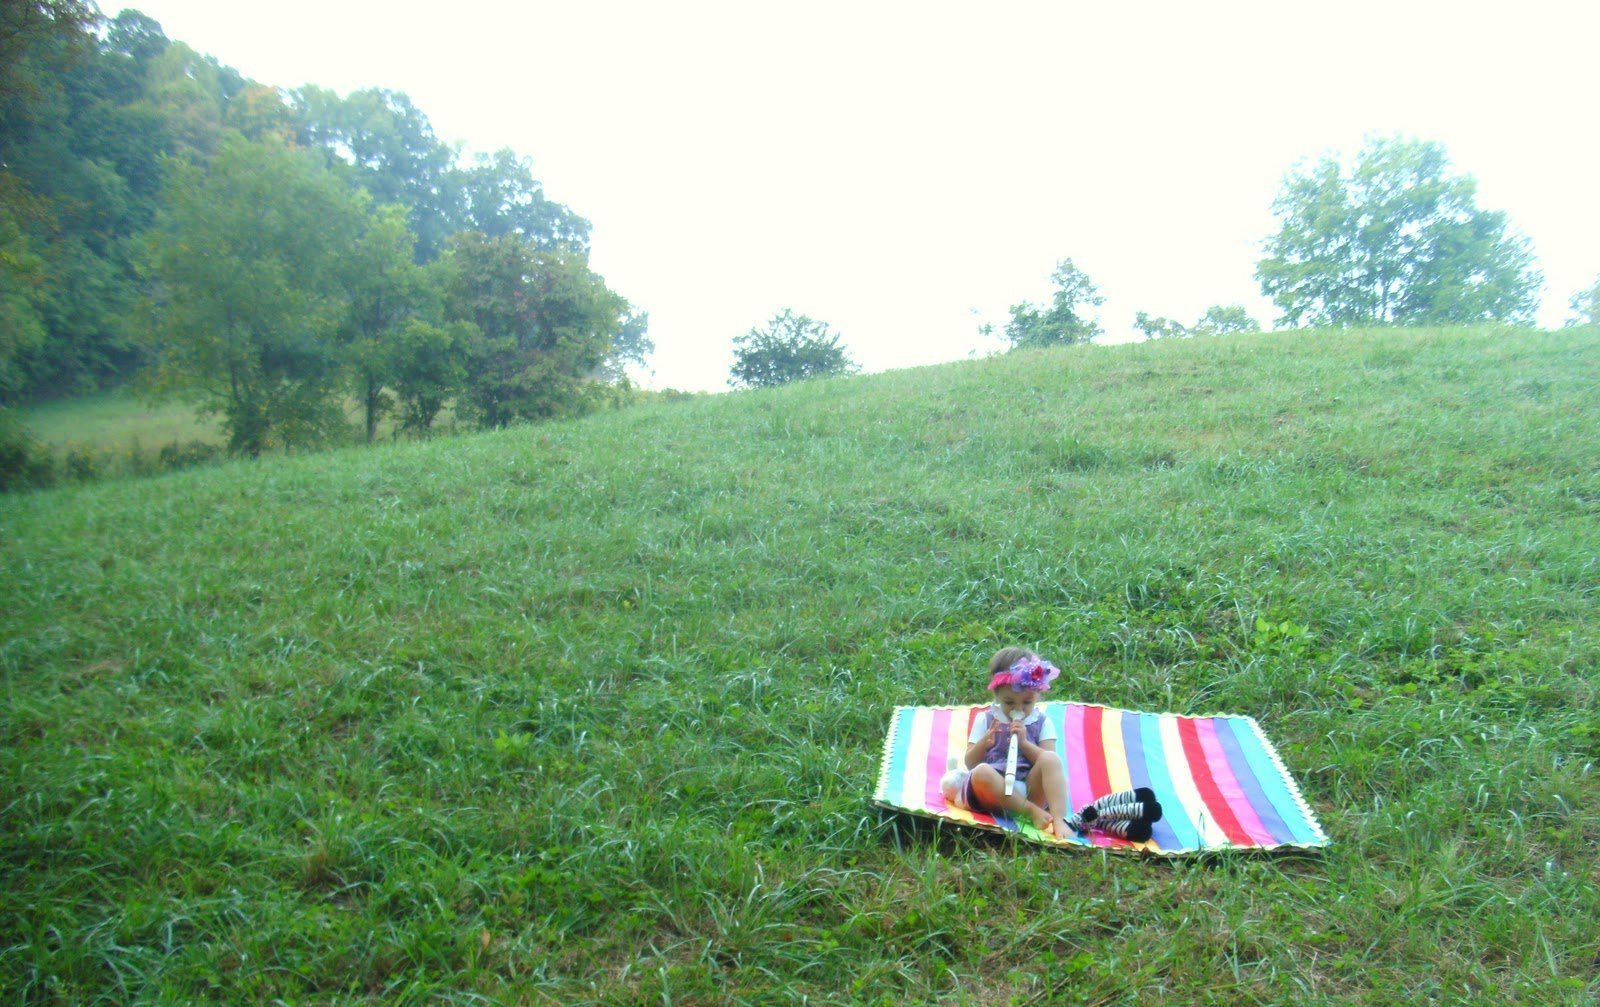
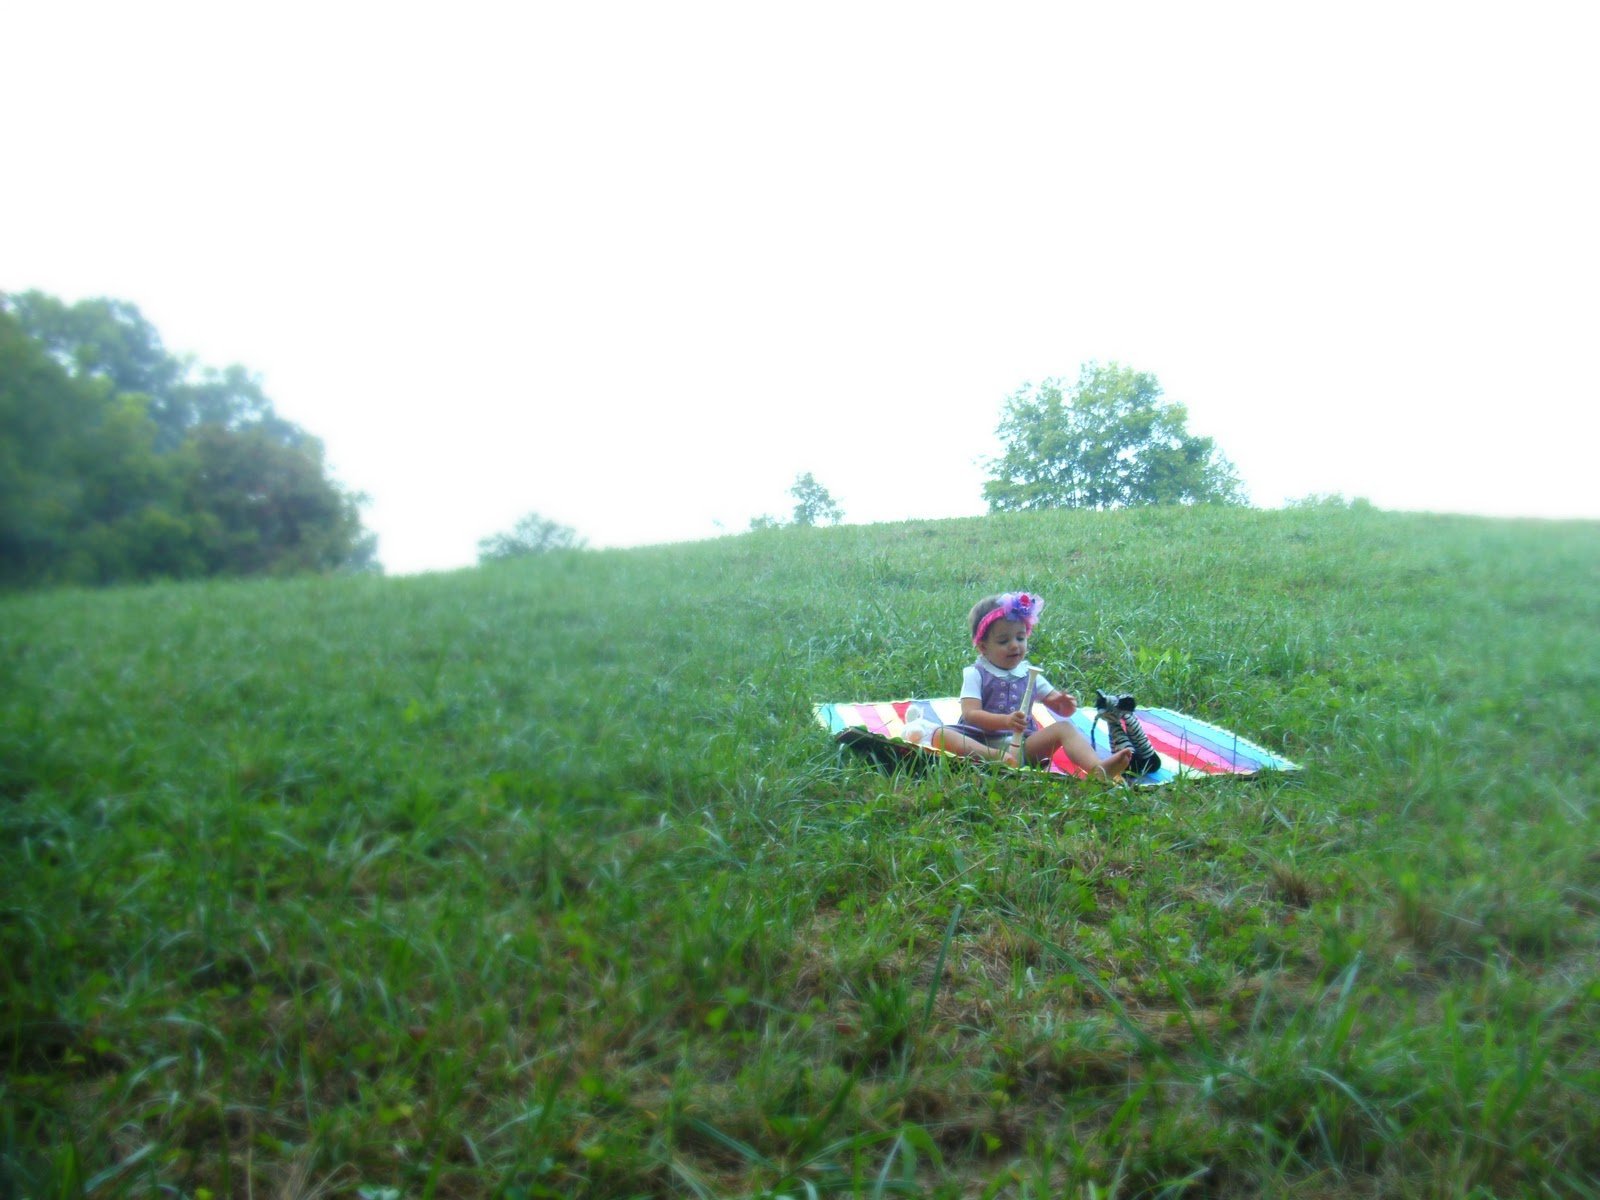
Once the glue has dried you are ready to play! This should brighten up any child’s room or playroom. Of course, if you used a more sophisticated color palate and trim, you could really put it in any room of your home….or in the middle of a field. Seems practical right?
Remember to leave a comment this week if you wish to win that Spooky wordy bunting up there! Happy weekend!
jessica