Do you ever feel like your loungy clothes are blah or frumpy? How does that happen?
I promise I buy cute p.j.’s – I just really really want to be super comfortable….so I guess I end up in baggy t-shirts and the same black yoga pants. Not too cute. SO for my trip to San Diego, I wanted something cute AND comfy to wear while lounging around the hotel room. I found this cami on Anthropologie, and I liked the shape and detailing.
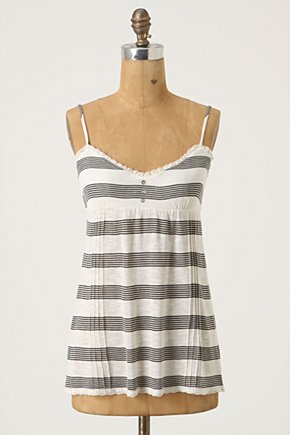
I had bought a basic T-shirt for $2.50 the other day and decided to turn that T into a cami. The result was comfiness embellished with cuteness. Wouldn’t you like to make one? It could also be a lovely gift for a bridal shower.
Here’s what you will need to make your own.
- 1 standard T-shirt in your size.
- Scraps of fabric
- Sewing machine/thread/scissors
- Pins/water soluble pen/yard stick
- 1-2 yards of cute embellishment – I used tiny velvet rick-rack
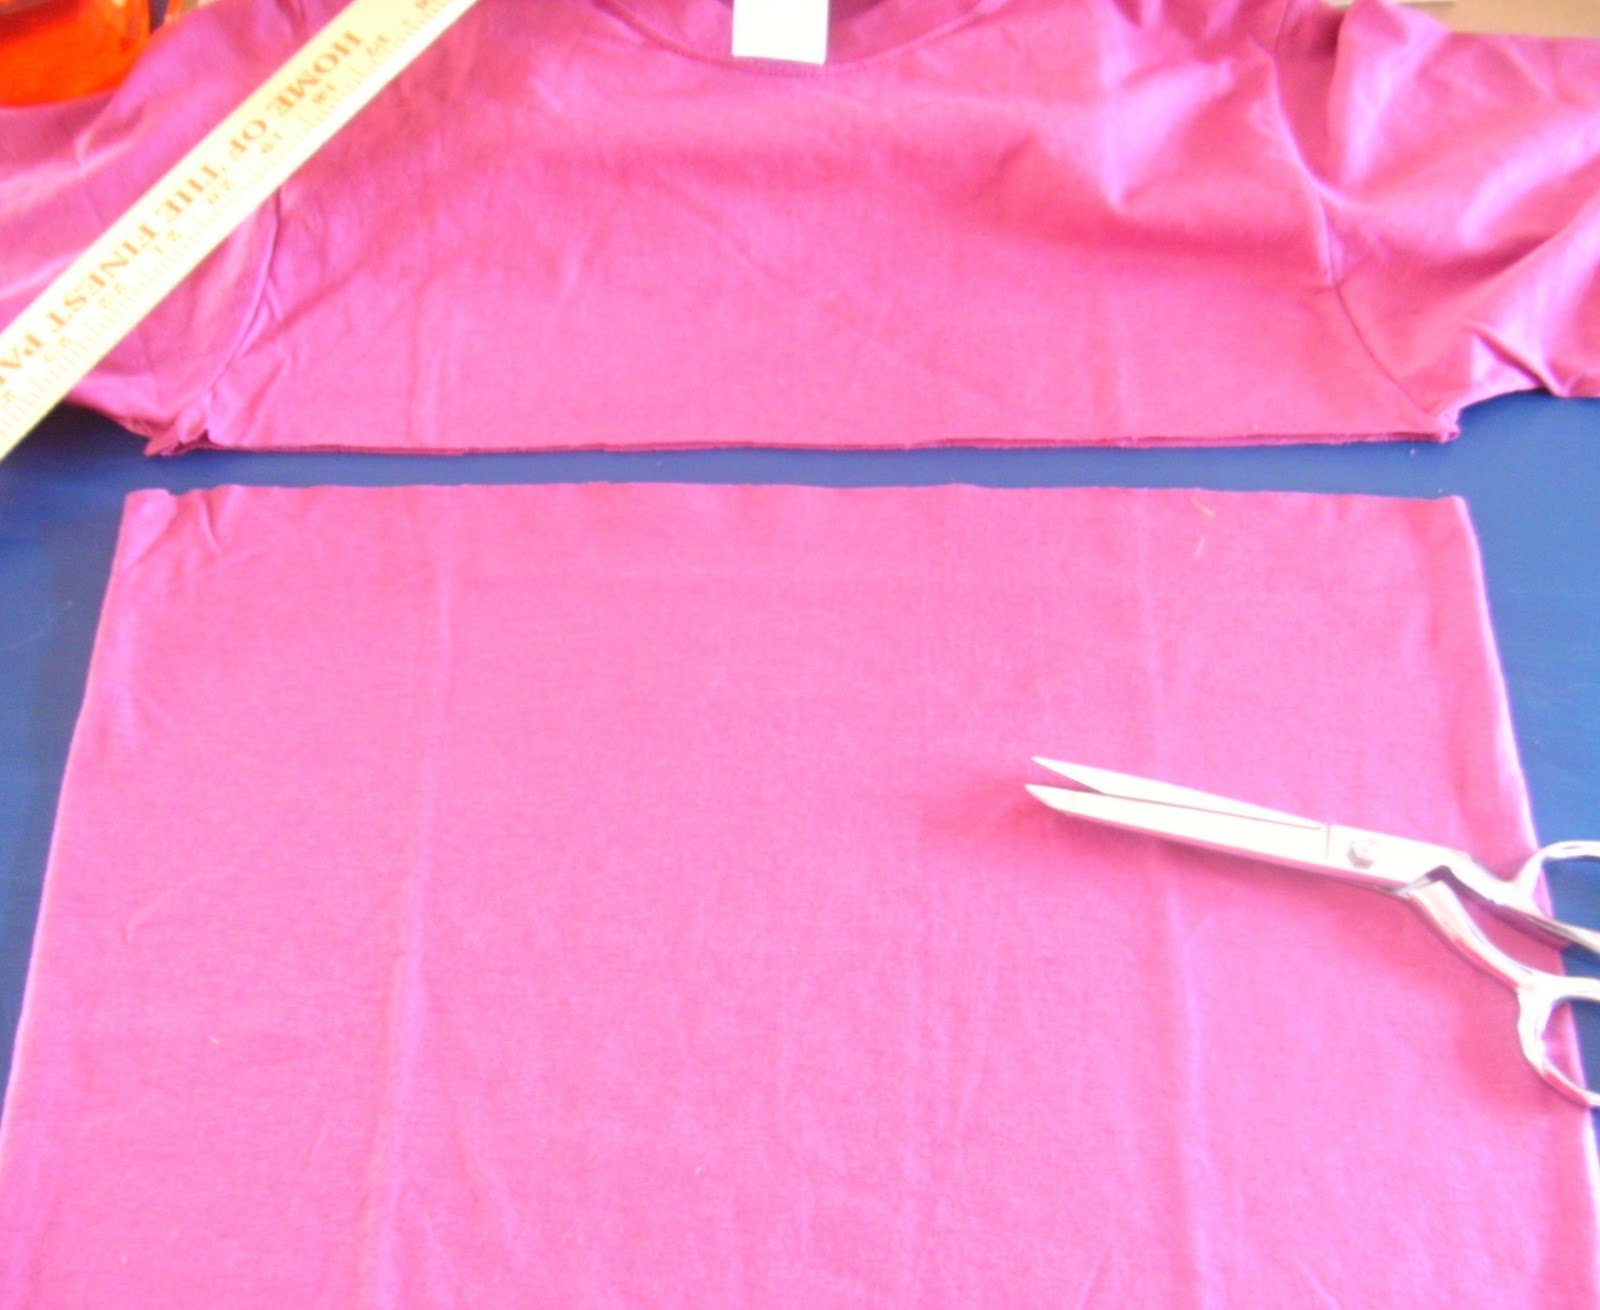
- Step 1: Cut the T-shirt straight across from armpit to armpit. Hold on to that top part – you will use it later.
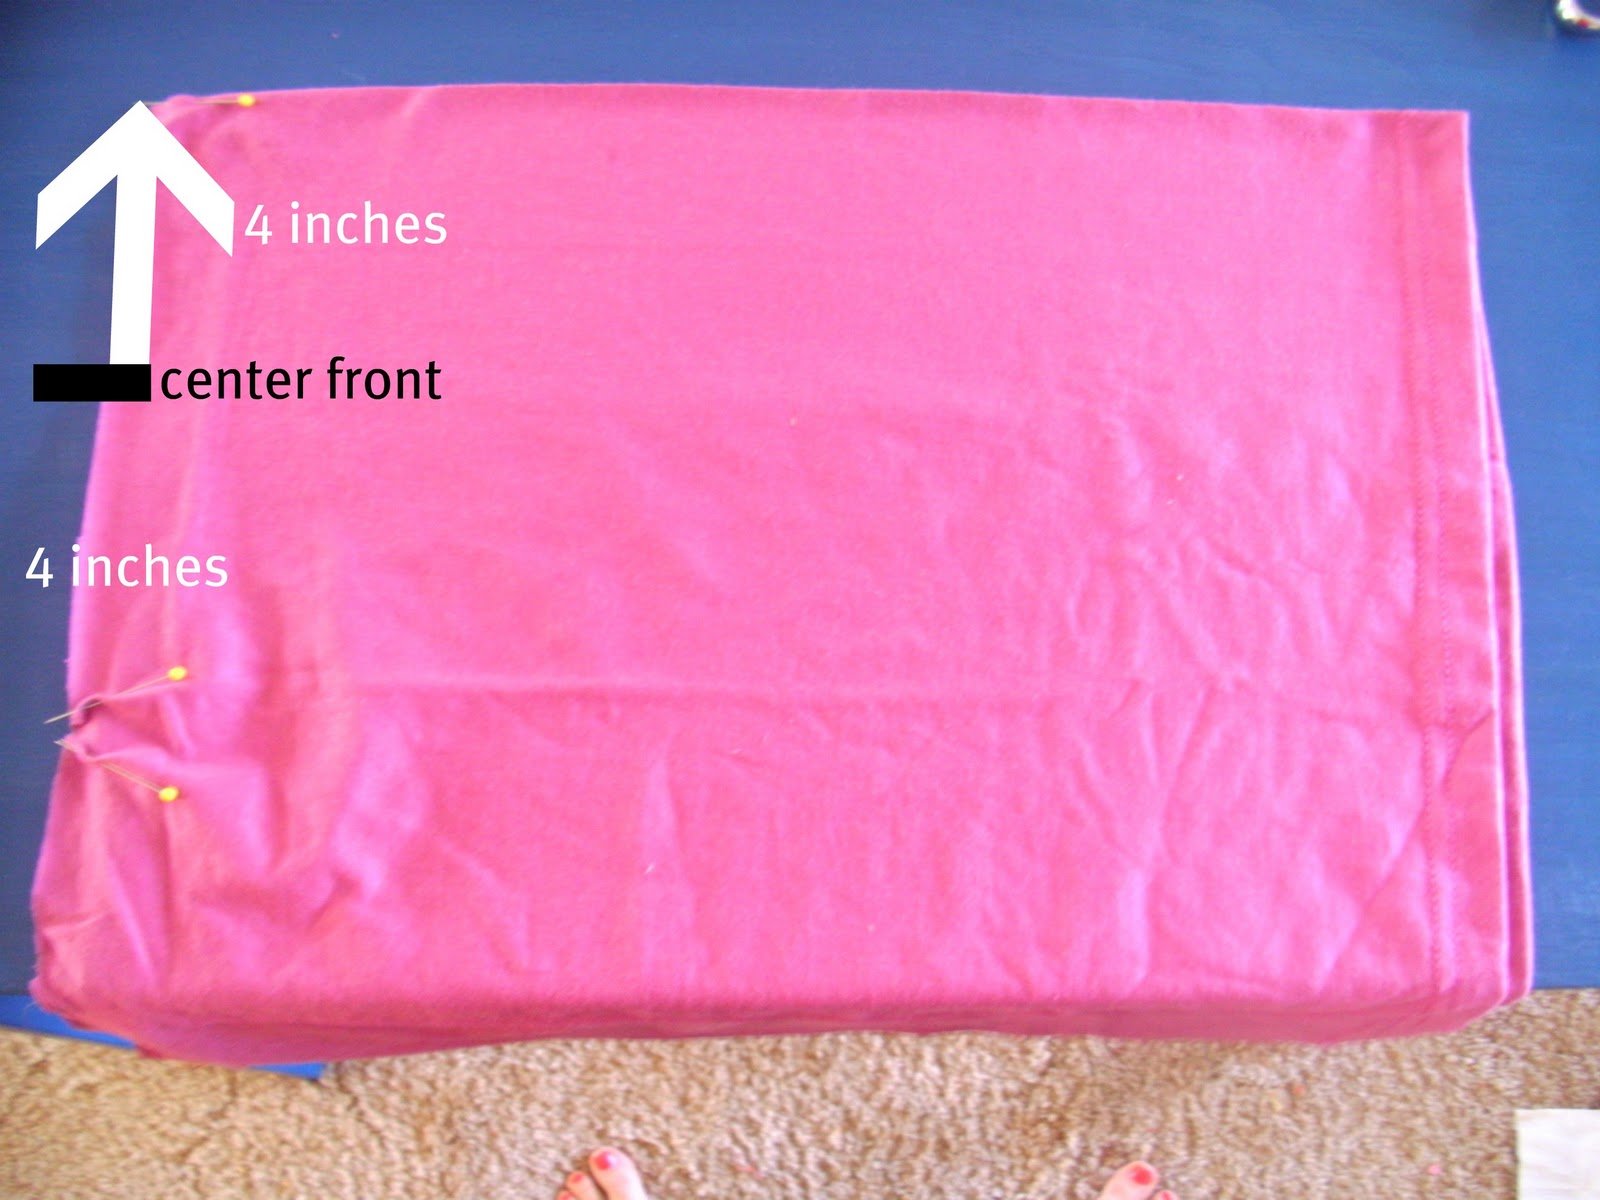
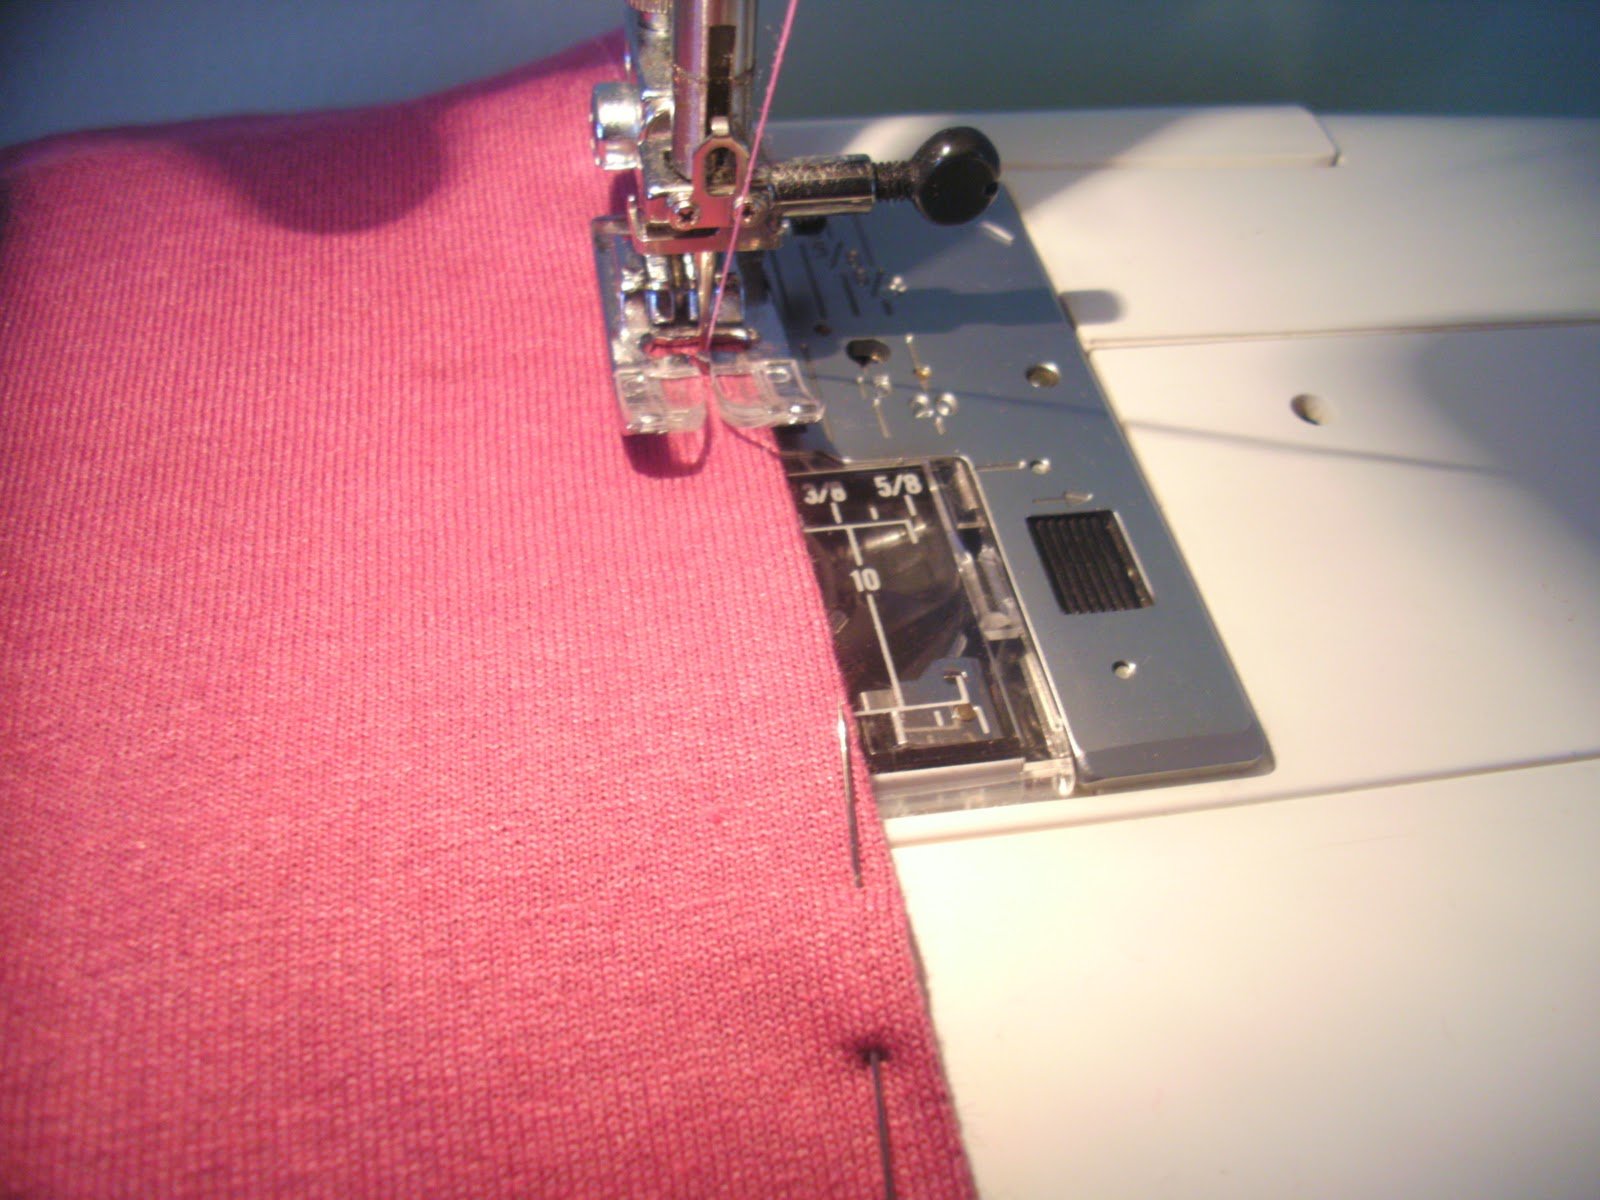
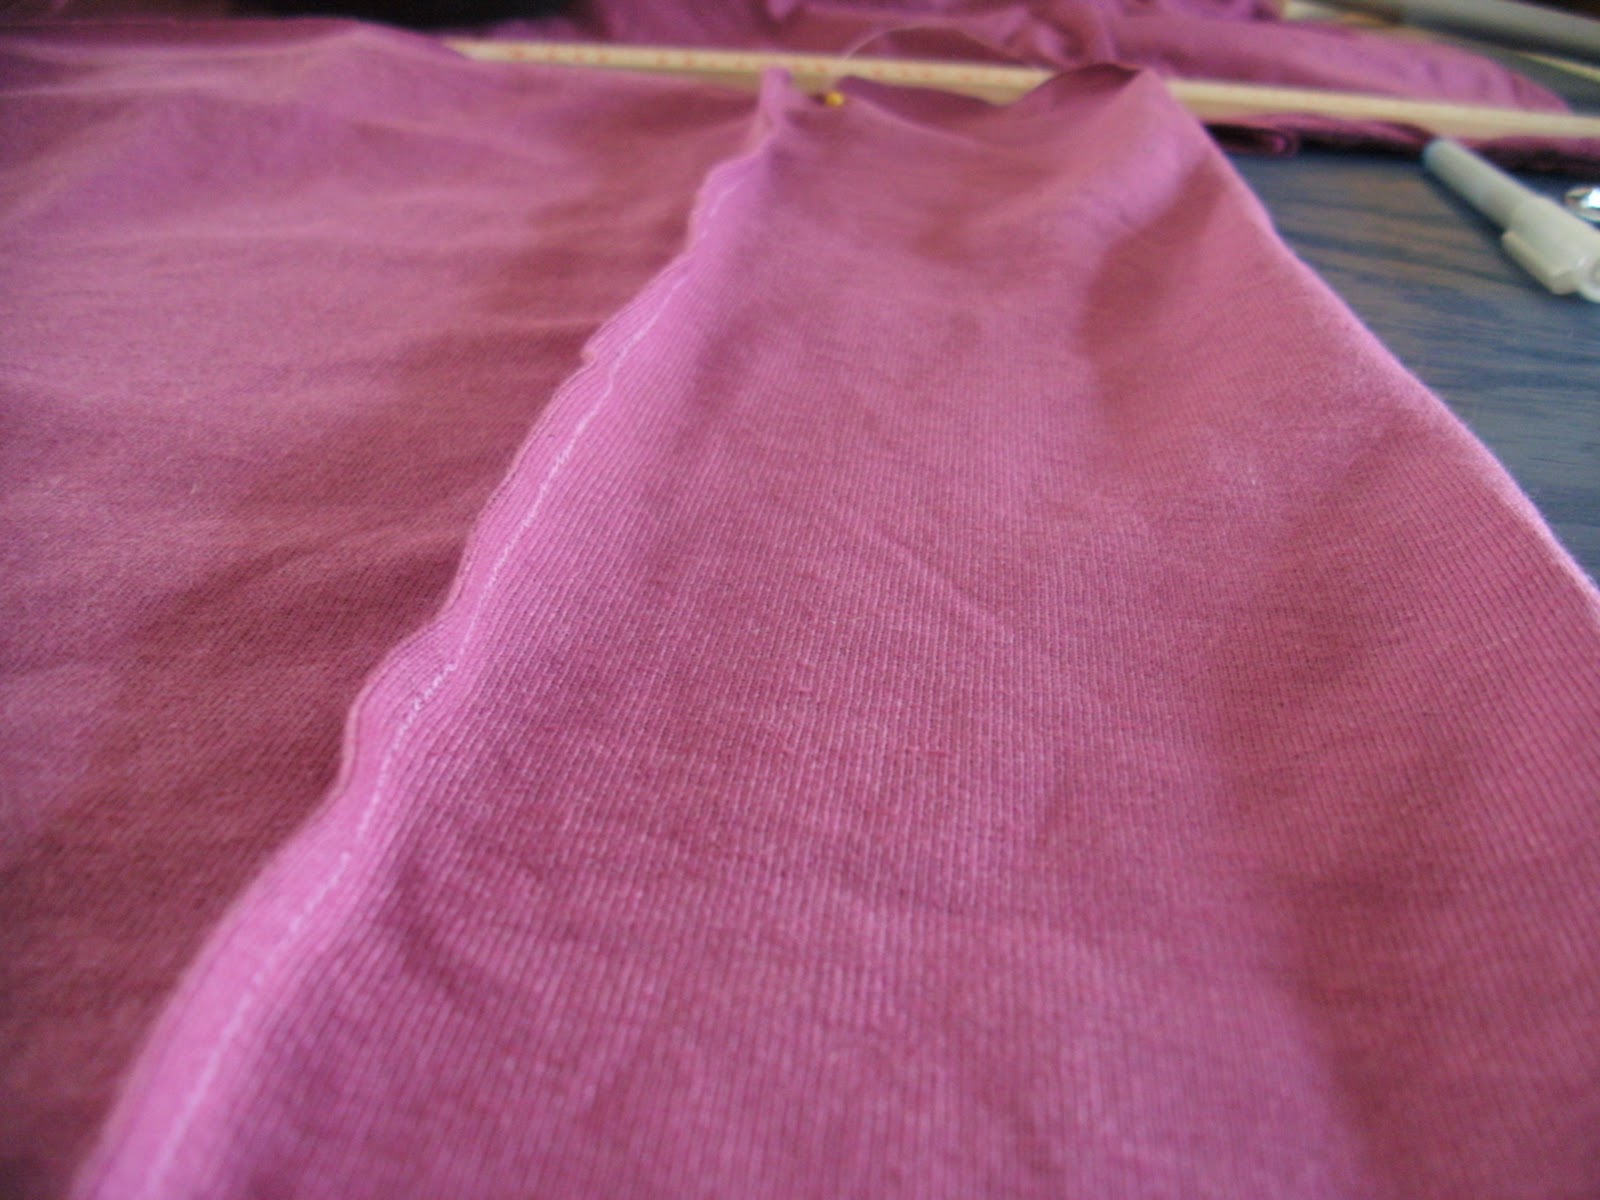
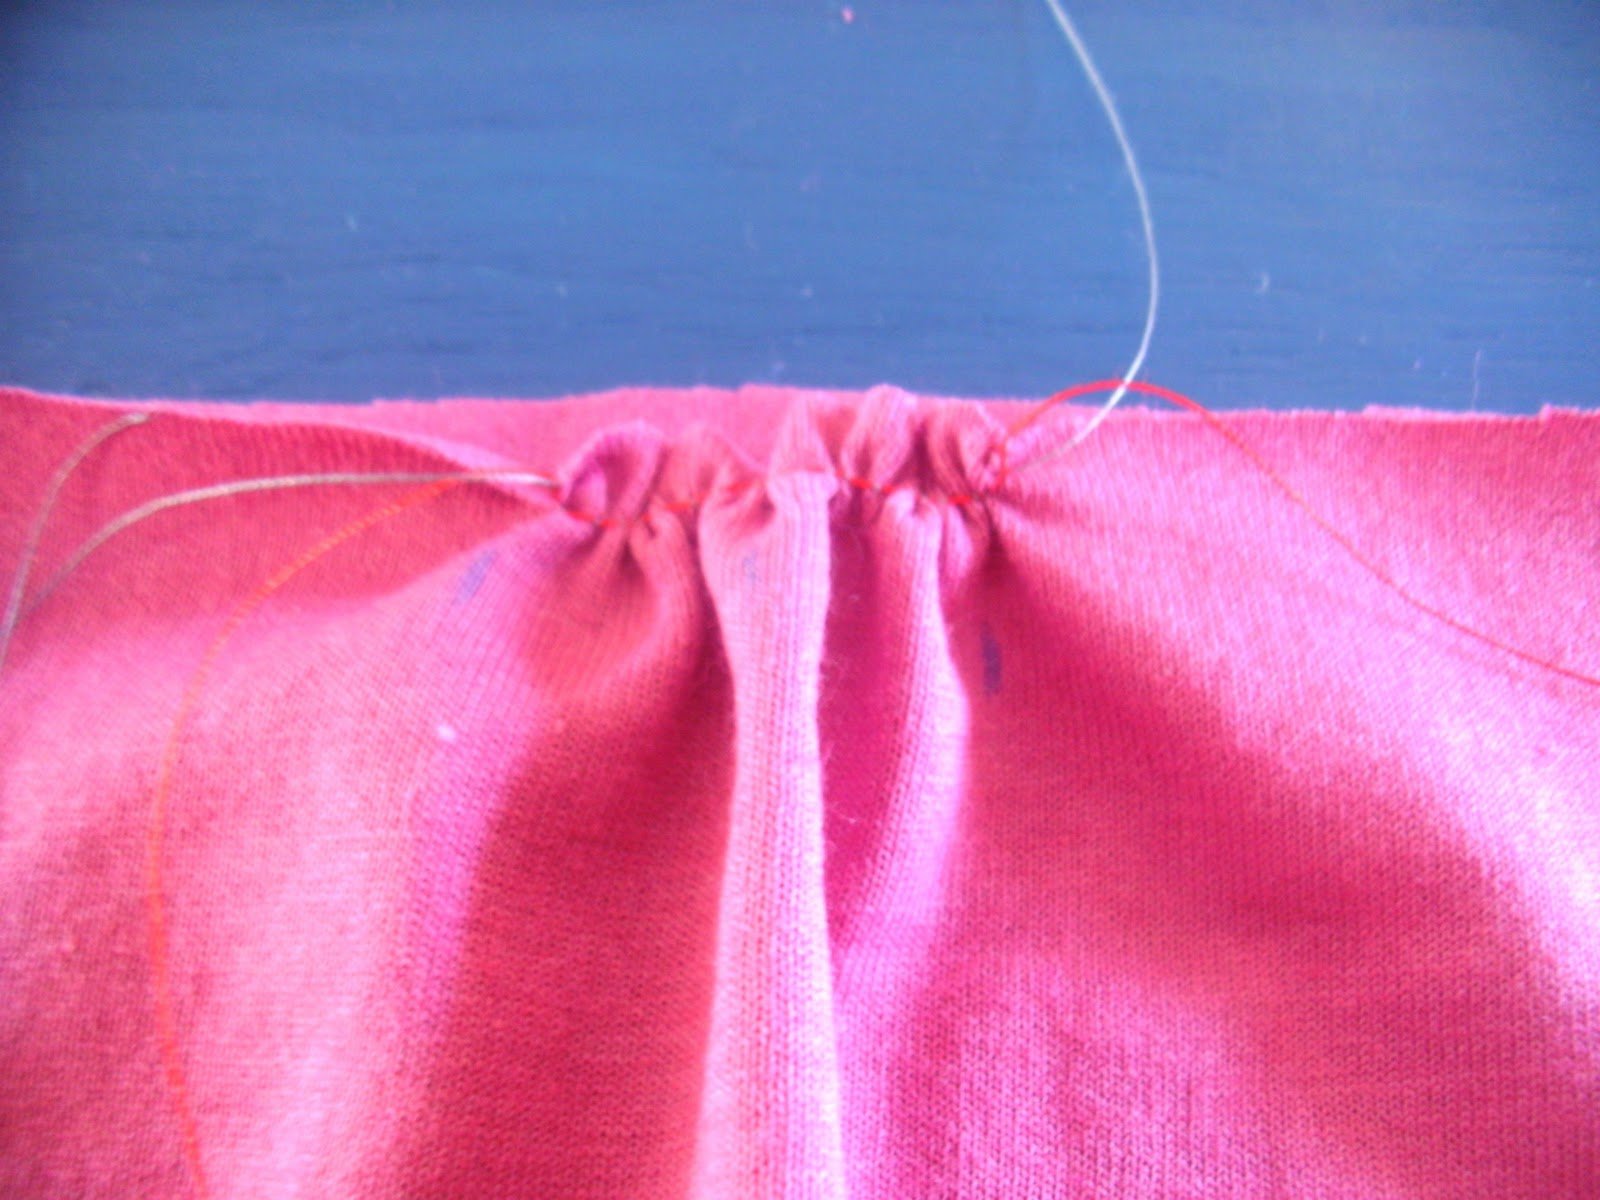
- Step 2: Measure the front center of the cut top. Make a mark. Then make a mark 4” to the left and right of the center. To make the first right tuck, fold the shirt at the right 4” mark all the way down to the hem.
Press well. Sew along that pressed fold at about ¼” all the way down.
Open it up.
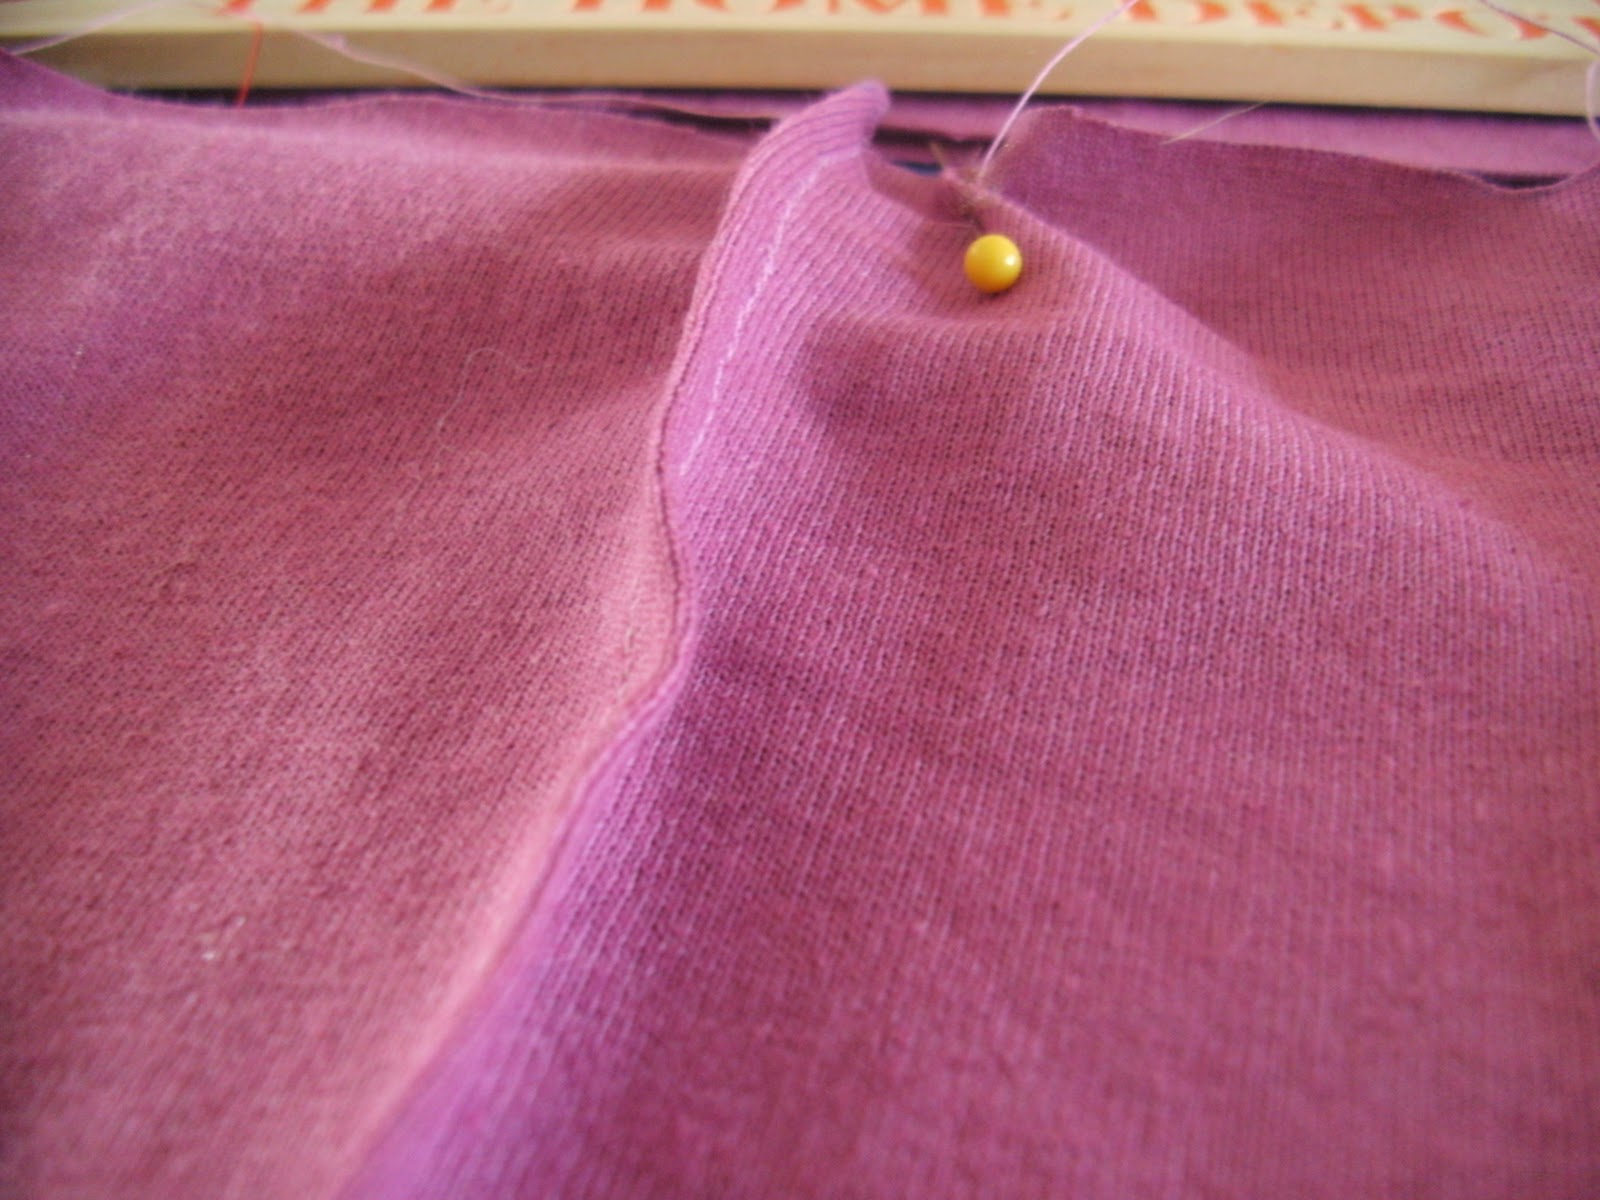
Make a mark with a pin about ½” to the right of the first tuck. Fold it at that mark all the way down to the hem. Press and repeat the stitching.
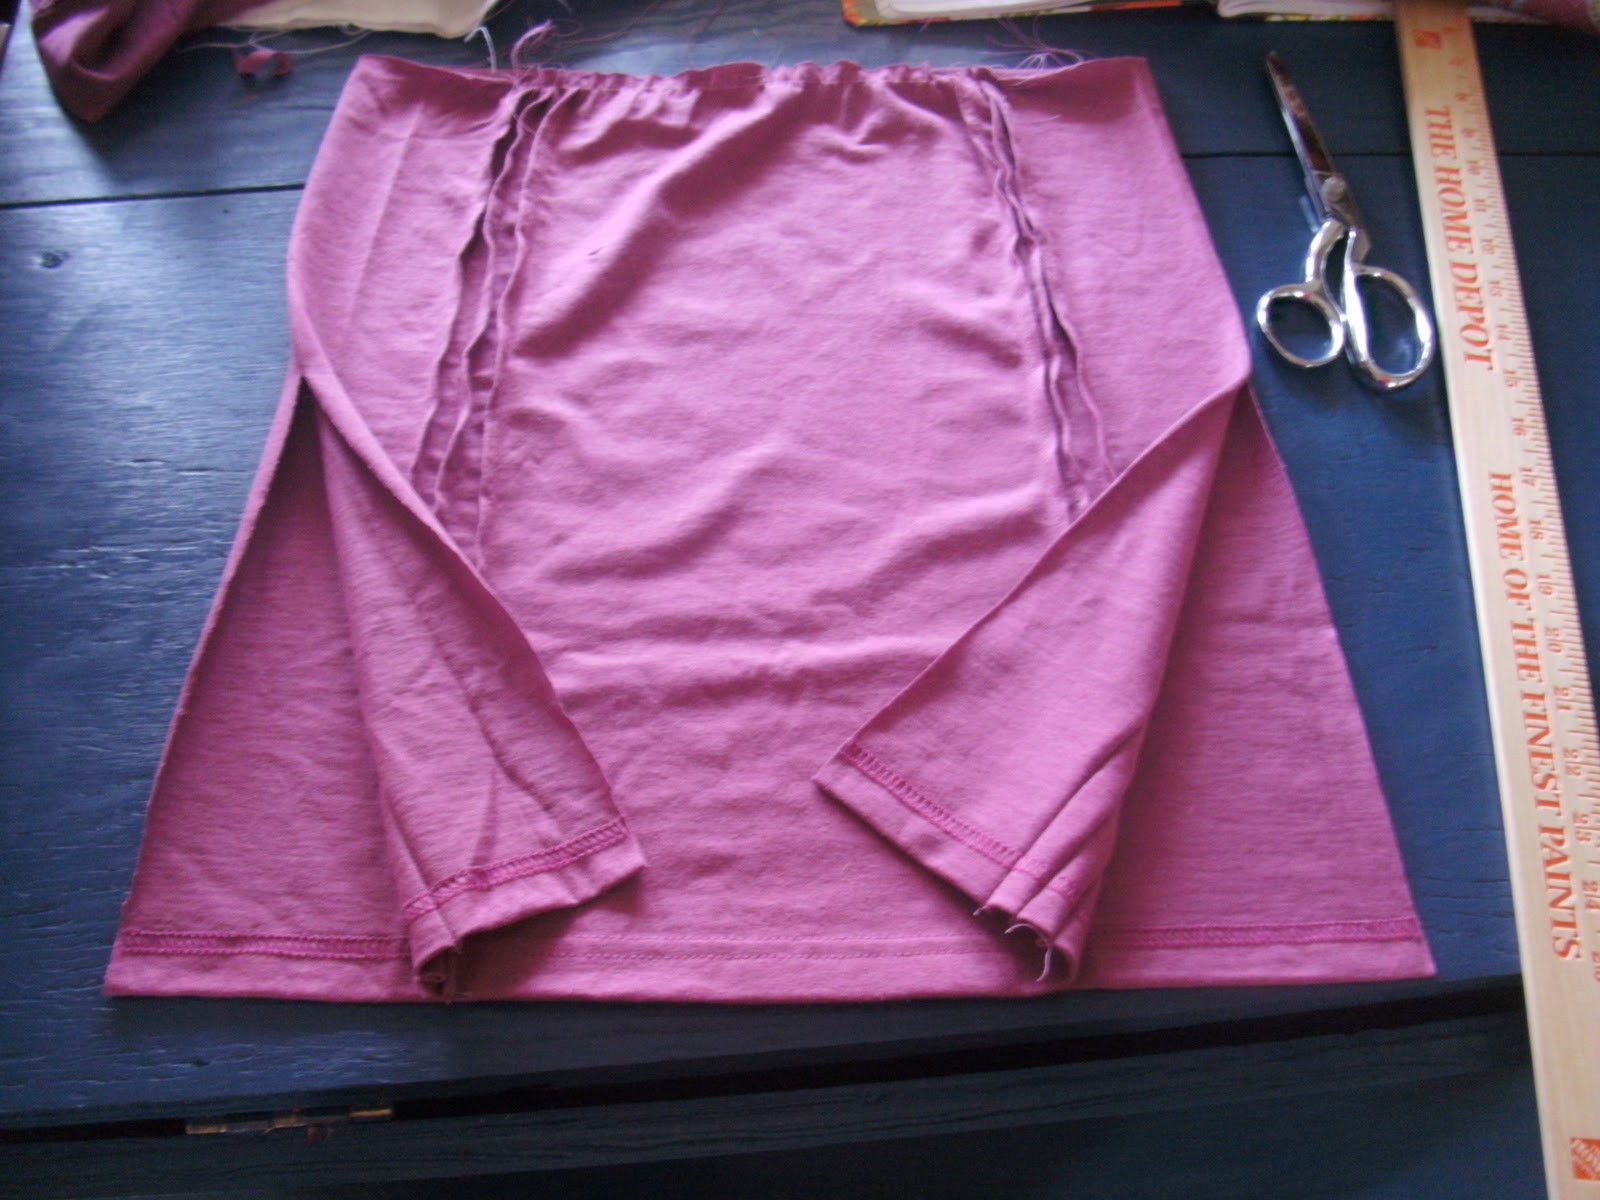
Do this one more time. You should have 3 tucks on the right side. Now repeat this process starting with the left marking. When you finish it should look like this: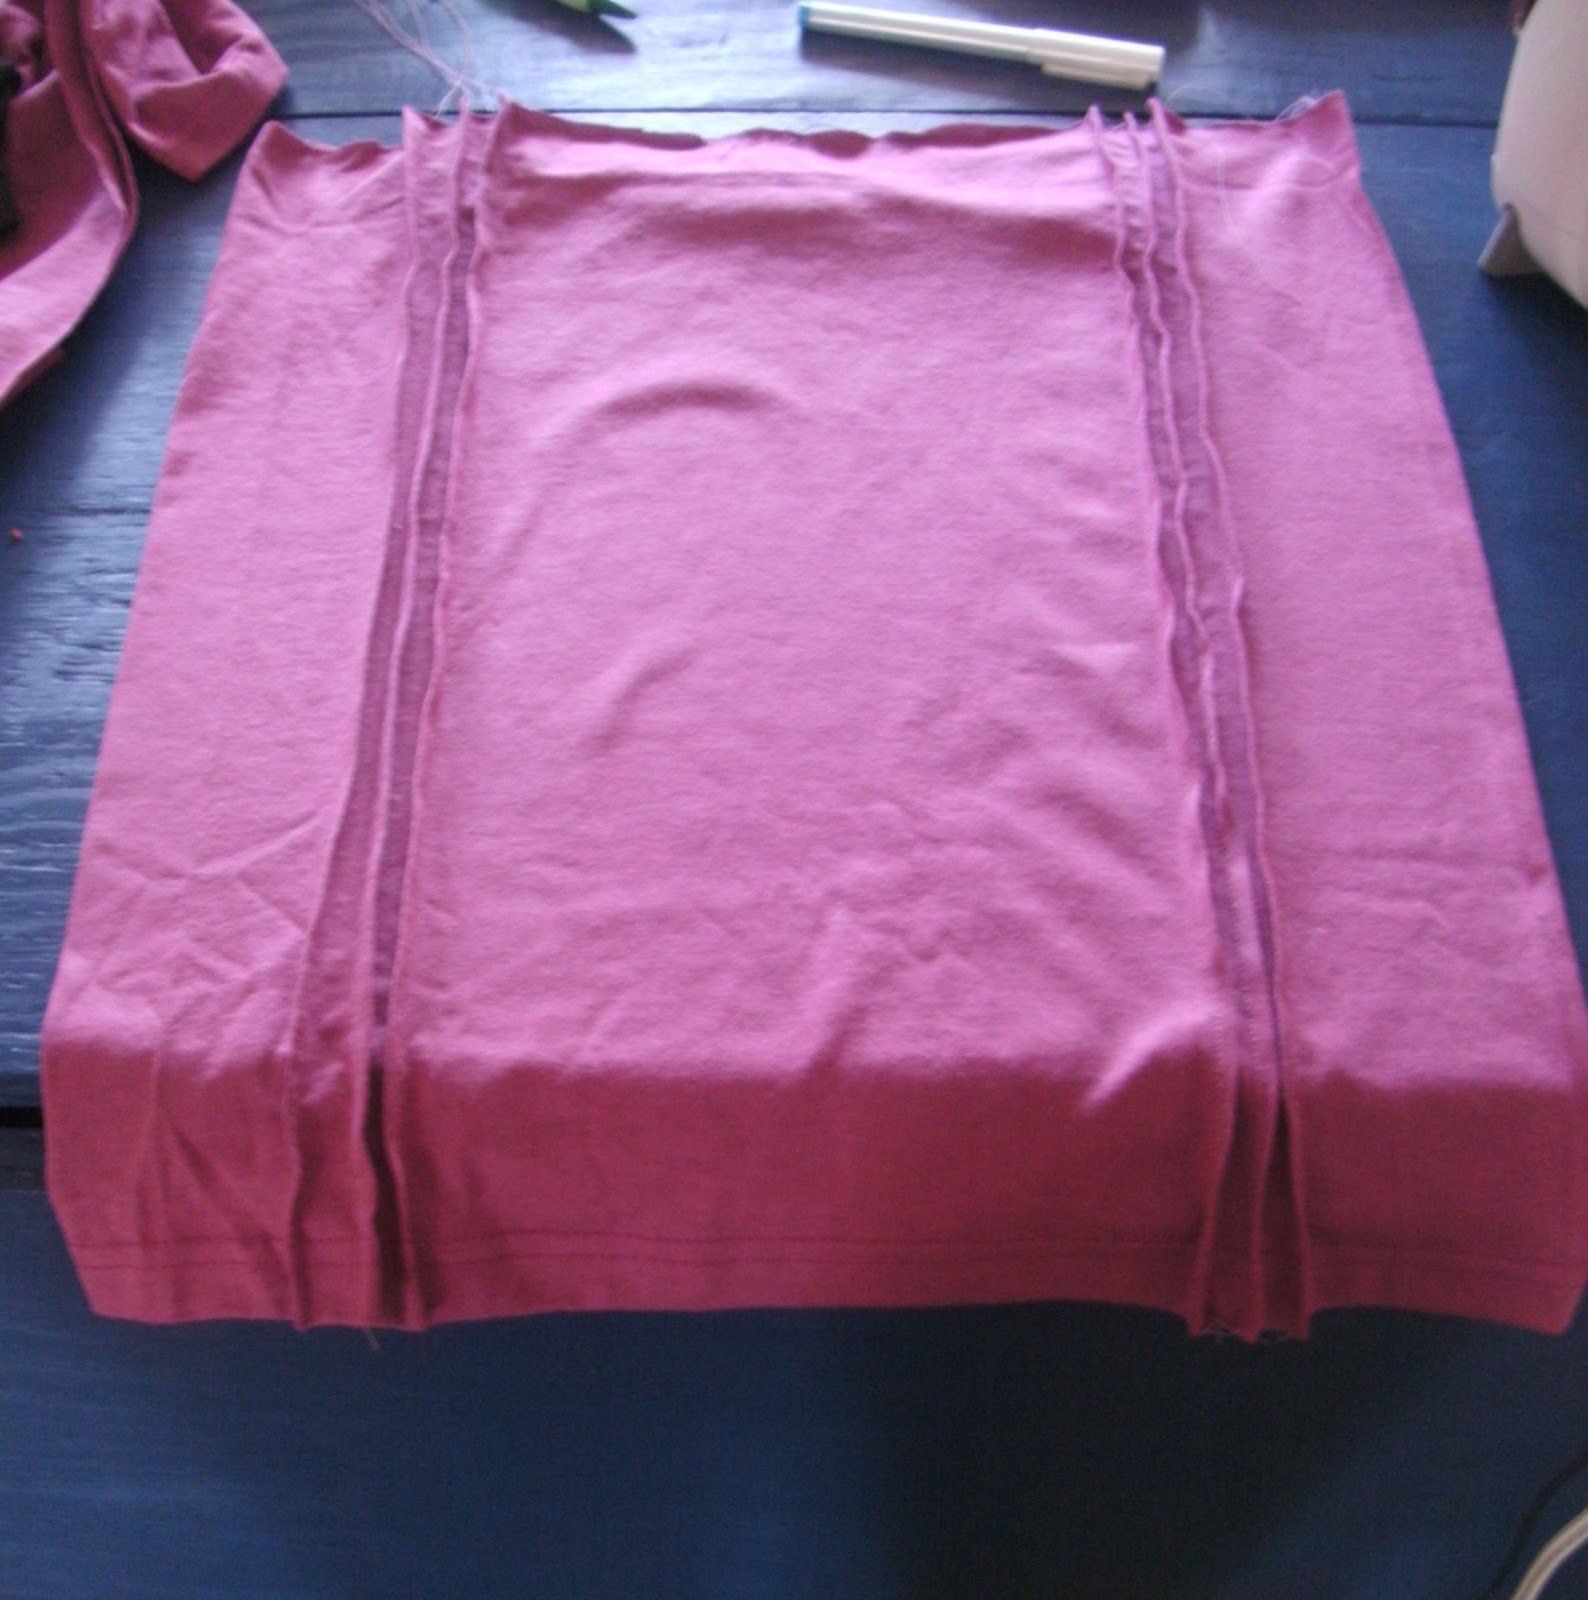
- Step 3: Using a basting stitch, sew along the cute edge from the last tuck on the left side to the last tuck on the right side. Gather this stitch slightly and tie off the ends. Press it well.
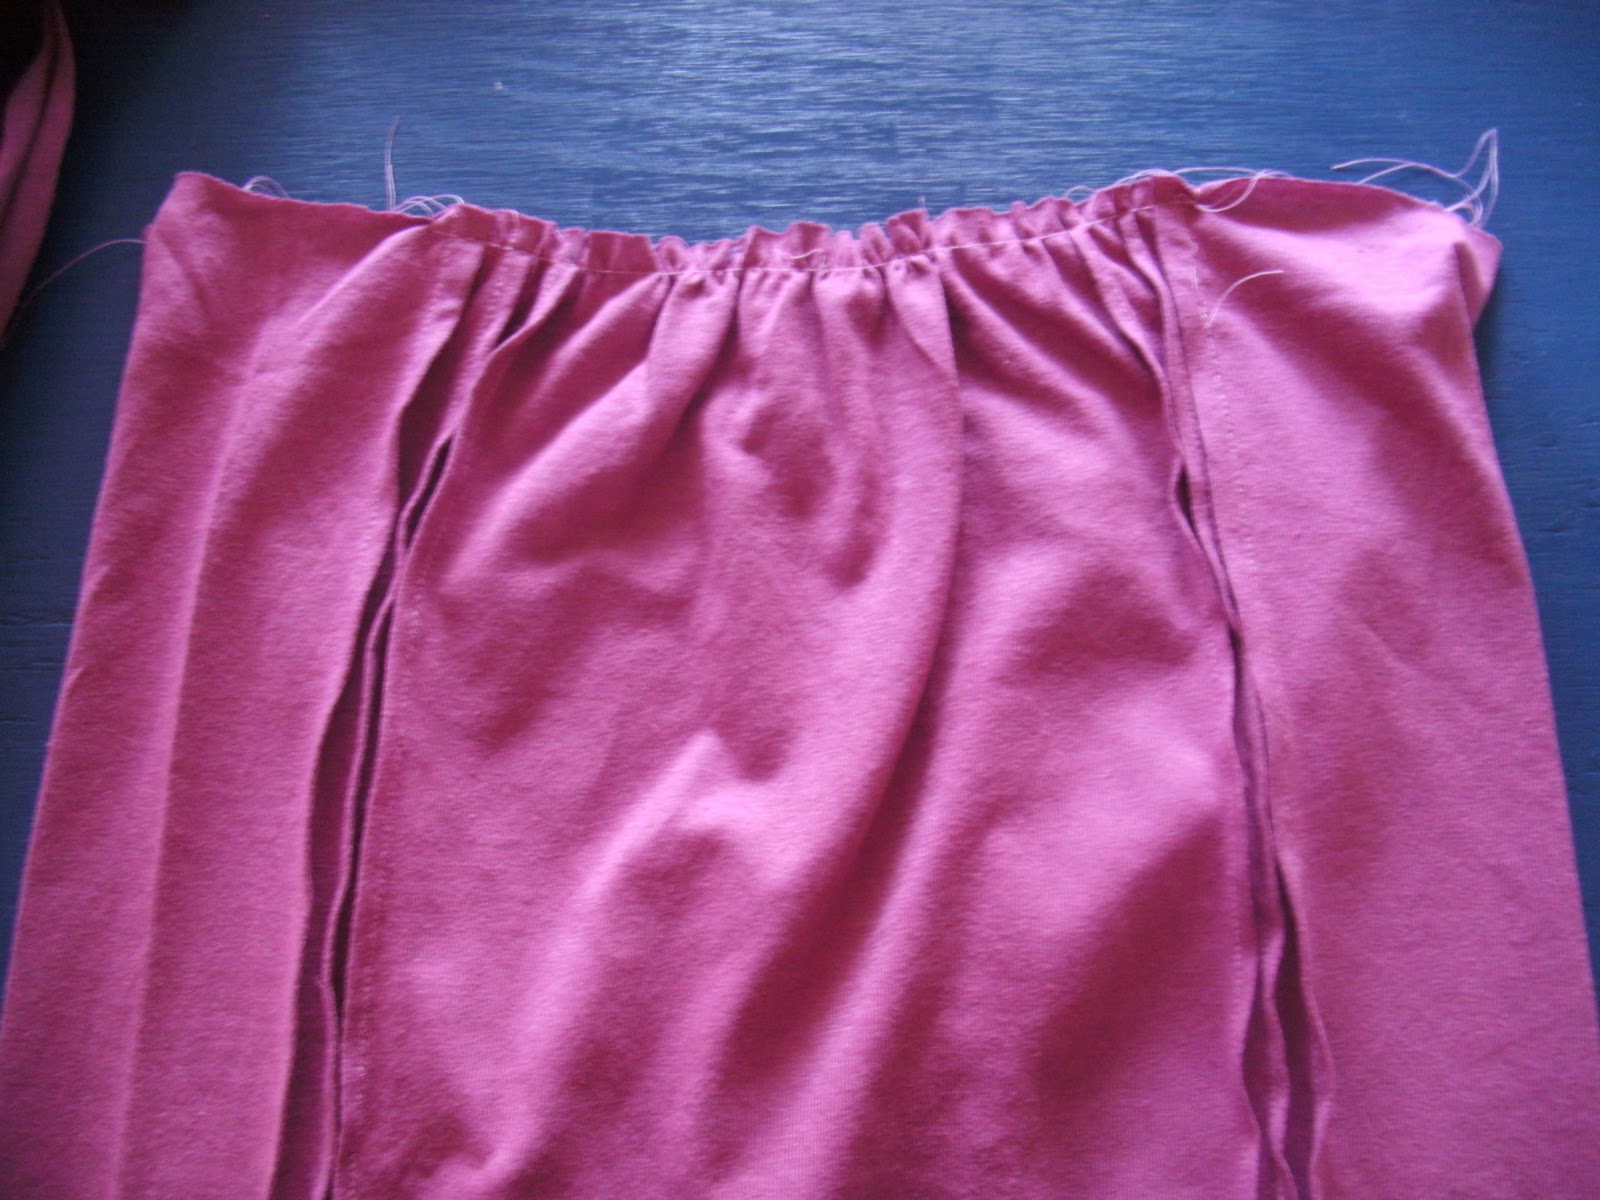
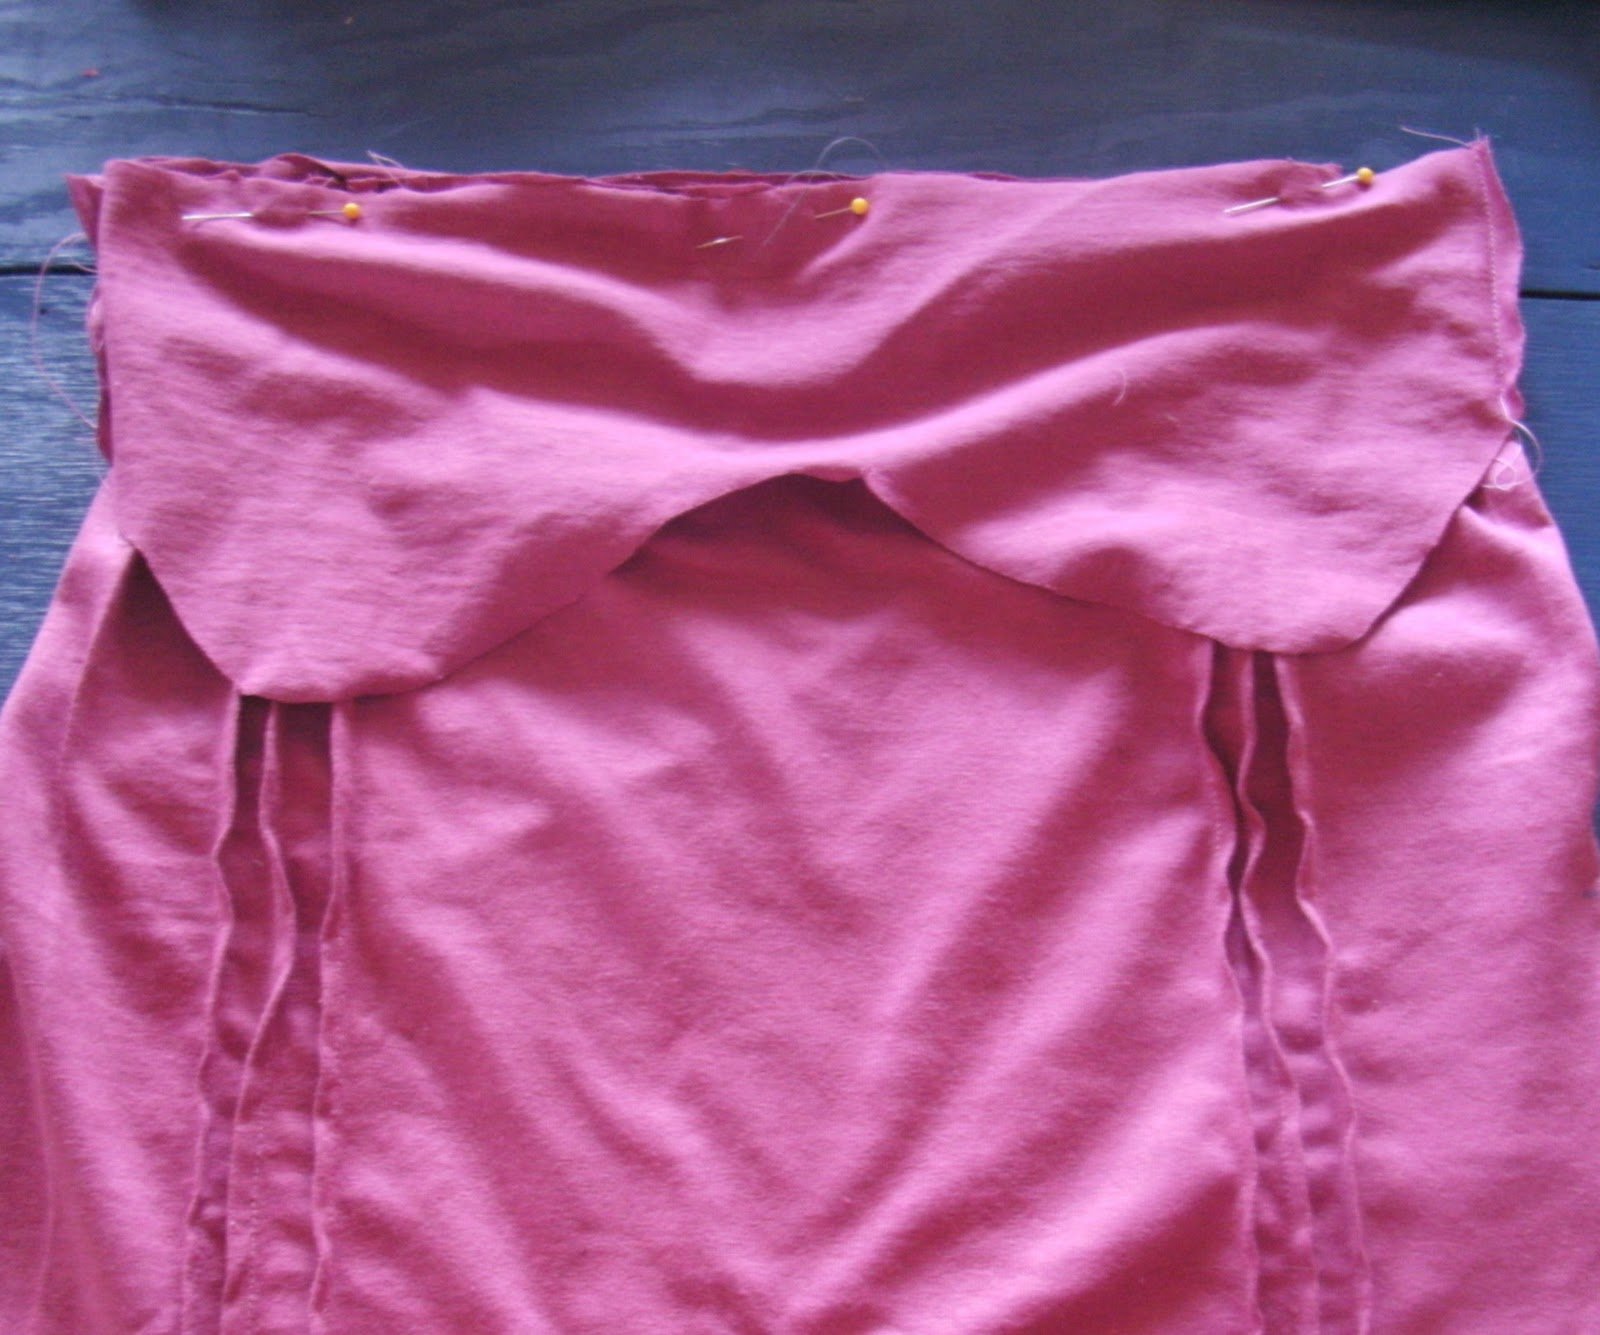
- Step 4: Find the center at the top of the back. Measure 3” in each direction from the center. Sew a basting stitch from mark to mark – gather, tie off the threads, and press. Great!
- Step 5: Lay the top out flat, and cut a slit along both sides – stopping about 8” from the top.
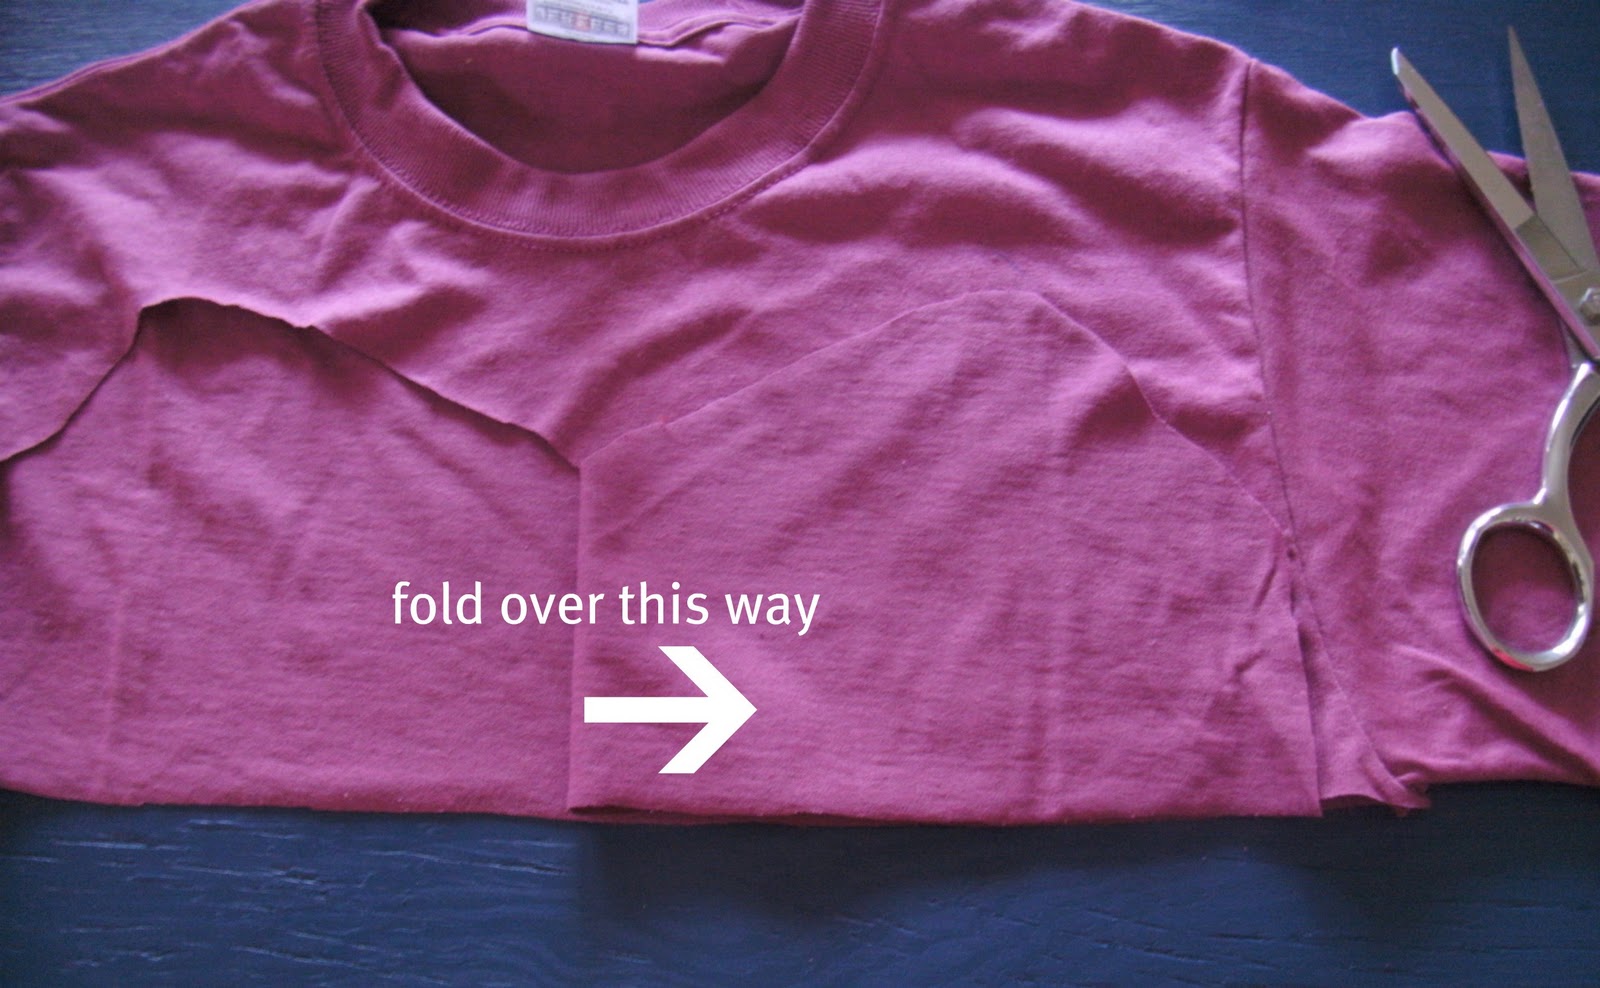
Now is the time to have your first fitting. Try it on to make sure you haven’t gathered it too much or not enough. When you slip it over your head, it should sit right under your chest and flow comfortably over your hips. - Step 6: Make the bodice. Lay out the top of the T you originally cut off. Using a cami that fits you well, trace an outline of the top.

Cut it out – just one layer – and when you get half way through, fold over what you have already cut onto the uncut portion and use it as the rest of your pattern. That way both sides will be symmetrical.
Set that piece aside. Using another piece of the top of the T, cut out a strip 2 1/2”x the width of the shirt. Lay this strip right sides together with the bodice front and stitch along the sideseam using a 3/8” seam.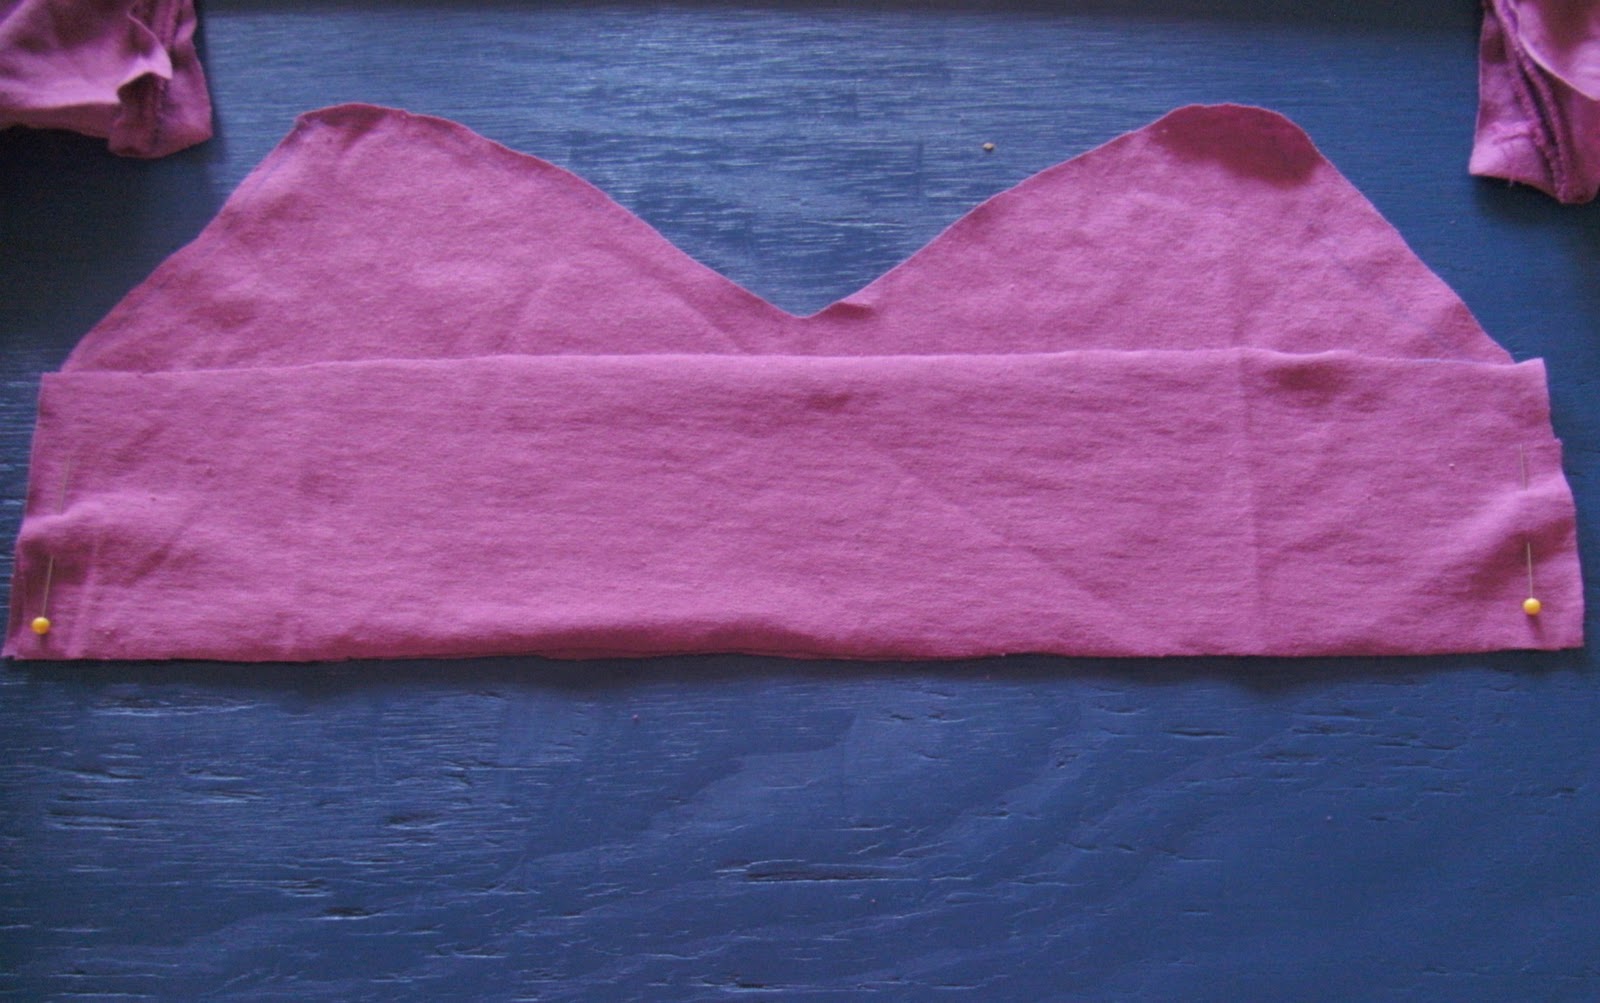
- Step 7: Slide it down over the tunic – so that the bodice and tunic are right sides together. Pin well – making sure the bodice sideseams are lined up evenly with the side of the tunic.
Sew around the top using a 3/8” seam. Flip the bodice right side out and press well.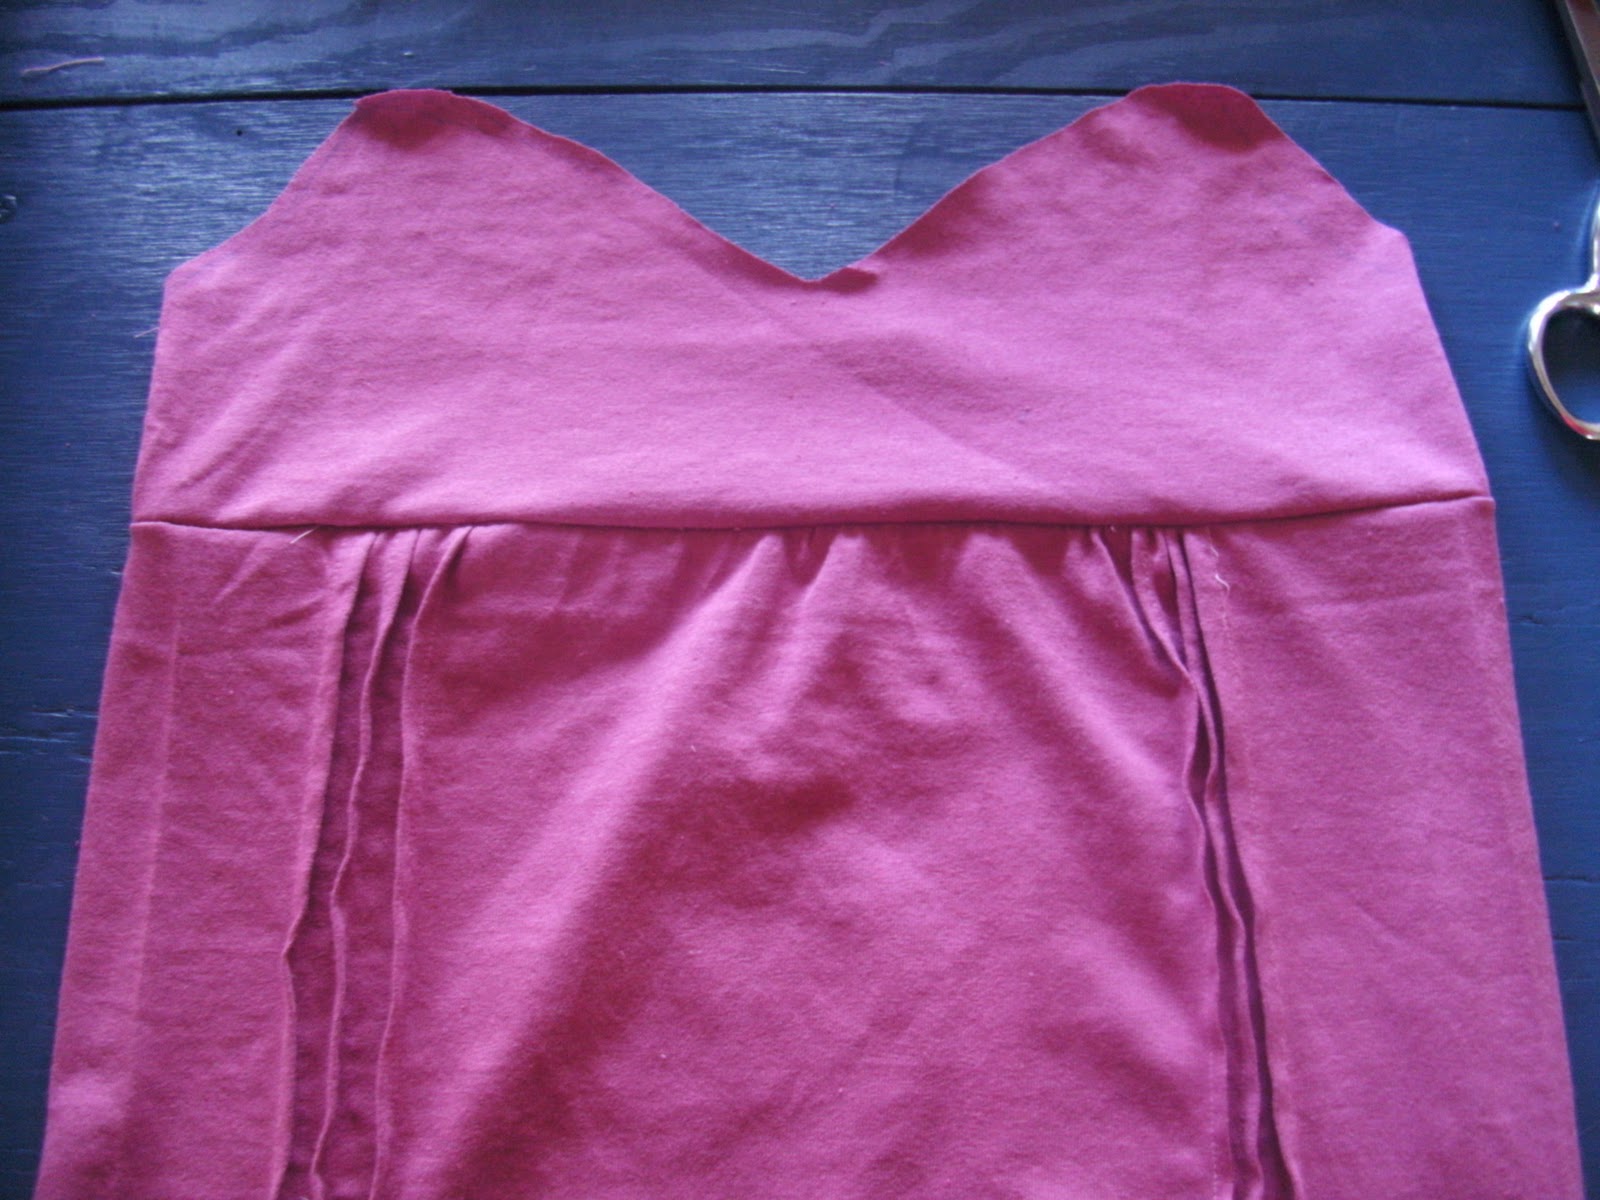
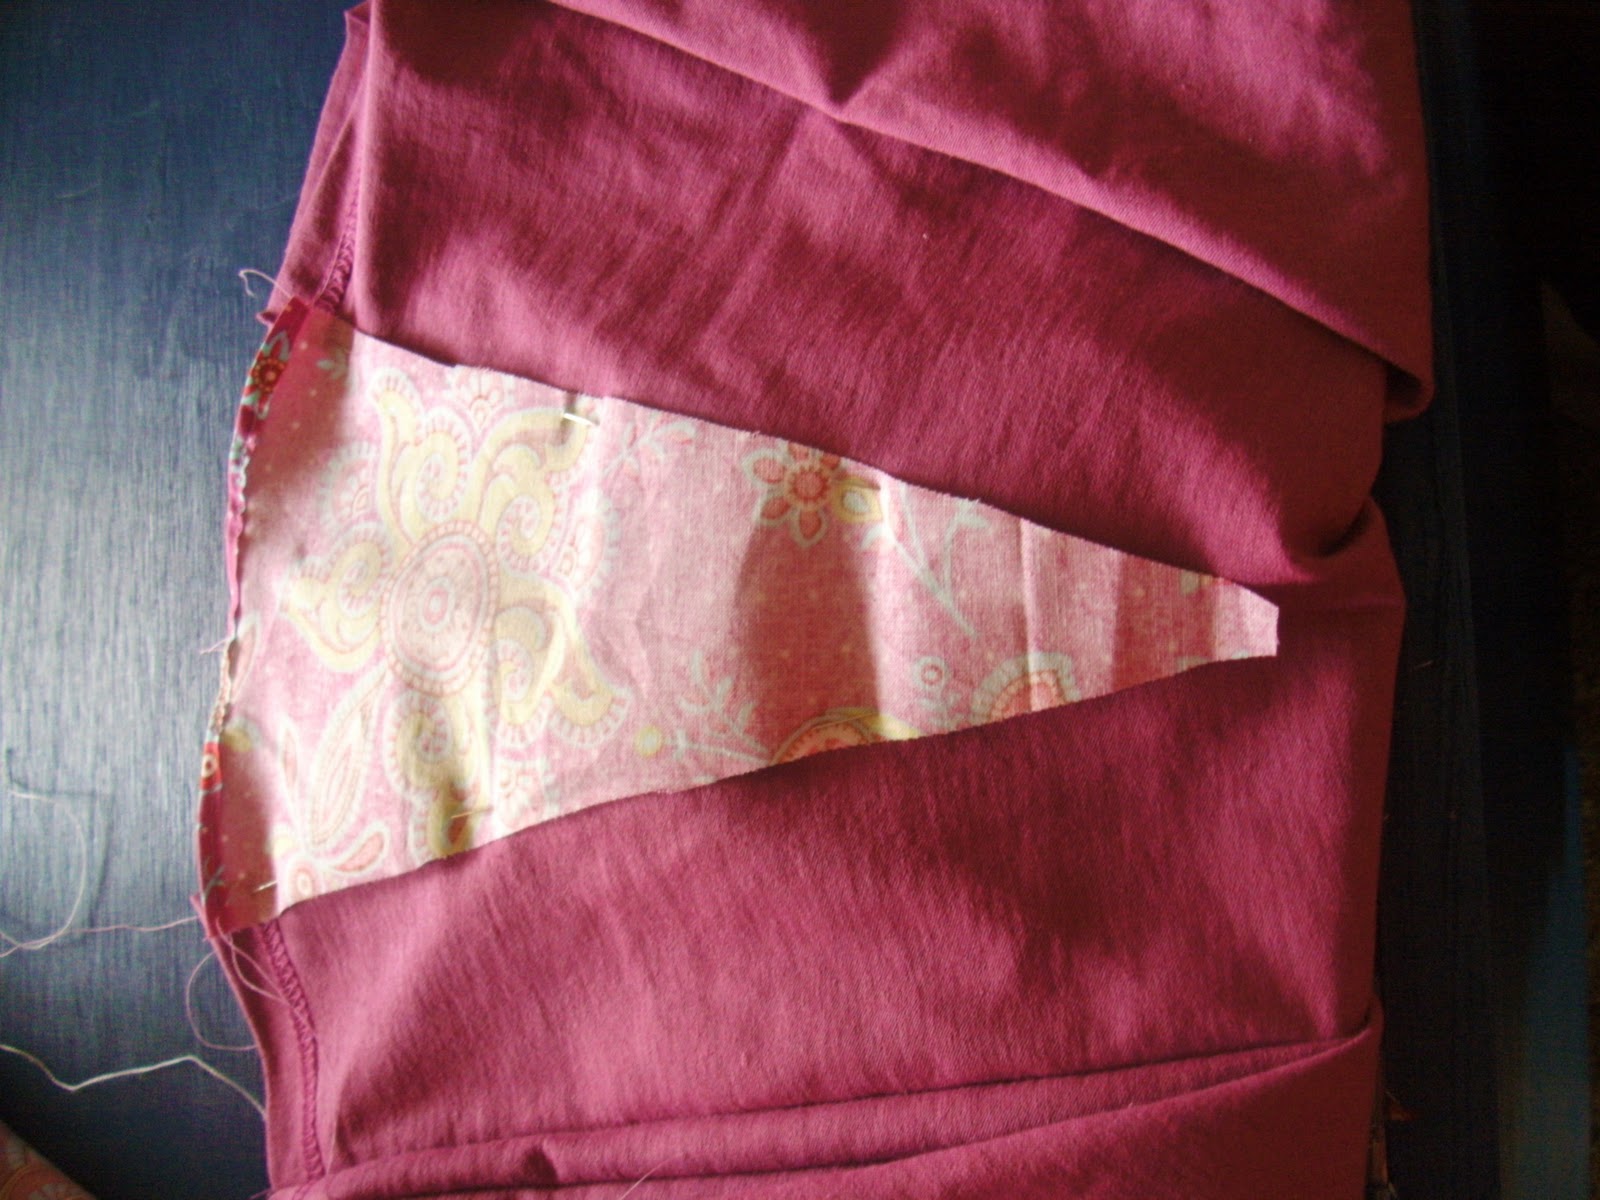
- Step 8: Add the fabric panels on the side of the tunic. Lay a scrap piece of fabric underneath the split on one side of the tunic.
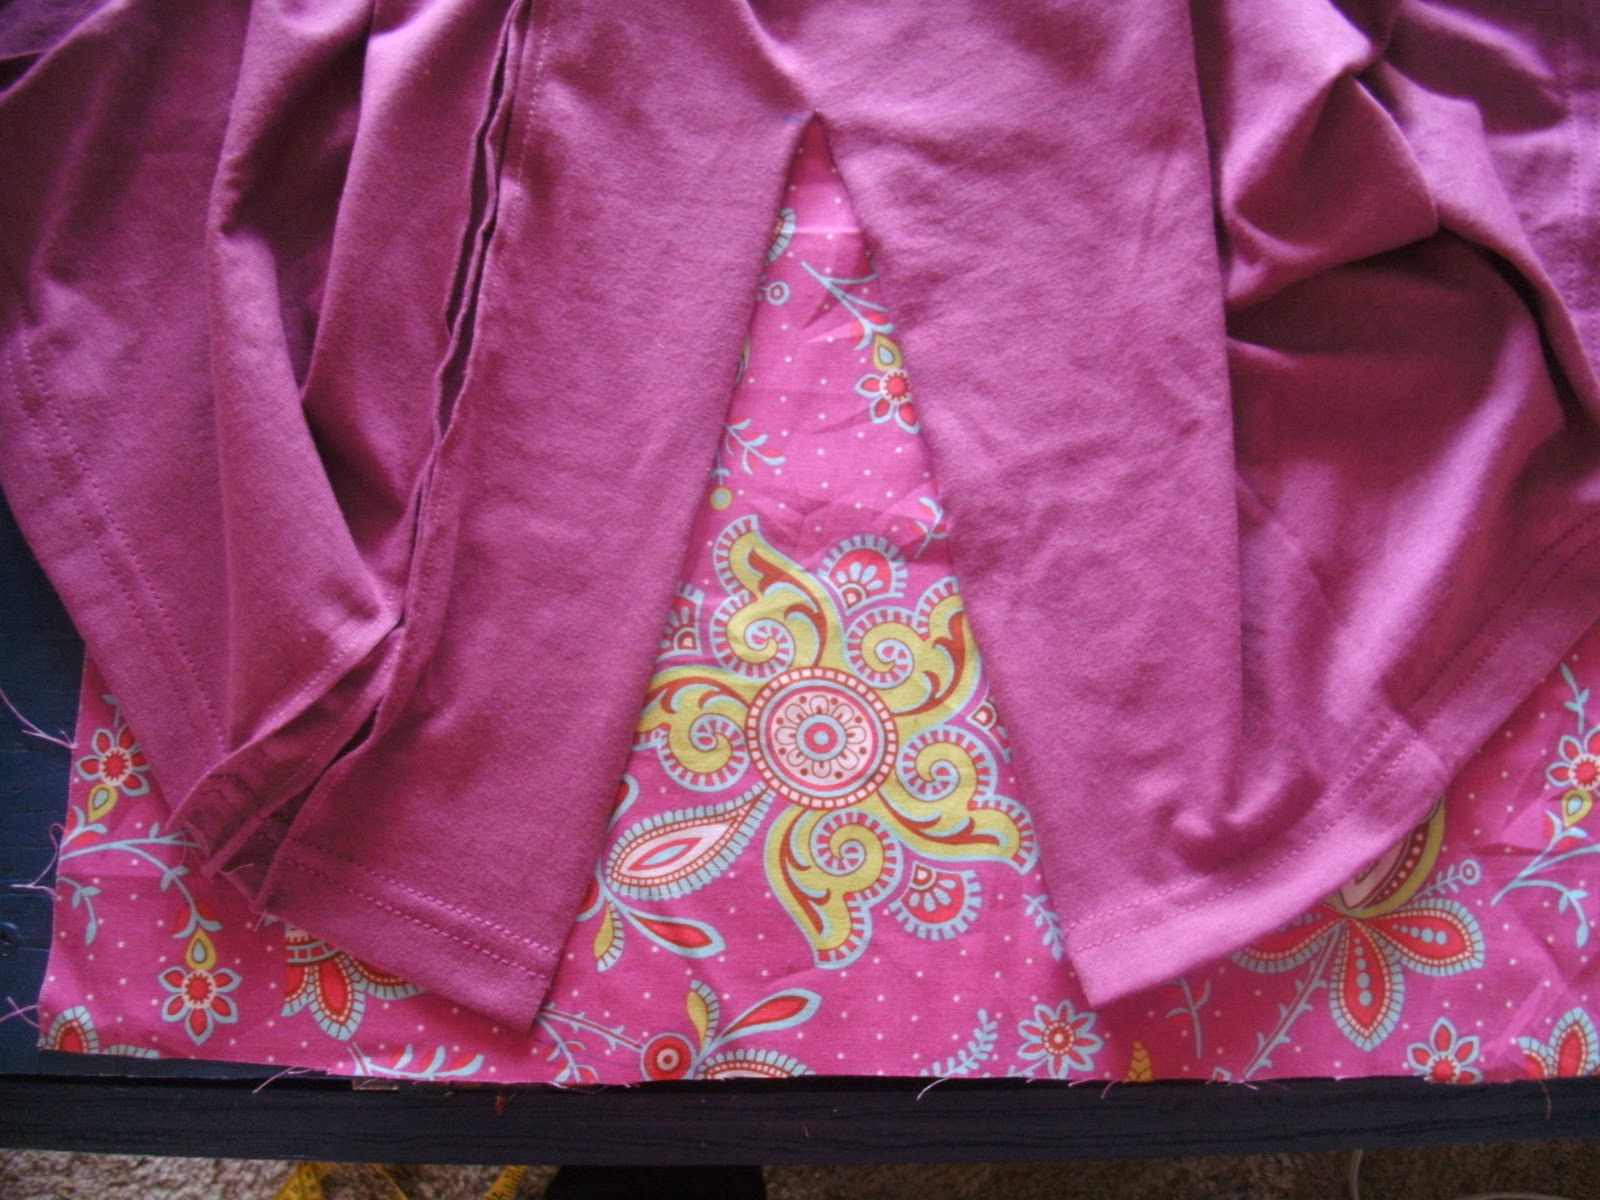
Spread the split so that it is comfortably open – slide the fabric down so that it is about ½” longer than the bottom of the tunic. Pin the knit to the fabric.
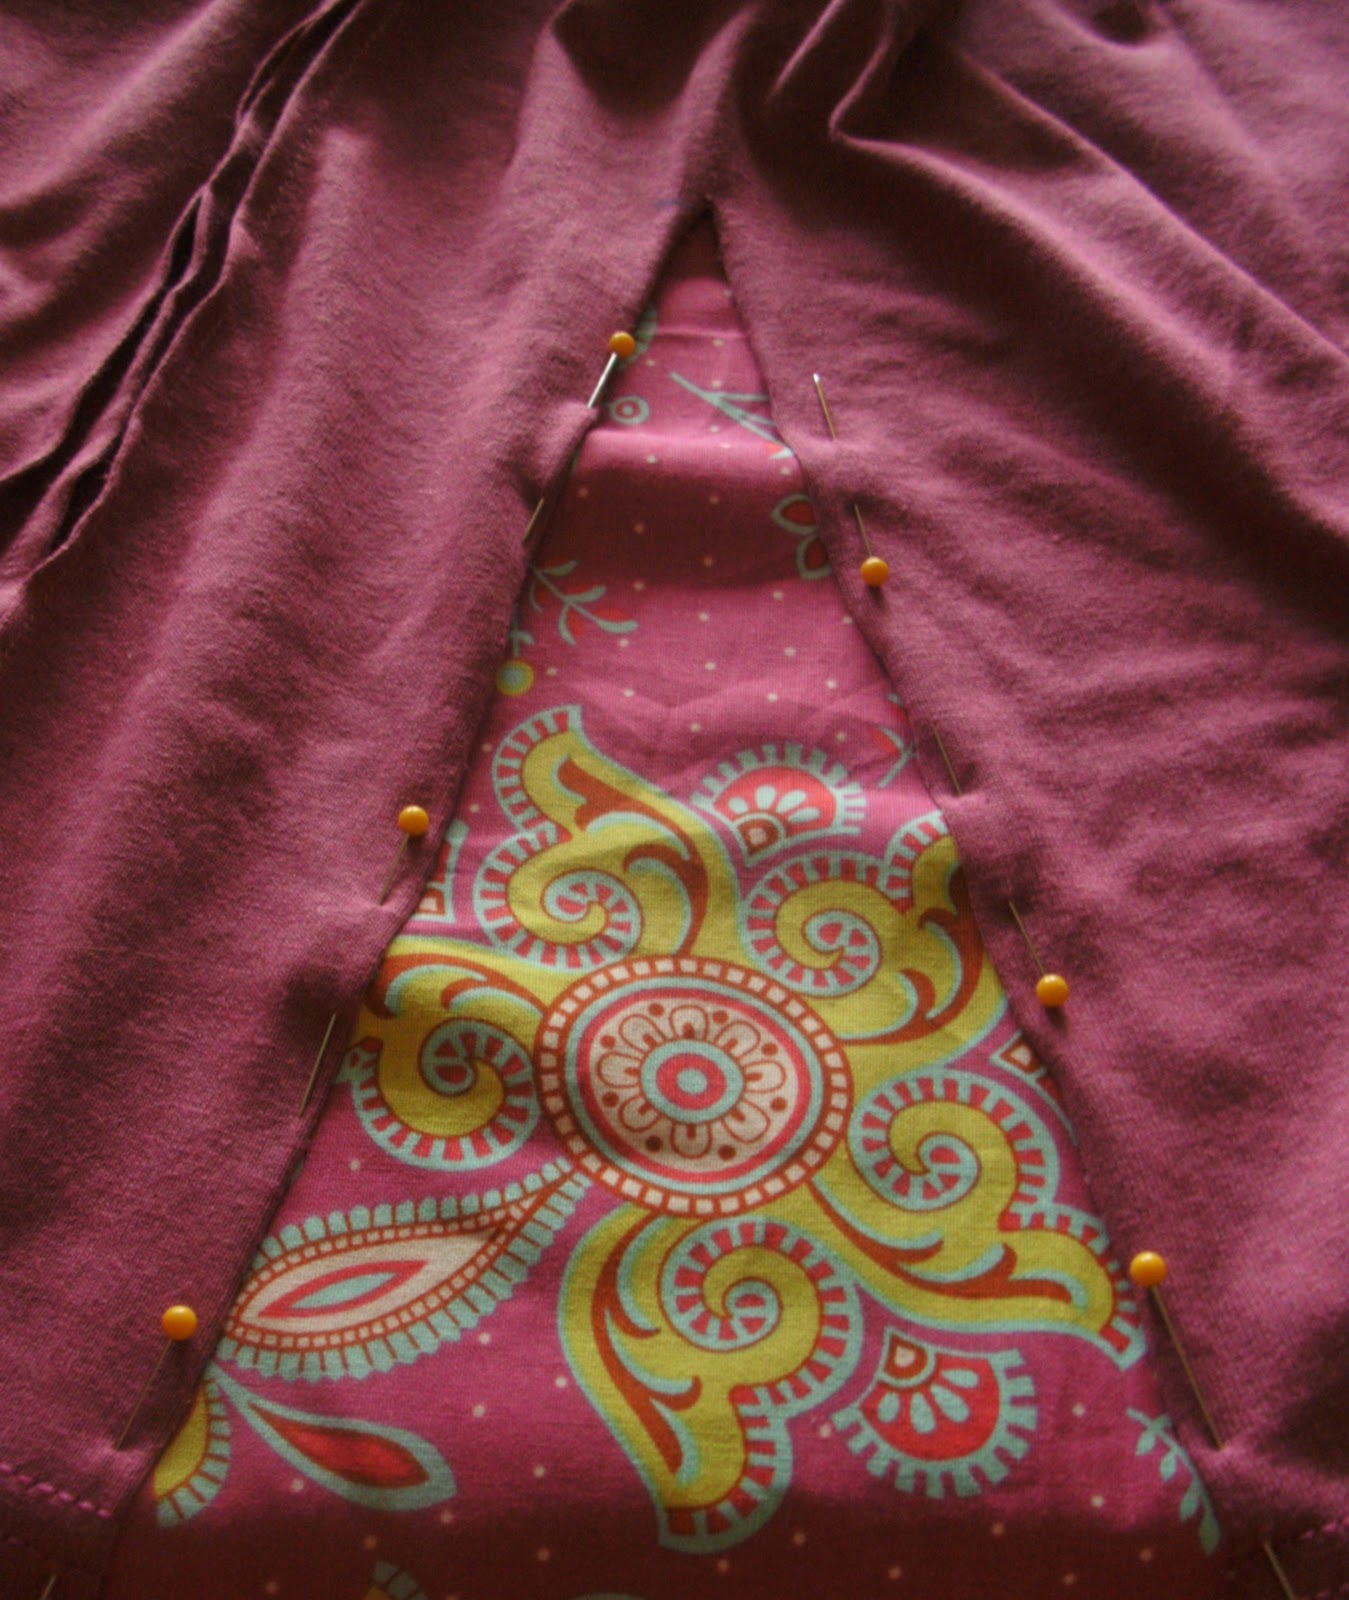
Topstitch along the edge of the knit – about ¼” from where it meets the fabric. Fold the bottom edge of the fabric under twice and press – making it even with the edge of the knit. Top stitch to finish the edge. Trim away any excess fabric on the inside of the tunic. (I trimmed mine before I stitched it, but I think it would be easier to stitch it first)
Repeat on the other side. - Step 9: Cut two strips off the remaining original top of the T – 1”x the width of the T.
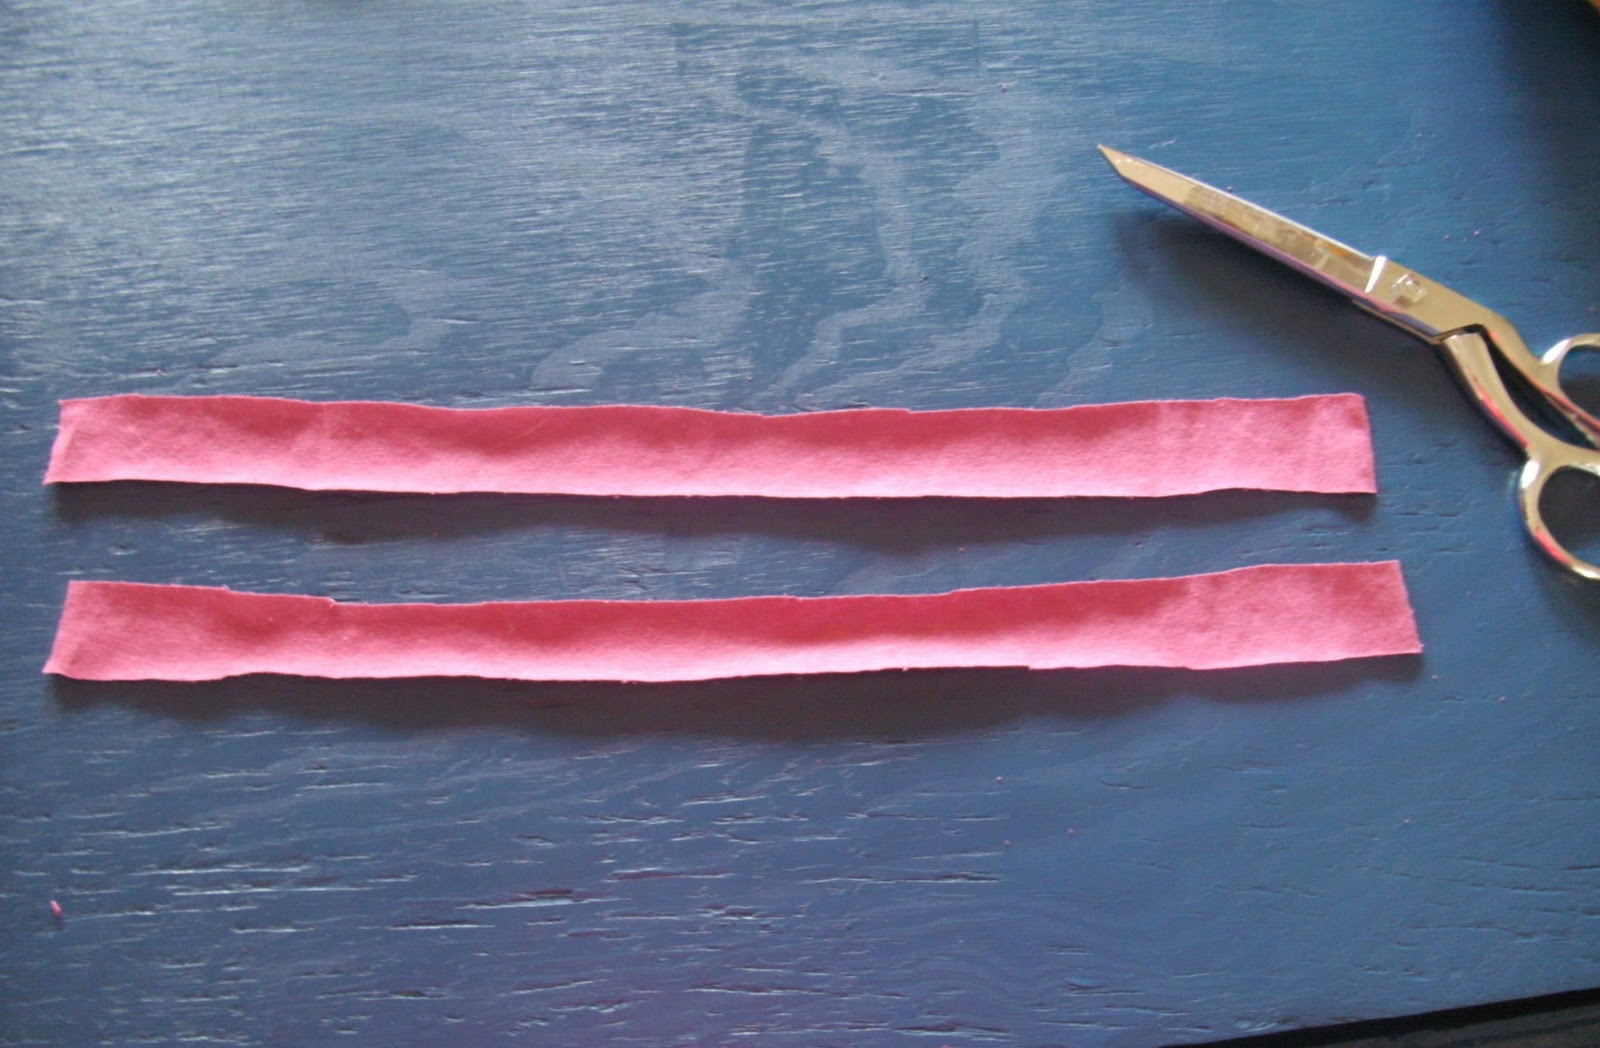
Stretch these strips so that they roll up – essentially creating two pieces of knit yarn. These will be your spaghetti straps.

Again use a tank that fits you well and measure the length of the straps and the placement. Pin your straps in place.

Very carefully slip it over your head so make sure the length and placement is correct. If not, make adjustments. Use a stationary zig-zag stitch to sew the straps onto the bodice. - Step 10: Add the embellishment! You can be creative here – add whatever you like wherever you want it – I stitched the rick-rack along the top of the front bodice, and along the bottom edge of my fabric inserts. You could of course put trim all the way around the top or bottom – I just didn’t have enough so I improvised 😉
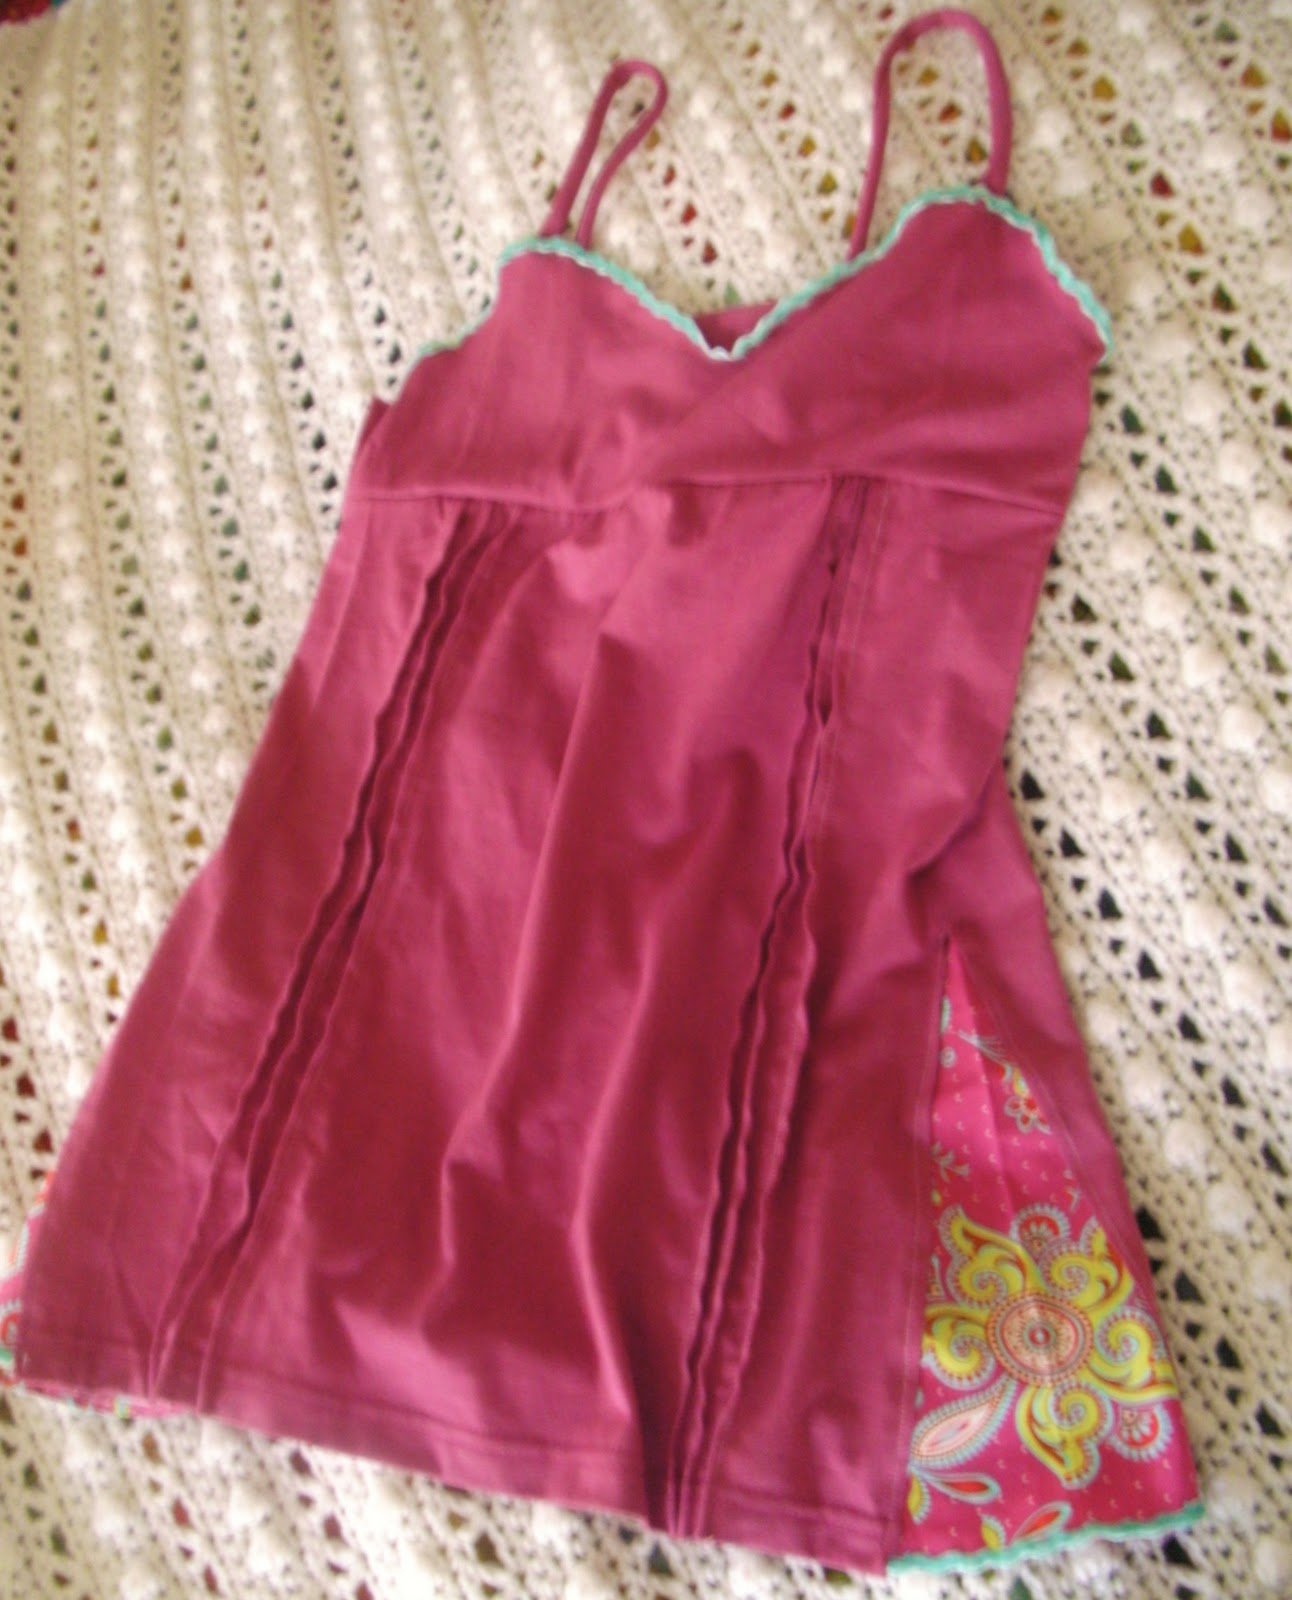
Your sweet little cami is now finished! Try it on to make sure it fits – and embrace the comfiness that equals the cuteness.
Happy Monday!
jessica