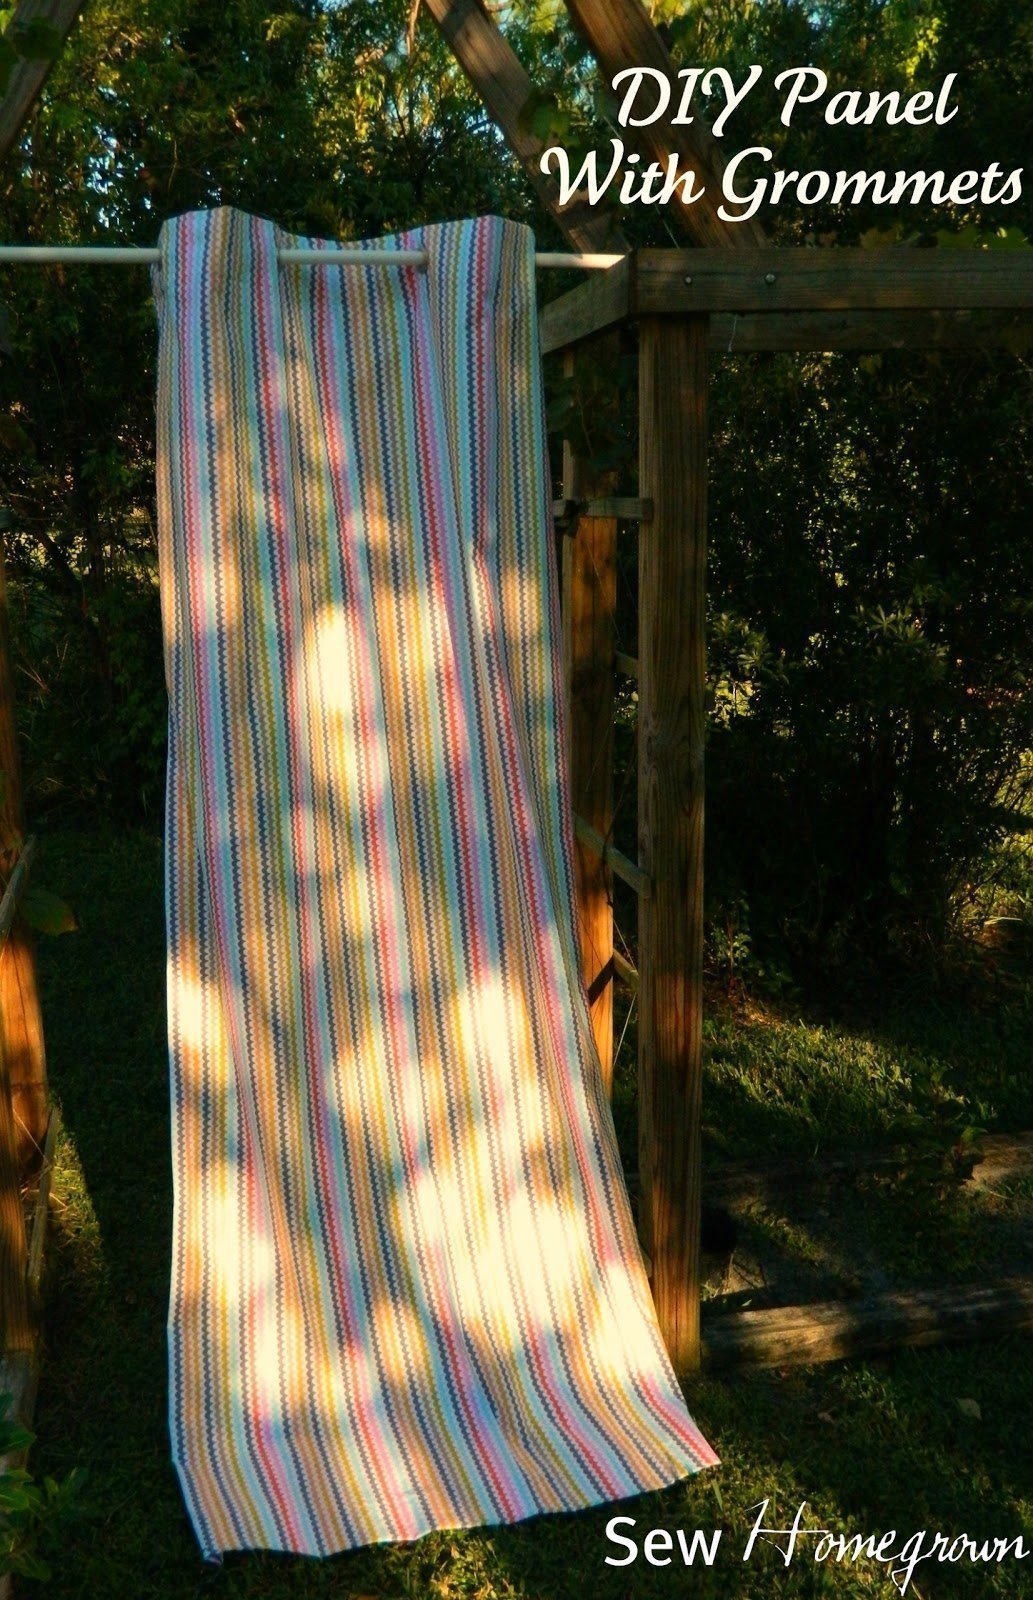
Yesterday I shared the little pillow going in Charlotte’s 3 year old room when we move to Japan.
So today I have the matching window treatments.

A few weeks ago I shared the inspiration for this room…but you know sometimes you get to the fabric store and a fabric just calls out your name and you can’t ignore it! That’s what happened when I spotted this Michael Miller. I knew it would make the perfect drapes for the room!

So I bought 6 yards
(and I had a 40% off coupon – woo hoo!).
That’s how much it takes to make two panels
(for a standard size window – if your window or rod is placed higher than standard, simply measure from the floor to your fabric rod, then add 1 1/4″ – that will be the total length of the drape. Then add 11″ to that number to get the cut for the length.
Ex: If your rod is 92″ from the floor, add 1 1/4″ making the finished length 93 1/4″. Add 11″ and the cut of your drape should be 104 1/4″ long x the width of the fabric.)
Here’s the full supply list, in case you find yourself in a similar situation with a fabric that’s got your name!
- 6 yards of 44-45″ wide cotton fabric
- 6 yards of lining fabric
- sewing machine/thread/scissors/yard stick/iron/pins
- 8-10 grommets , depending on how you like them spaced
These are really simple to make – I made them in one evening.
And you really just need to know how to sew a straight line.
Seriously – you can make your own drapes. Are you convinced? Okay then, let’s go.
Step 1: “Measure twice, cut once.” This is soooo true when you are making drapes. You are working with large amounts of fabric and you really want to make sure you have measured correctly before you cut them out. So here are the measurements. 44″(the width of your fabric) x 95″. Cut two panels at those measurements. Cut 2 panels of lining 41″ x 93″.
(If you are using a wider fabric, just cut the lining 2-3″ less on both the width and length)
Step 2: Along the short edge (44″ on cotton or 41″ on lining), press up 3″ toward the wrong side of the fabric, then up 3″ again creating a hem. Pin in place.

Do this for all 4 panels.
Top stitch along the folded and pinned edge.
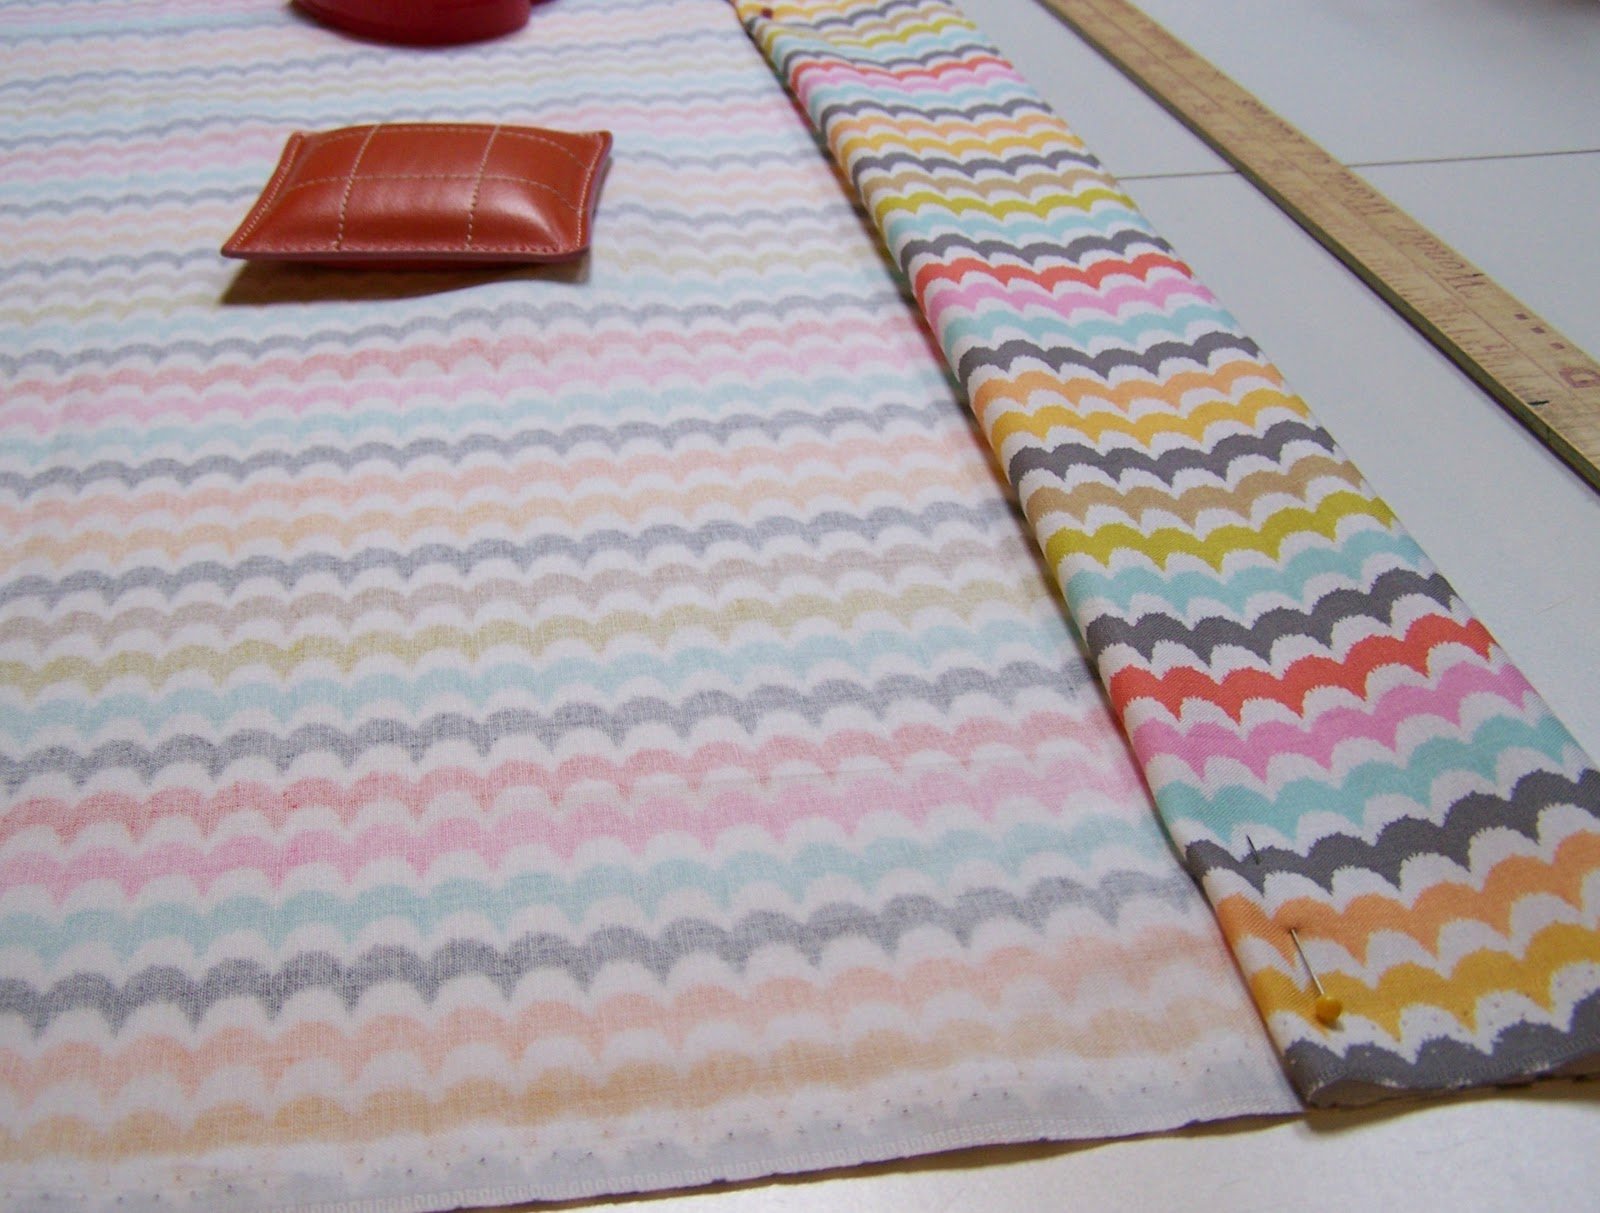
Step 3: Lay the lining right sides together with the panel.
Match up the raw edges along the sides and pin. Since the lining is smaller than the panel, there will be a little bit of bunching of the panel – that’s okay, in fact you want that. Just make sure the raw edges on both sides are lined up.

Sew along those edges.
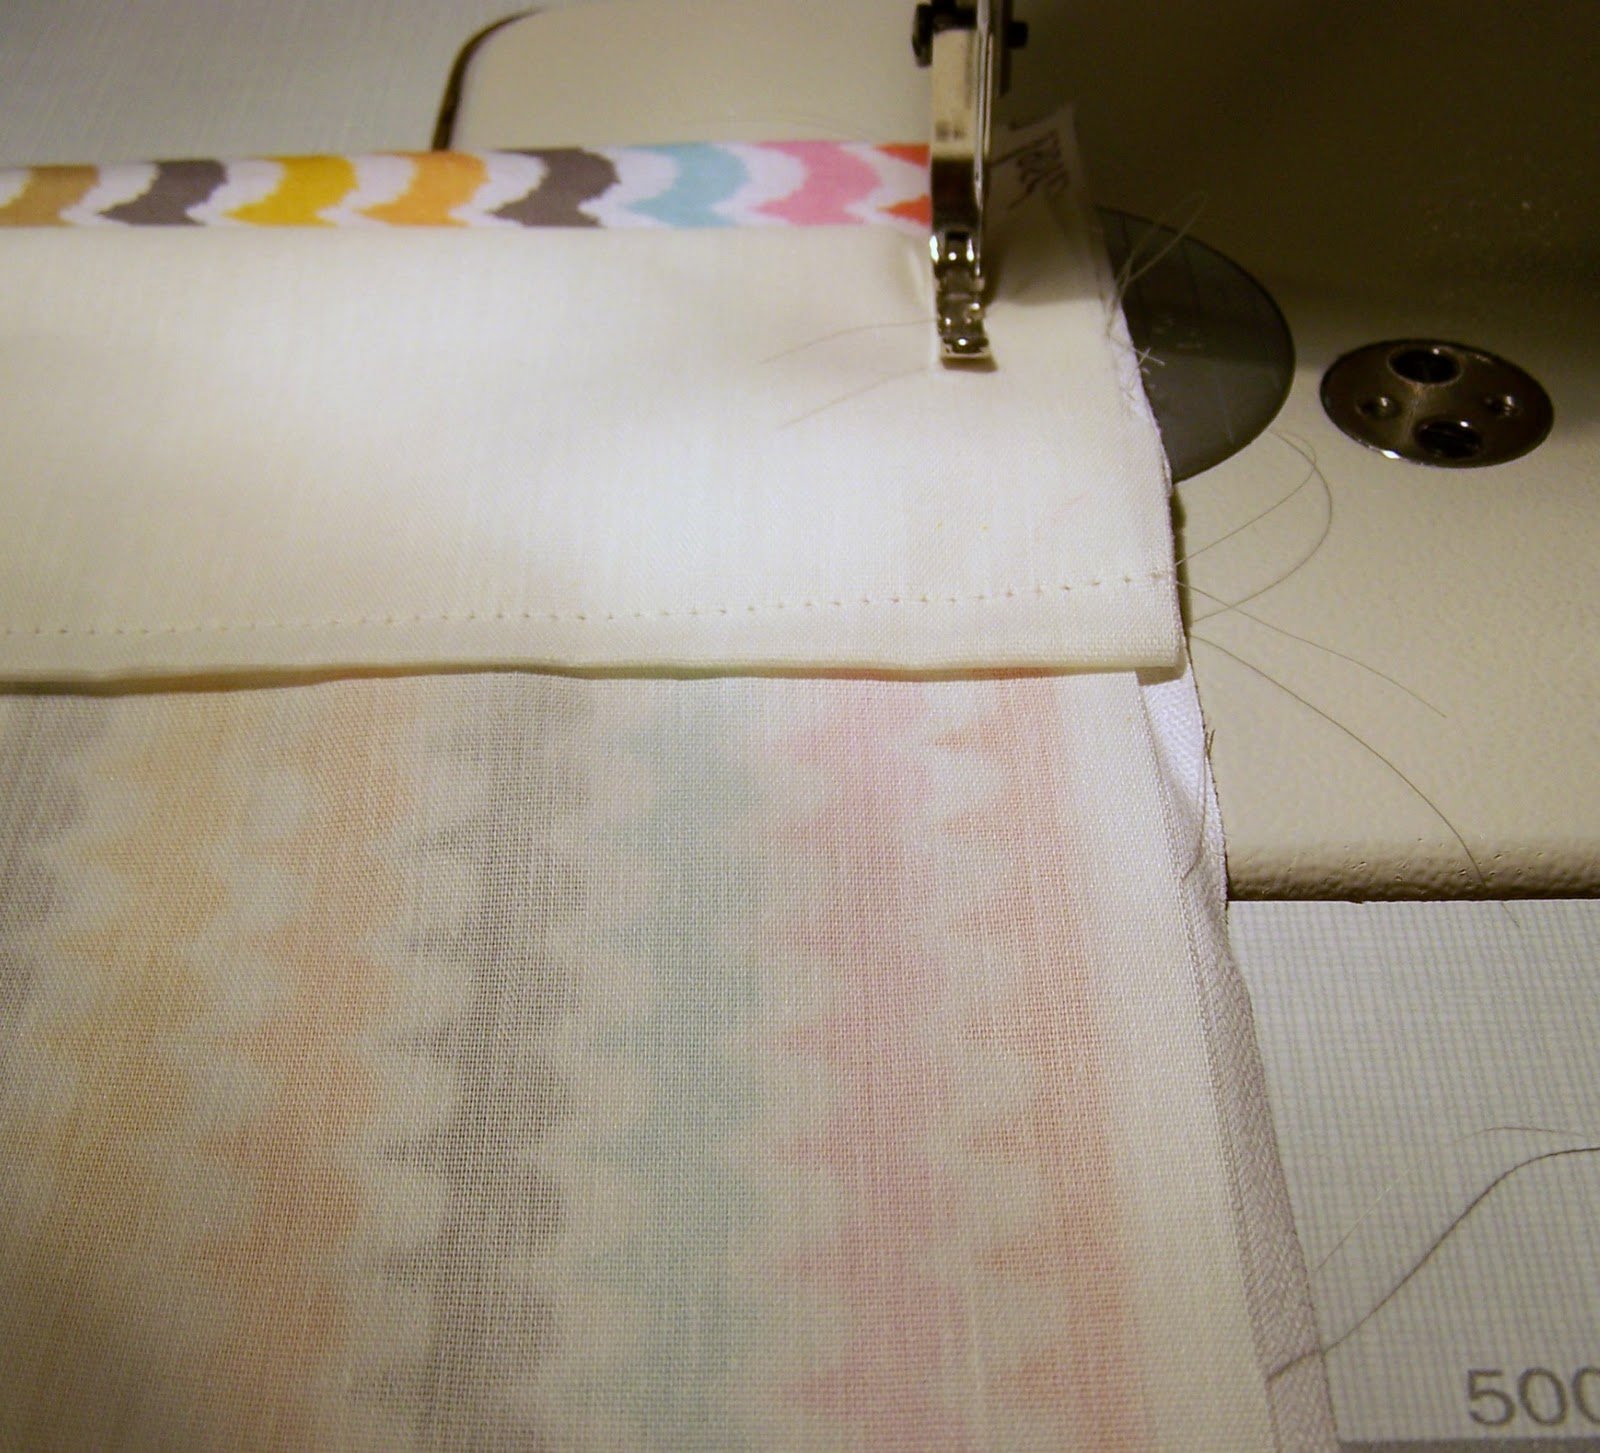
Step 4: Flip the panel right sides out. You should find that when the lining lays flat you get about 1″ of panel folded over – that’s exactly what you want!
Pin the hems together so the lining doesn’t scoot around on you.

Press it flat.
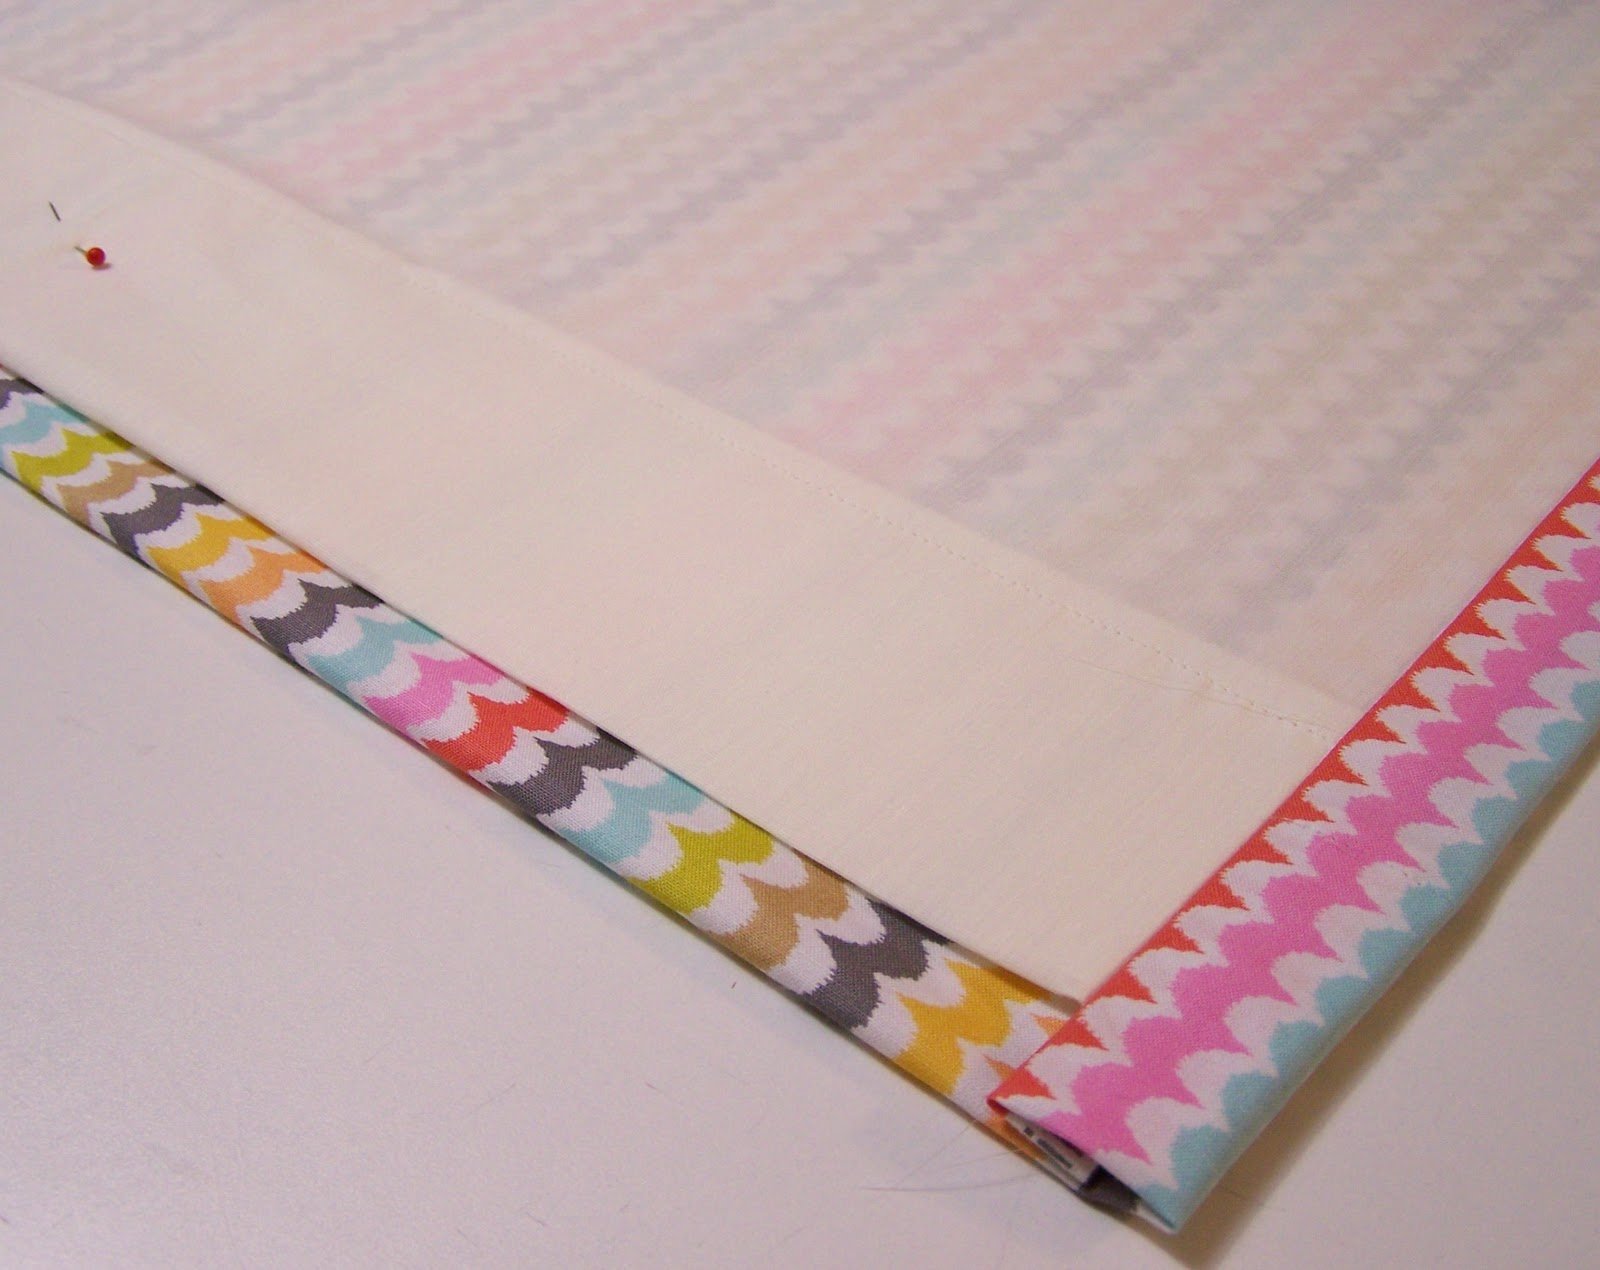
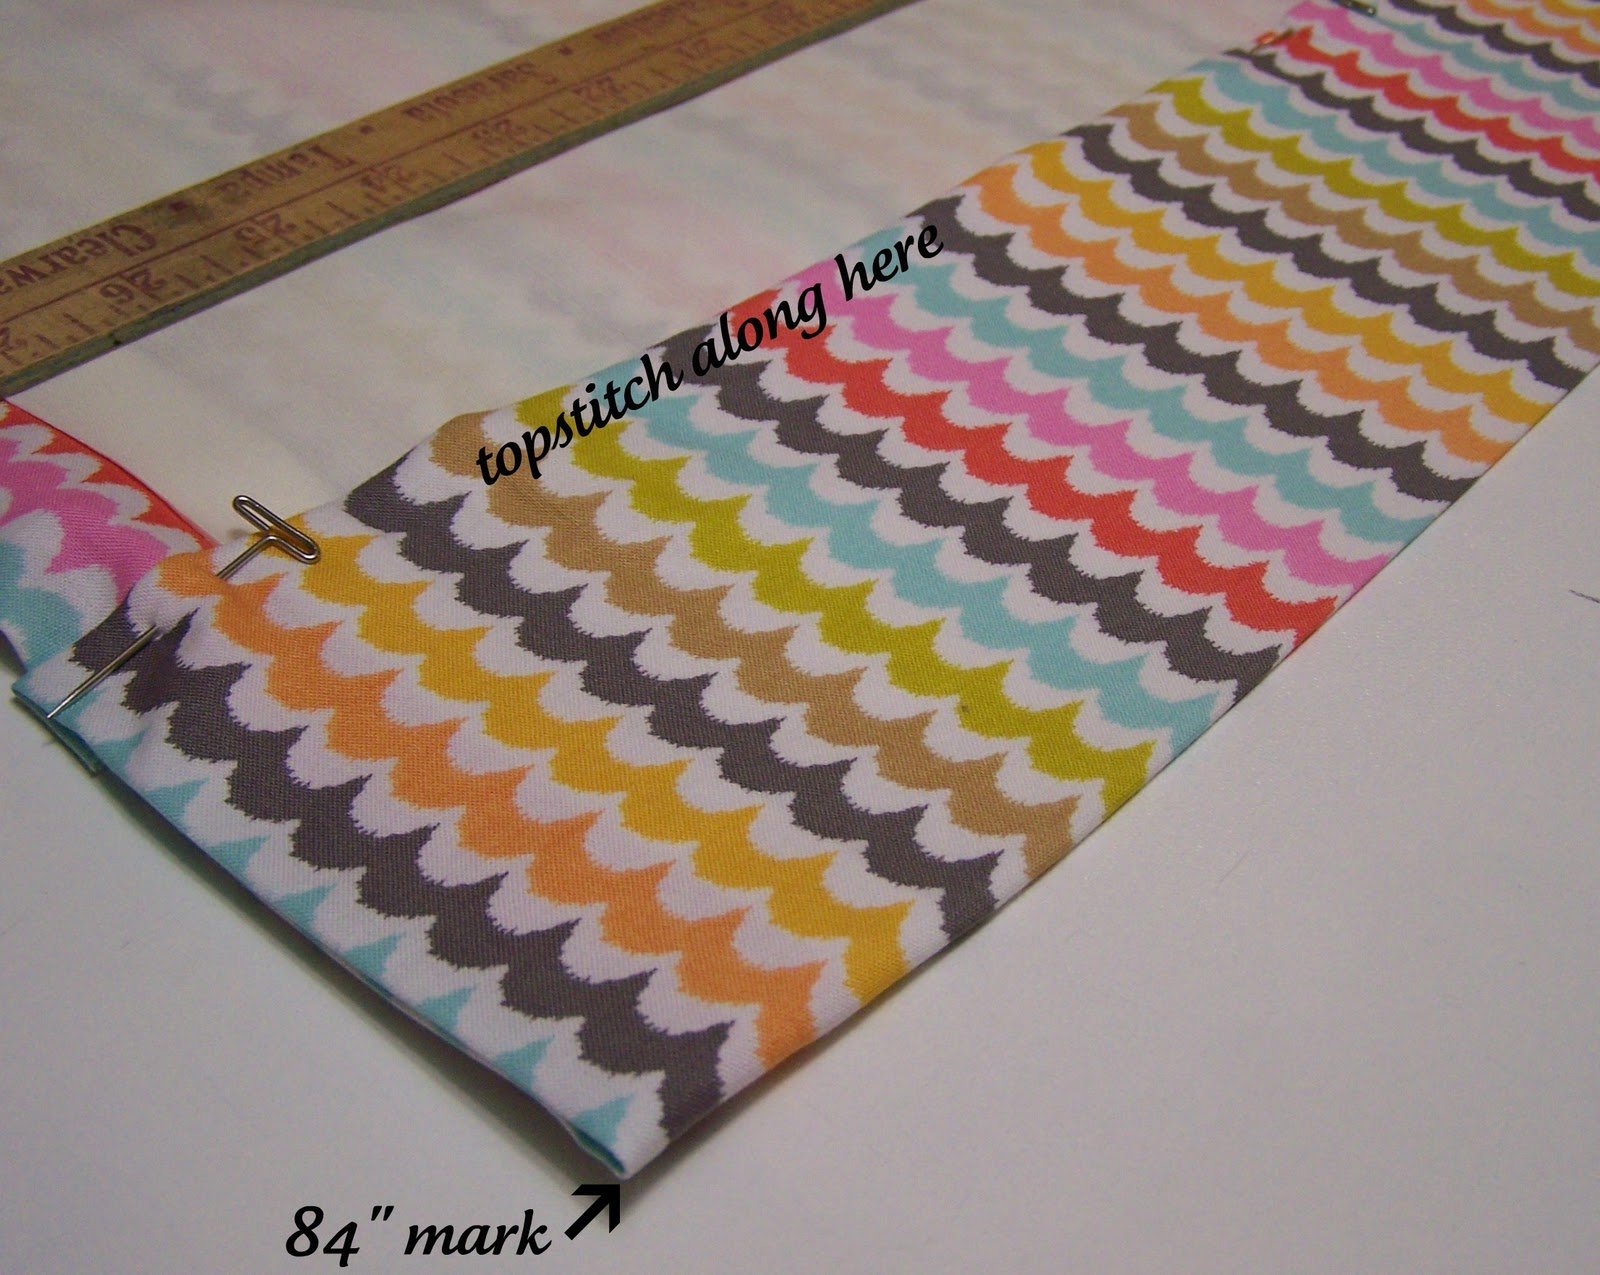
Step 5: When you have the entire panel pressed, measure from the hem until you get exactly 84″.
Place a pin there.

Press the raw edge over 1/2″. Then fold it over at the pin – so the pin mark becomes the very top of the curtain.
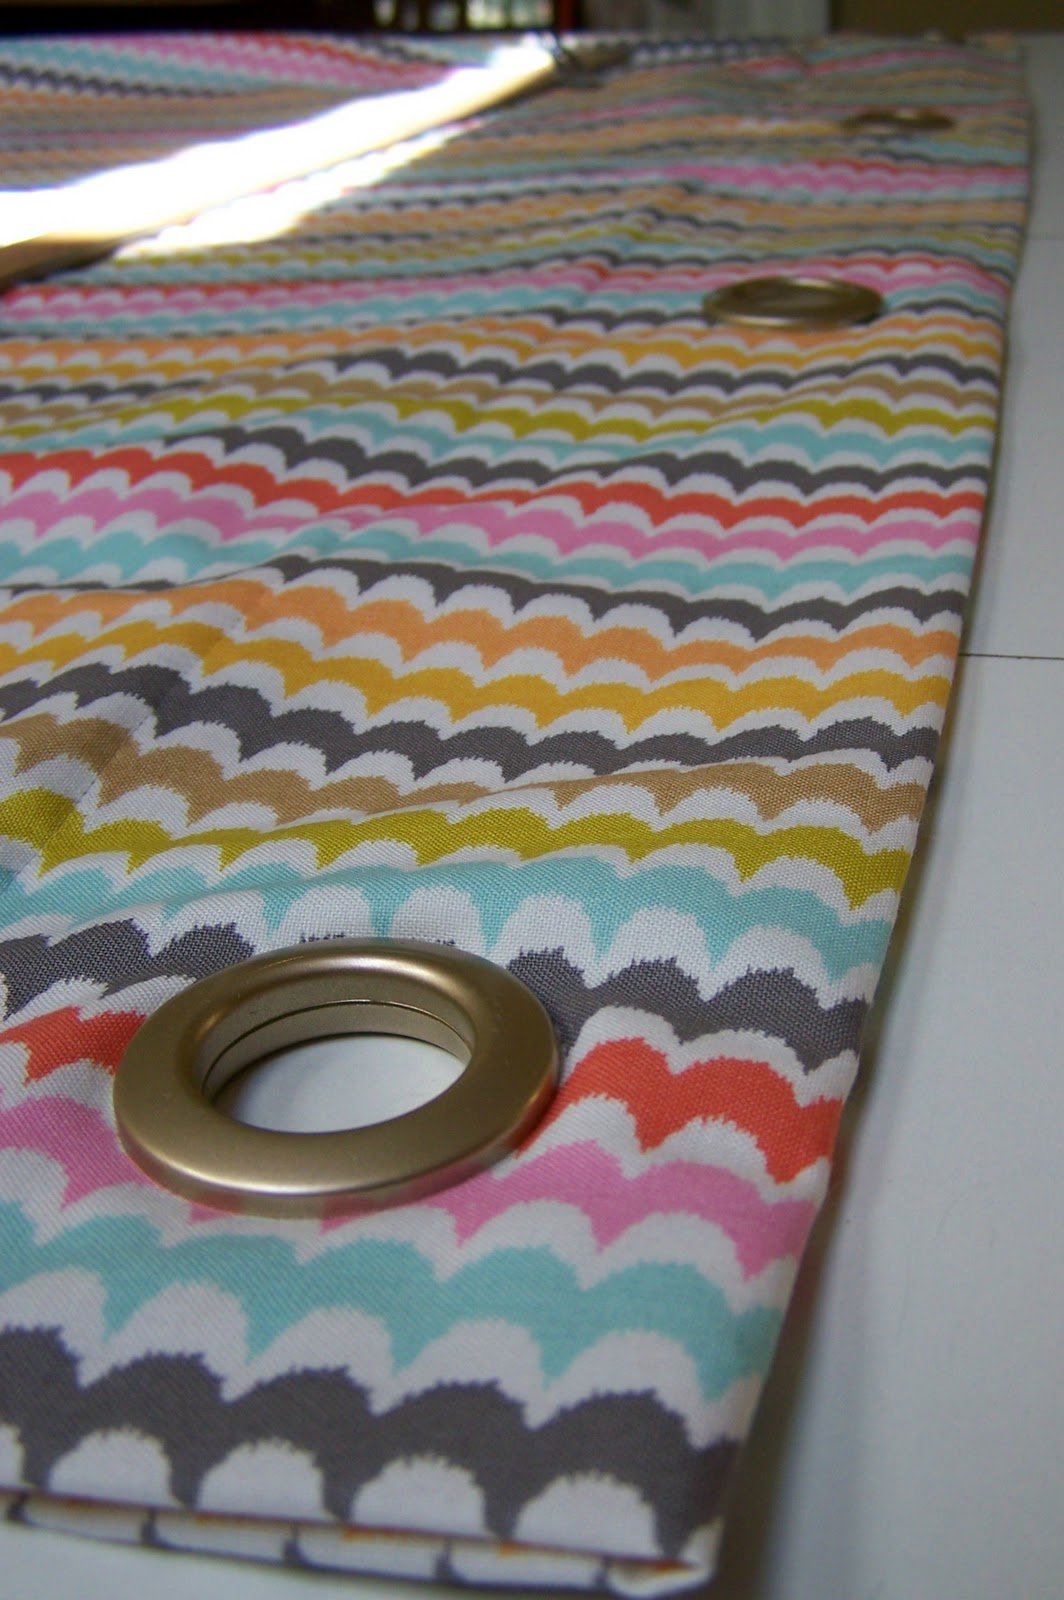
Step 6: Now it’s time for the grommets. You can buy these at any fabric store – Joann’s, Hancocks, etc. They just snap on, and the directions are on the back of the package.
They provide a template like this:
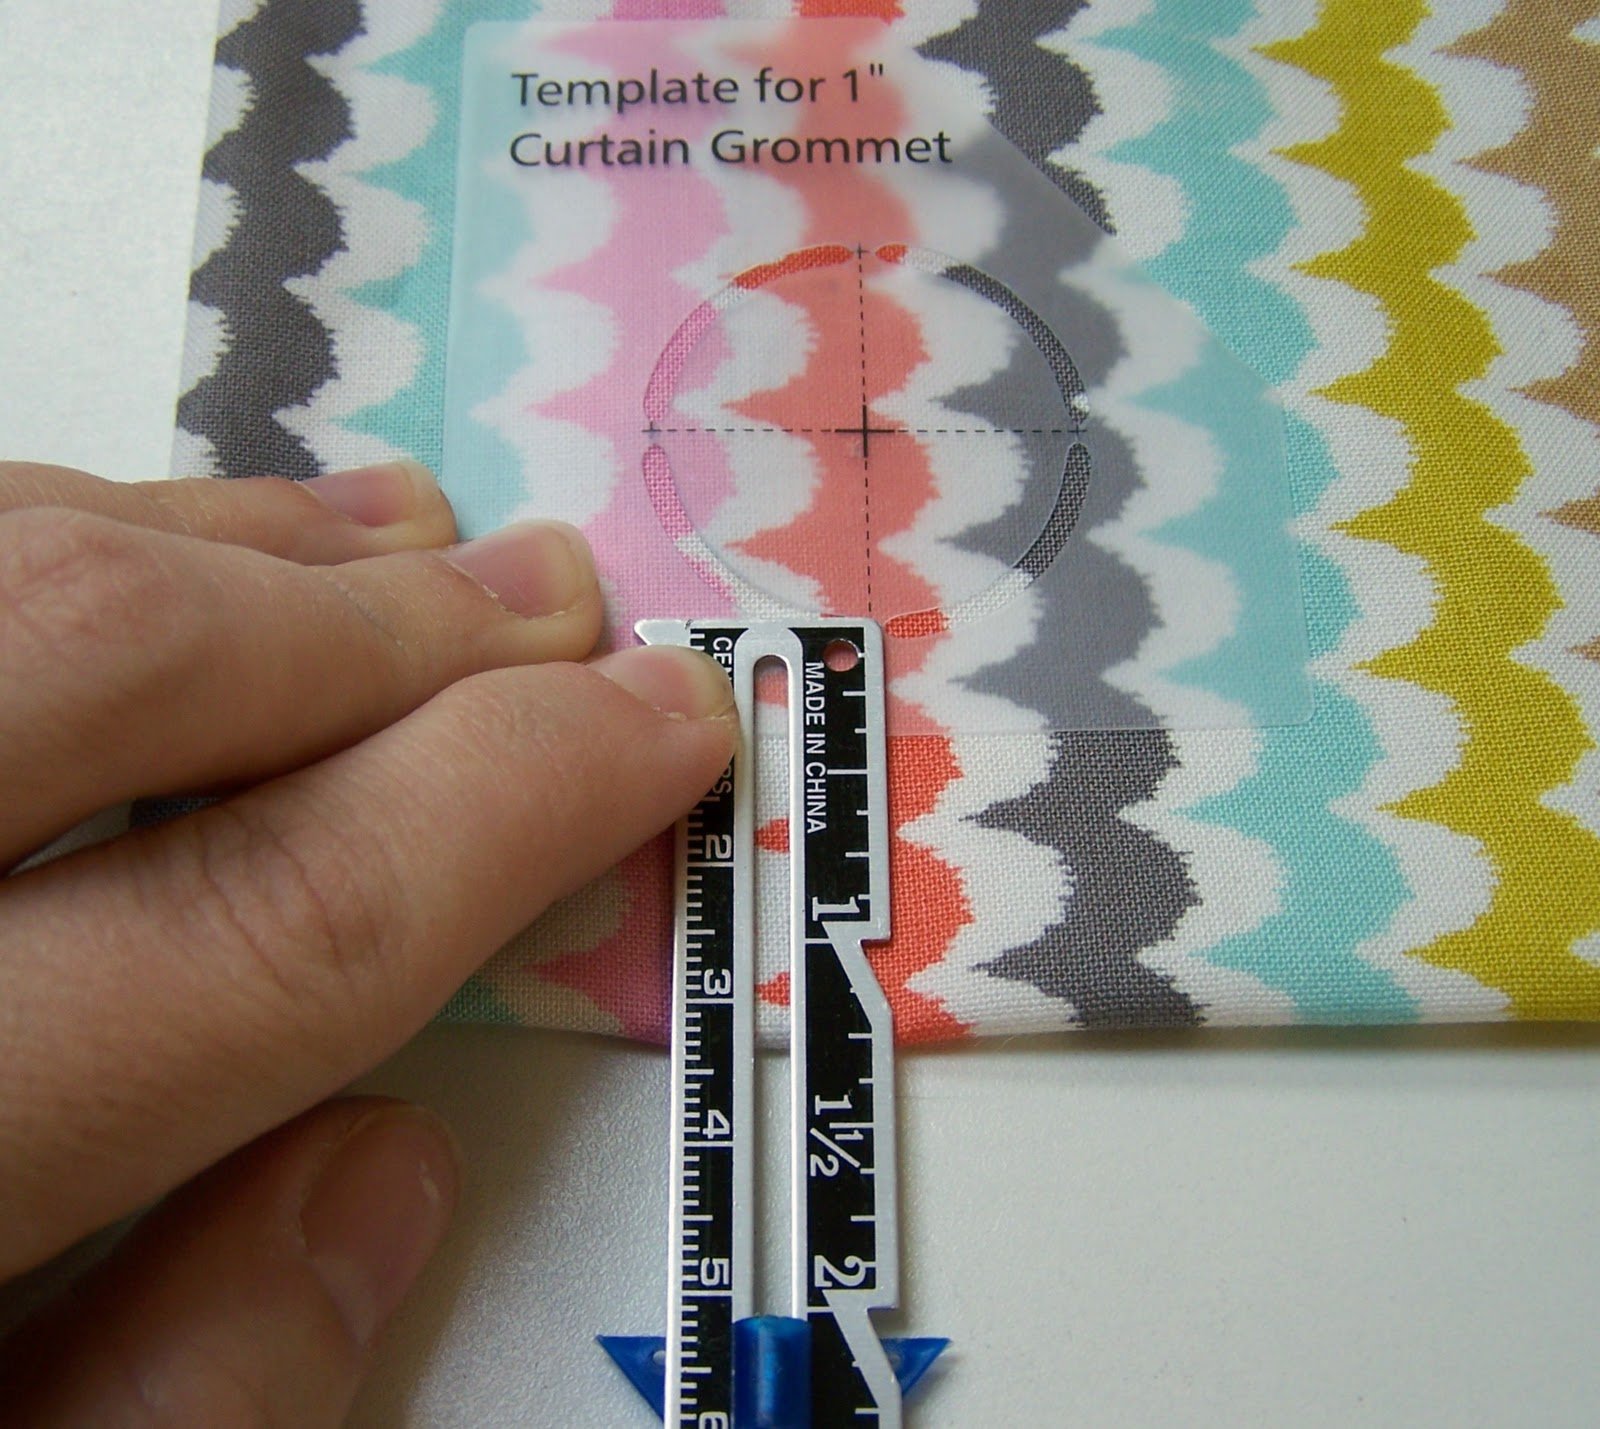
I place the top of the grommet about 1 1/4″ inch from the top of the curtain. Draw the markings in the template. I started 2″ from the edge, then spaced them 12″ apart. Next time I may put more grommets, but this was what I had and I didn’t want to go back to the store. I don’t think my three year old will notice 🙂
Then you cut out the holes (I cut it slightly smaller than the traced template because I think it stays in place better)
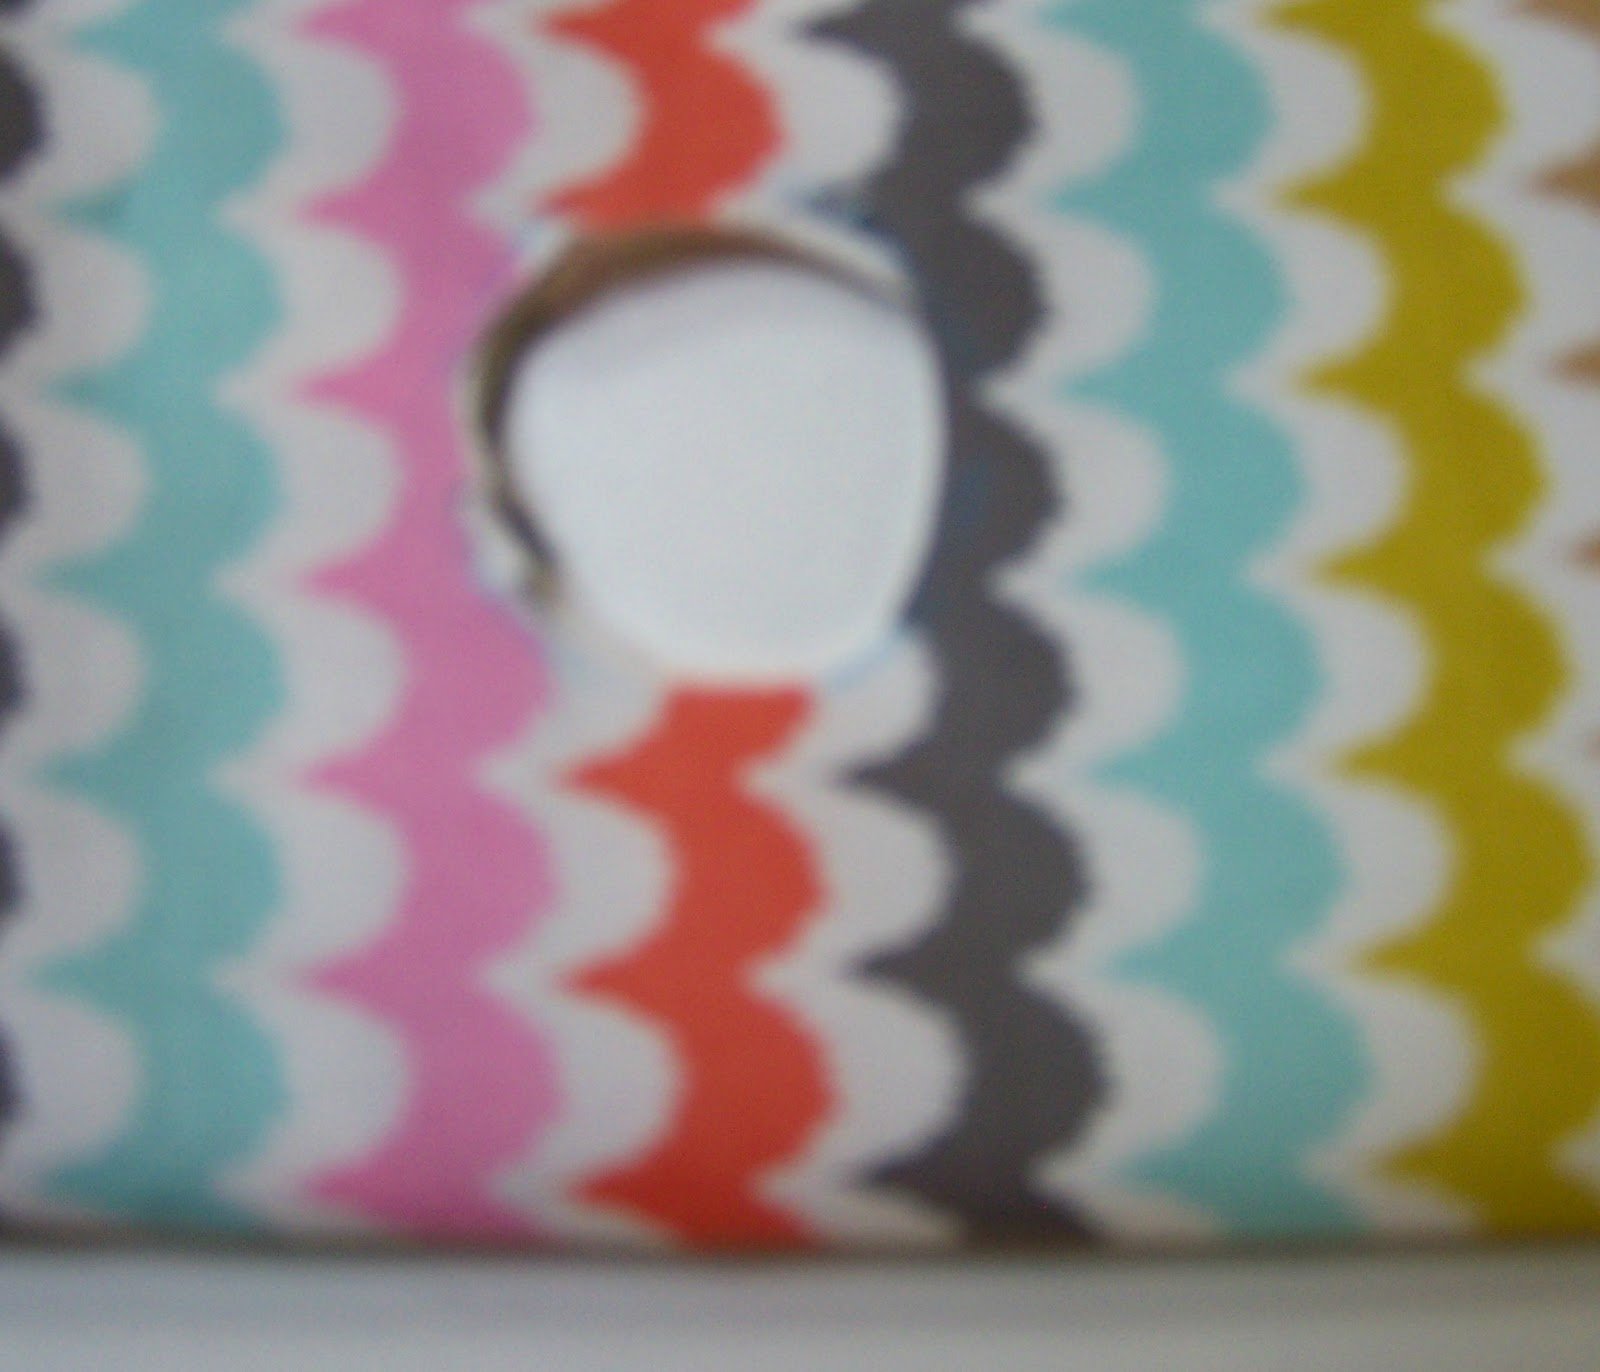
sorry about that blurry pic
Then push the raised piece through the right side of the panel.
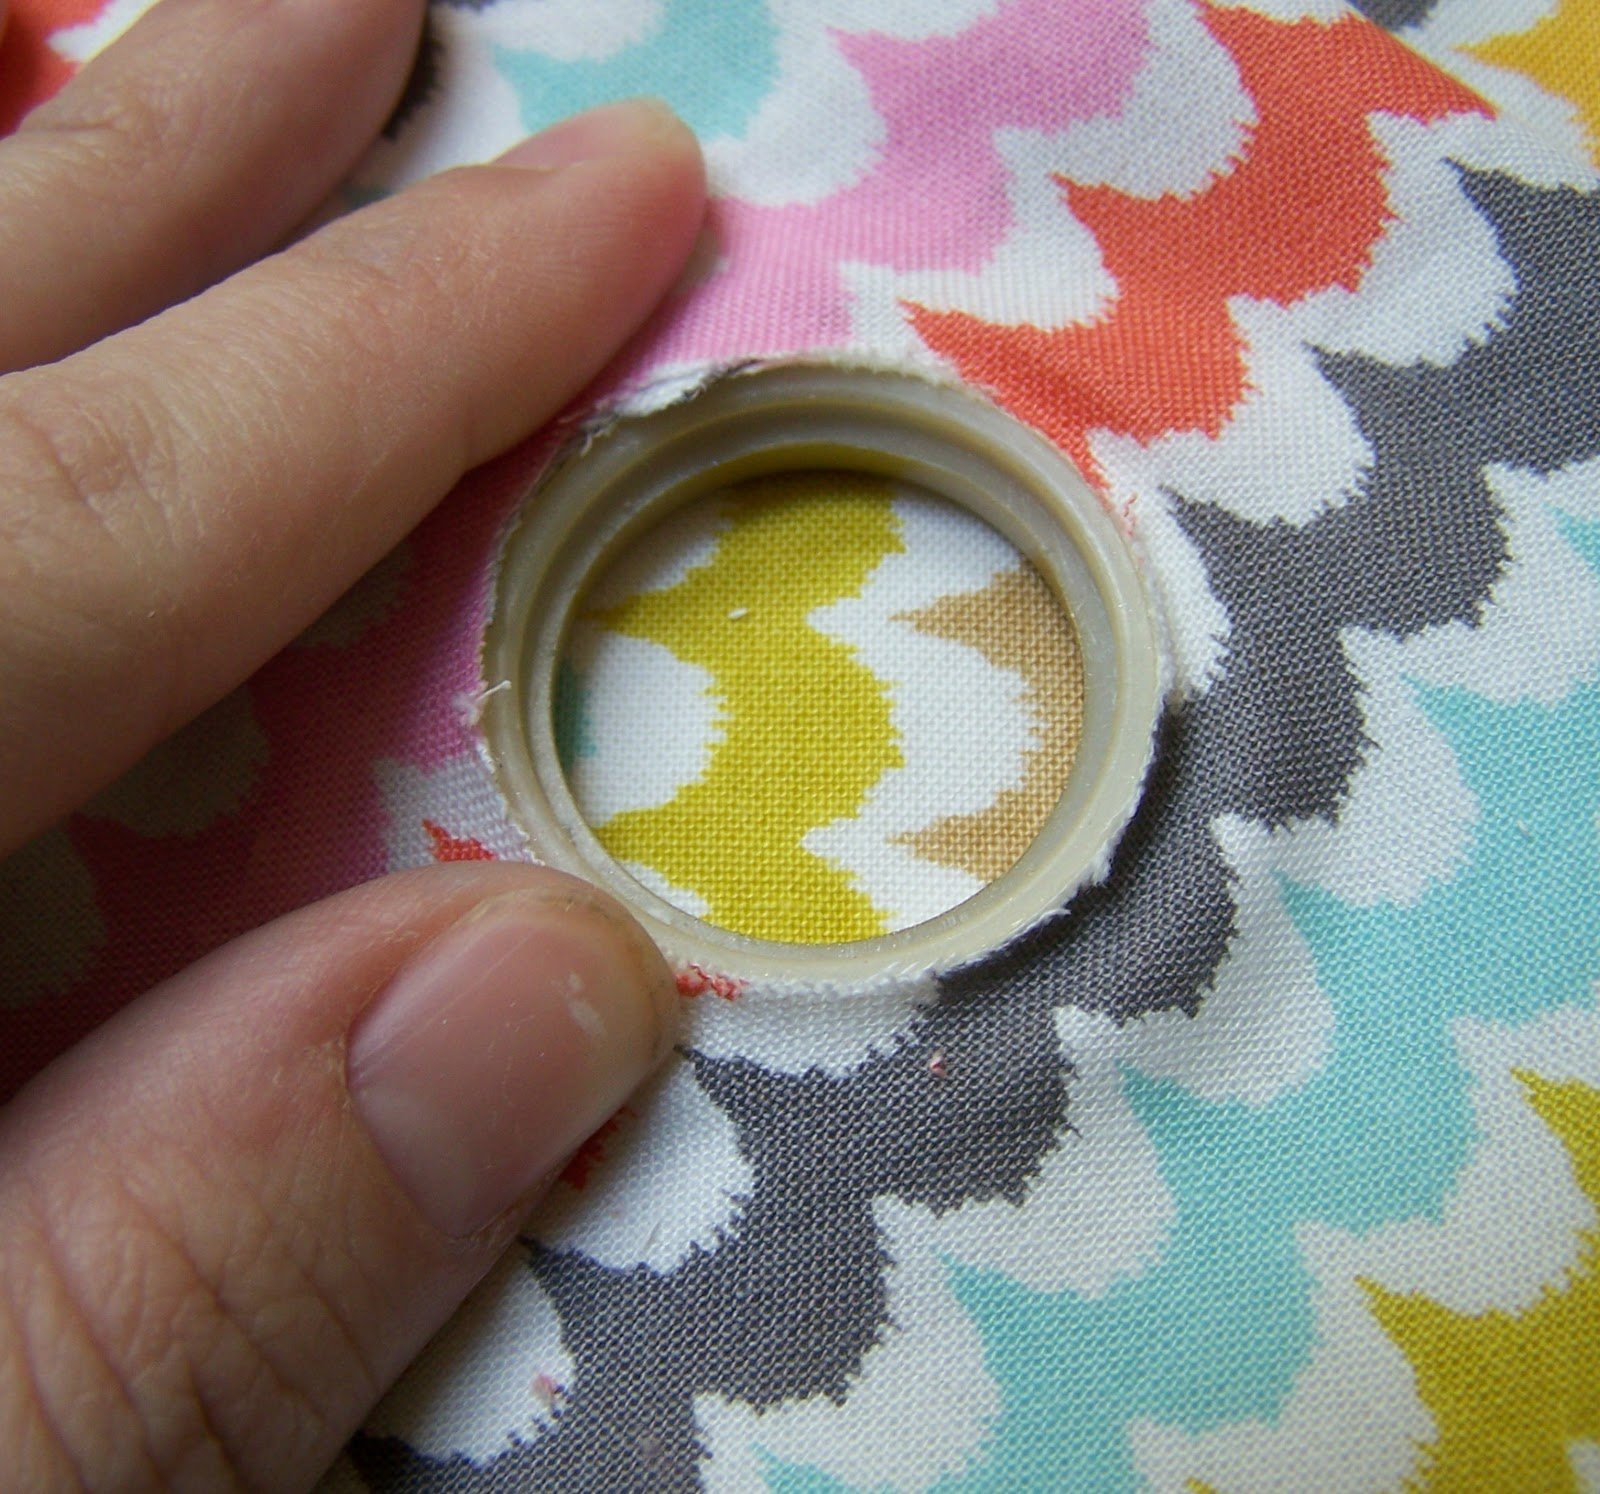
Snap the other piece on (you have to push really hard).
Now you have beautiful professional looking drapes!
I can’t wait to hang them up at our new home!
happy sewing!
If you have any questions, email me at
jessica(at)sewhomegrown(dot)com!
xoxo
jessica