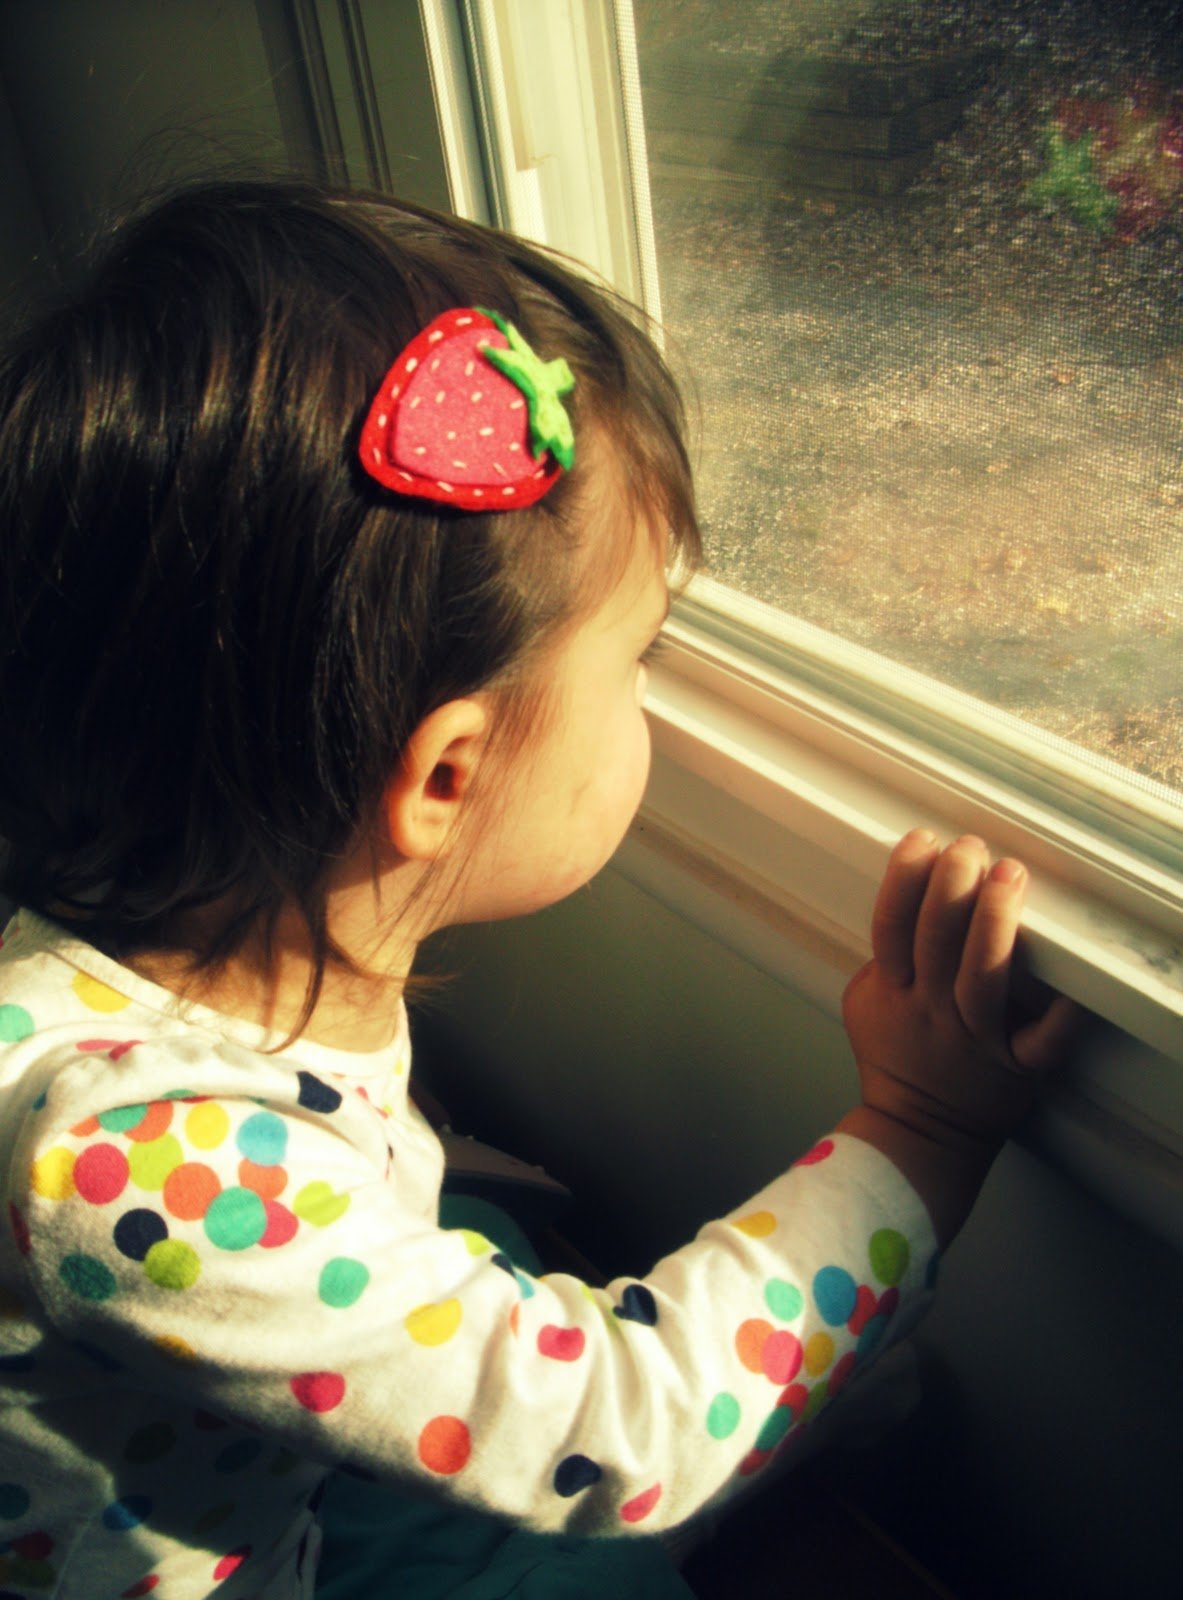

I really love making little hairclips. Especially out of felt. Charlotte has one for every season. Two of the clips I’ve made have been from tutorials on the Purl Bee: flower barrettes and heart barrettes.
I really love their method of assembling the clip.
So here’s my own clip – using their method!
Here is what you will need:
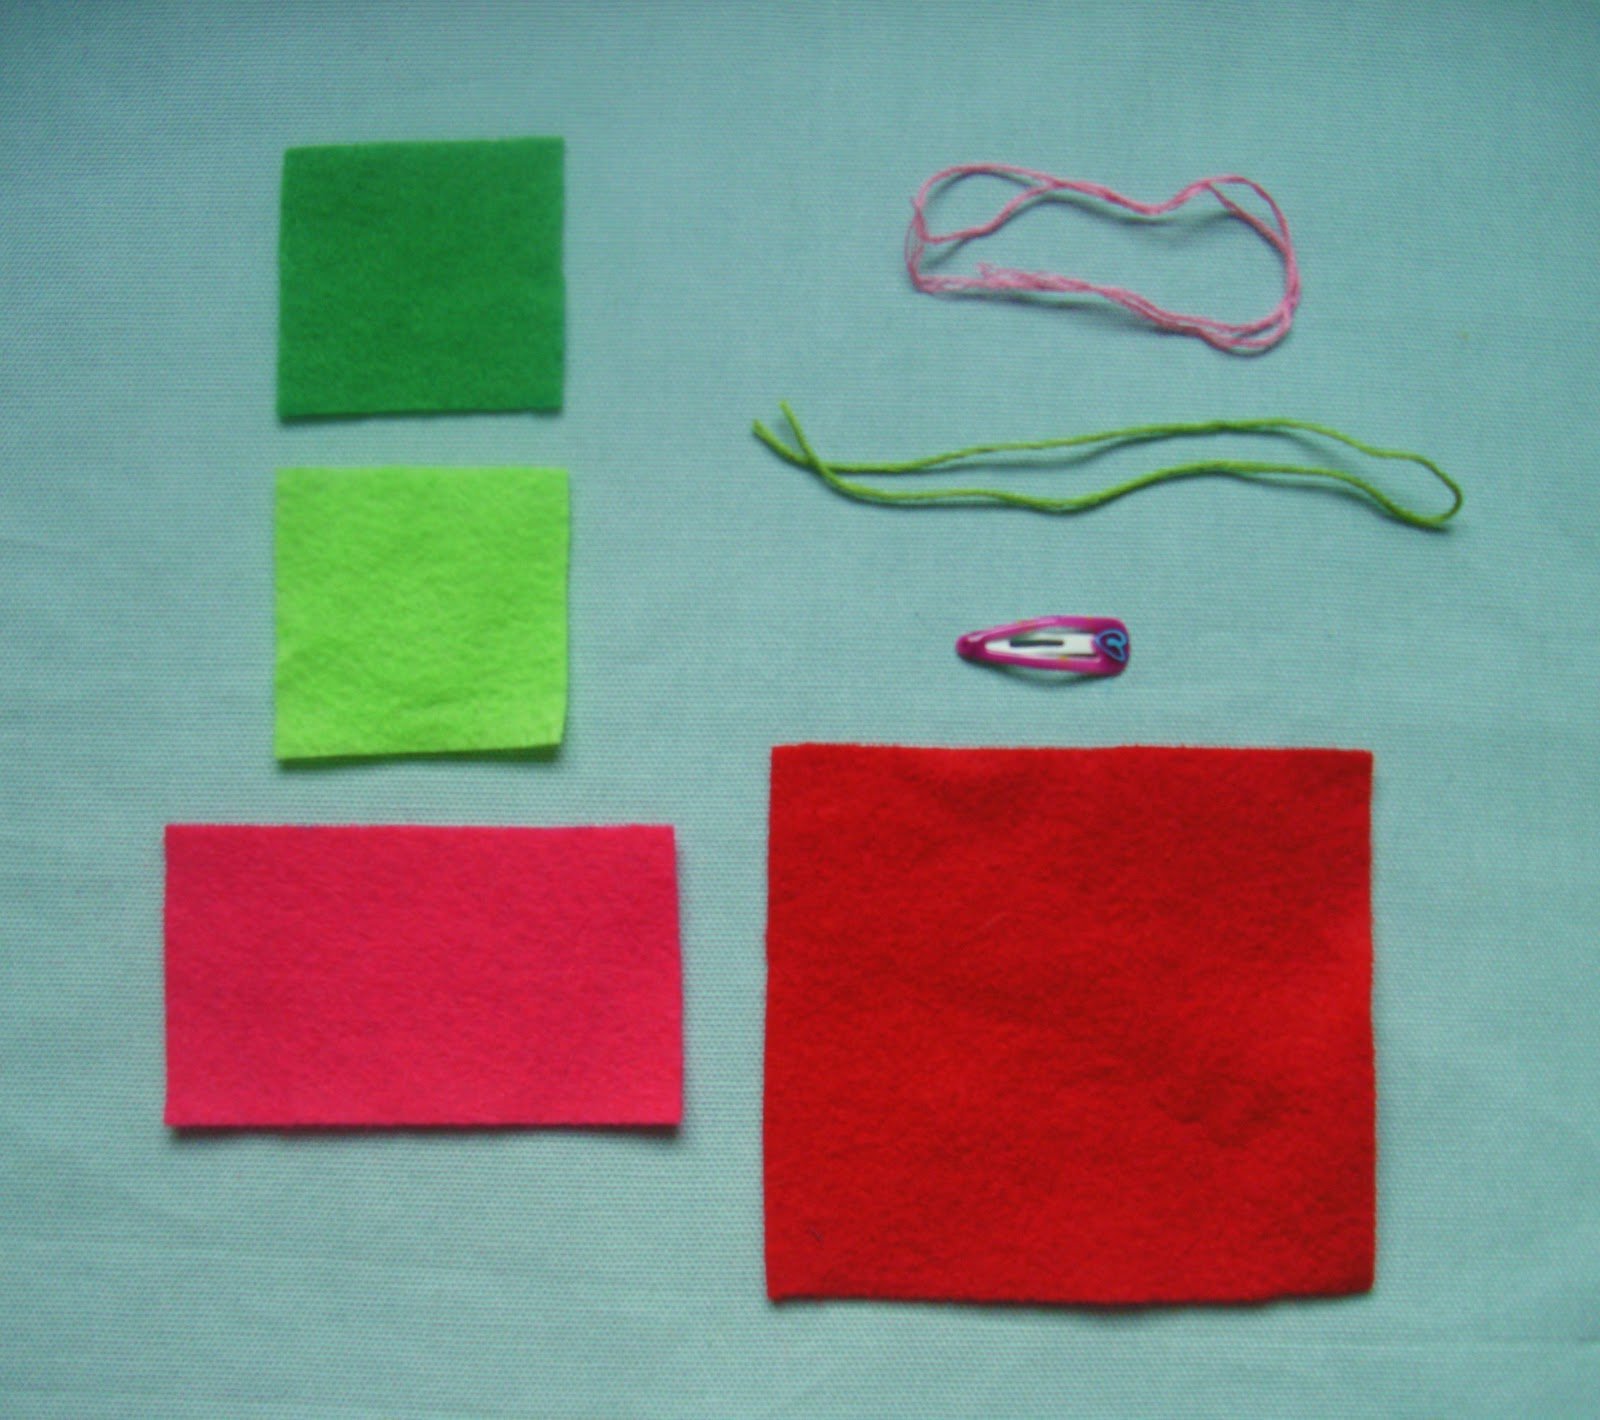
- a 2″ inch square of medium green felt
- a 2″ square of light green felt
- a 3″ x 2″ rectangle of pink felt
- a 3″ x 4″ rectangle of red felt
- light pink embroidery floss
- light green embroidery floss
- scissors
- water soluble pen
- needle
- tiny barrette
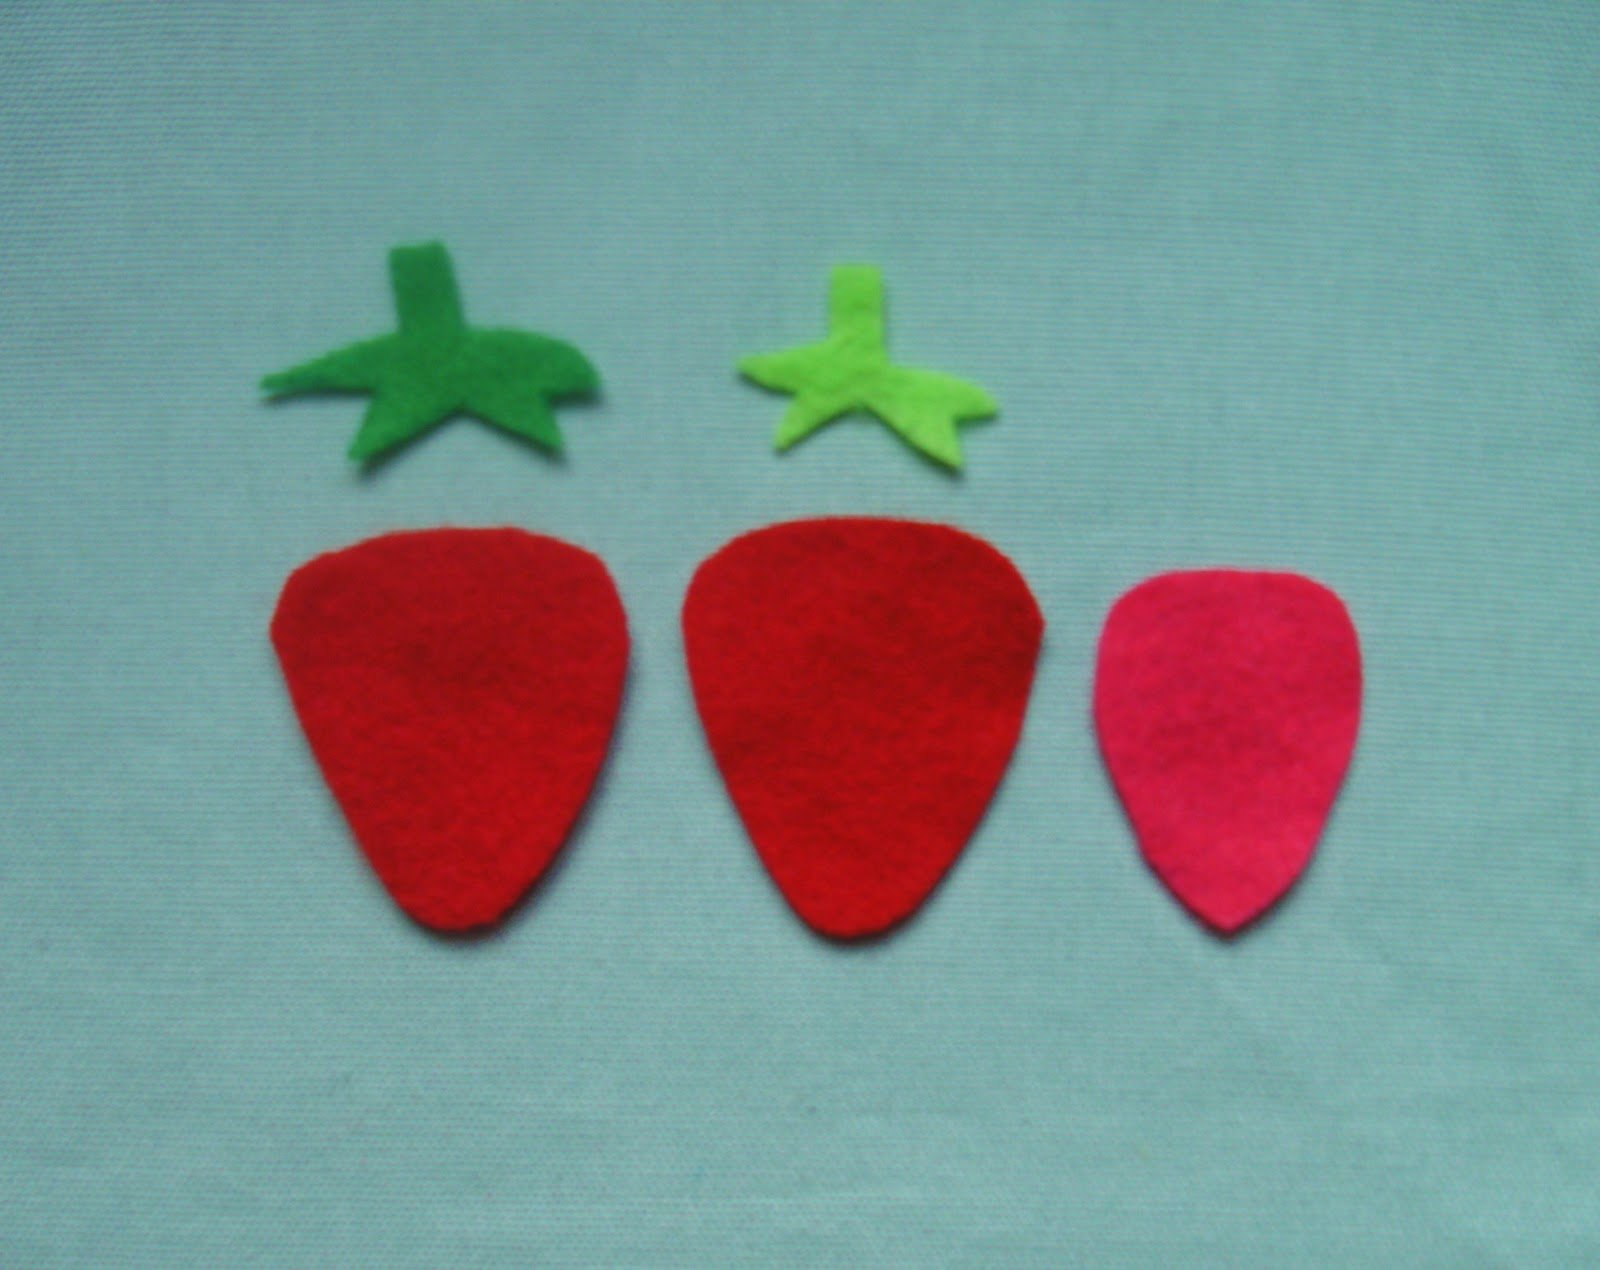
- Step 1: Cut out the five pieces of felt using the pattern.
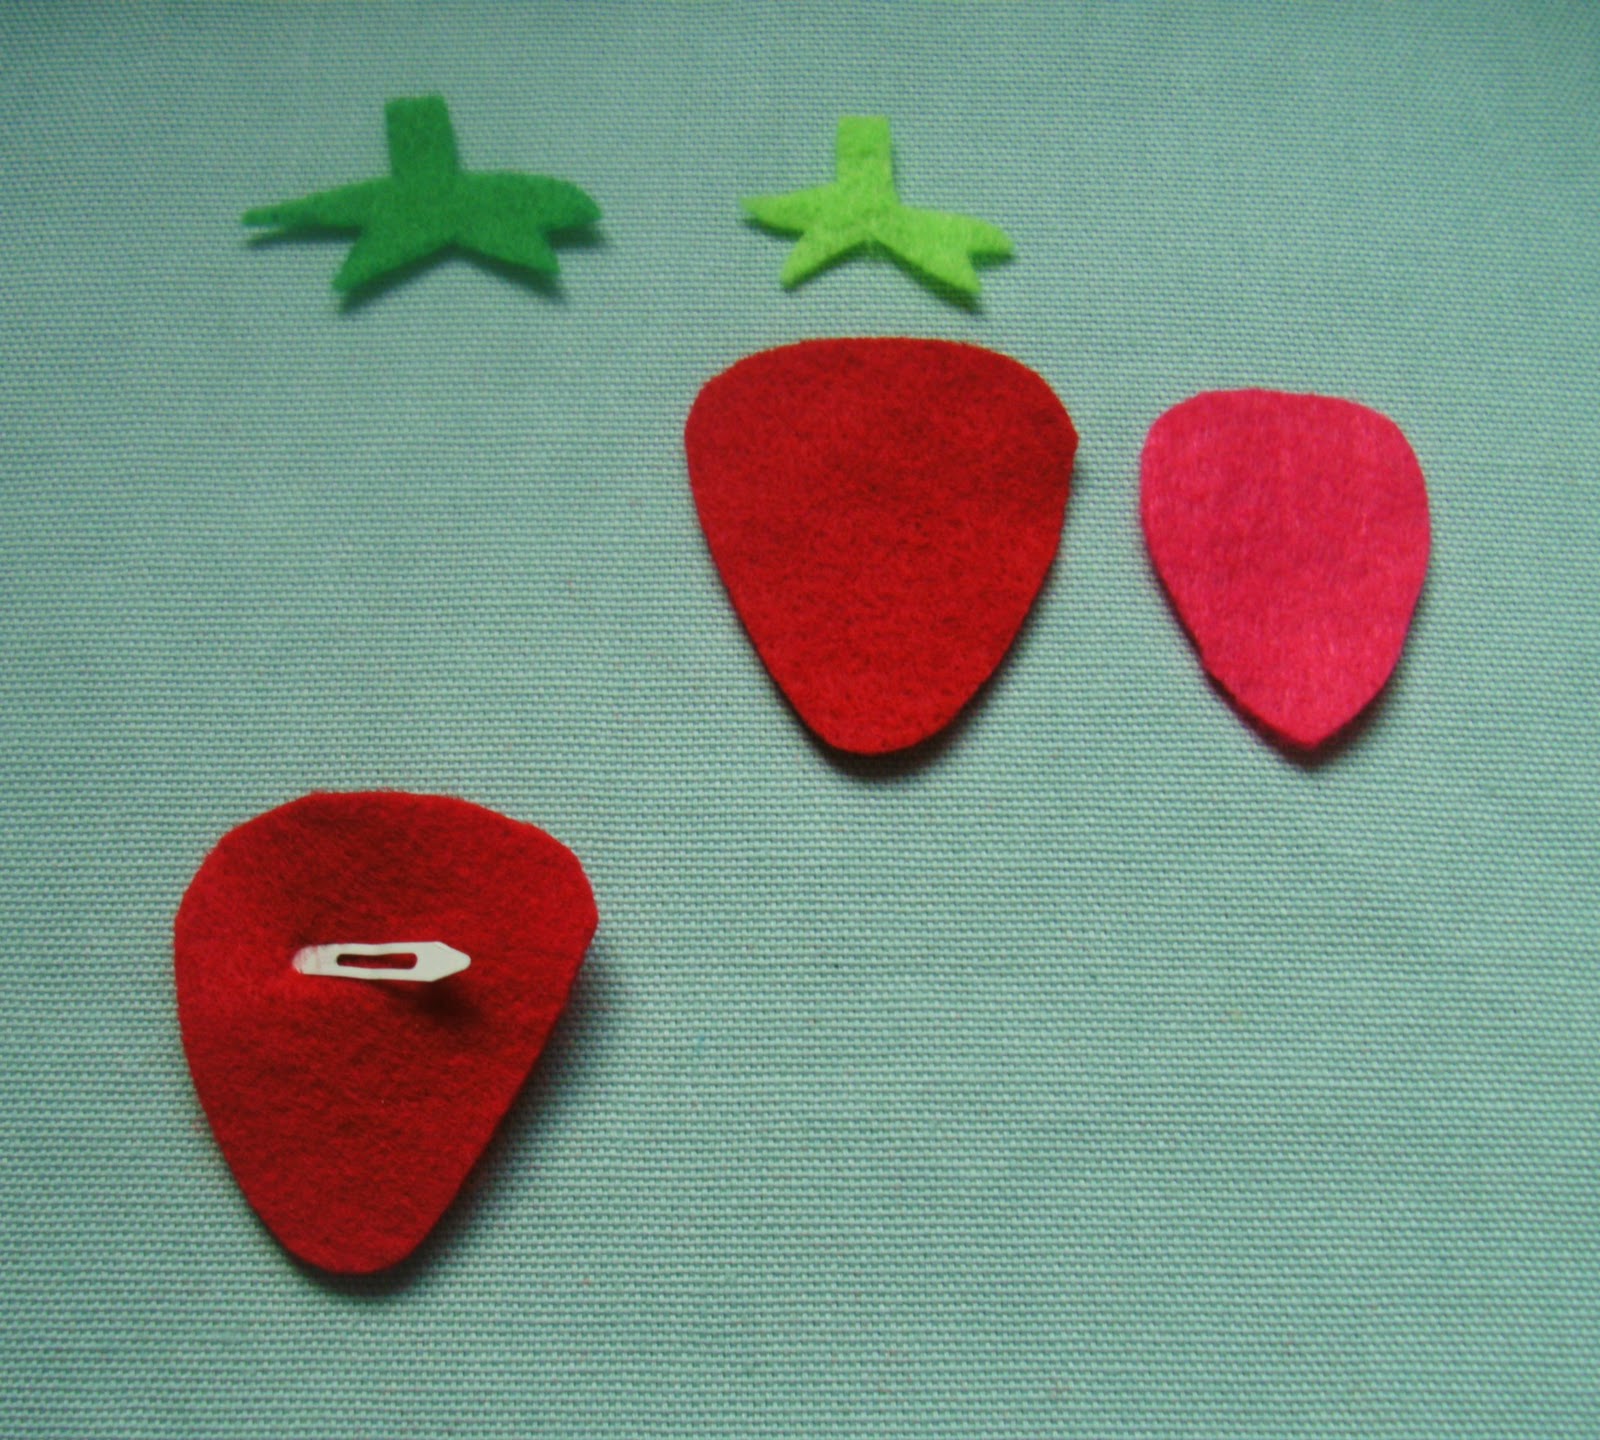
- Step 2: Cut a tiny slit into one red piece and slip the barrette through it.
- Step 3: Pin the pink piece to the other red piece.
Using a water soluble pen, make little markings that imitate the seeds.
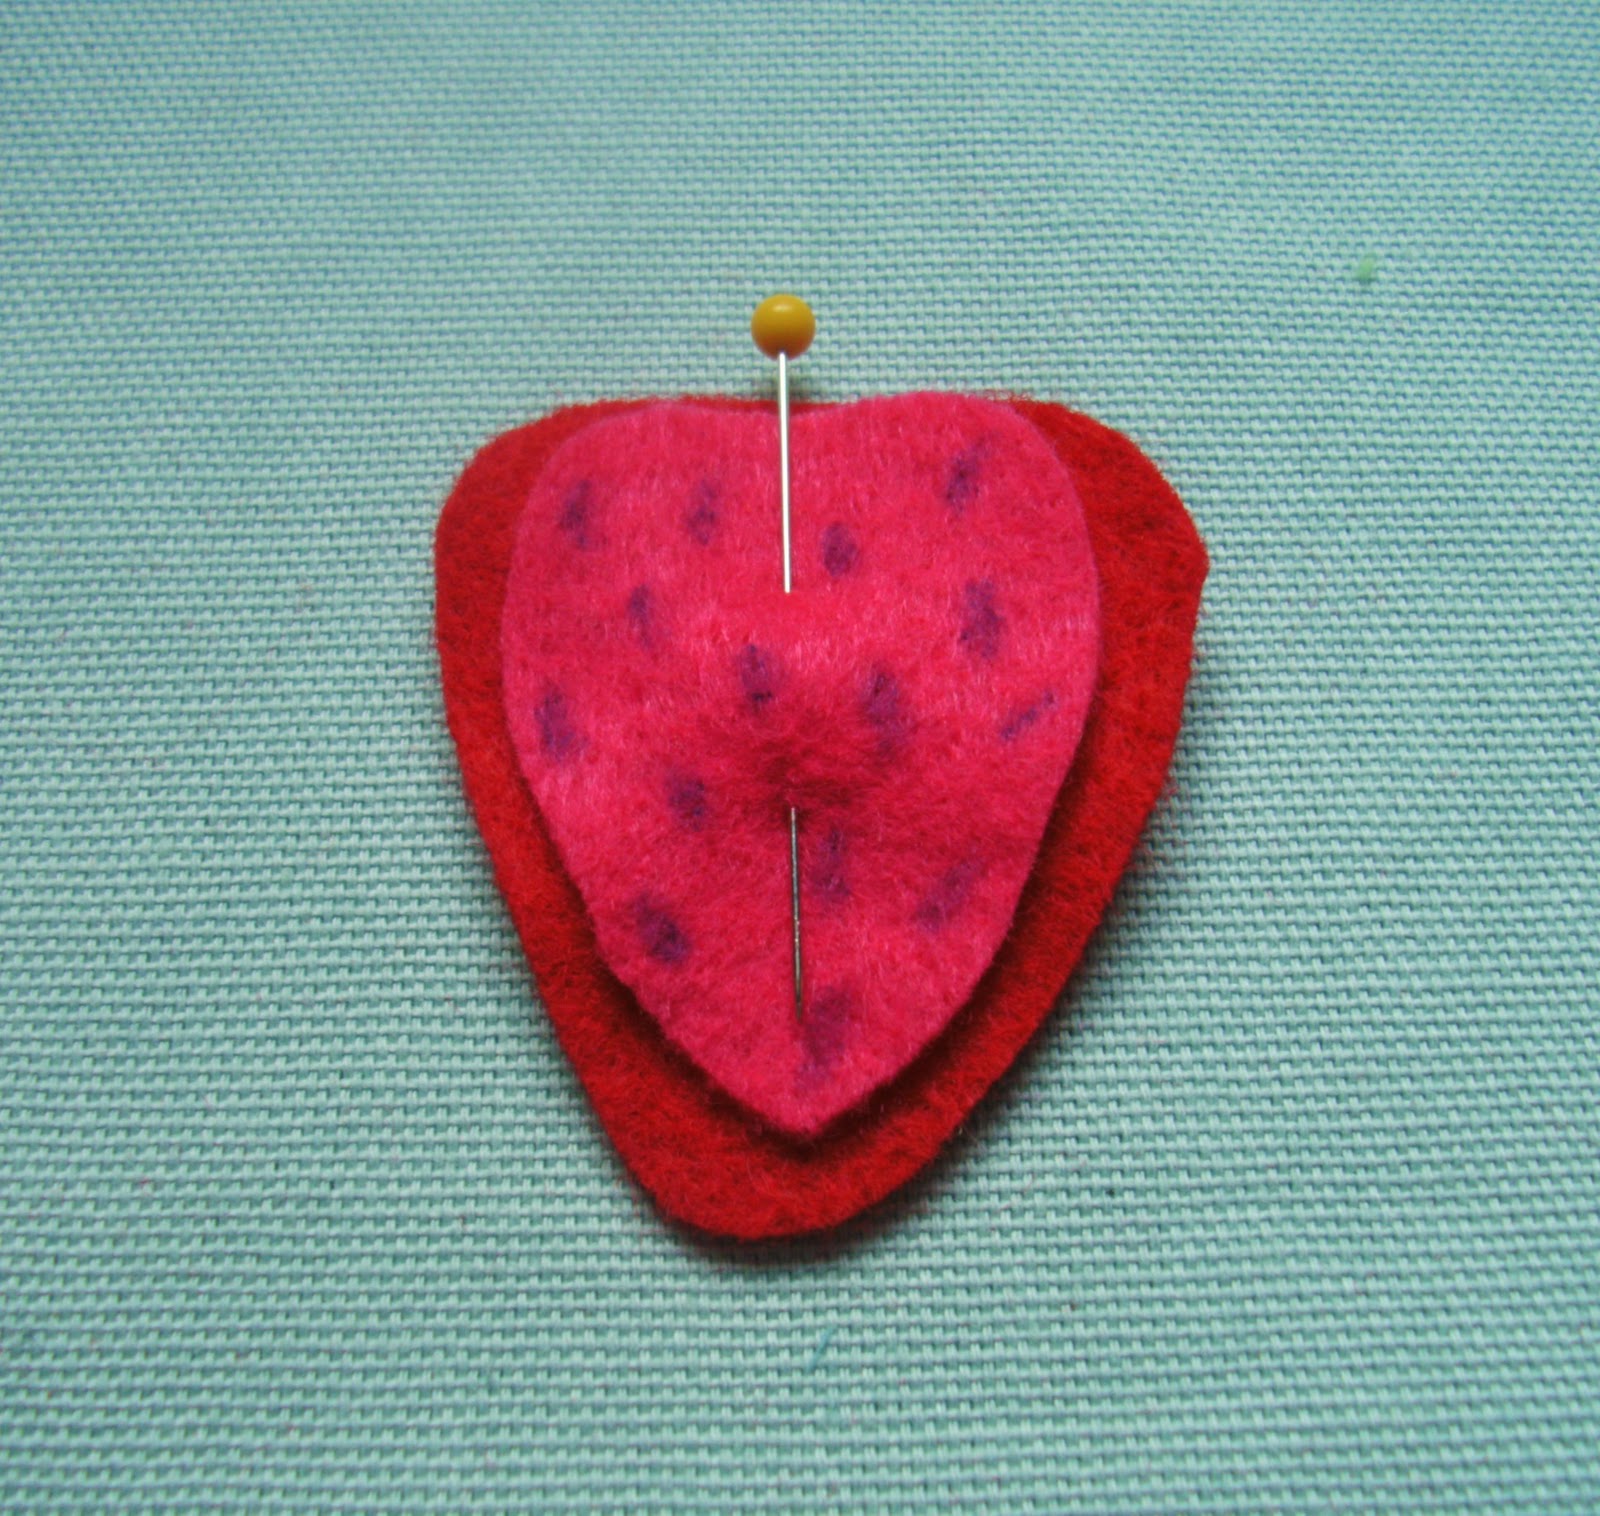
Thread a needle with four strands of light pink embroidery floss.
Sew over your markings, through both layers. Dab with water to remove markings.

- Step 4: Now lay the top of the strawberry over the back piece – enclosing the top of the clip inside.
Sew around the edge of the strawberry – only through the two red layers. - Step 5: Lay the light green piece of felt on top of the medium green piece. Place them at the top of the strawberry and using green embroidery floss, stitch them onto the berry. When you get to the stem part you will only be sewing through the green pieces.

Here’s what the back should look like:
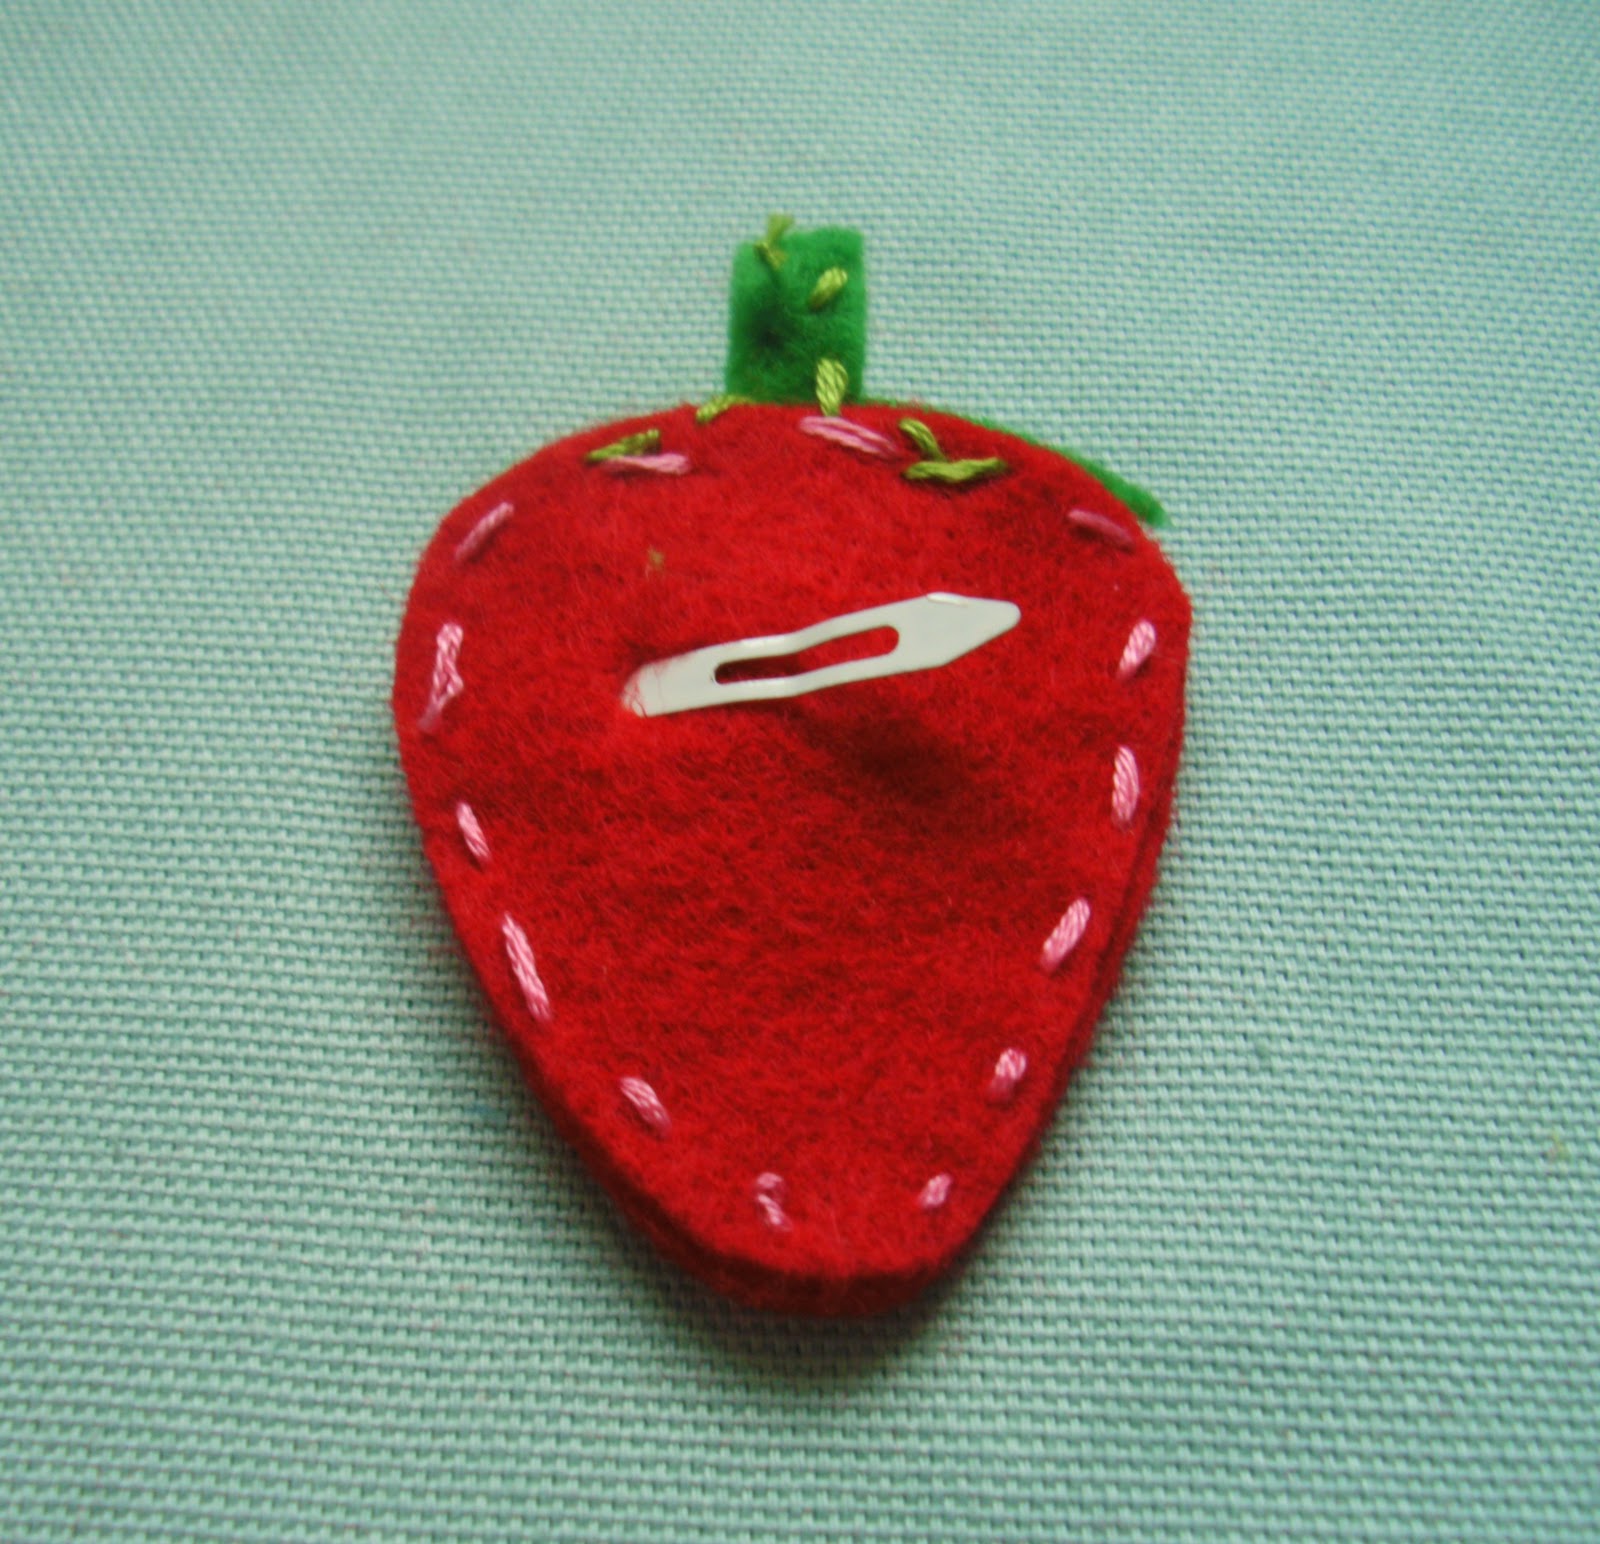
Doesn’t that look “sweet”?

have a “berry” good day
*couldn’t help it*
jessica