No Harry Potter party is truly complete without wands. After all, what witch or wizard could be expected to attend Hogwarts without one? That’s where a Wand Making Station comes in: a hands-on, interactive activity that turns your guests into true wand-wielding spellcasters. Whether you’re hosting a birthday party, a movie marathon, or a Hogwarts-themed sleepover, this creative corner will be one of the most memorable features of the entire event.
In this guide, we’ll walk you through everything you need to create a magical and safe Wand Making Station, from materials and setup to step-by-step crafting instructions, display ideas, and even fun wand-lore extras to keep the magic alive.
It’s more than just a craft table — it’s a gateway to imagination. With just a few simple supplies and a bit of planning, your Wand Making Station can become a key part of the magical world you’re building. It invites creativity, sparks conversation, and gives every guest a unique magical artifact to take home and cherish.
Why Include a Wand Making Station?
Adding a Wand Making Station to your party offers more than just a fun craft. It provides:
- Hands-on creativity: Guests get to design something that reflects their personality or magical “core.”
- A personalized keepsake: Everyone leaves with a unique wand to remember the party.
- Immersion: This station helps guests feel like they’re truly stepping into the world of Harry Potter.
- Engagement for all ages: Kids, teens, and even adults will enjoy making and showing off their custom creations.
Materials You’ll Need
Creating your own wands doesn’t require expensive materials — just a few clever supplies and a sprinkle of imagination. With the right setup, guests of all ages can design a wand that looks like it came straight from Diagon Alley.
Here’s a list of the basics you’ll want to have at your station, plus a few optional extras to make the crafting experience even more magical:
🪄 Wand Bases
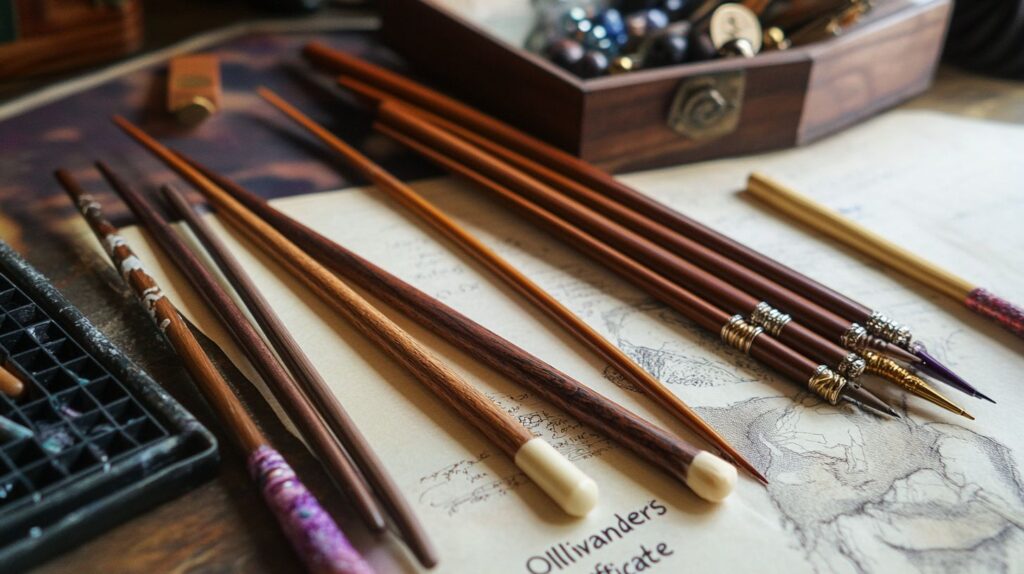
These serve as the core of each wand — lightweight and easy to work with:
- Chopsticks (wooden, ideally smooth or slightly textured for grip)
- Small wooden dowels (6–12 inches long, roughly pencil thickness)
- Optional: Pencils (for younger crafters — safe, sturdy, and dual-purpose)
🔮 Wand Detailing
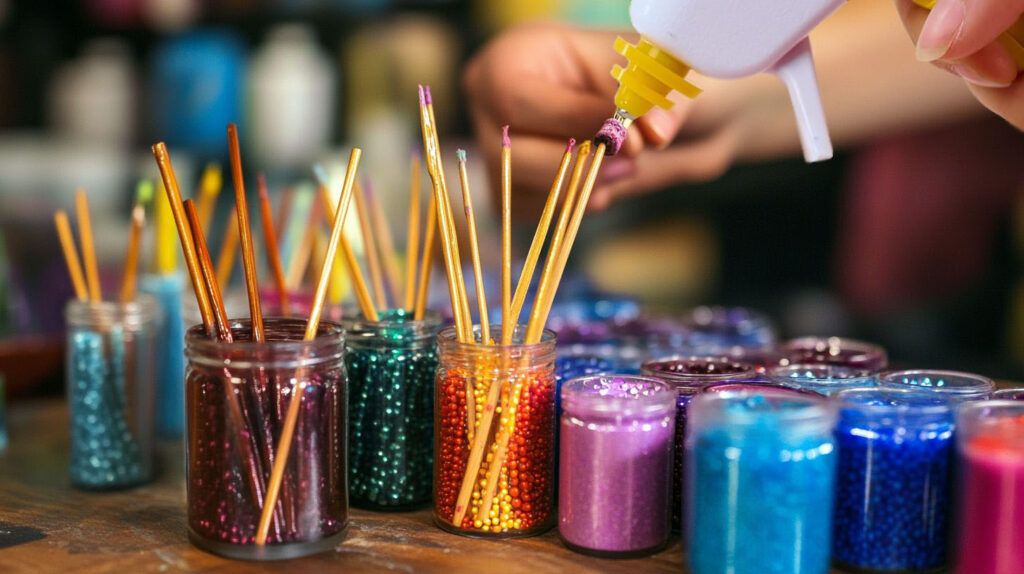
These materials help guests add magical personality and texture to their wands:
- Hot glue gun(s) (1 per 2–4 guests; use low-temp for kids; always with adult supervision)
- Glue sticks (bring more than you think you’ll need!)
- Beads – glass, wood, metal, or plastic in various sizes
- Buttons – old-fashioned or whimsical designs add character
- Small gems or rhinestones – for sparkle and core accents
- Twine, jute, or string – wrap sections of the wand handle for a rustic or elven look
- Optional: Feathers, metal wire, or miniature charms (for advanced detailers)
🎨 Painting Supplies
Color transforms each wand into a work of art. Provide:
- Acrylic paints – earthy tones like walnut, mahogany, charcoal; add purples, silvers, or emeralds for flair
- Metallic paint pens – perfect for drawing magical runes or edging details
- Paintbrushes – variety of small to medium sizes
- Paint palettes or disposable paper plates
- Cups of water for rinsing brushes
- Paper towels or cleaning cloths
🛡️ Protective Items
Keep your space and your guests safe and tidy:
- Table covers – disposable plastic or washable fabric
- Aprons or smocks – especially useful for kids
- Craft gloves – optional, helpful for handling hot glue
- Trash bin nearby for quick cleanup
✨ Finishing Touches
Add polish and a sense of completion to each magical creation:
- Clear sealant spray (optional, for protecting paint — best used outdoors)
- Wand name tags – let guests write the name, wand type, and magical core
- “Ollivanders Wand Certificate” printables
- Display box or drying rack – cupcake stands, wire racks, or even decorated cardboard trays work well
- Optional: Mini scrolls for guests to write their wand’s backstory or magical abilities
Setting Up the Station
Choose a well-ventilated area with ample table space. Cover your table to protect it, and organize supplies by step (base, glue decoration, painting, finishing).
Create small crafting zones if you have many guests. Label areas like “Design Your Wand,” “Paint Your Wand,” and “Let It Dry Here” to keep things orderly.
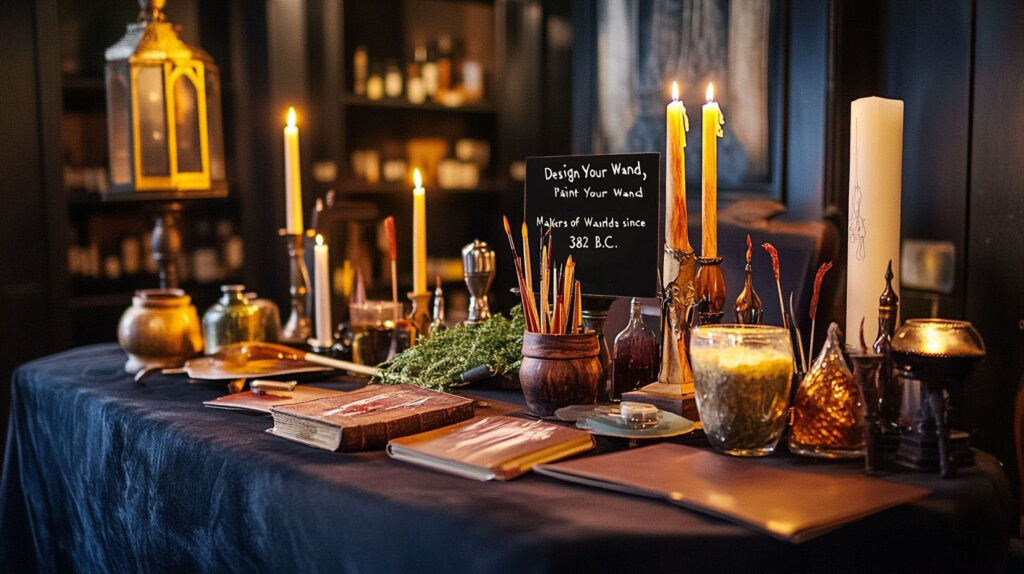
Add signs with whimsical titles, like:
- Wand Cores & Wood Types
- The Wand Chooses the Wizard
- Apprentice Workshop
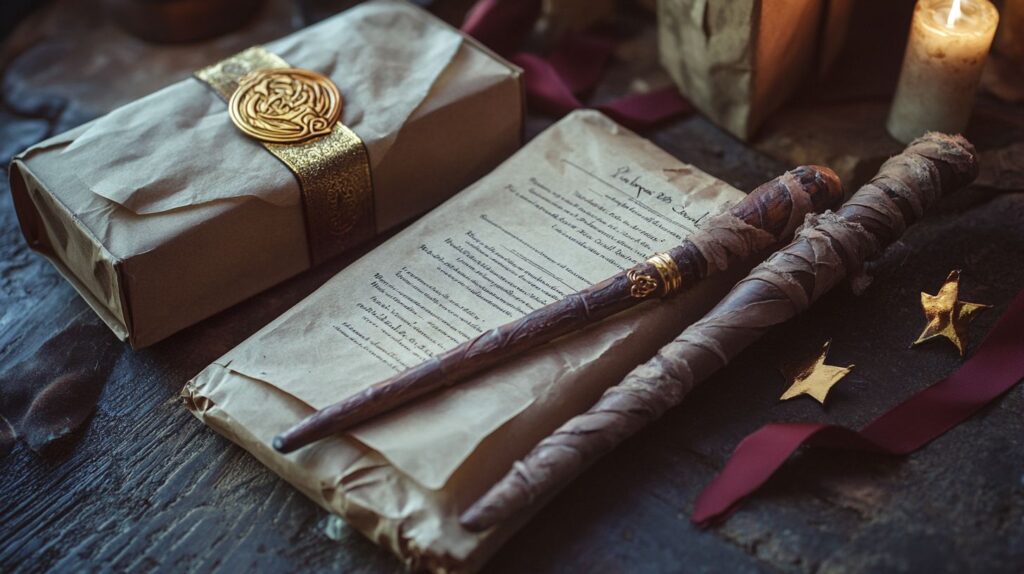
Decorate the station with magical props: spell books, candles, potion bottles, or a sign that says “Ollivanders: Makers of Fine Wands since 382 B.C.”
Step-by-Step Wand Creation
- Choose Your Base
Guests begin by choosing a chopstick or dowel to serve as the foundation for their wand. - Design with Glue
Using a hot glue gun (under adult supervision), guests apply glue in swirls, knobs, spirals, or patterns to create texture. This mimics carved wood or magical designs.
Encourage creativity: add beads to the glue before it dries to create embedded details, or wrap twine around sections and secure with glue. - Let the Glue Set
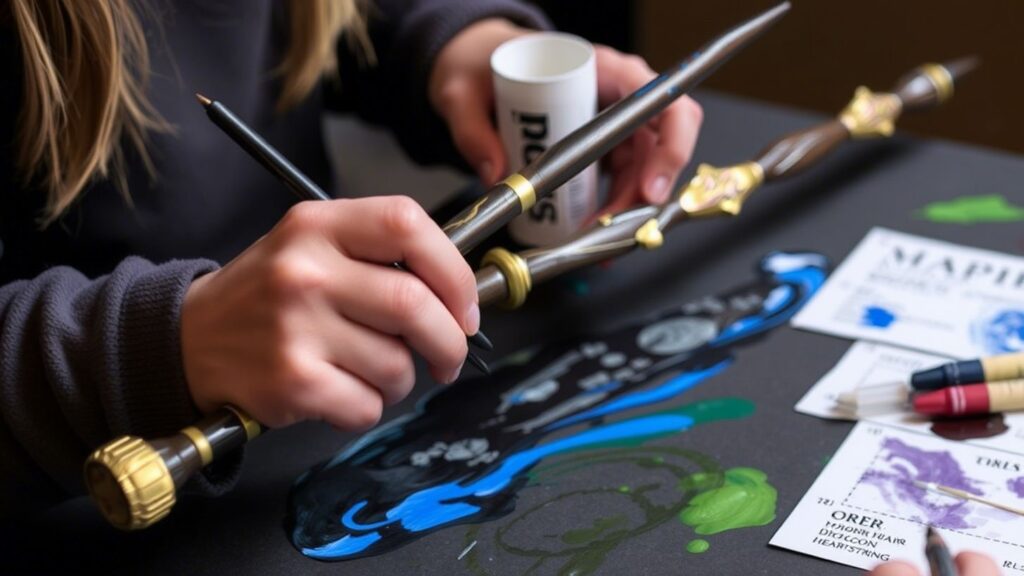
Allow 5-10 minutes for the glue to cool and harden before painting. - Paint Your Wand
Guests use acrylic paints to bring their wands to life. Browns and blacks are great for a classic look, while metallics and mystical colors add fantasy flair.
Suggest layering colors or using dry-brush techniques to add dimension. Paint pens work well for runes or fine lines. - Dry & Finish
Place finished wands in a drying rack or on a labeled tray. Once dry, optionally seal with a light spray of clear craft sealant. - Name Your Wand
Provide cards where guests can name their wand, describe its core (e.g., unicorn hair, dragon heartstring), and magical properties. Offer examples for inspiration!
Tips for Success
- Always have at least one adult supervising the glue gun station.
- Use low-temp glue guns for younger guests.
- Prepare a few pre-made wands in case someone doesn’t want to craft.
- Lay out sample wands for inspiration.
- Create a “Wand Lore” chart with Harry Potter wand facts to display at the station.
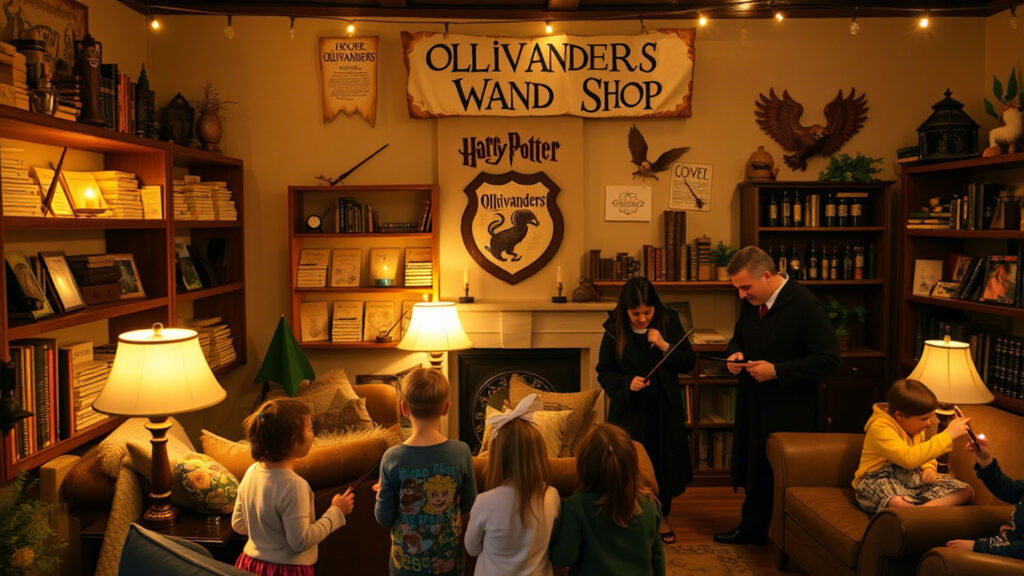
Optional: Add the Ollivander Experience
To make the experience even more immersive, consider turning your Wand Making Station into a mini version of Ollivanders Wand Shop. You (or a willing friend) can roleplay as Mr. Ollivander himself — complete with a long robe, spectacles, and a mystical air — guiding each guest through the wand selection process with dramatic flair.
Use theatrical language and classic quotes to enhance the magic. Phrases like:
- “Ah yes, holly and phoenix feather. A rare combination!”
- “The wand chooses the wizard, remember.”
- “Give it a wave, let’s see how it responds!”
- “Curious… very curious…”
- “No two wands are the same, just as no two wizards are.”
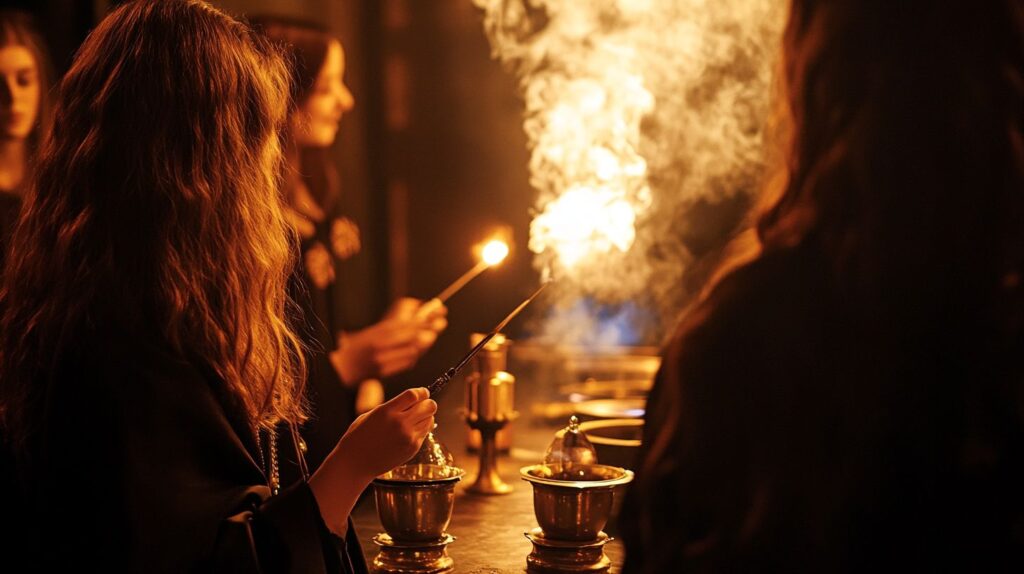
Create a designated Wand Testing Area where each guest can step up and perform their first “spell.” Have a helper cue fun sound effects — a sparkle, a wind rush, or even a whoosh — when they wave their wand. You could use a Bluetooth speaker hidden nearby to play randomized magical sounds.
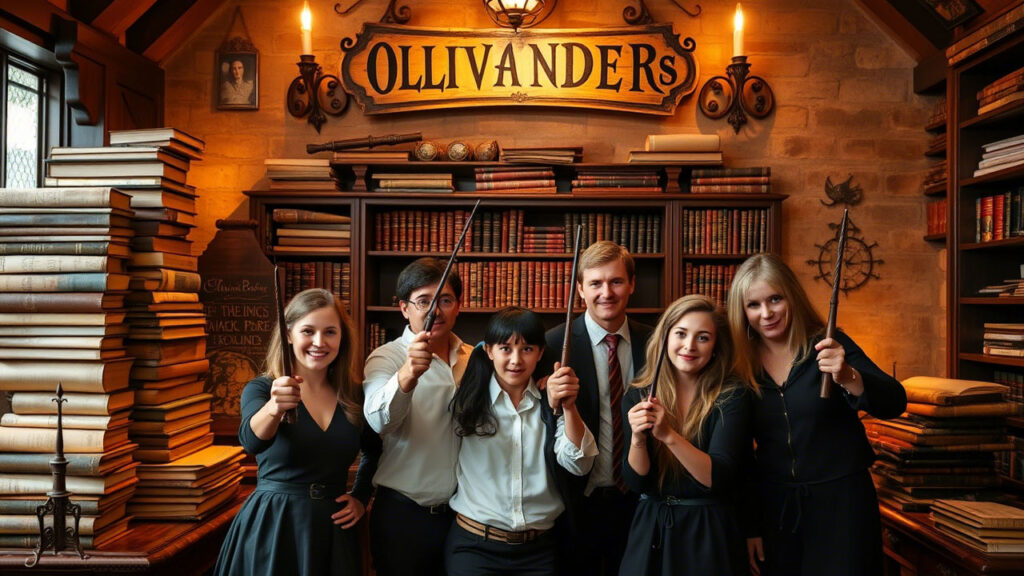
Include a backdrop or photo booth styled like the inside of Ollivander’s shop: stacked wand boxes, old books, scrolls, dusty shelves, and warm lighting. Encourage guests to strike a pose with their new wand — dramatic stances, casting spells, or wizard duels. These photos make great party favors and lasting memories.
For an added twist, let Ollivander make a brief speech about each wand’s fictional core and wood type — even if they were randomly assigned — and end each presentation with the official “Ollivanders Certificate of Wand Ownership.”
It’s these theatrical touches that elevate a simple crafting table into a spellbinding experience worthy of Hogwarts itself.
Wand Display & Take-Home Options
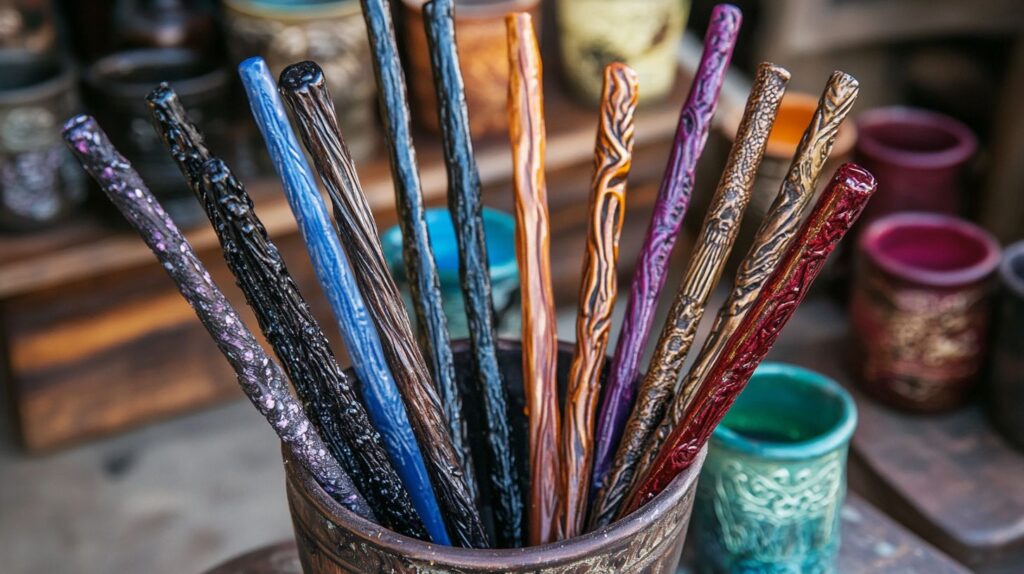
Set up a display table or box where completed wands can dry and be admired. Use velvet cloths or magical-themed trays to give it a true Ollivanders-style charm. Add name cards if guests want to show off their designs, and consider placing small labels with the “wand core” and “wood type” they chose.
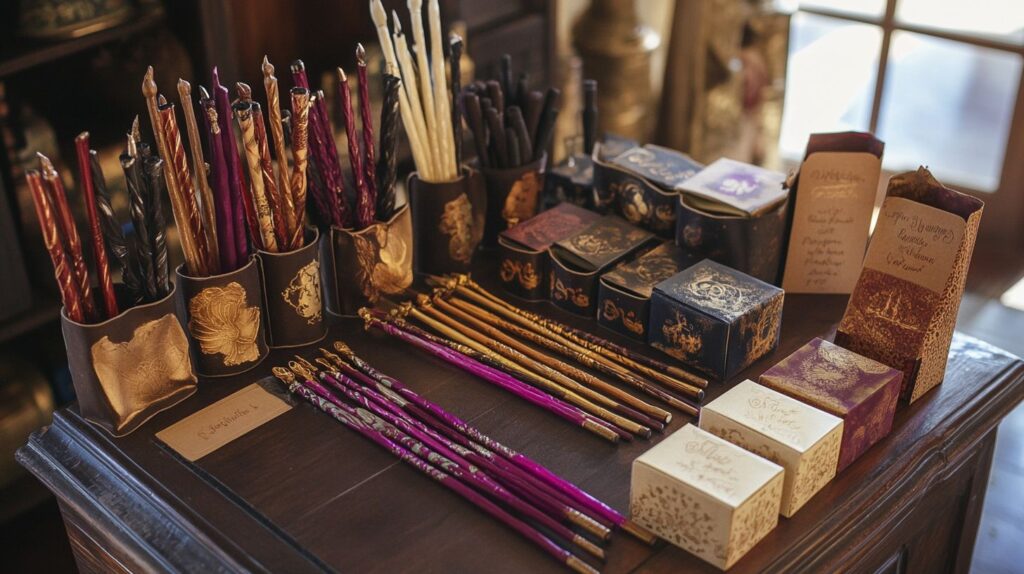
Provide wand bags, parchment tags, or personalized certificates so guests can take their creations home safely and stylishly. You can print certificates with Hogwarts-style fonts and a wax-seal stamp graphic to make them feel official.
You can also let guests decorate small wand boxes or cardboard tubes to store their wands after the party. Offer stickers, gold stars, house-colored ribbons, or miniature house crests for decoration. Not only is it a fun add-on activity, but it also protects the wand during travel home — and makes for a magical party favor box they’ll want to keep!
🔮 Bonus Ideas for the Wand Station
1. 🧠 Wand Trivia Challenge
Test your guests with fun and tricky questions about wand lore from the Harry Potter books. Create a mini quiz with prizes for the most knowledgeable wizards!
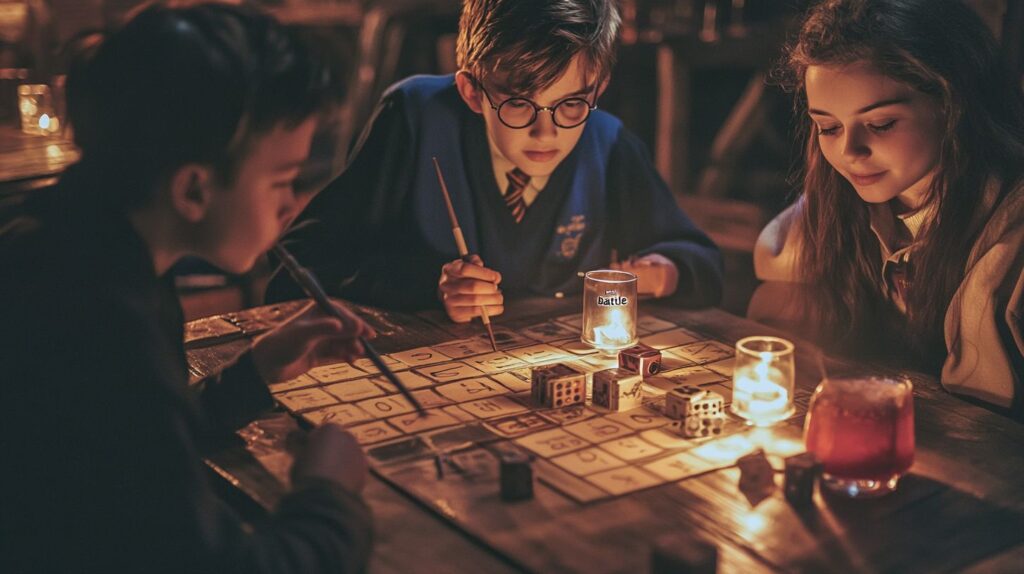
2. 🎲 Magical Core Dice Roll
Have a dice chart ready where each number corresponds to a different magical core — unicorn hair, phoenix feather, dragon heartstring, veela hair, etc. Guests roll to see what destiny assigns to their wand.
3. 🎨 House-Color Paint Themes
Encourage guests to personalize their wands using paint colors that match their Hogwarts house — red/gold for Gryffindor, green/silver for Slytherin, yellow/black for Hufflepuff, and blue/silver for Ravenclaw.
4. ⚔️ Wand Duels
Set up a small dueling zone where guests can “battle” using dramatic spellcasting poses and classic spells like Lumos, Expelliarmus, or Stupefy. Add sound effects or light-up props for extra flair!
5. 🧪 Potion Pairing Station
Place your Wand Station next to a themed Potion Bar, where guests can toast their new wands with magical color-coordinated drinks like Butterbeer, Polyjuice Punch, or Firewhisky Fizz.
Final Thoughts
A Wand Making Station is not only a magical party feature but also a meaningful, creative activity that lets your guests craft something uniquely their own. With a bit of preparation and a touch of wizarding flair, you’ll give every witch and wizard at your party a moment to remember — and a wand to take home, just waiting for its first spell.
Whether they end up with a twisted vinewood wand with phoenix feather core or a rugged elder wand topped with emerald beads, one thing is certain: no one will leave your party without a spark of magic in their hands.