**I’ve recently started blogging again! Come see what I’ve been up to: click here**

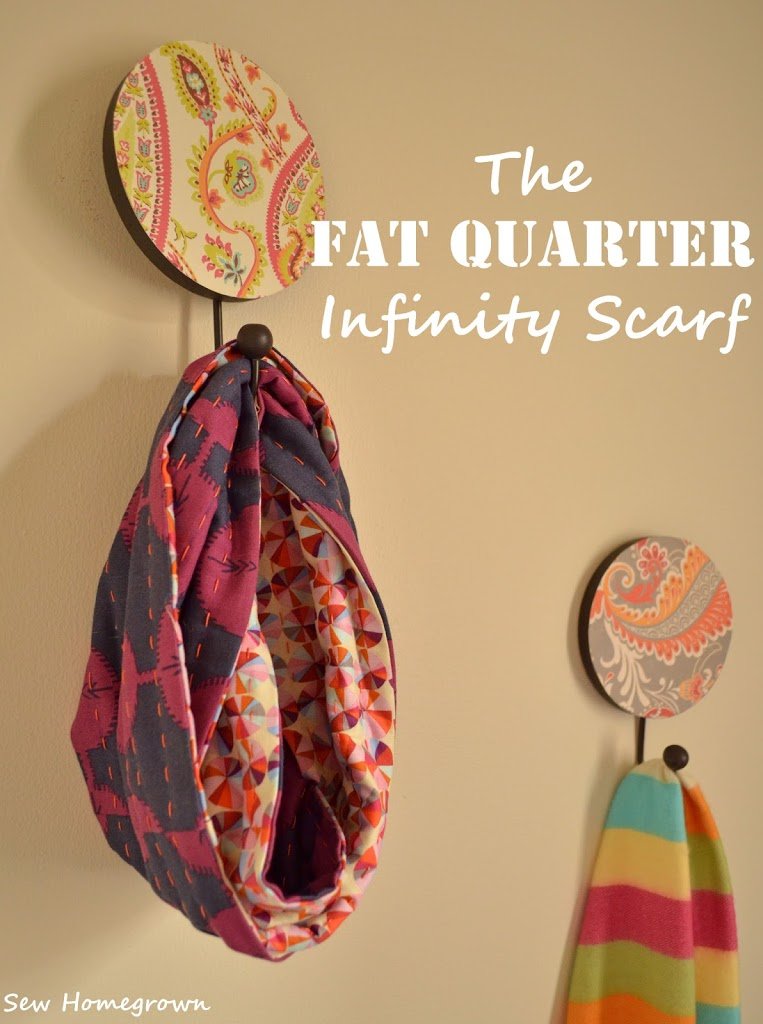
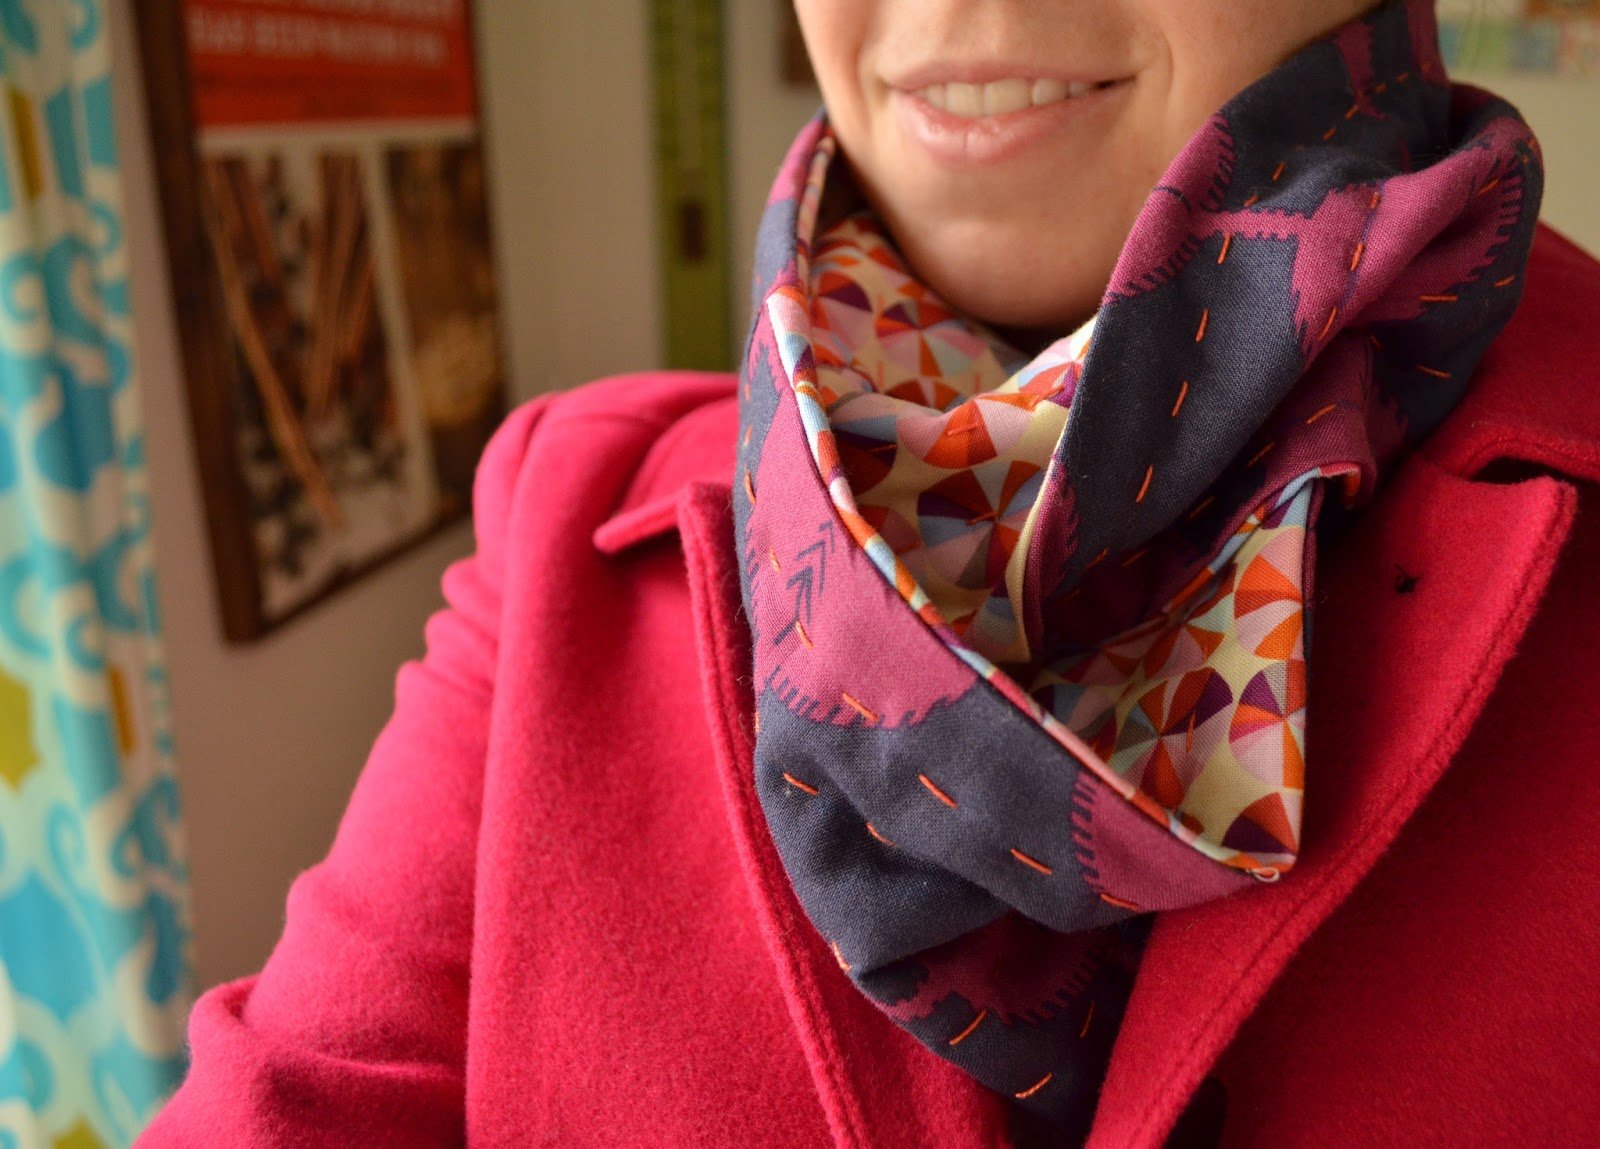
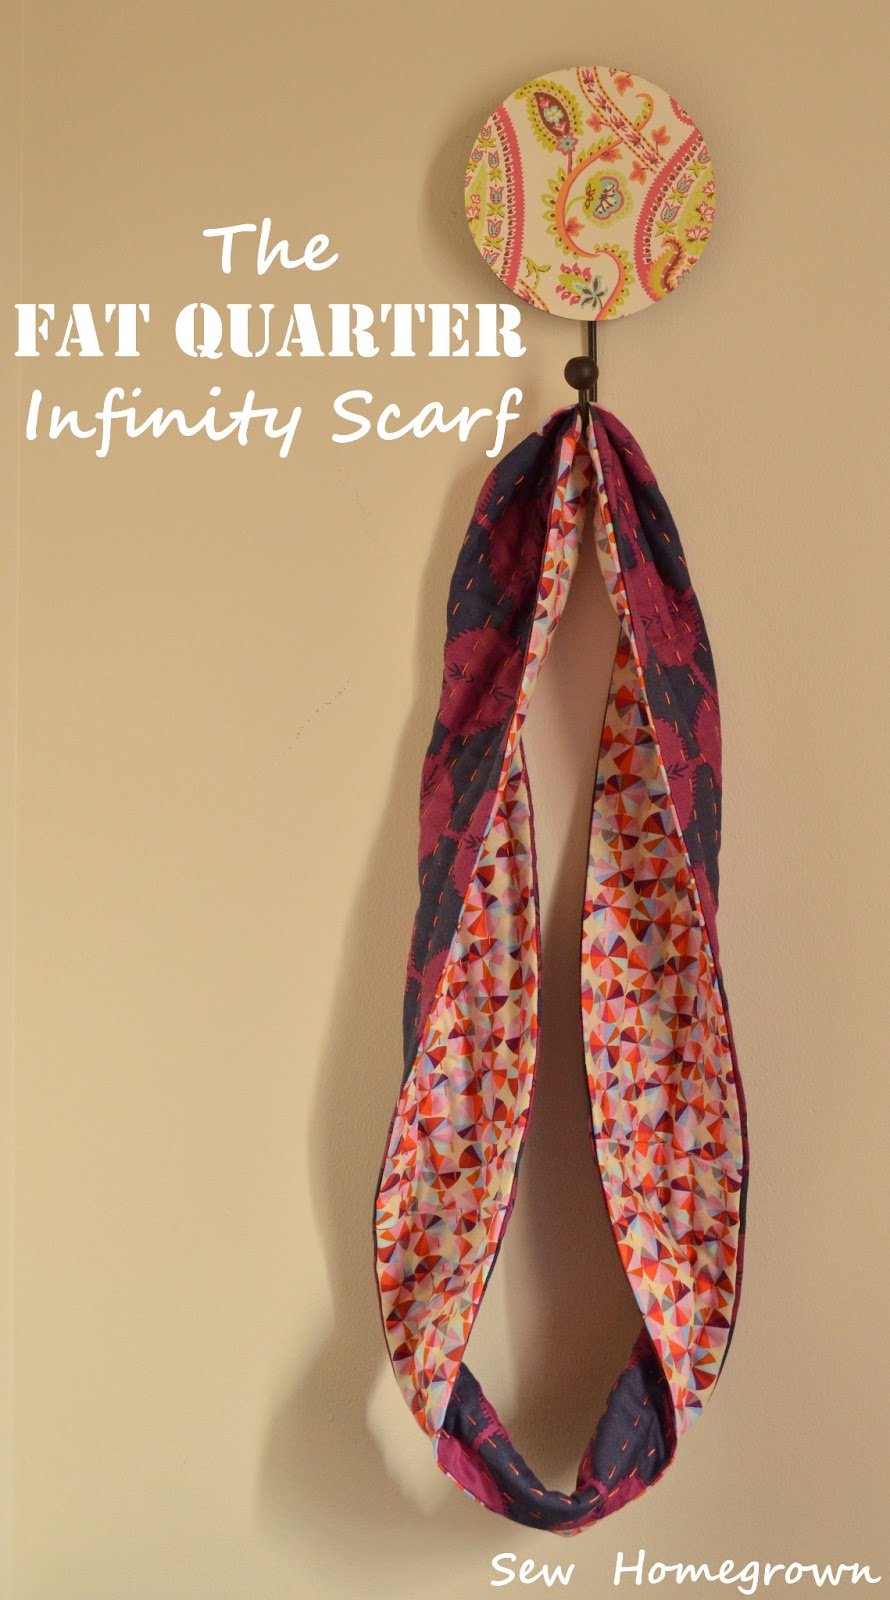
Meet my newest cold weather accessory – the fat quarter infinity scarf.
I really really love infinity scarves.
You know why?
They’re easy.
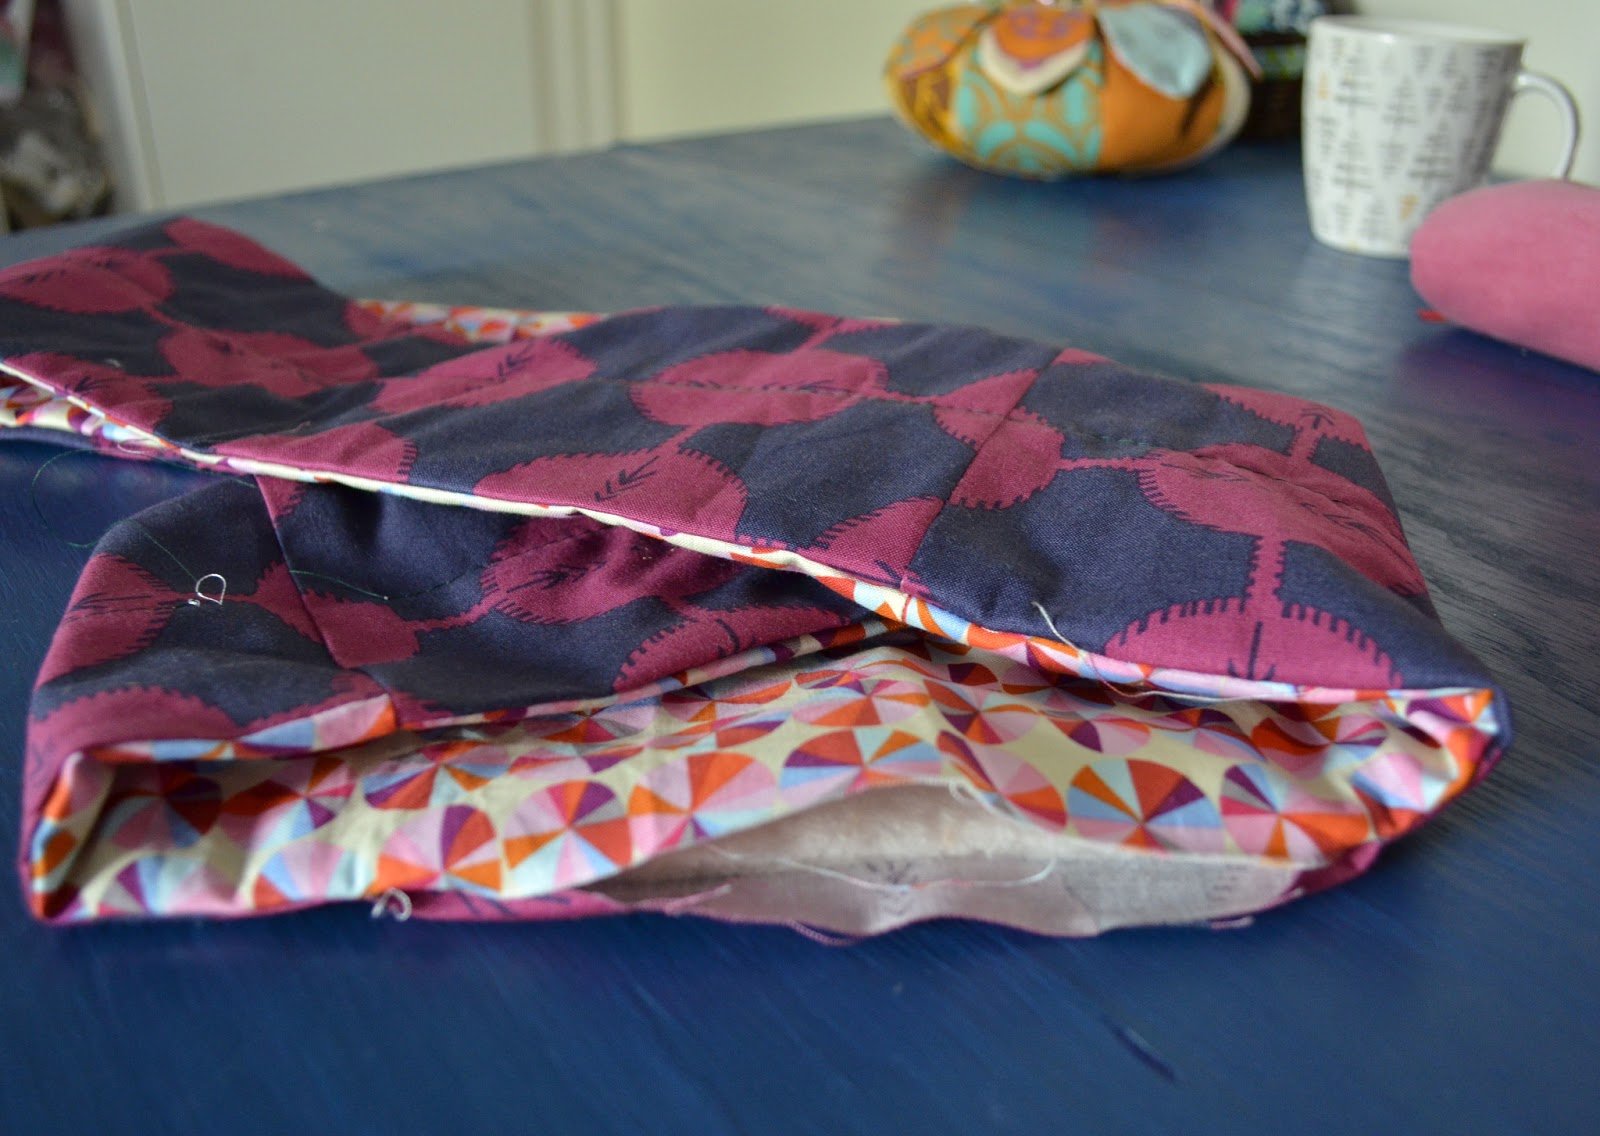
Easy to make, easy to wear. What more could you ask for? I recently made one for a friend, and decided I needed one too. The scarf comes together in about 30 minutes, but the handwork took several hours. I used two fat quarters(which makes this scarf inexpensive too!), and since fat quarters are usually used in quilting, I decided to make my scarf like a mini-quilt. It has batting inside for added warmth, and then I hand quilted it (but you could machine quilt it if you’re in a hurry).
Here’s the tutorial if you’d like to make your own!
SUPPLIES:
- 2 Fat quarters (fat quarters are 18″x22″)
- a piece of batting 63″x 5″
- Sewing machine/thread
- Perle Cotton Thread (if you want to quilt it)
- Quilting Needle
- Step 1:
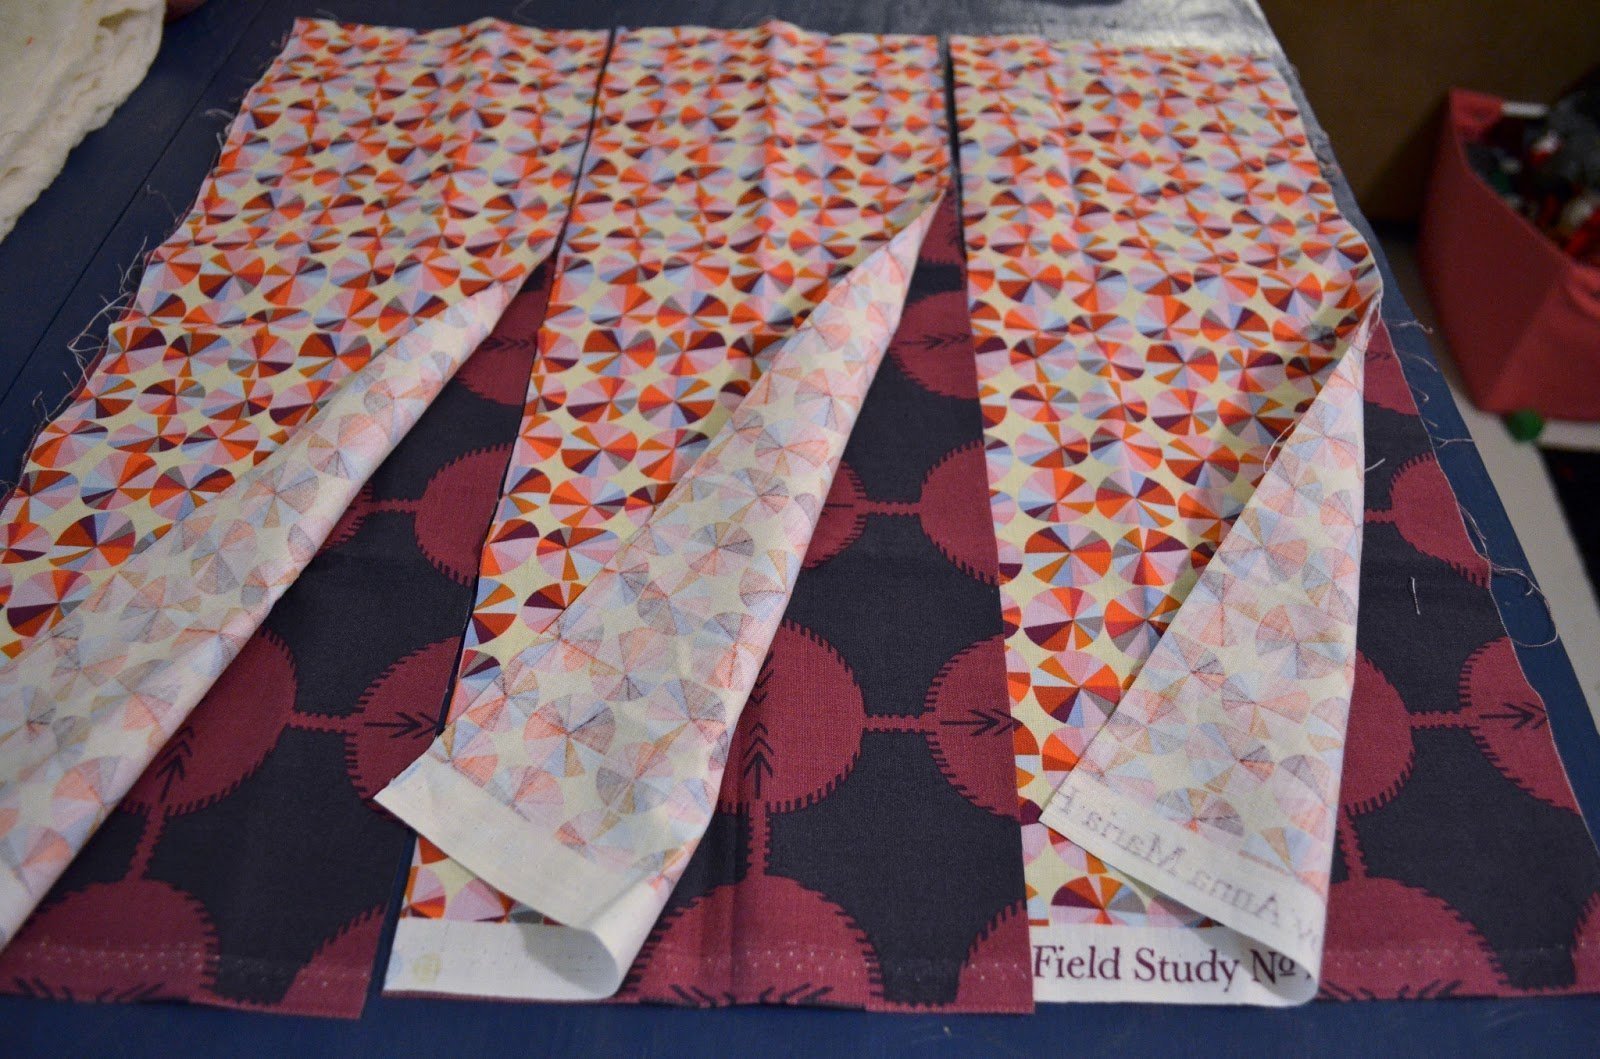
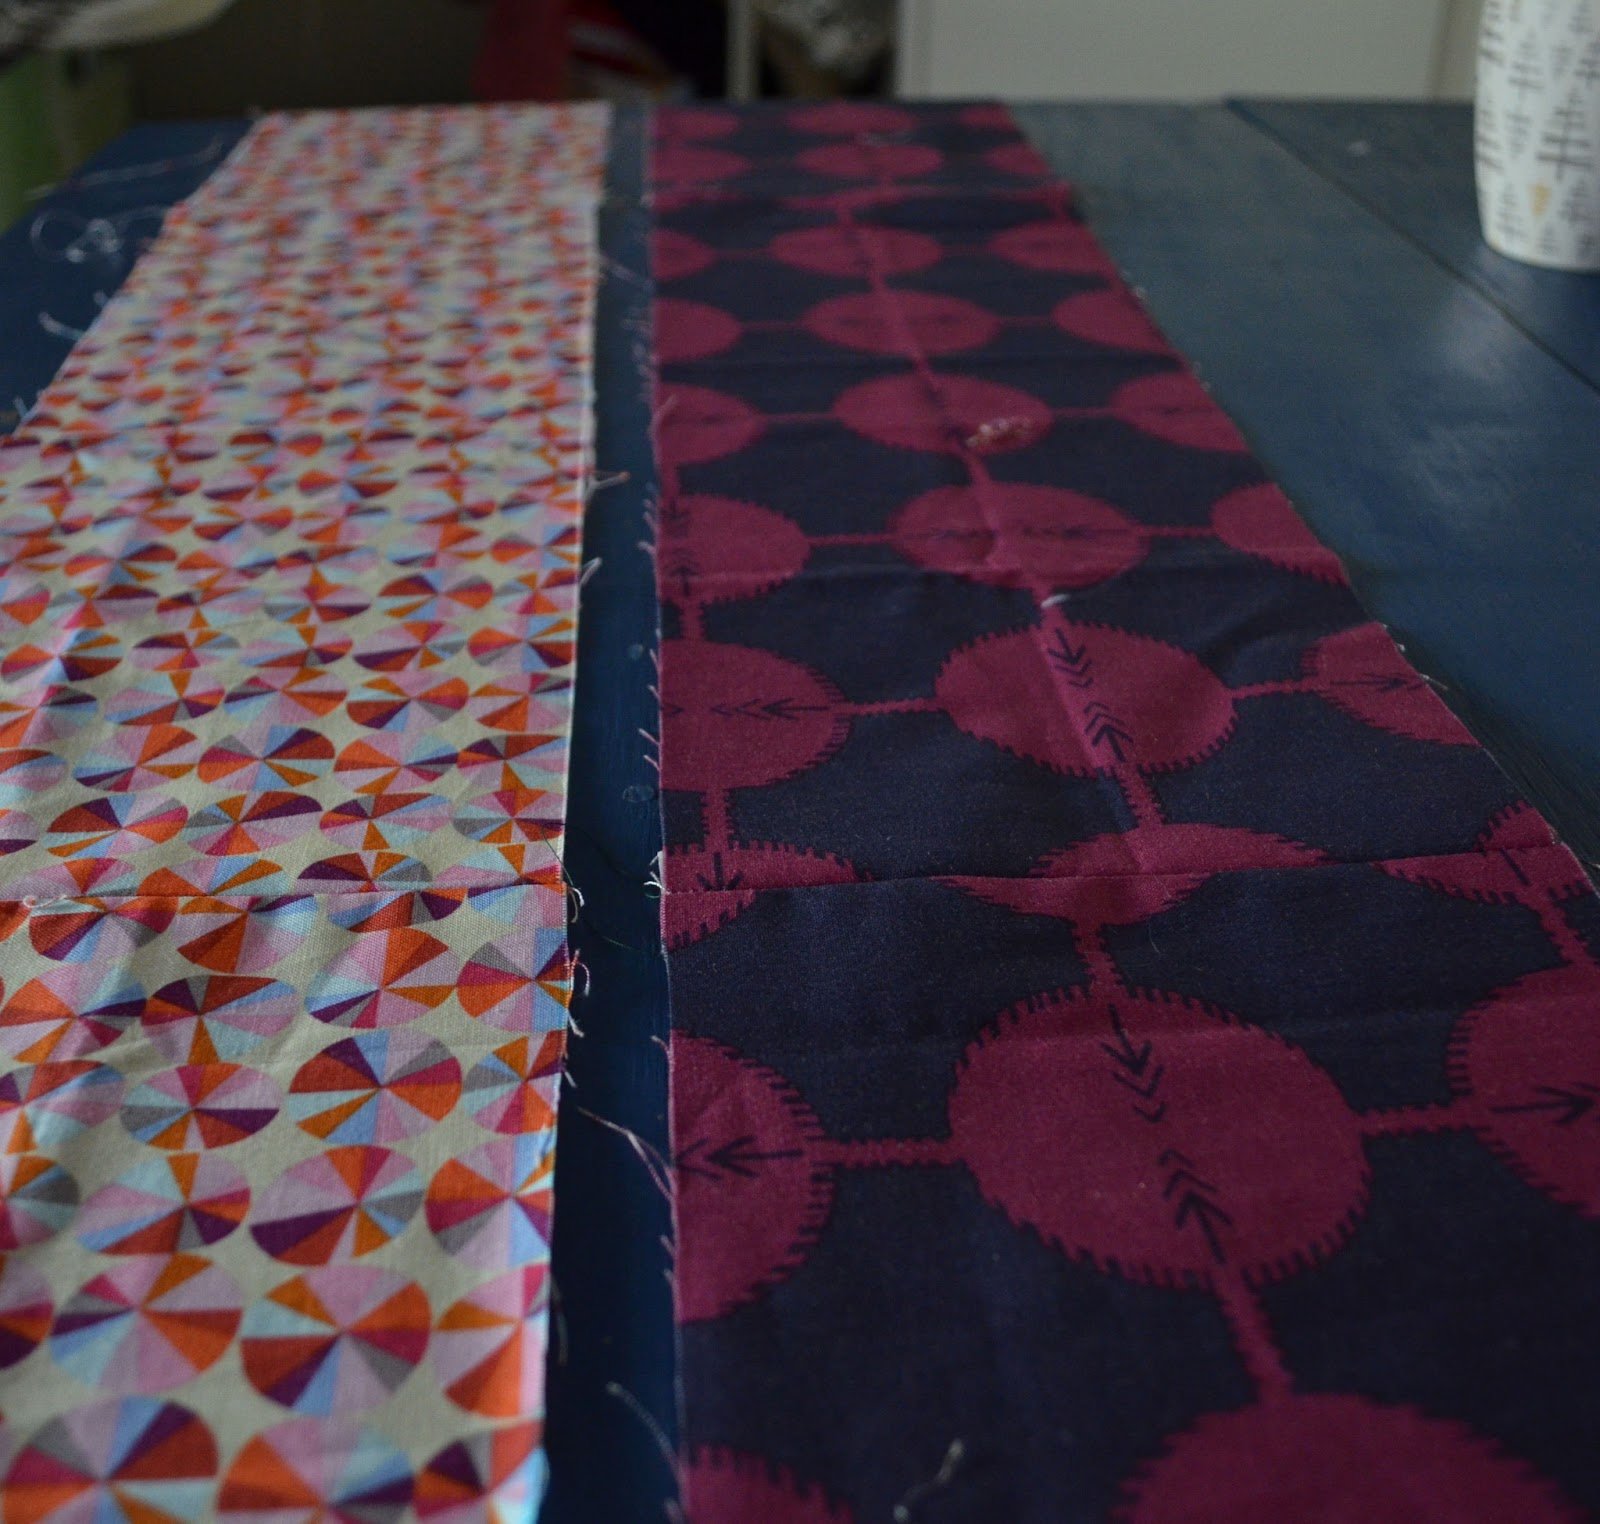
Cut both fat quarters into 3 pieces 6″x22″

- Step 2:
Choose one fabric and sew the three pieces end to end, right sides together, to create a long strip 6″x64″(this number may be a little different depending on the seam allowance size you use).
Repeat with the other fabric.
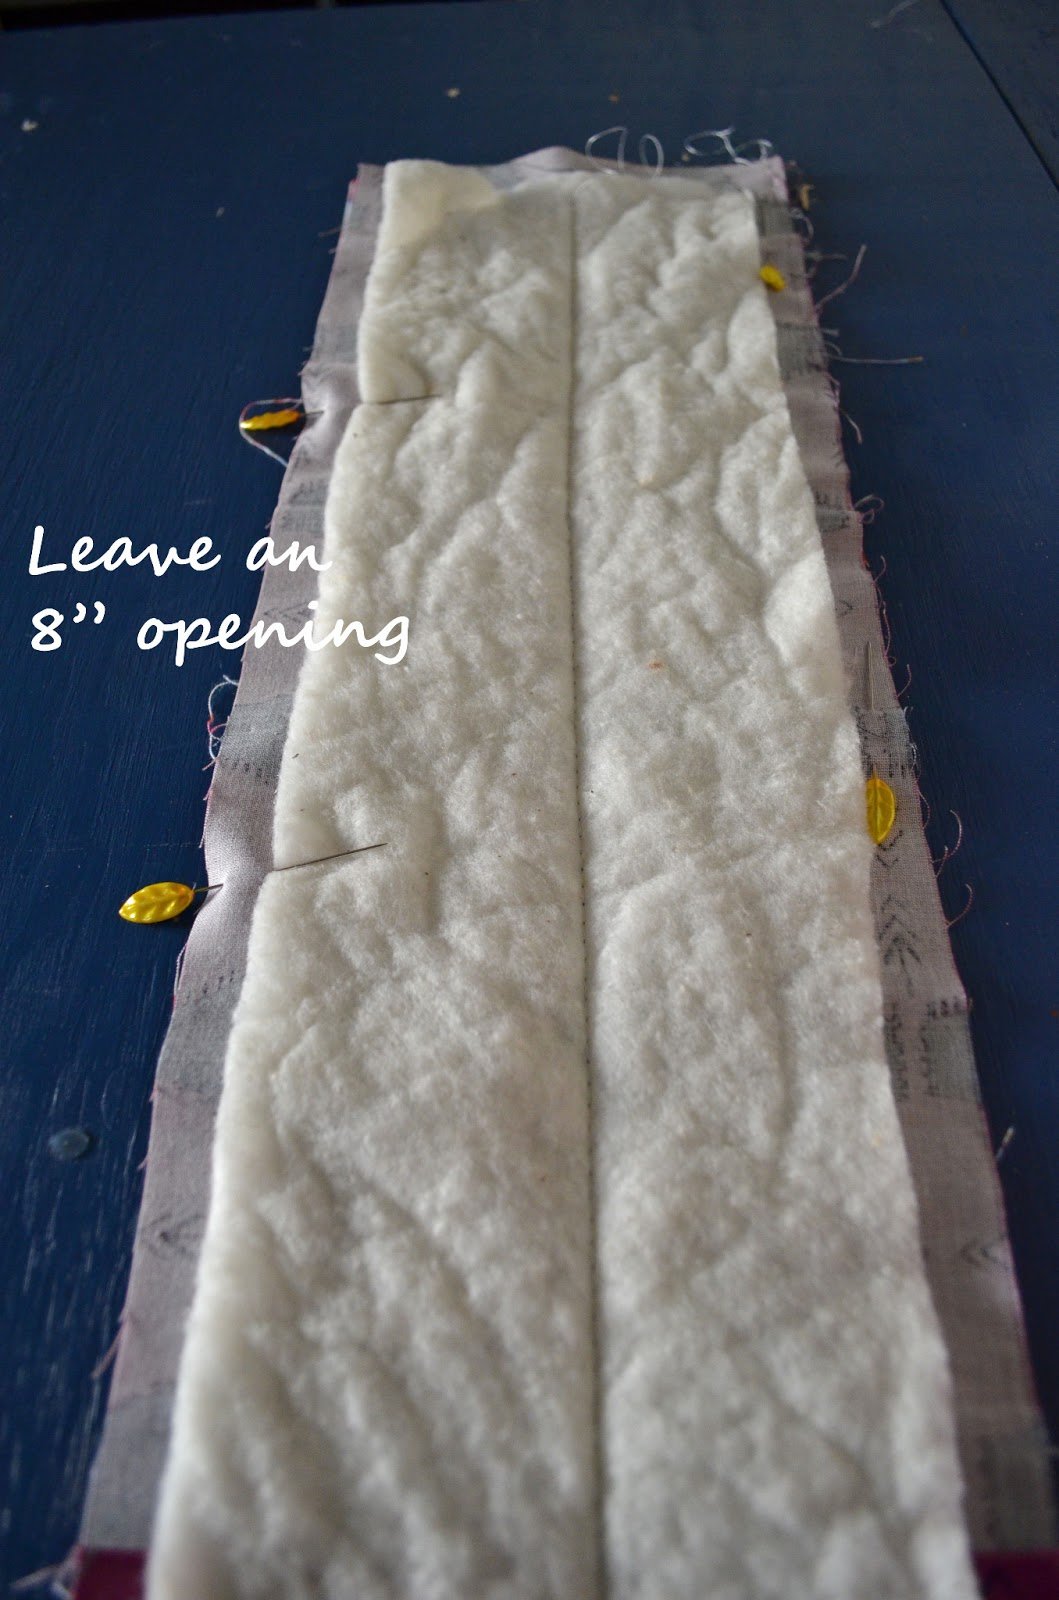
- Step 3:
Choose one of the long strips and lay the batting on the wrong side. Use a basting stitch (the largest stitch on your machine) and sew down the center of the batting – this will hold it in place until you quilt it. Lay the fabric strips right sides together.
It should look like this:

- Step 4:
Pin along the two long edges, making sure to mark a space to leave open near one of the ends. Your opening should be about 8″.
Sew along the two long edges, except for the opening. Leave the ends open. Turn right sides out. - Step 5:
Take the end with the opening near it, and pull it inside out until one end lines up with the other end. You must be able to see the 8″ opening.
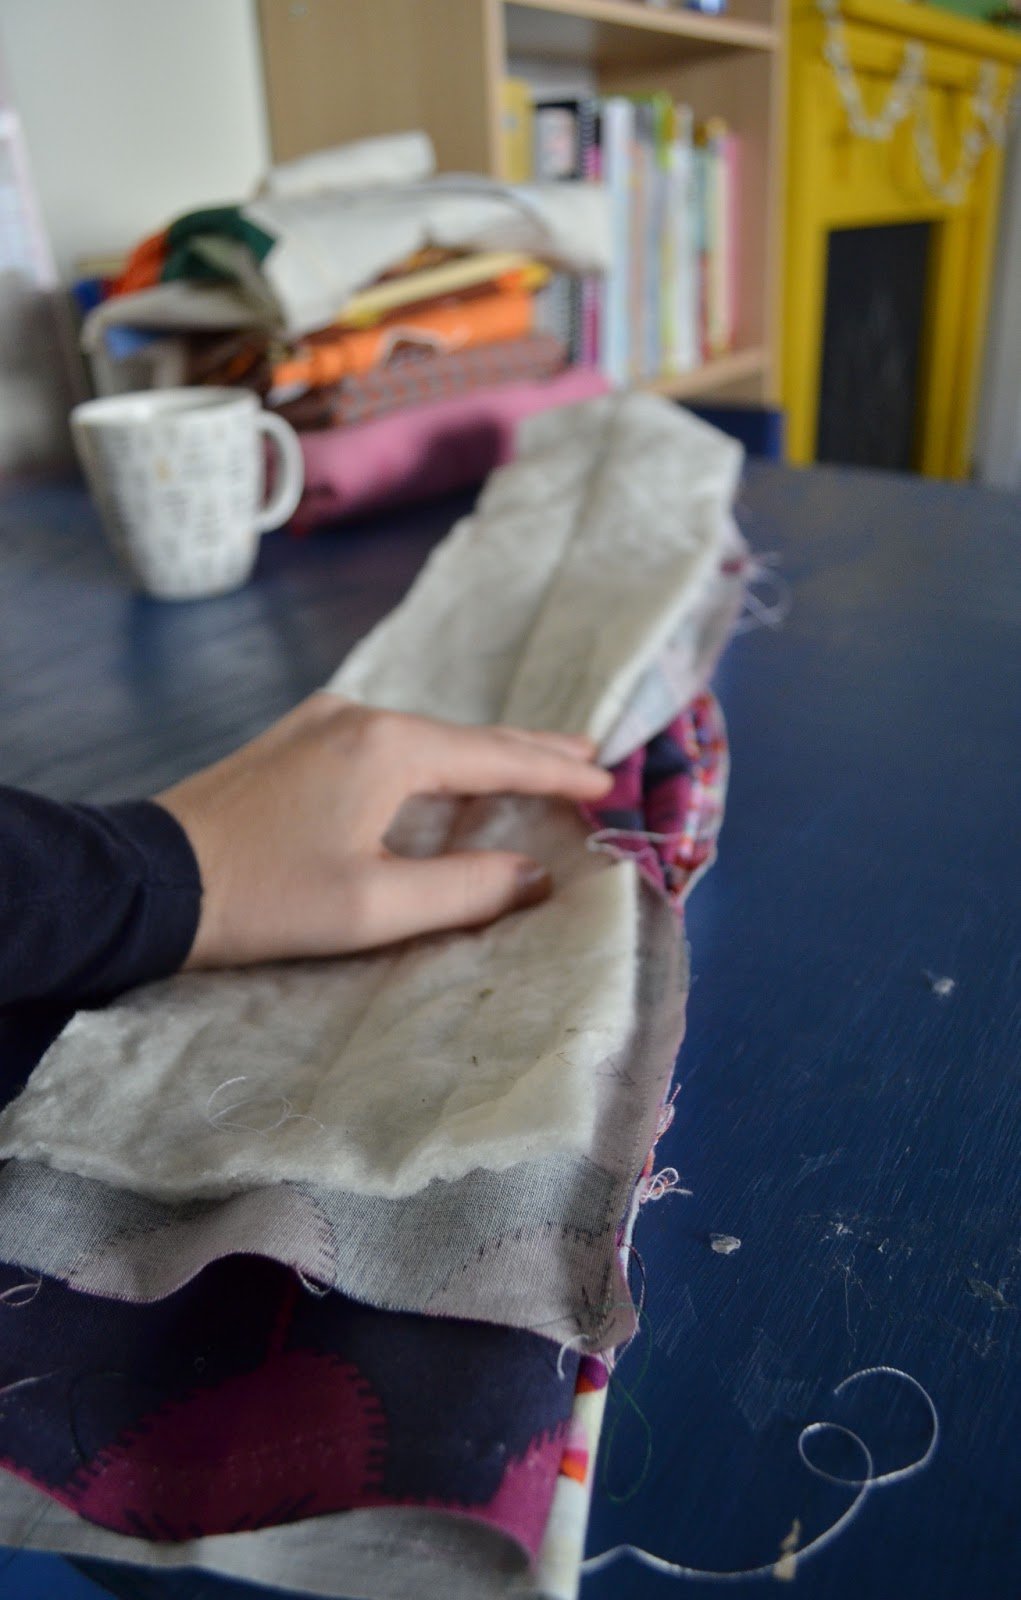
Line up the ends and pin.
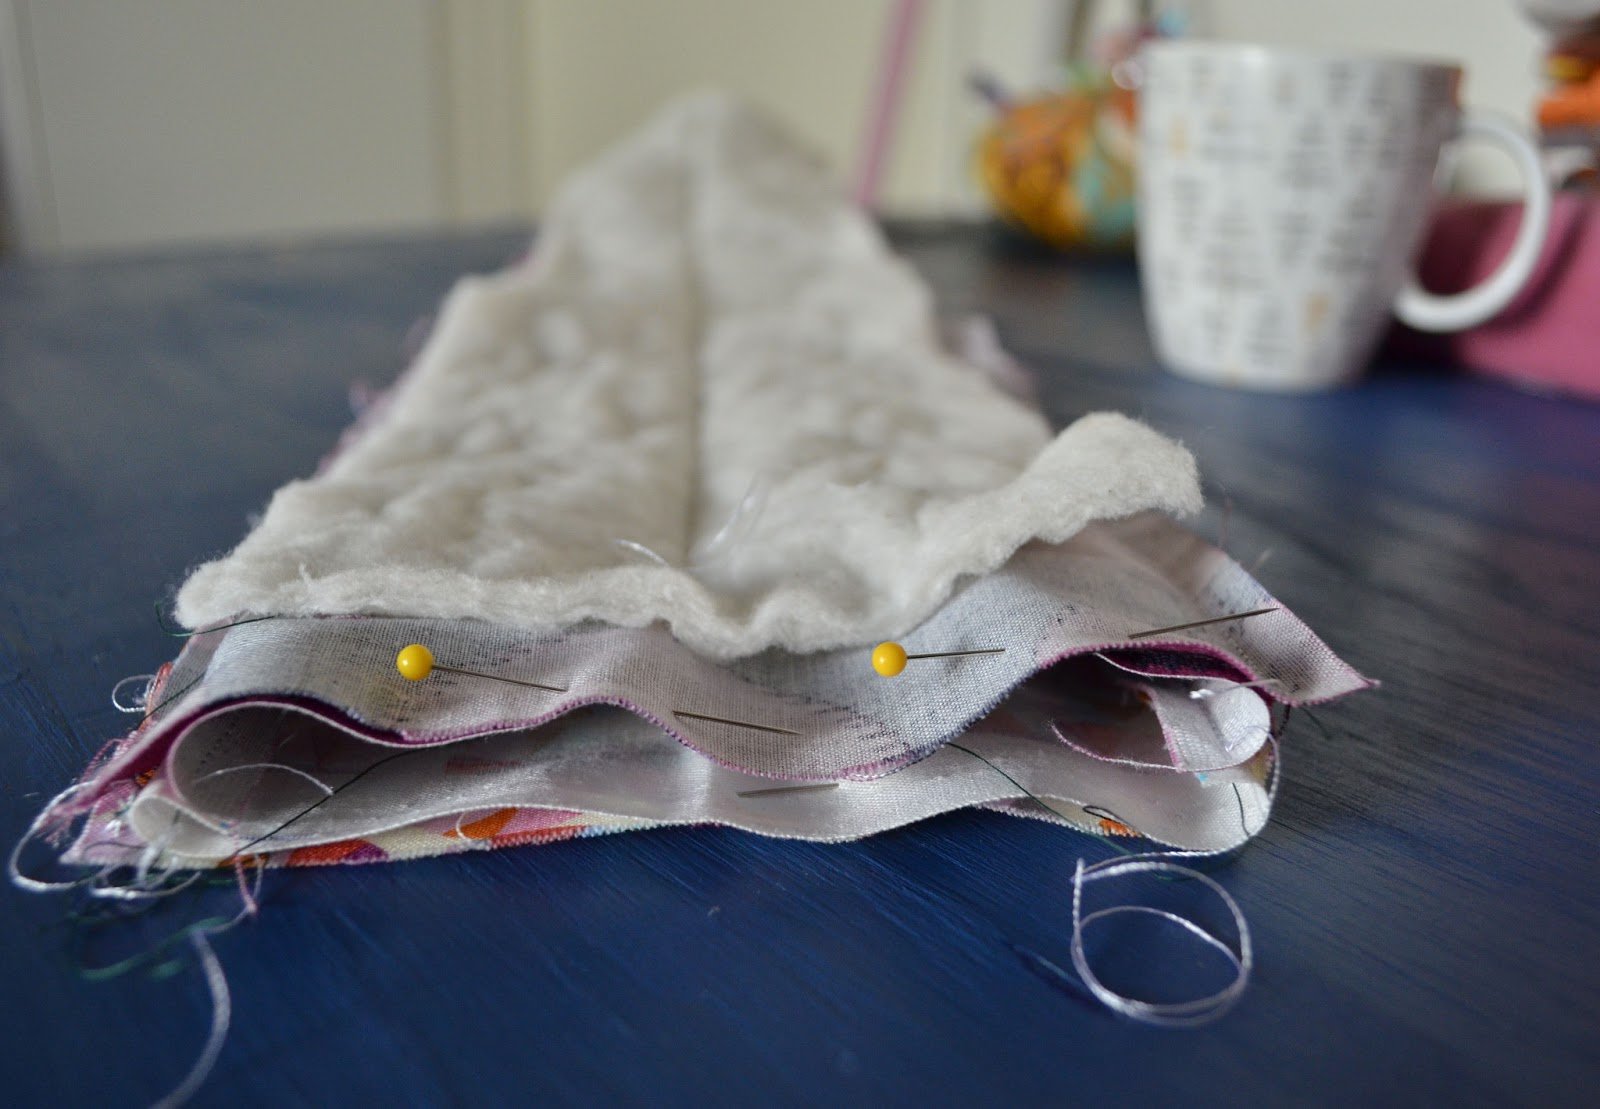
- Step 6:
Sew, right sides together, all the way around.
Now reach through the opening and pull the scarf right sides out.

- Step 7:
Hand whip the opening closed.
Now you are ready to quilt your scarf, either by hand or with your machine!
Once you’ve quilted it, you can remove the basting stitch, and it’s ready to wear!

Hope you’re staying warm this winter!
love from Japan,
jessica

Linked to this party today! 🙂