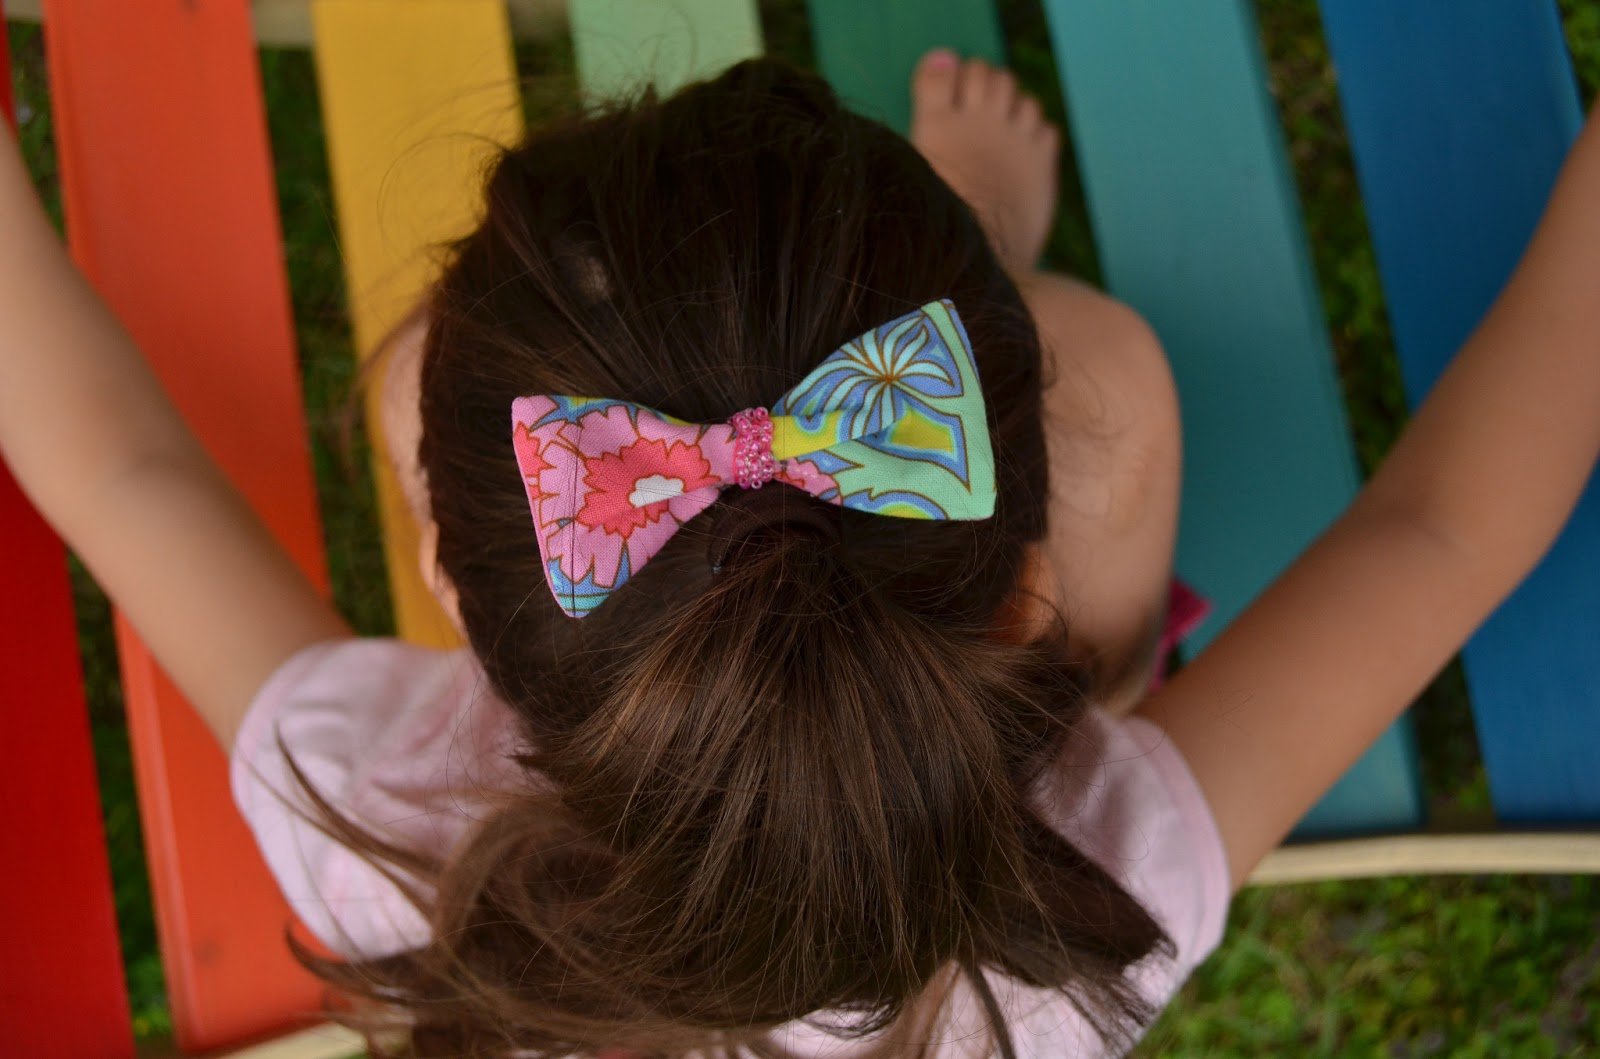

As much as I craft you would think I could make a decent ribbon hairbow. But the thing is – I really stink at making ribbon hairbows. I just can’t seem to get it right – even when I follow really great tutorials. So instead, I dug through my fabric stash and created this little bow. 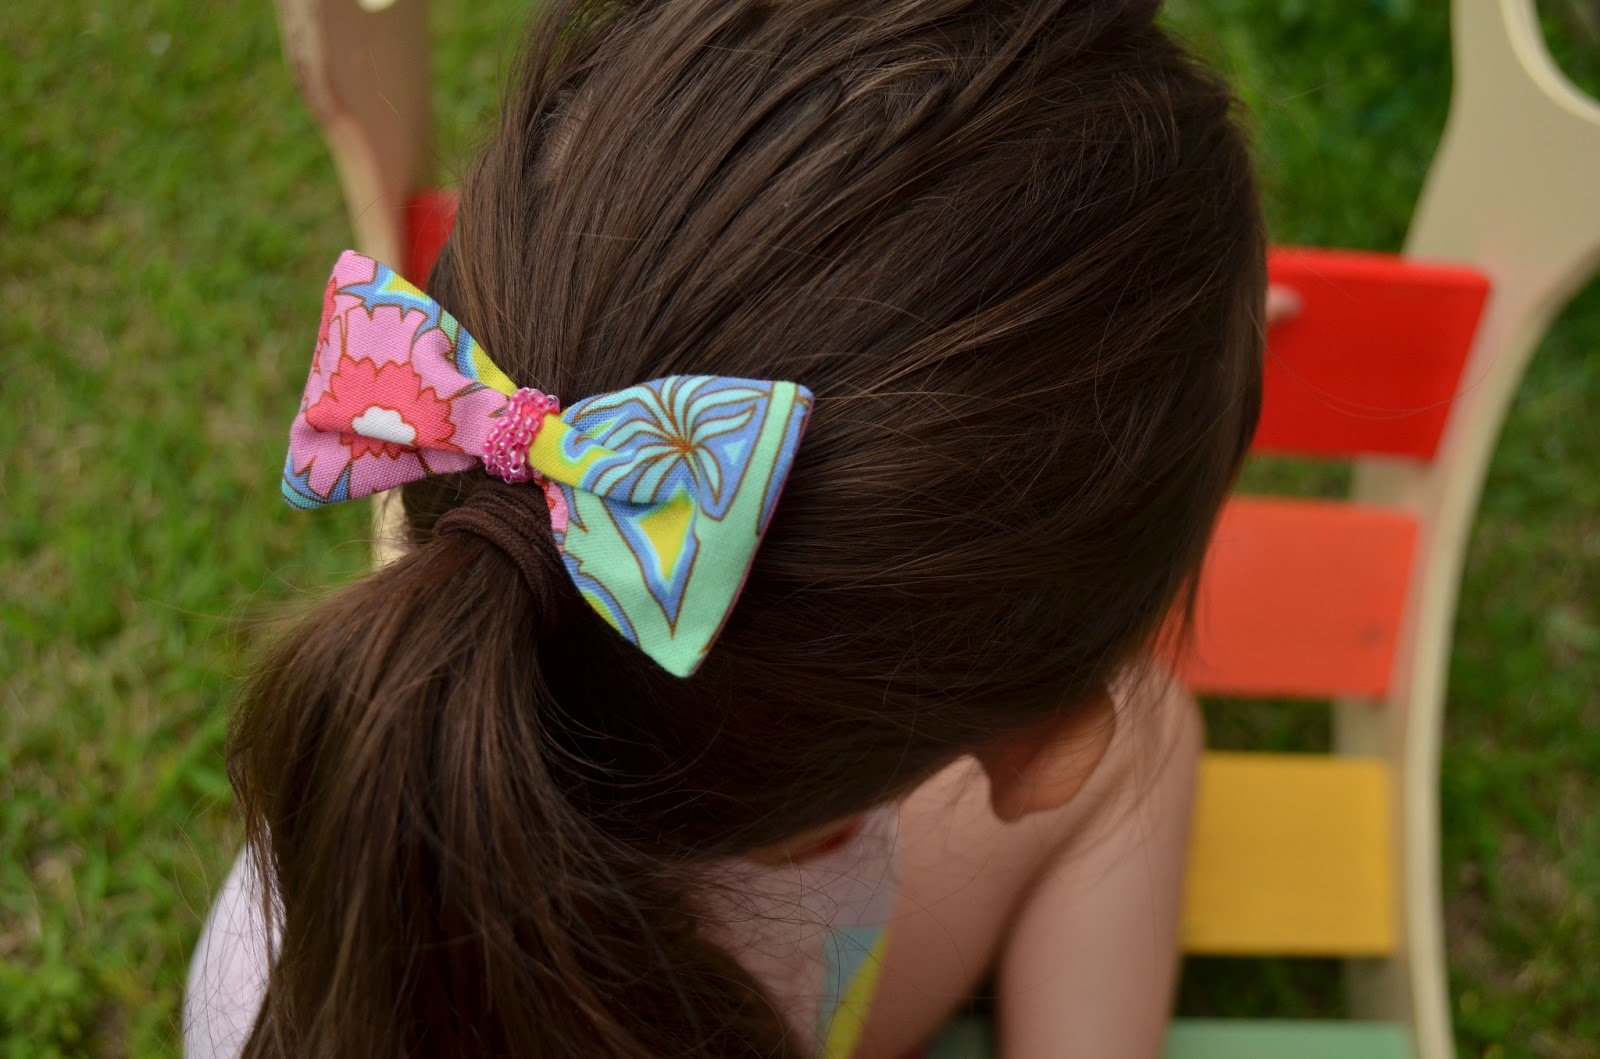
I love it.
It’s so simple to make.
It will be the perfect accessory to your girl’s summer wardrobe(or yours!).
Just follow the easy instructions below!!!
- You’ll need:
- a small square of fabric – about 6″x6″
- a hair clip
- some trim or ribbon for the center
- a glue gun
- a sewing machine/thread/scissors/etc.
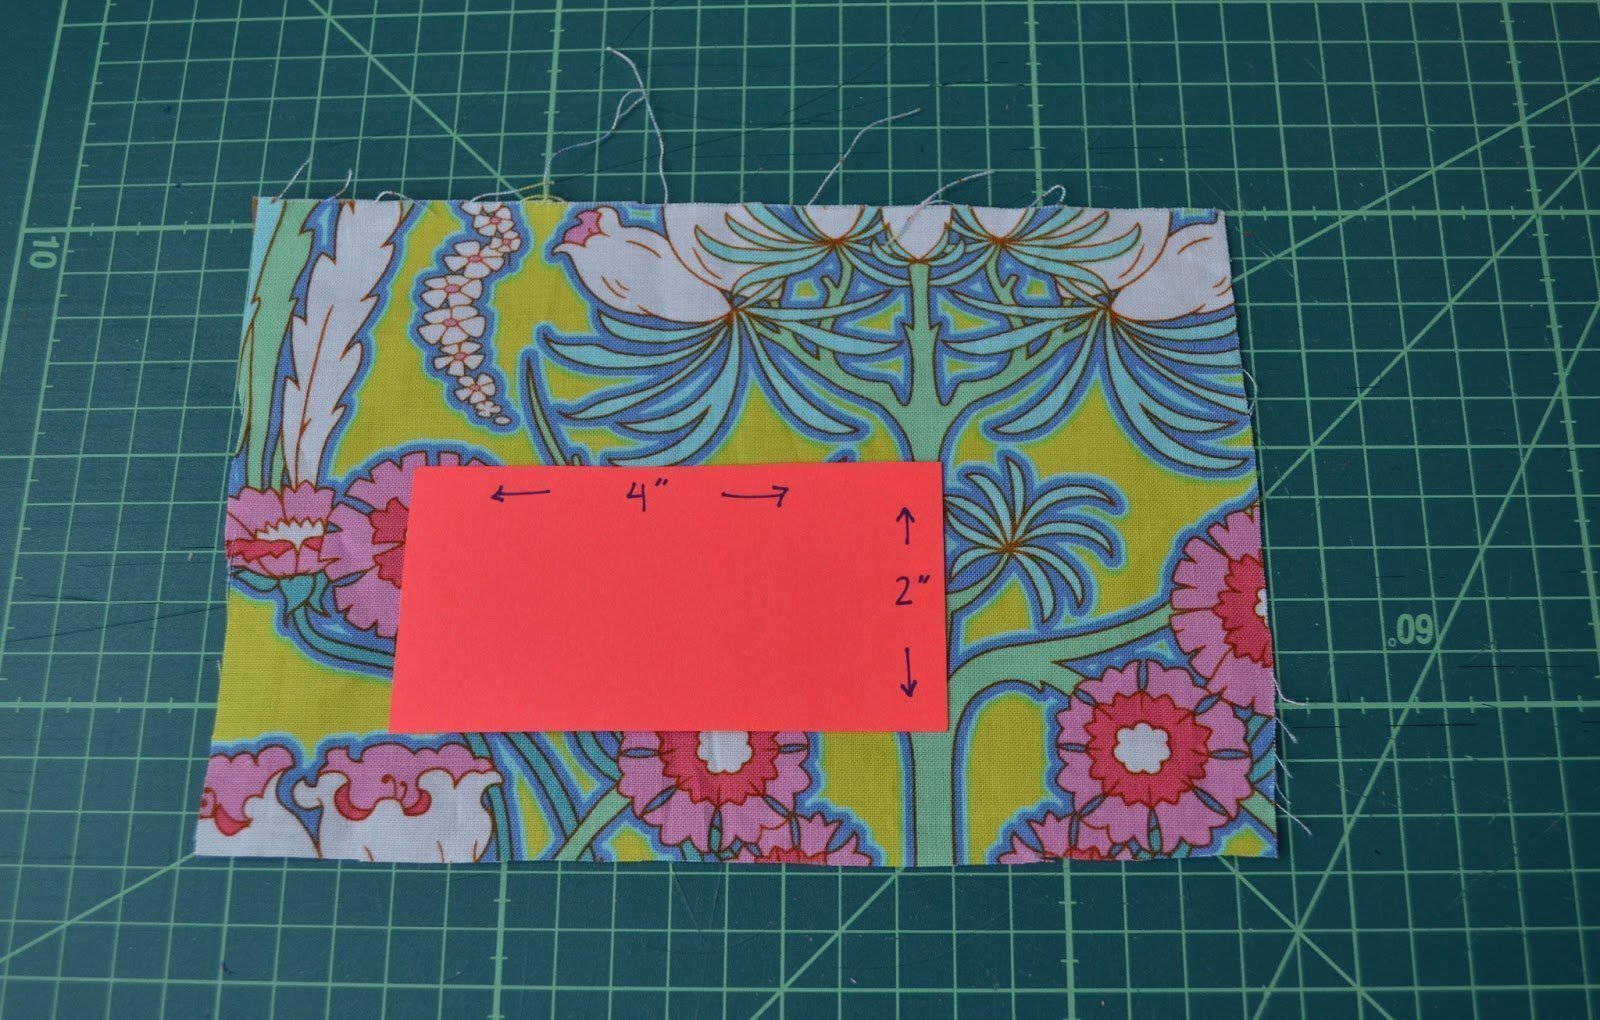
- STEP 1: Cut a 4″x2″ rectangle out of card stock for a pattern. You don’t have to do this, but I like to so that I can position it anywhere on the fabric. Cut out two rectangles.
- STEP 2: Pin the rectangles right sides together. Place marks 1″ apart along one of the long sides.
Preferably in the center. This will be your opening for turning.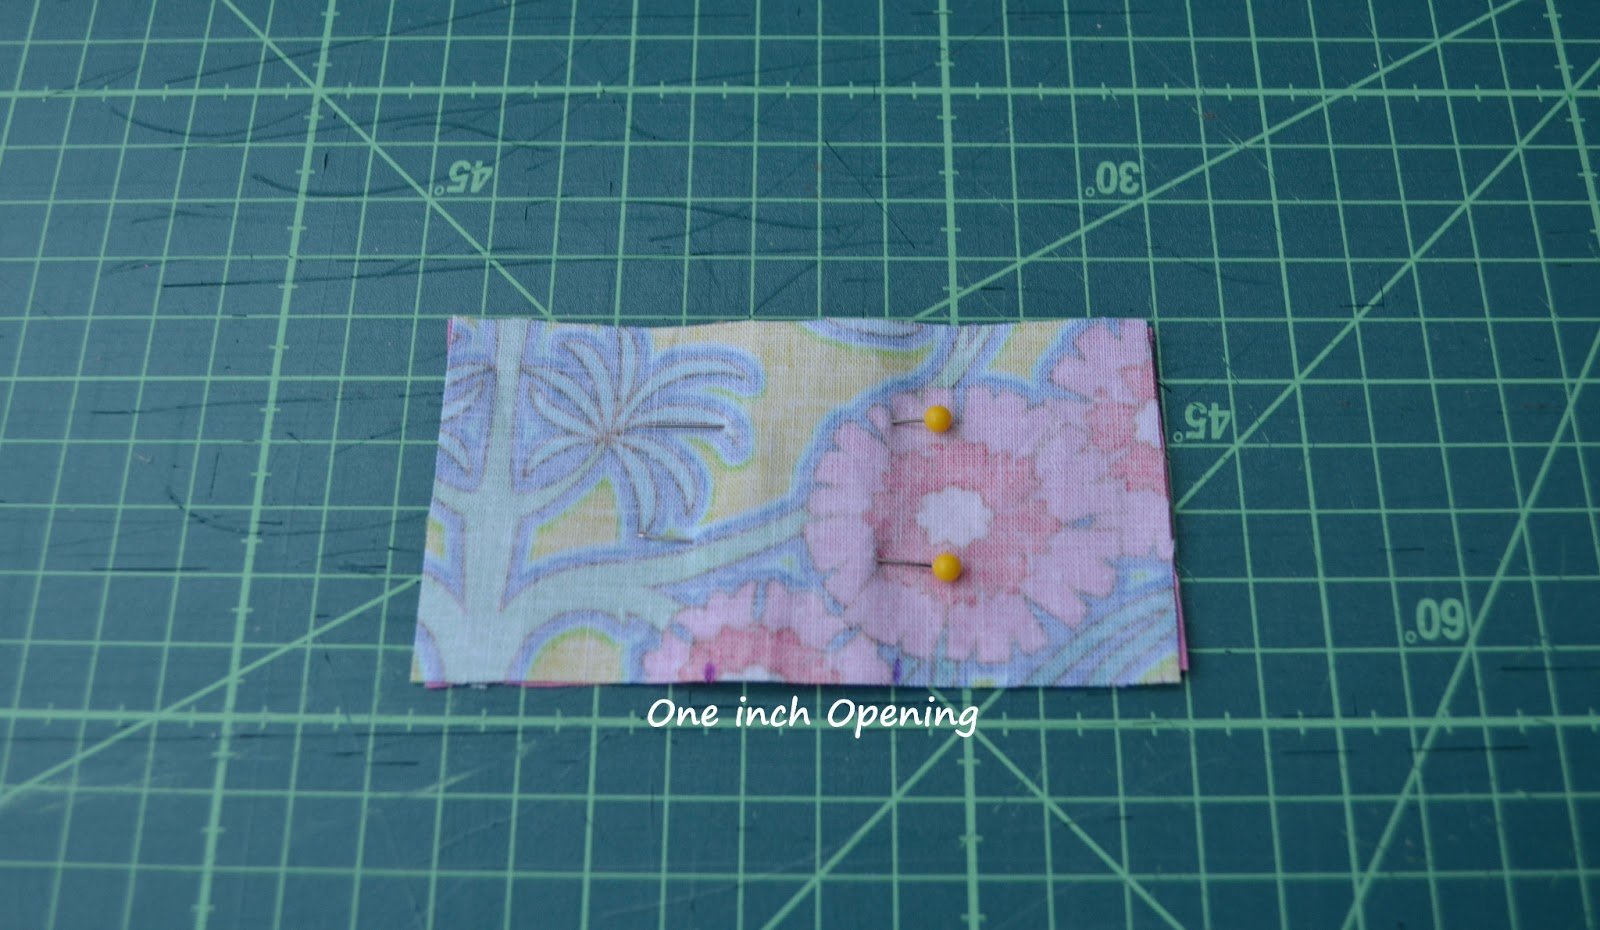
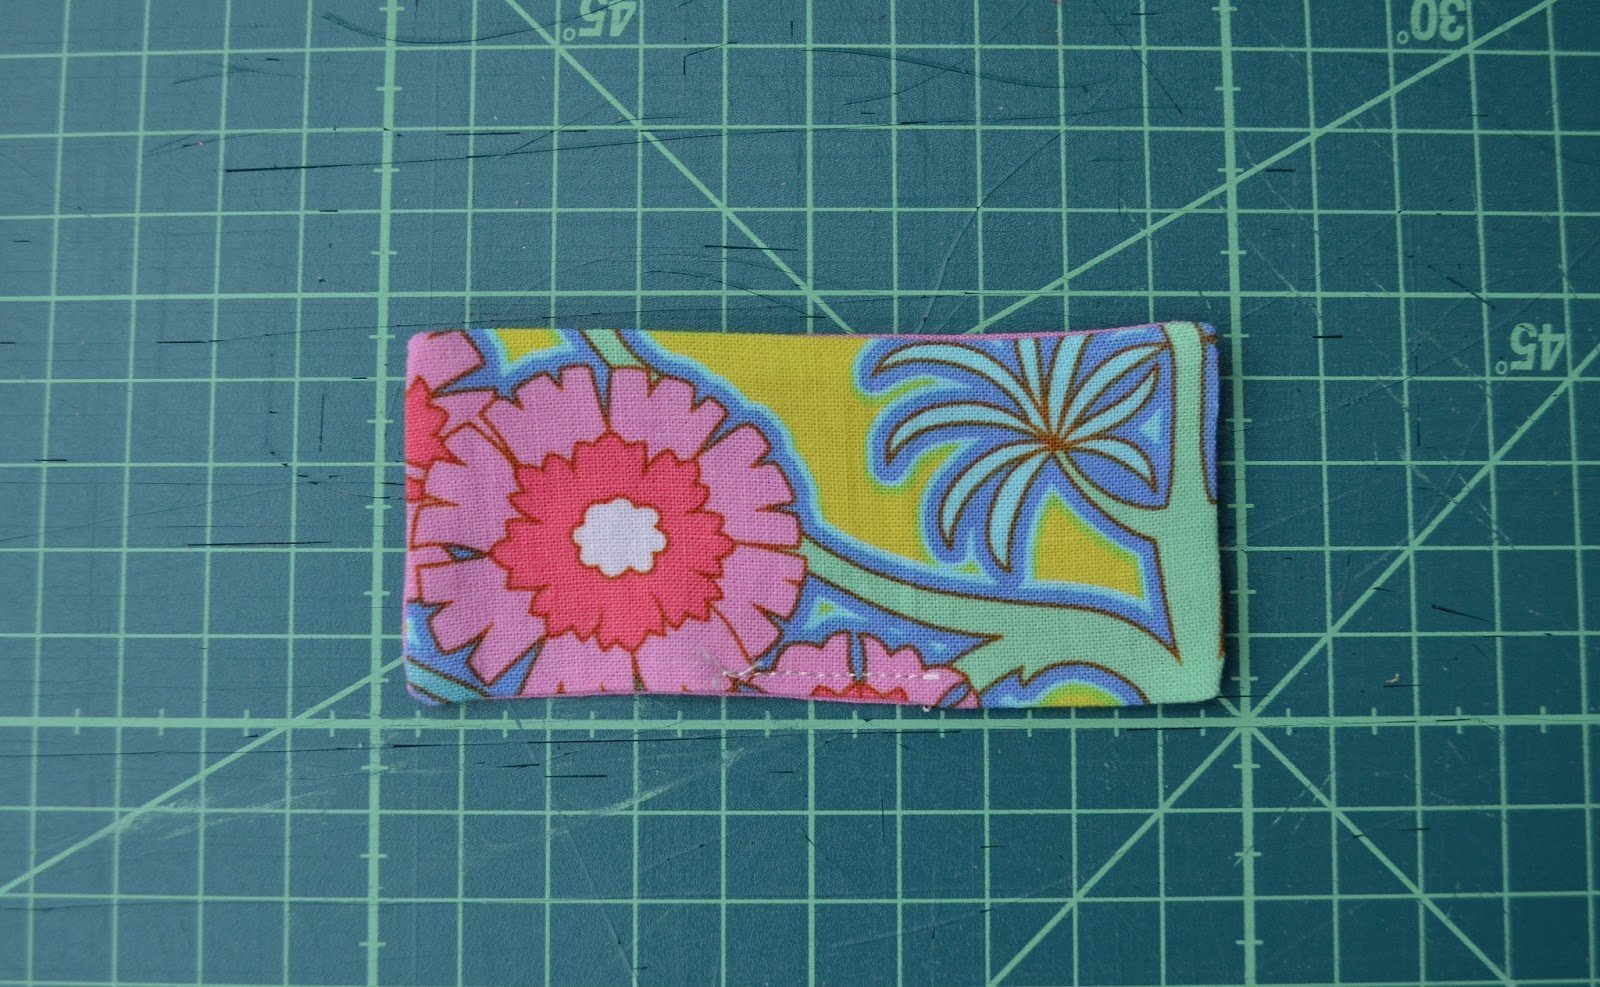
- STEP 3:
Use a 1/4″ seam allowance and stitch around the rectangle, leaving the 1″ opening. Clip the corners.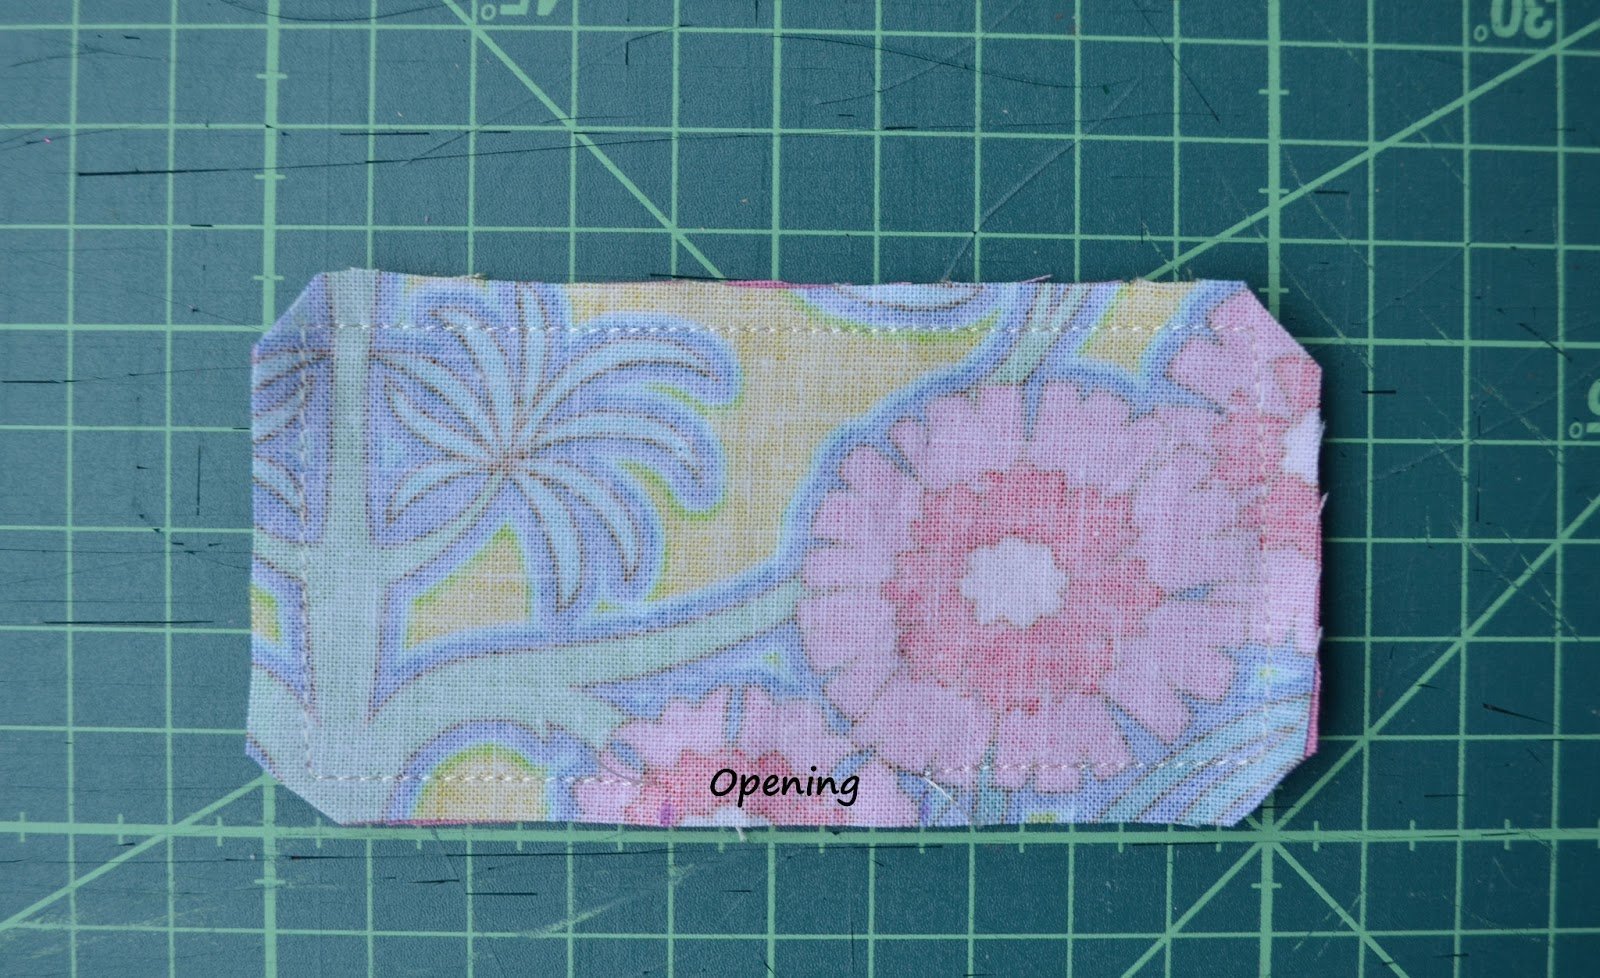
- STEP 4: Turn it right sides out and topstitch the opening closed. Press well.
- STEP 5: Now, scrunch up the center of the bow. Just fiddle with it until you like the way it looks, then top stitch right over the folds to hold it in place.
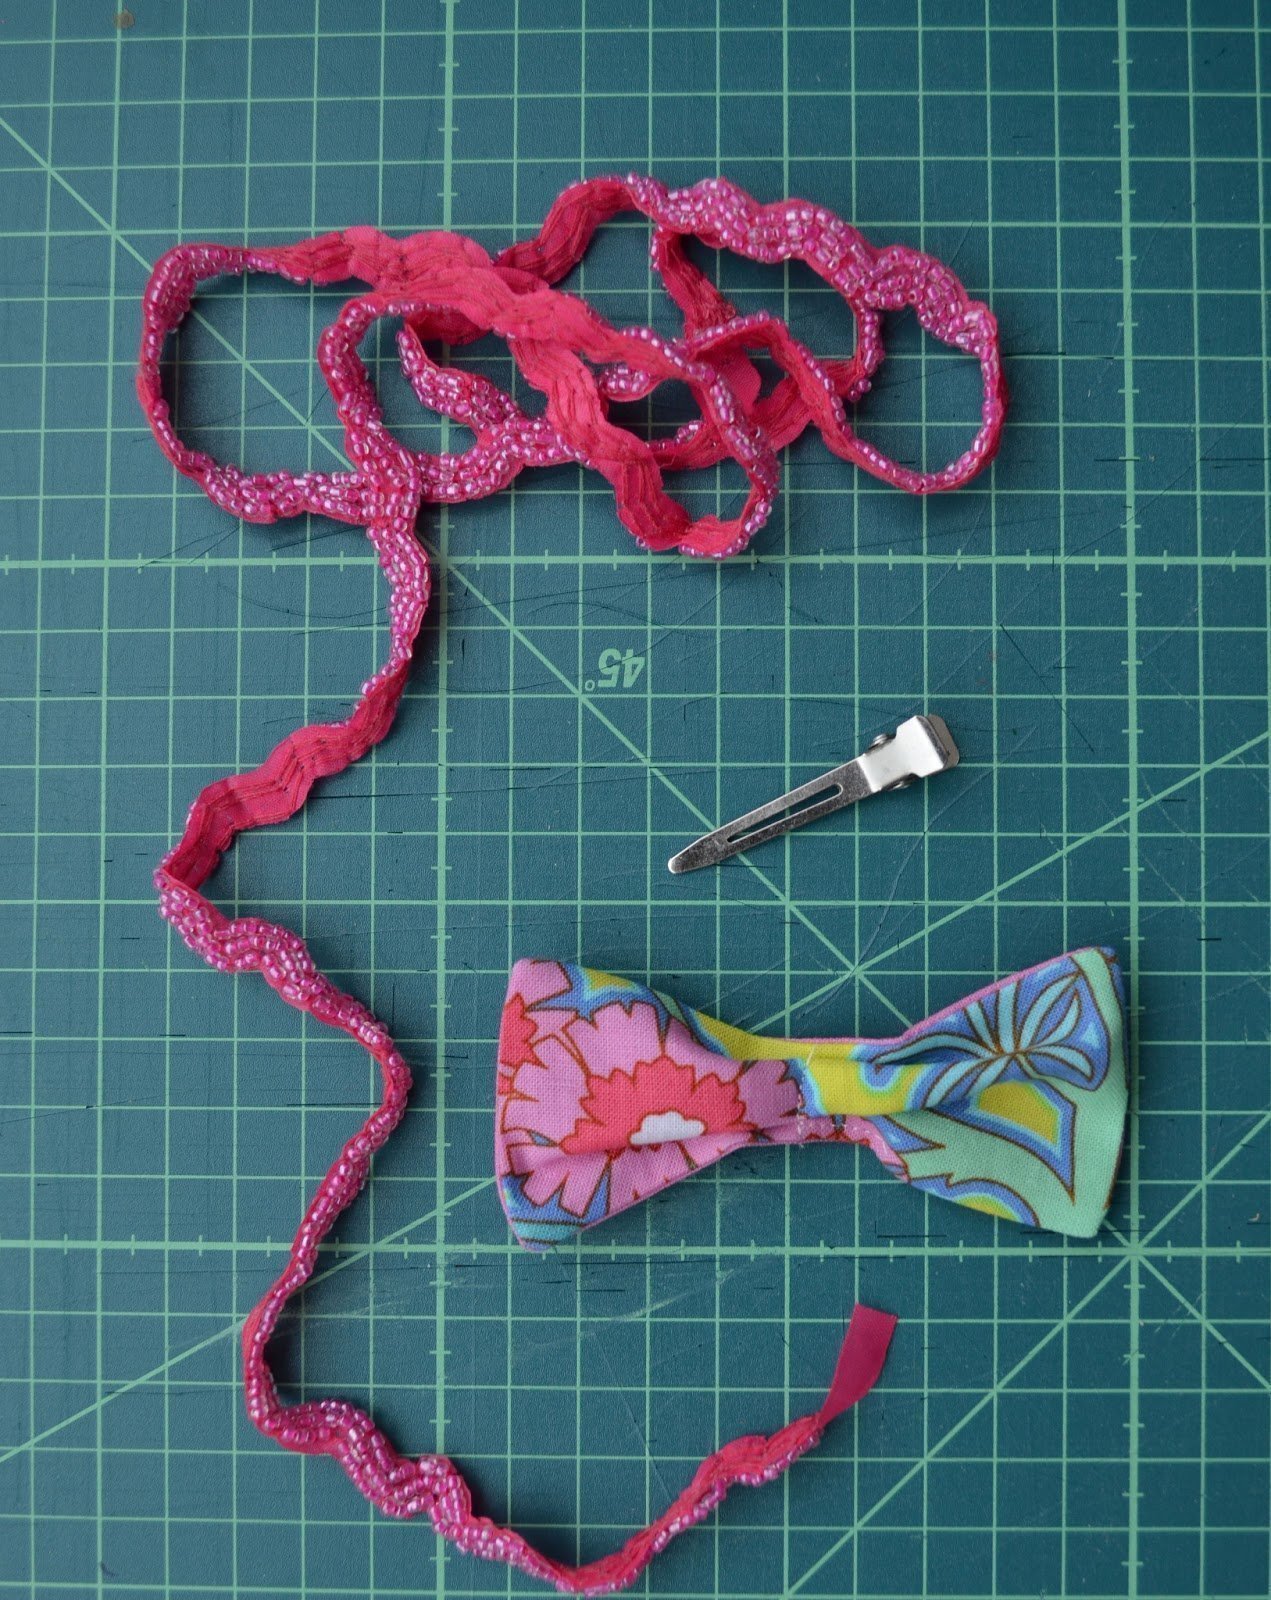
- STEP 6: Select your trim and wrap it around the center of the bow – gluing it or hand sewing it in the back. Lastly, glue the clip to the back of the bow and enjoy!!
Happy Sewing!
jessica