As promised! When I made the Spring Tablecloth last week, several of you commented that you have round tables – well here you go! Actually, making a round tablecloth is not that much harder than making a rectangular one. There is really only 1 extra Step. So if you’re ready, here’s how it’s done!
(and thanks for requesting it, because now I have a cute little sidetable in my living room -it used to be an outside bistro table).

Supplies:
- sewing machine/thread
- scissors
- measuring tape
- water soluble pen
- fabric – amount depends on the size of your table
- pins
- iron
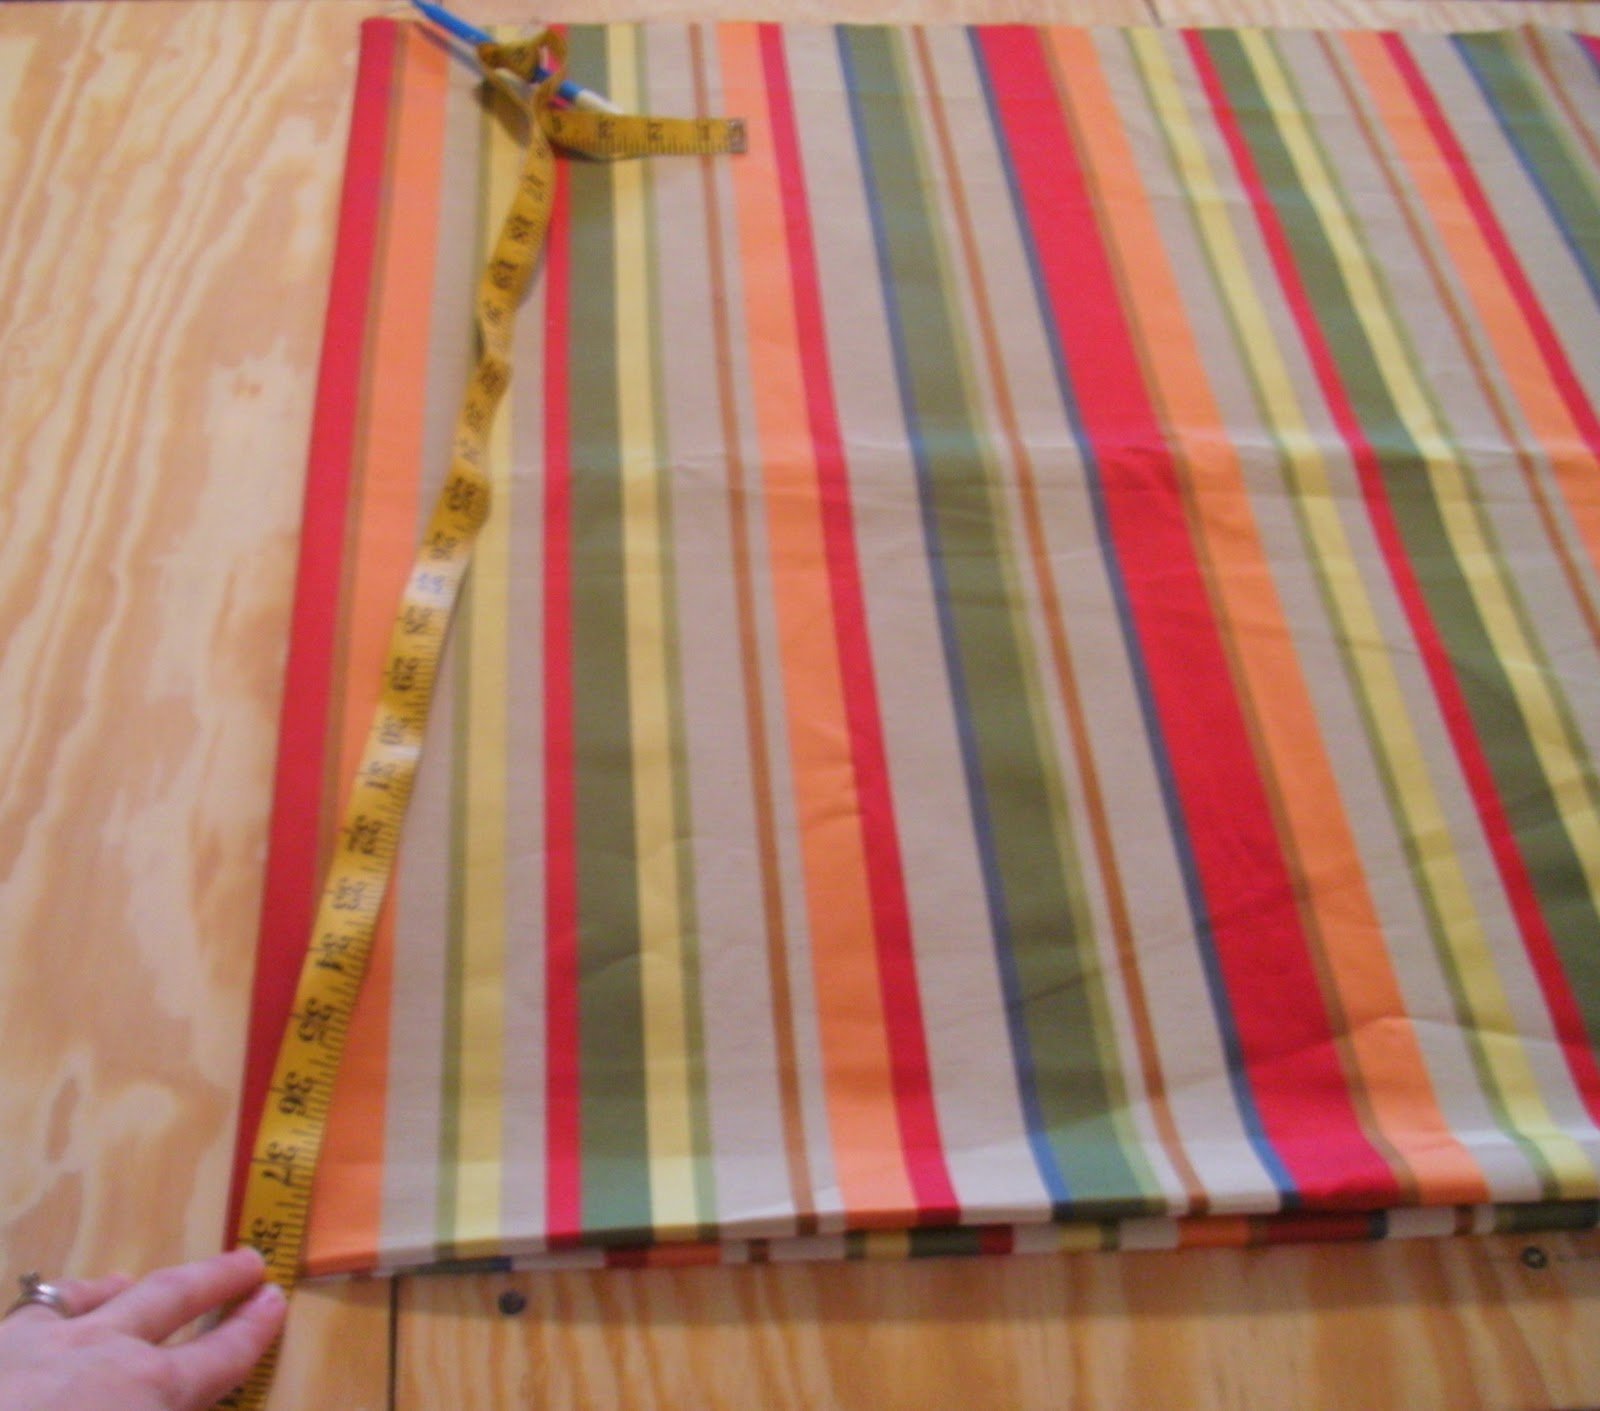
- Step 1: Measure the table. Lay the measuring tape over your table – hanging down as far as you would like the cloth to hang. You can make it any length you want – depending on what you are using the table for.
I personally don’t like long tablecloths at the dinner table because they bug me when I sit down. An 8″-12″ drop is good for that. Once you have your table measurement, you will need to cut a square in those dimensions. So if you came up with 63″, you need to cut a square 63″x63″. If your measurements are large – just piece the fabric to make a square big enough.
Here’s an example:
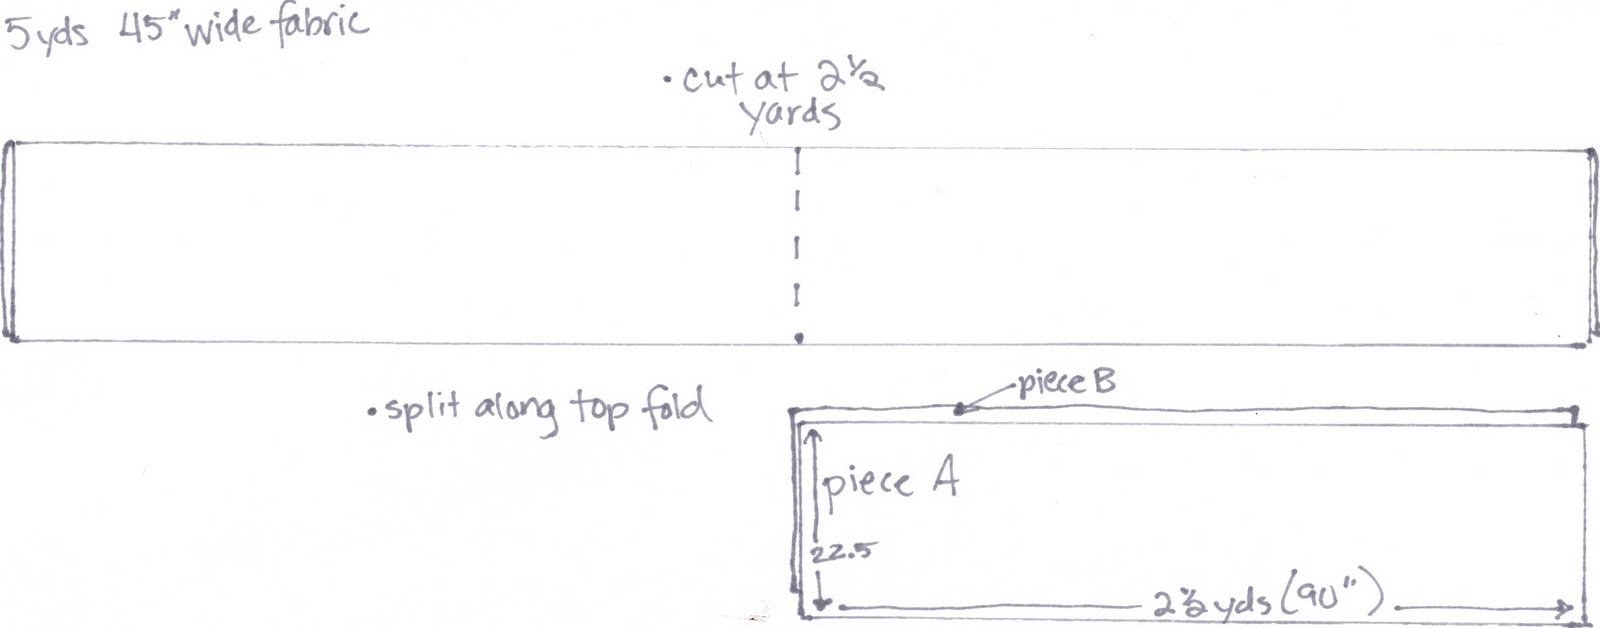
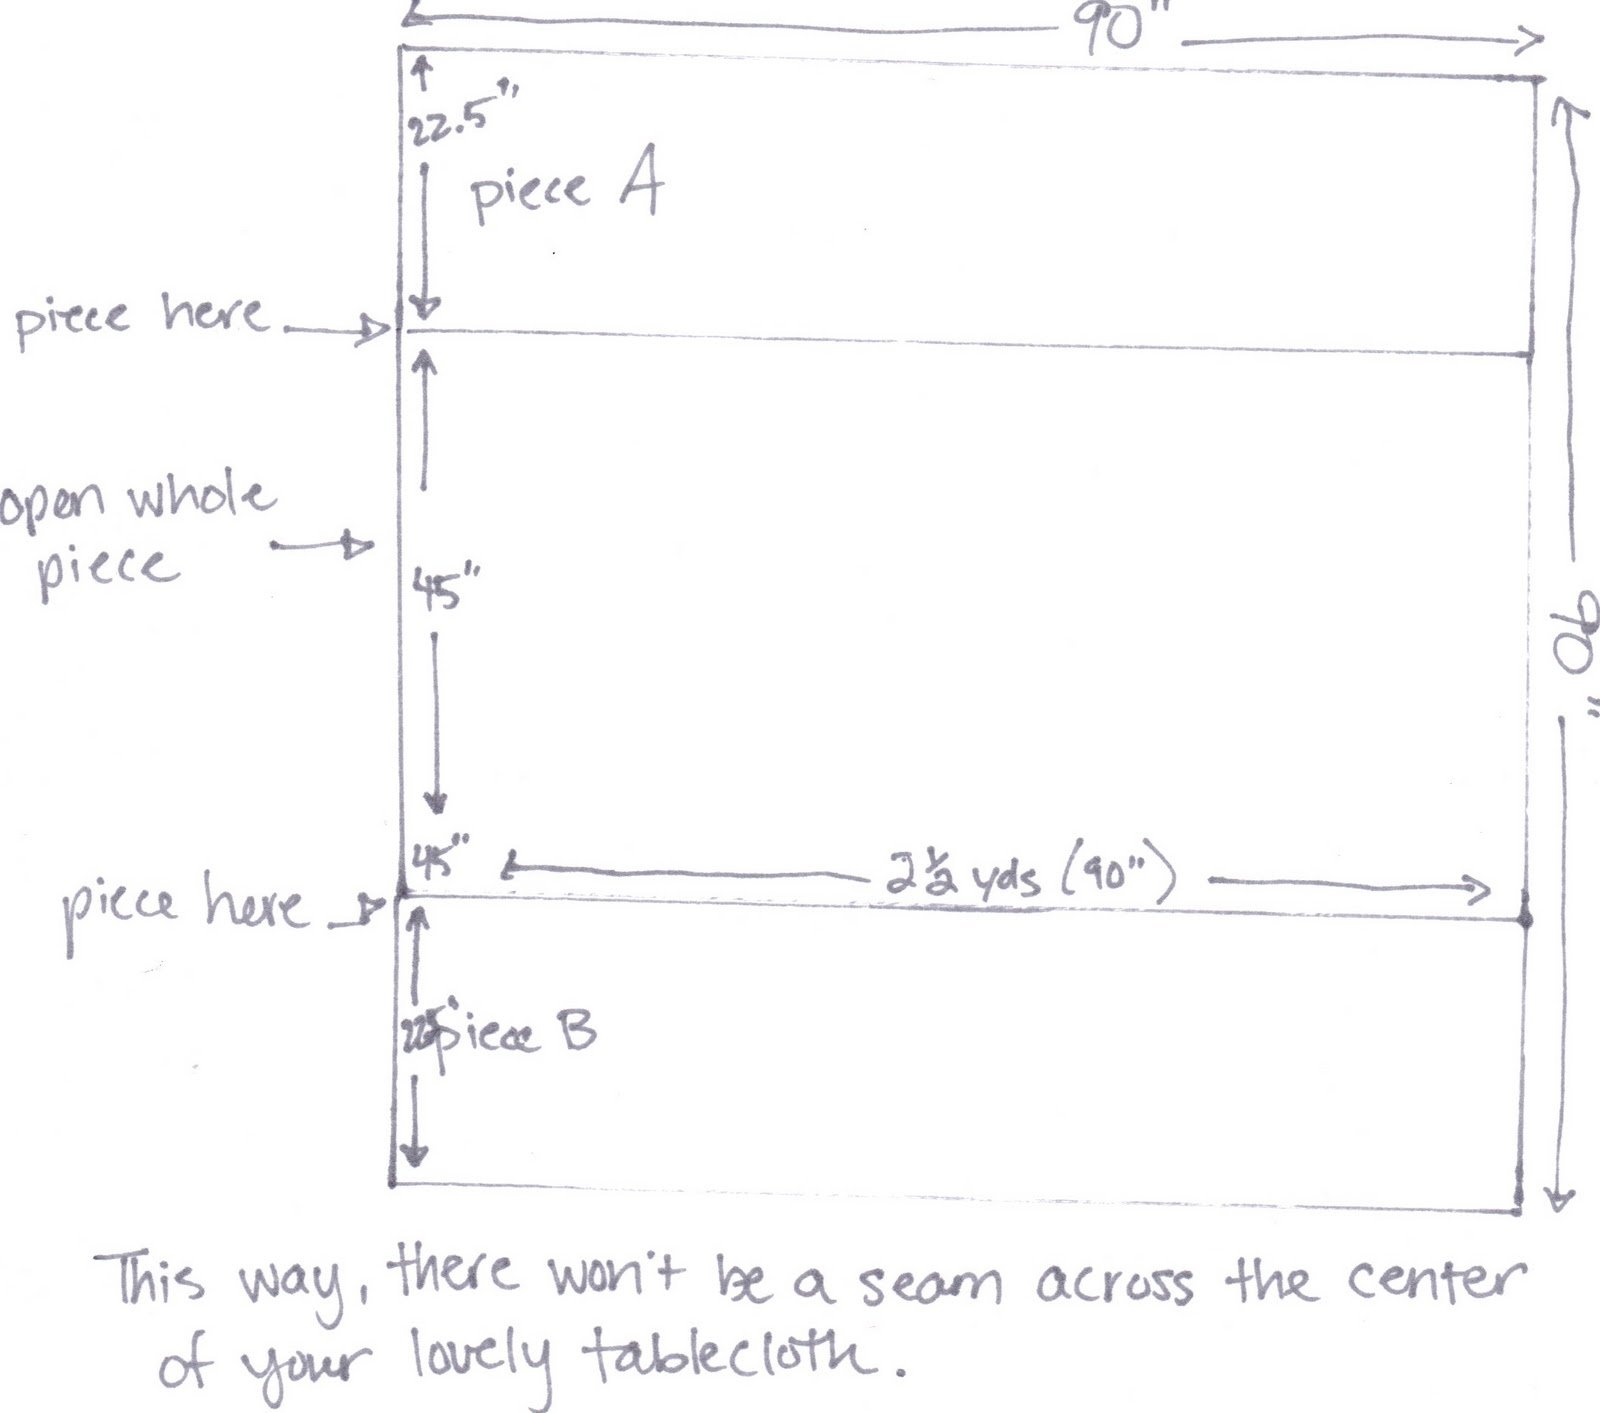
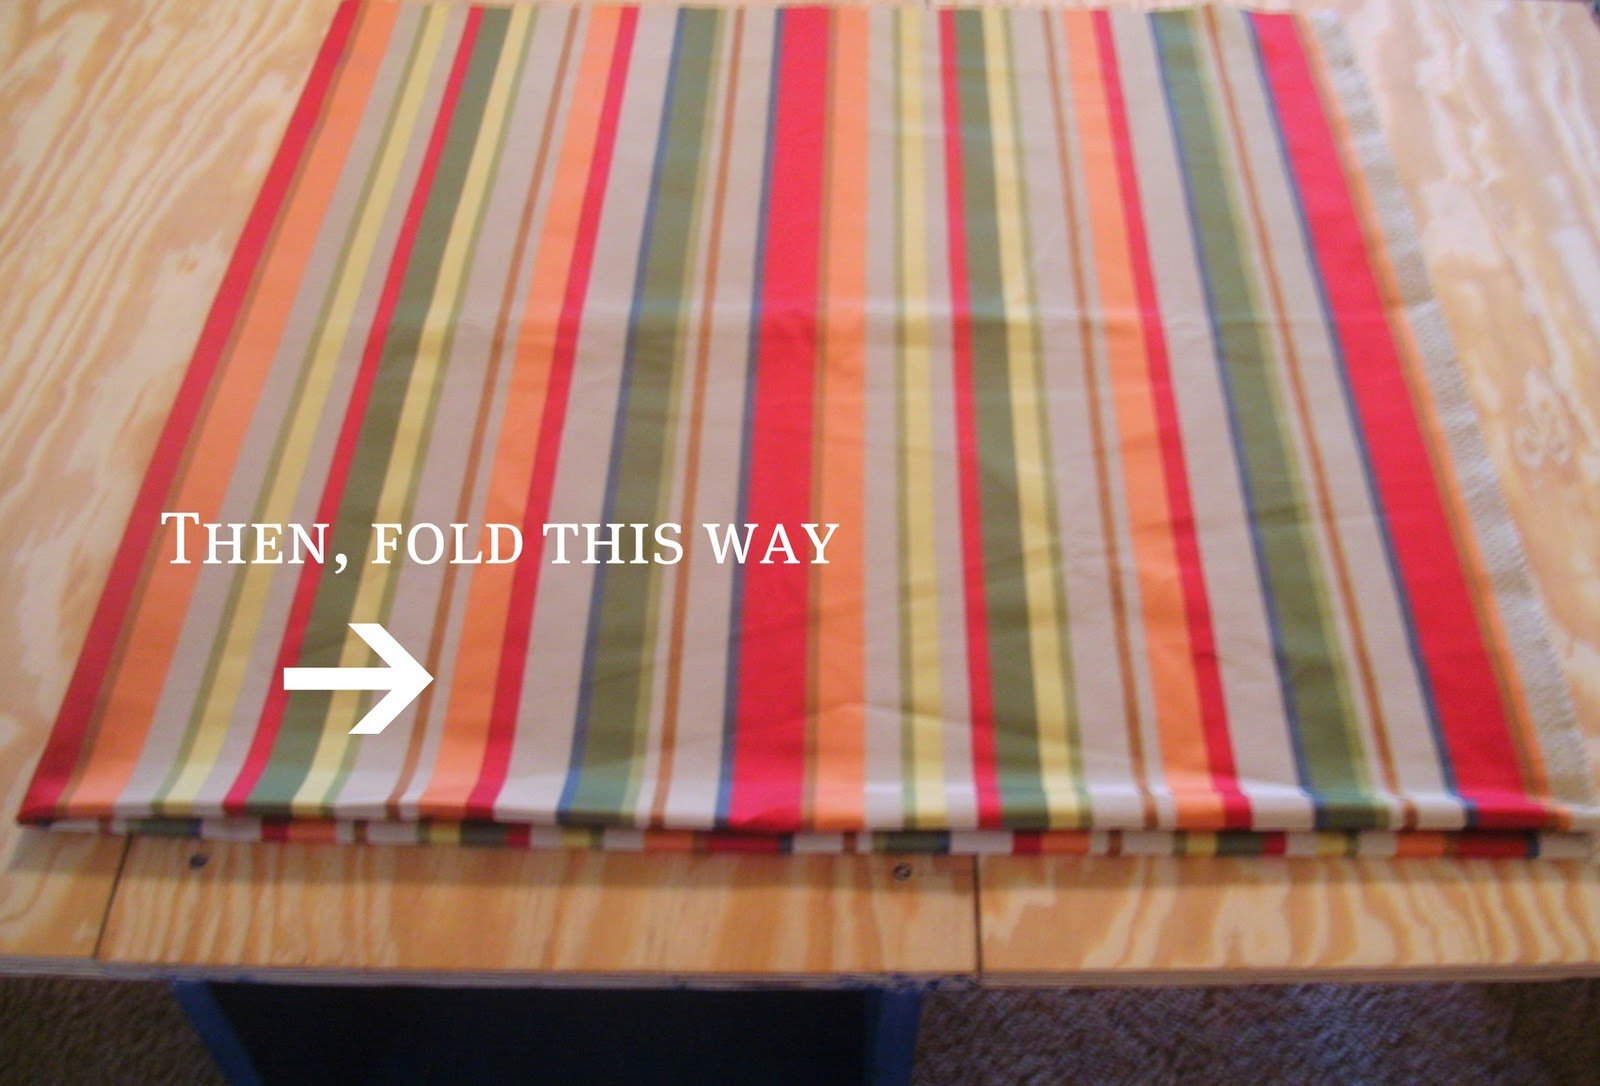
Are you enjoying my little sketches of late? Can you even understand them? Anyway – if you follow this one, you will have a square and you will be ready to cut that square into a circle. - Step 2: Once you have the square, fold it like this:
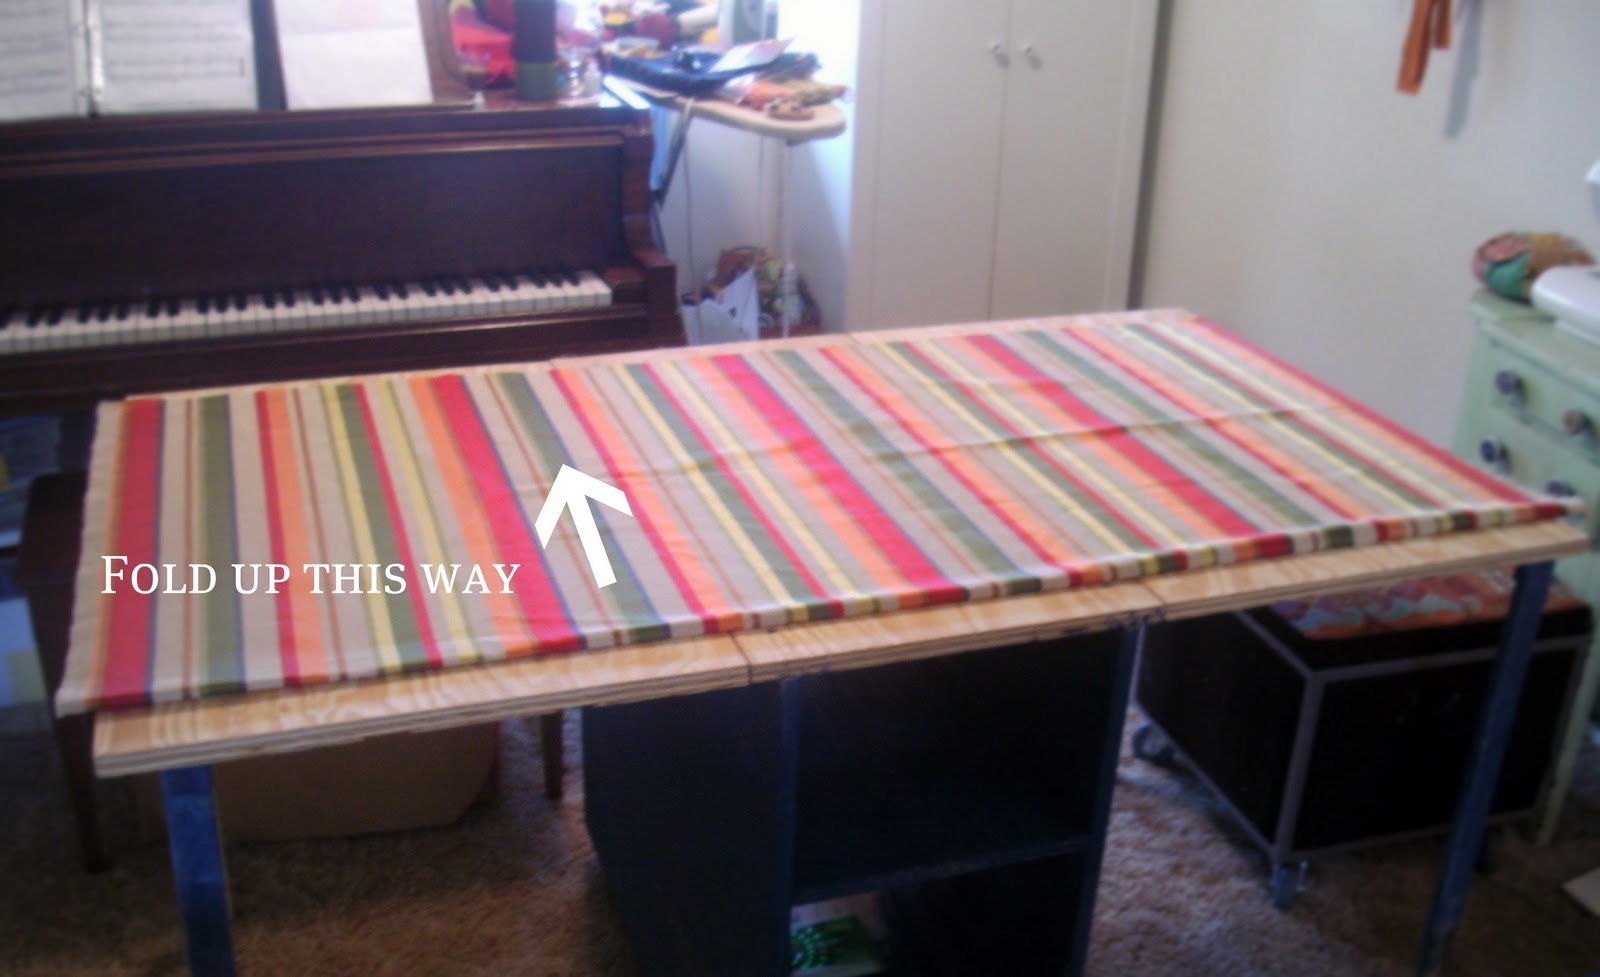
and then this:
Using a water soluble pen and a string (or the measuring tape), make your own little compass. Tie the string to the pen.
Holding it taut in that bottom left corner, draw an arc from the top left corner to the bottom right corner. Cut along the arc you drew.

Now you have a perfectly symmetrical circle. Isn’t it pretty?

- Step 3: I decided to finish the edge using bias binding, that I made. You could buy some – but it probably won’t be very big – and it’s really not that hard to make. Fold the fabric on the bias.
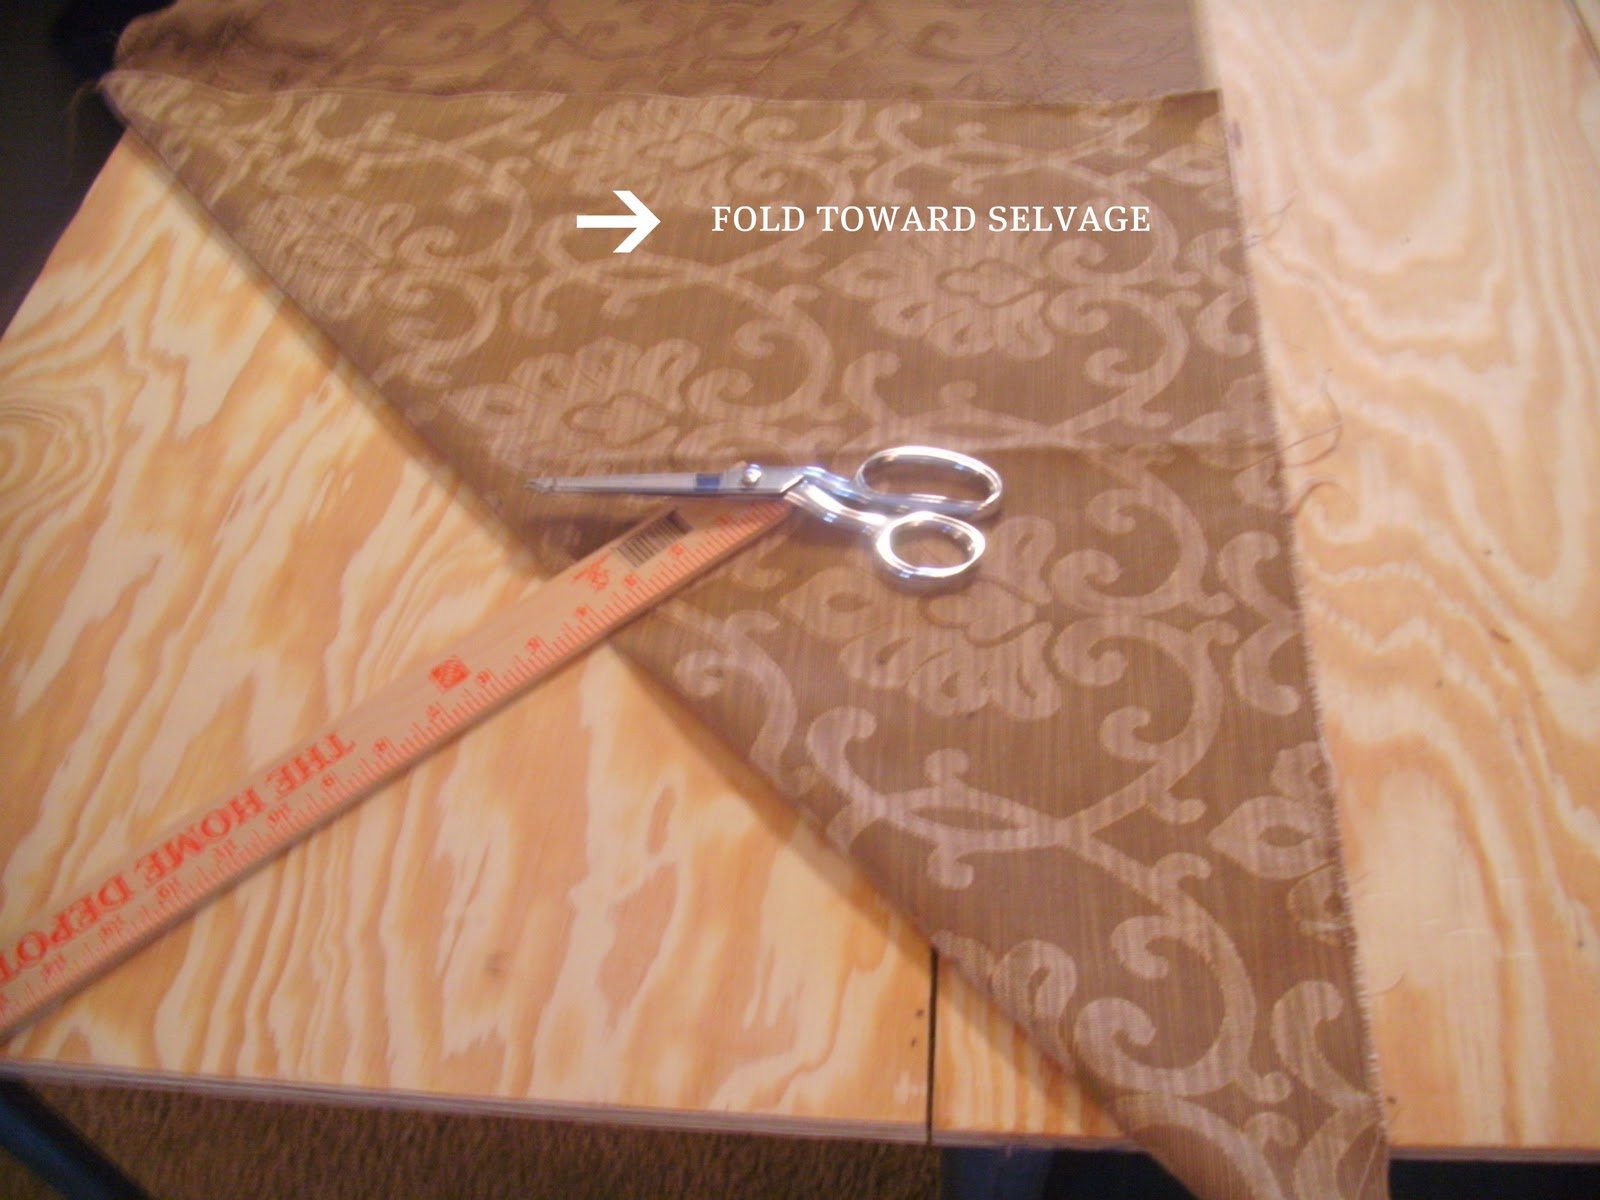
Then measure along that diagonal side the width of your bias binding. I measured 4″. You will need enough bias to trim the entire circumference of your circle. I needed 180″. Since you will probably need a lot – here is how you piece the bias strips. - Step 4: Lay two strips, right sides together, like this:
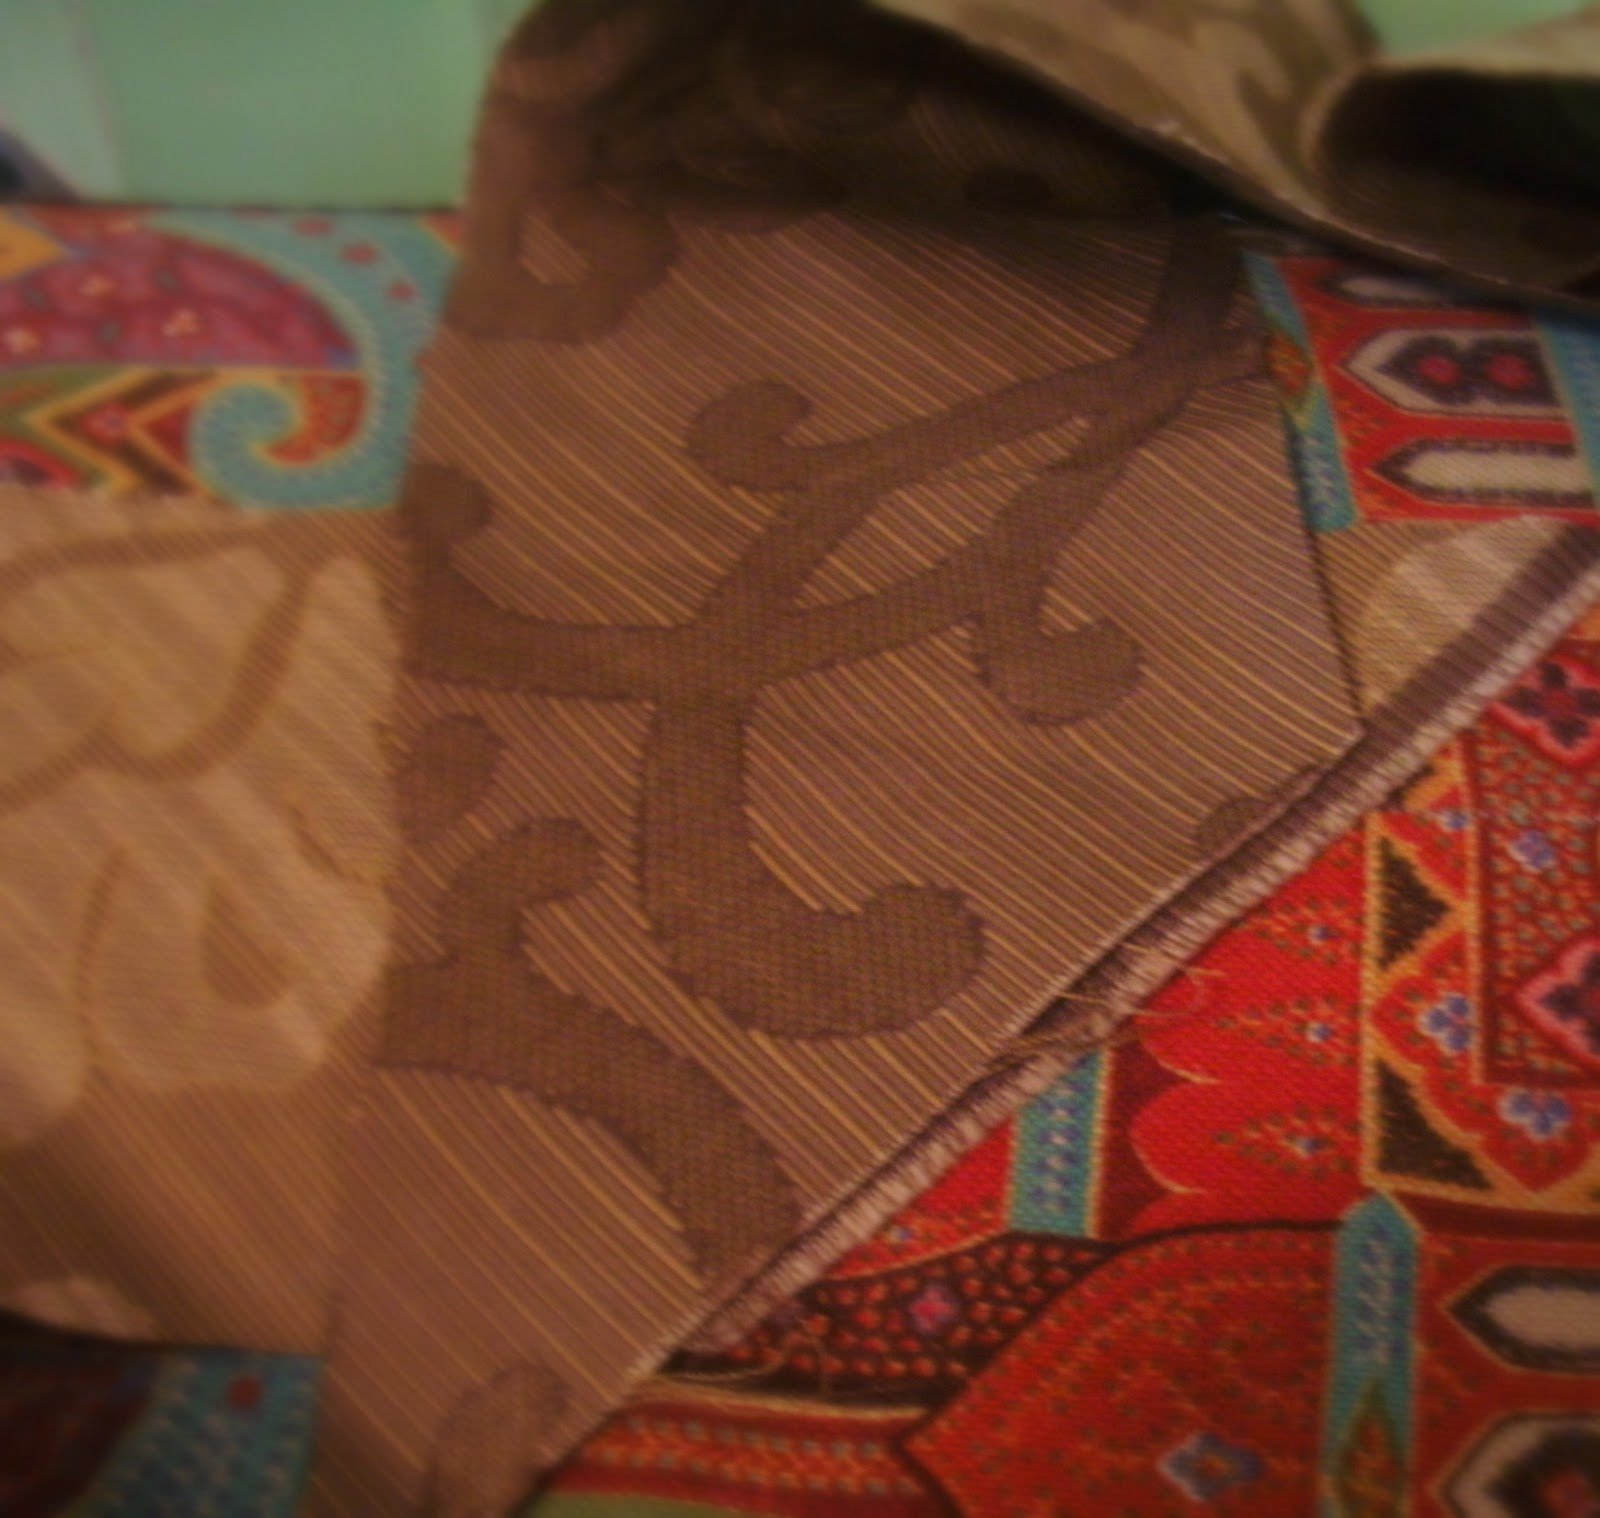
Sew a seam along the diagonal. When you open it up, it will look like this:
Go ahead and piece all of your strips.
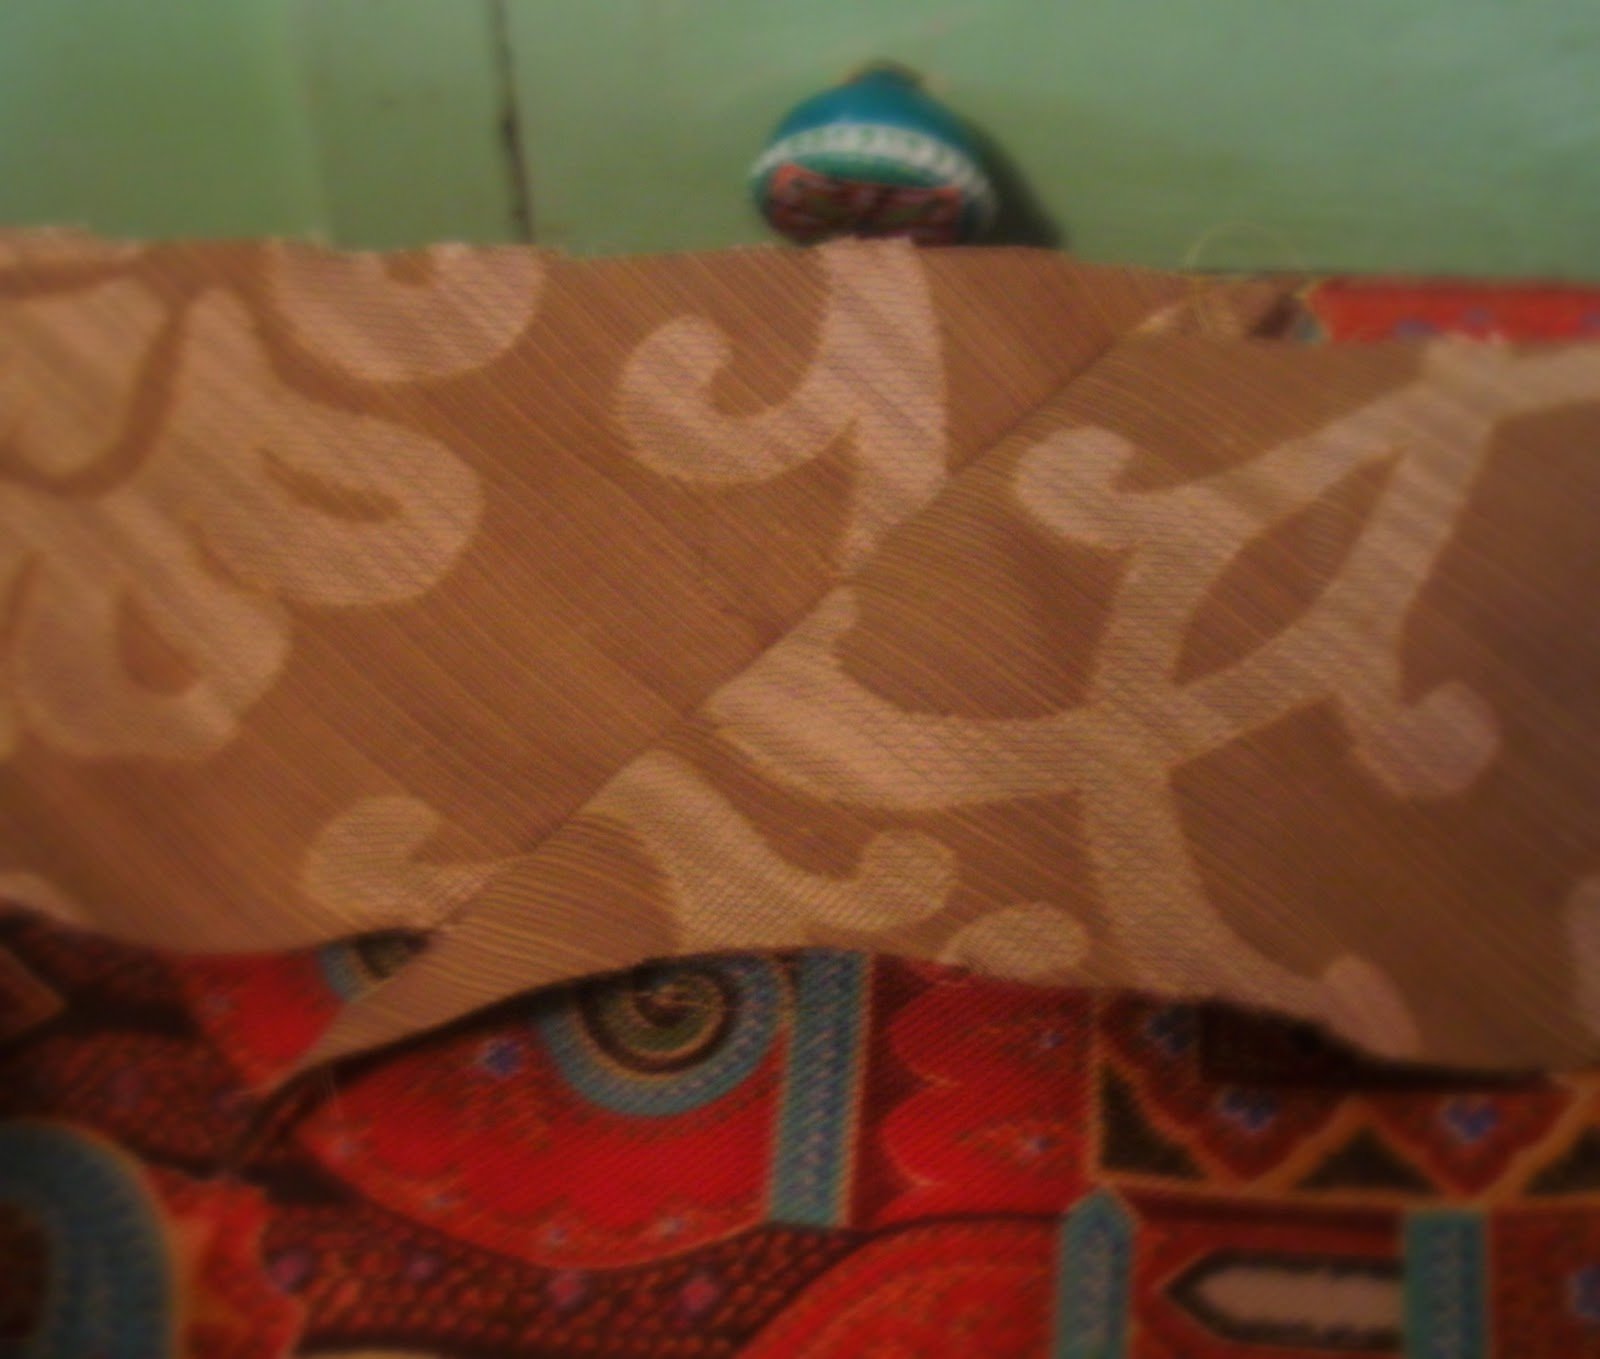
When you have finished that, fold up one raw edge about an inch and press. - Step 5: Right sides together, pin the raw binding edge that you pressed to the edge of the circle.
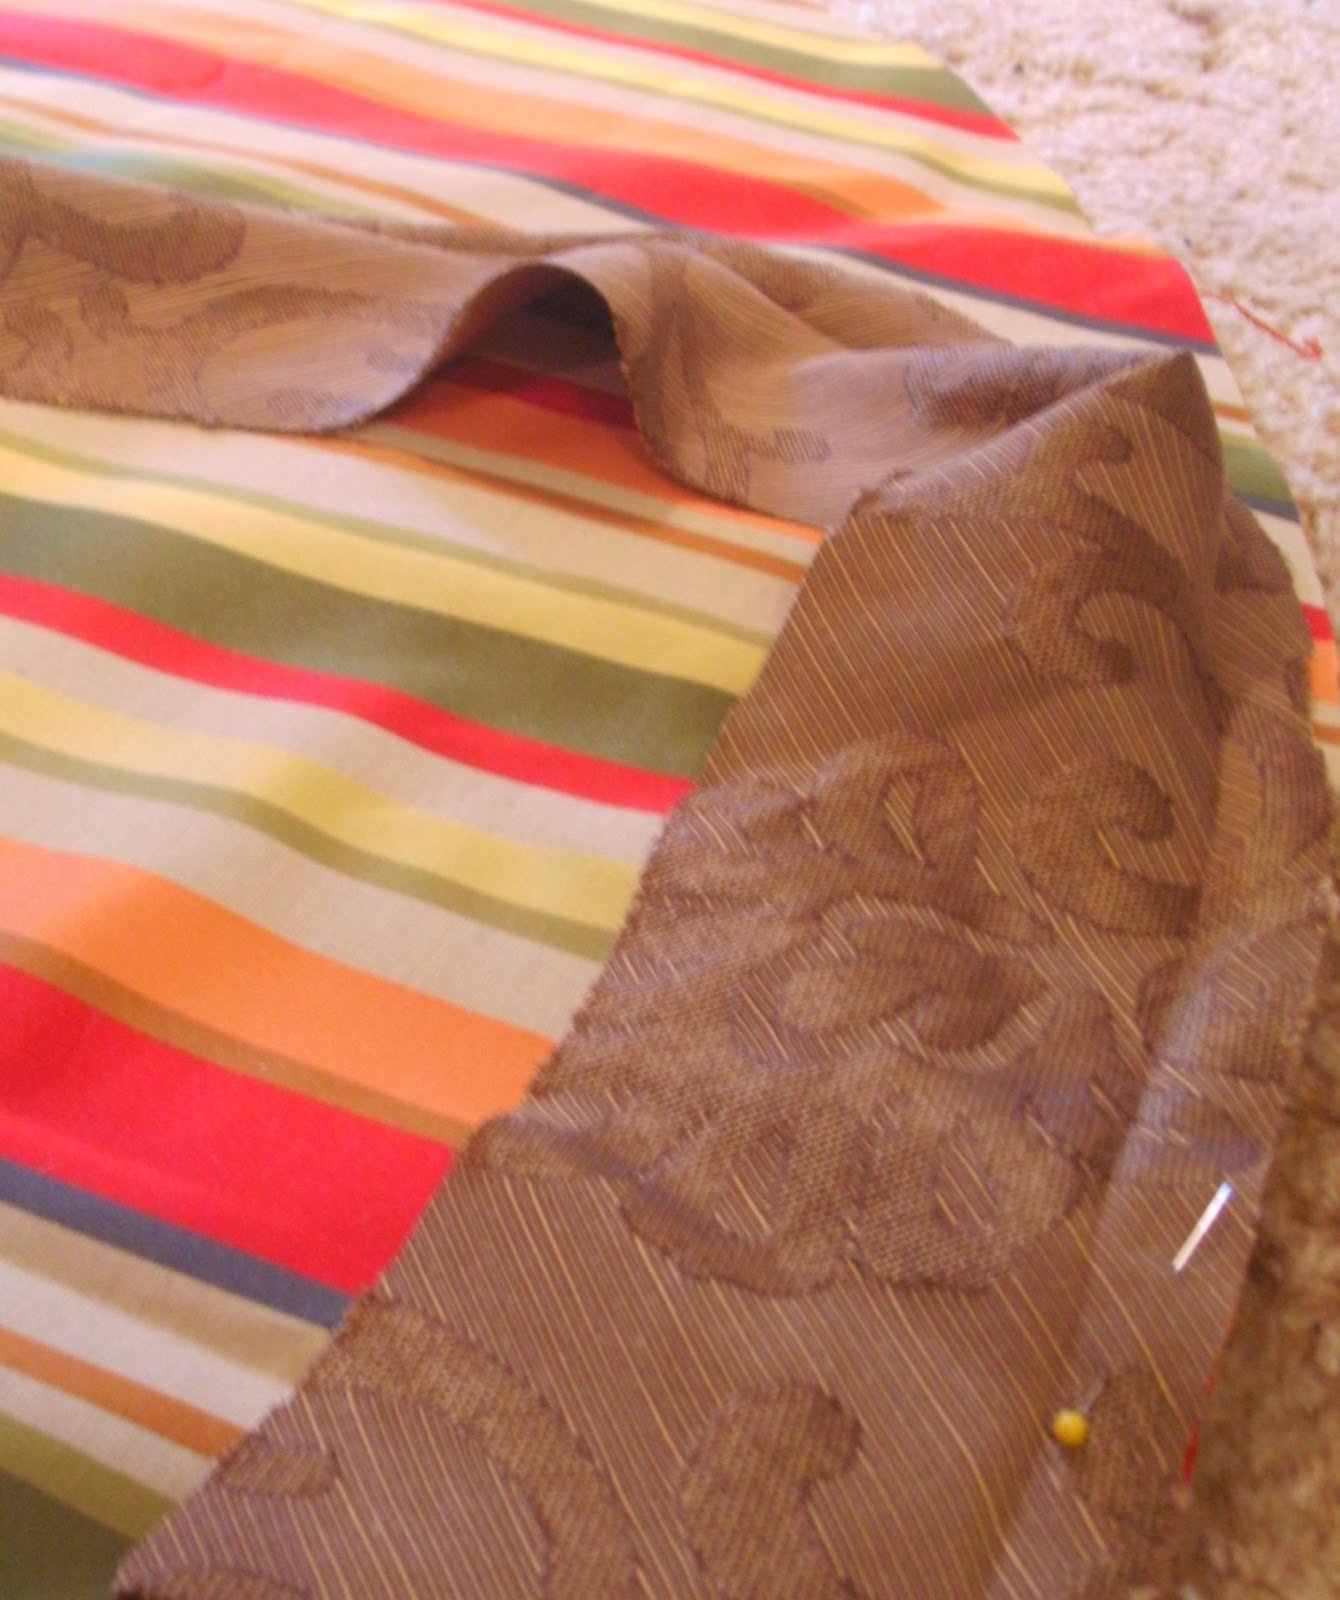
That fold that you pressed is going to be your stitching guide. Pin around the entire circle.
- Step 6: Following the fold, sew the binding to the circle.

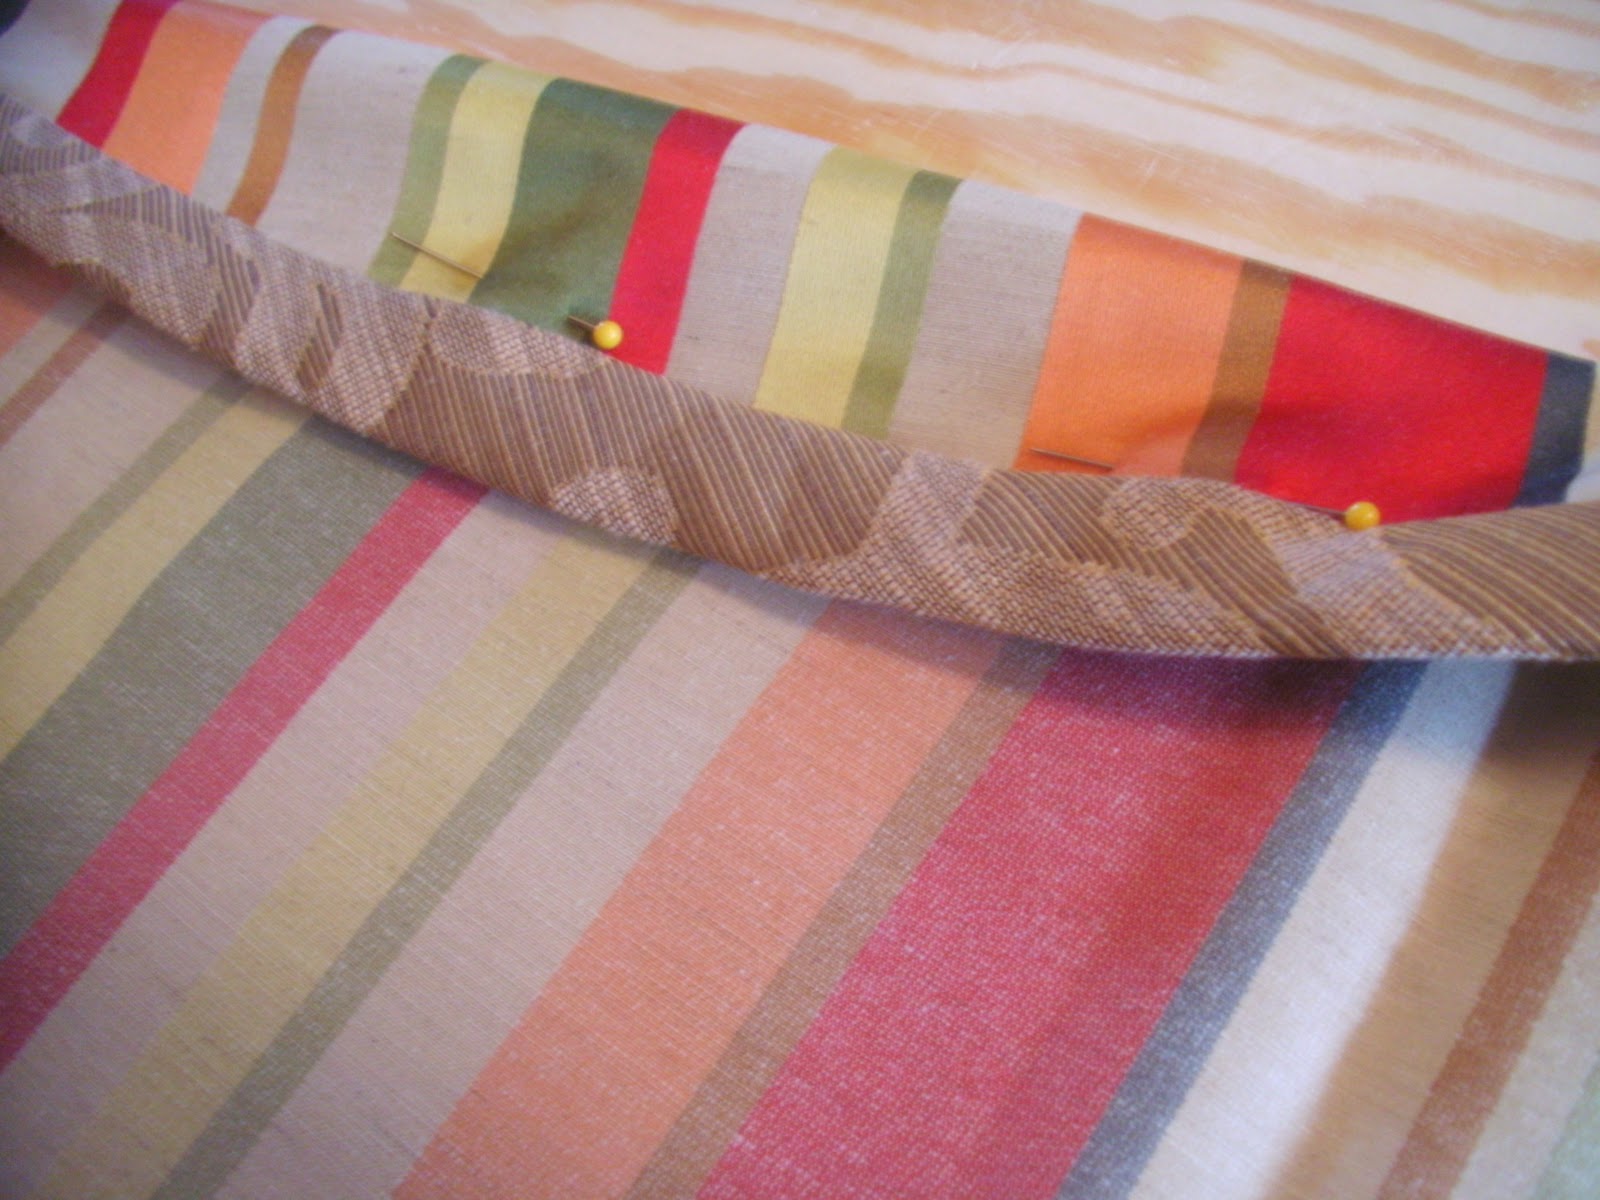
When you get all the way around – you will also have to sew the two ends of the binding right sides together. - Step 7: Lay the cloth out wrong side up. Fold the binding over the edge of the cloth, and press the raw edge of the binding under.
Pin it in place, but put the pins on the right side of the fabric – that is what will be facing you when you are sewing.
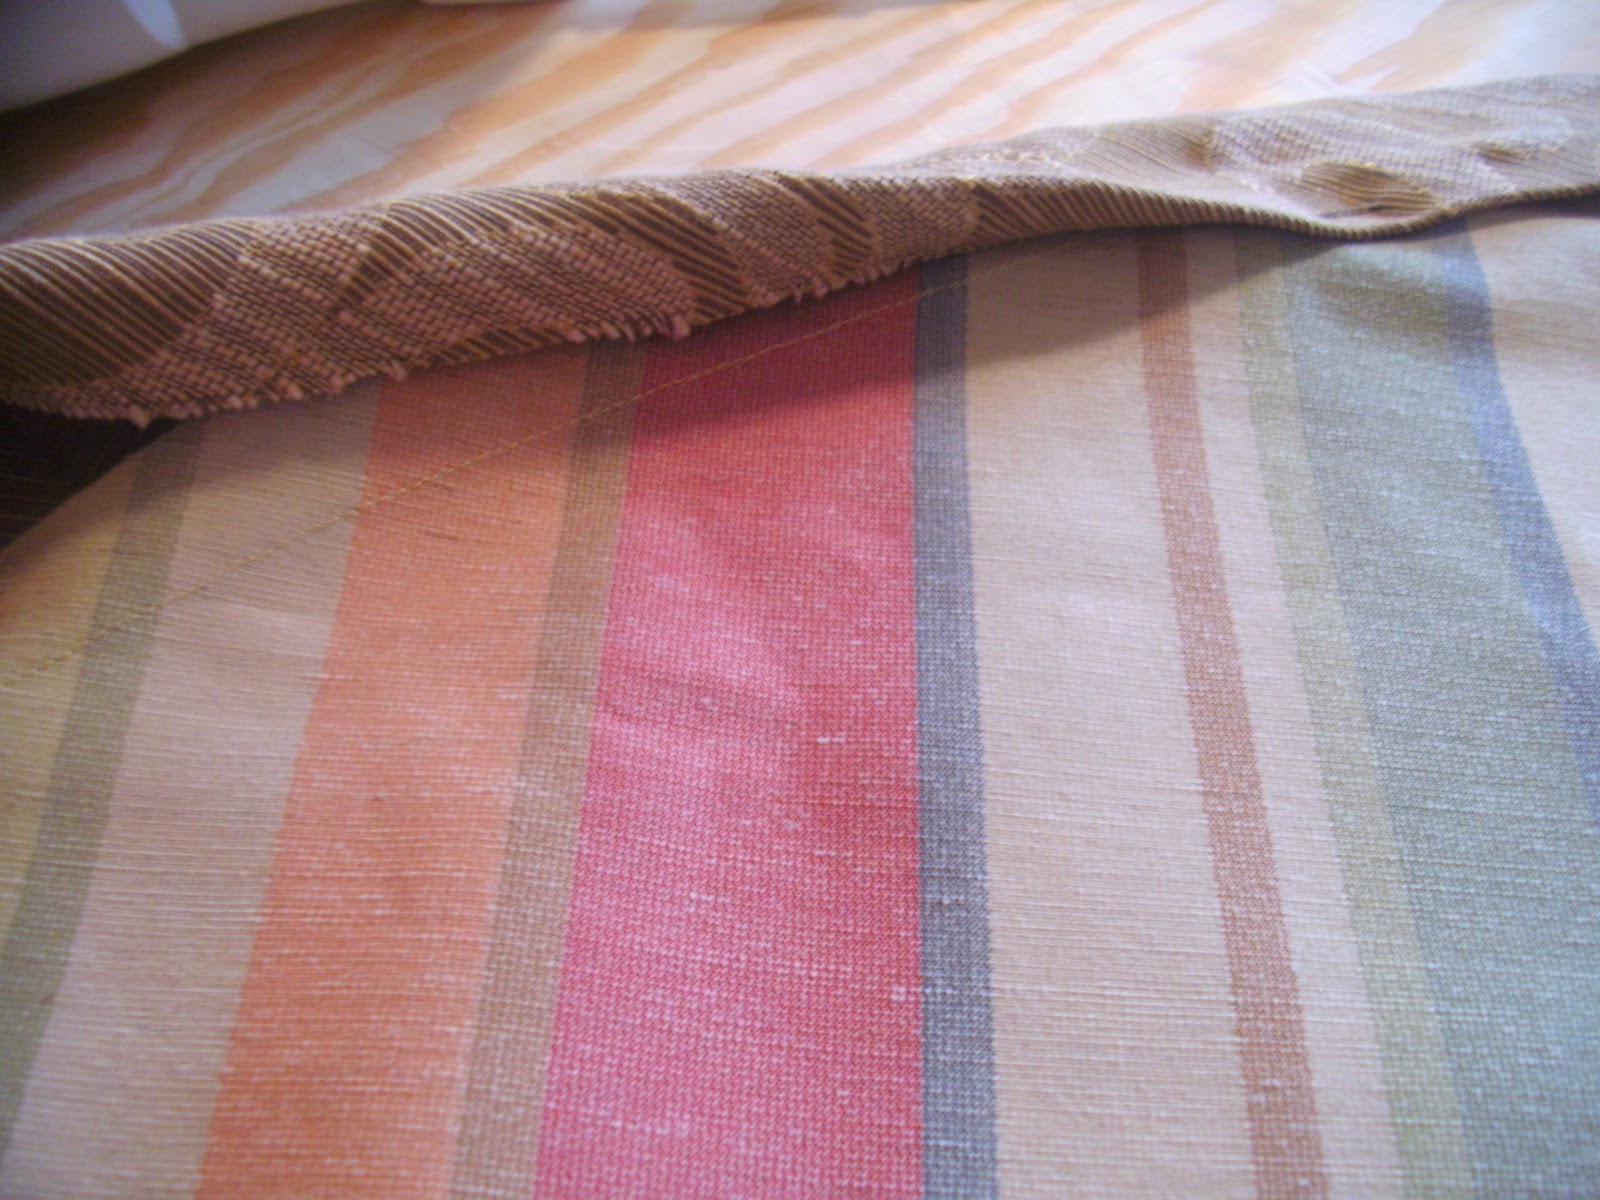
- Step 8: Once you have the entire binding folded over, pressed, and pinned – it is time to sew it on. You will sew it with the top of the cloth facing you – and you are going to put the stitch just to the left of the binding. That way – it will catch the binding on the back, but the seam will be hidden where the cloth and the binding meet. Here’s what I mean:
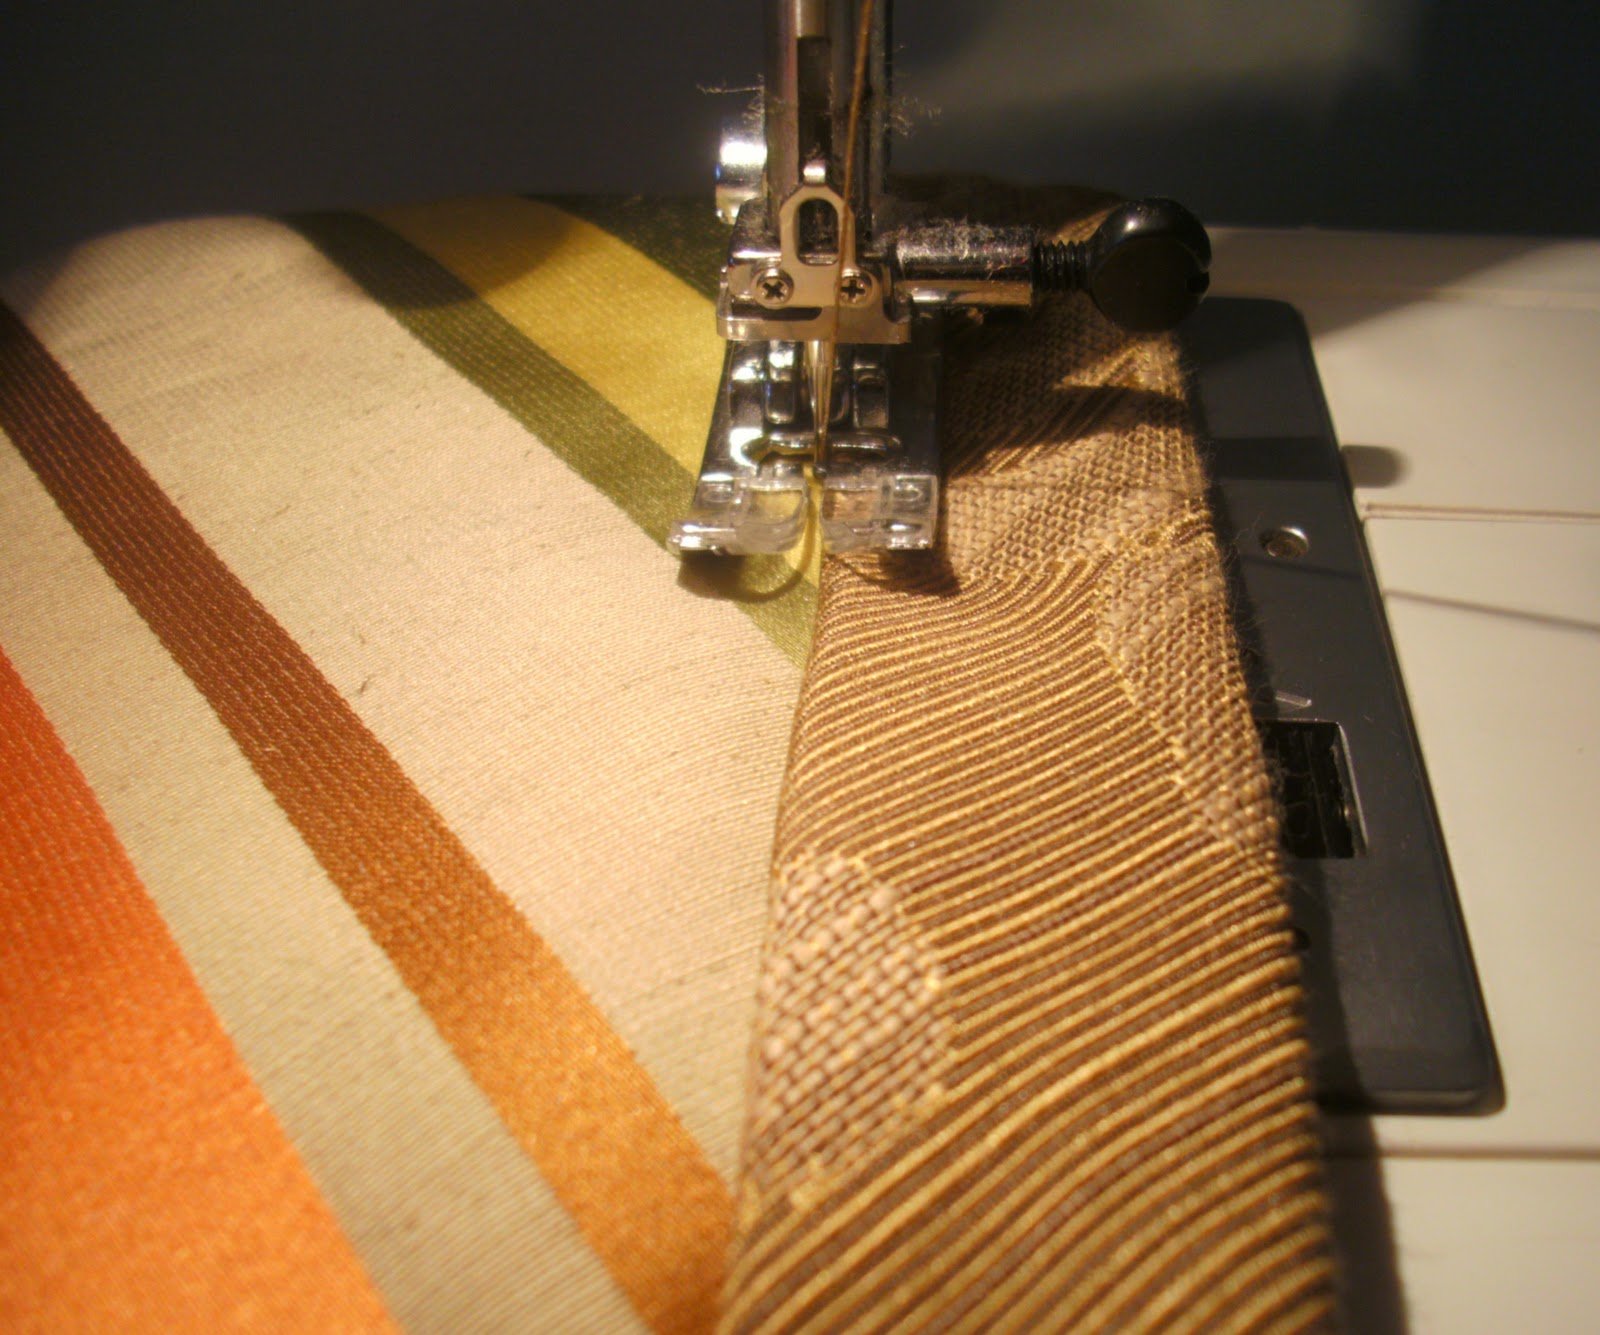
If you sew right there – it will look like this:
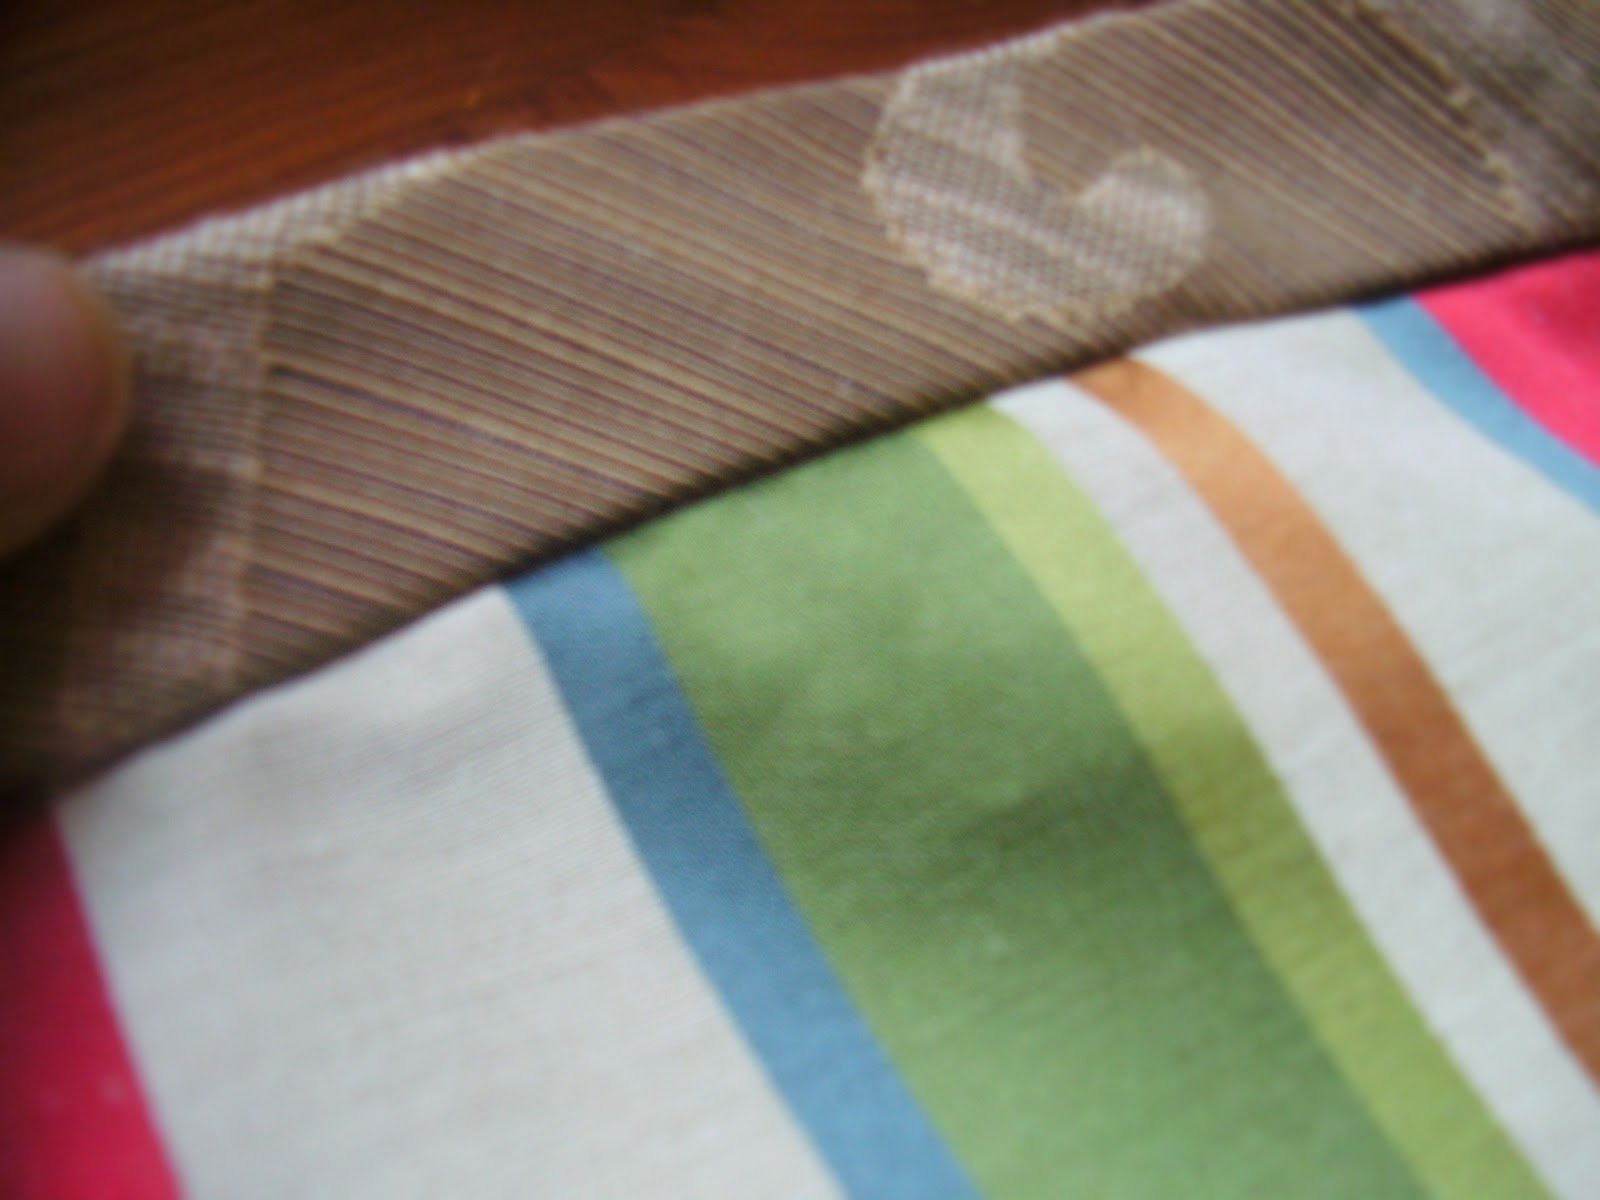
You can’t even see the stitch can you?
It’s there, I promise:
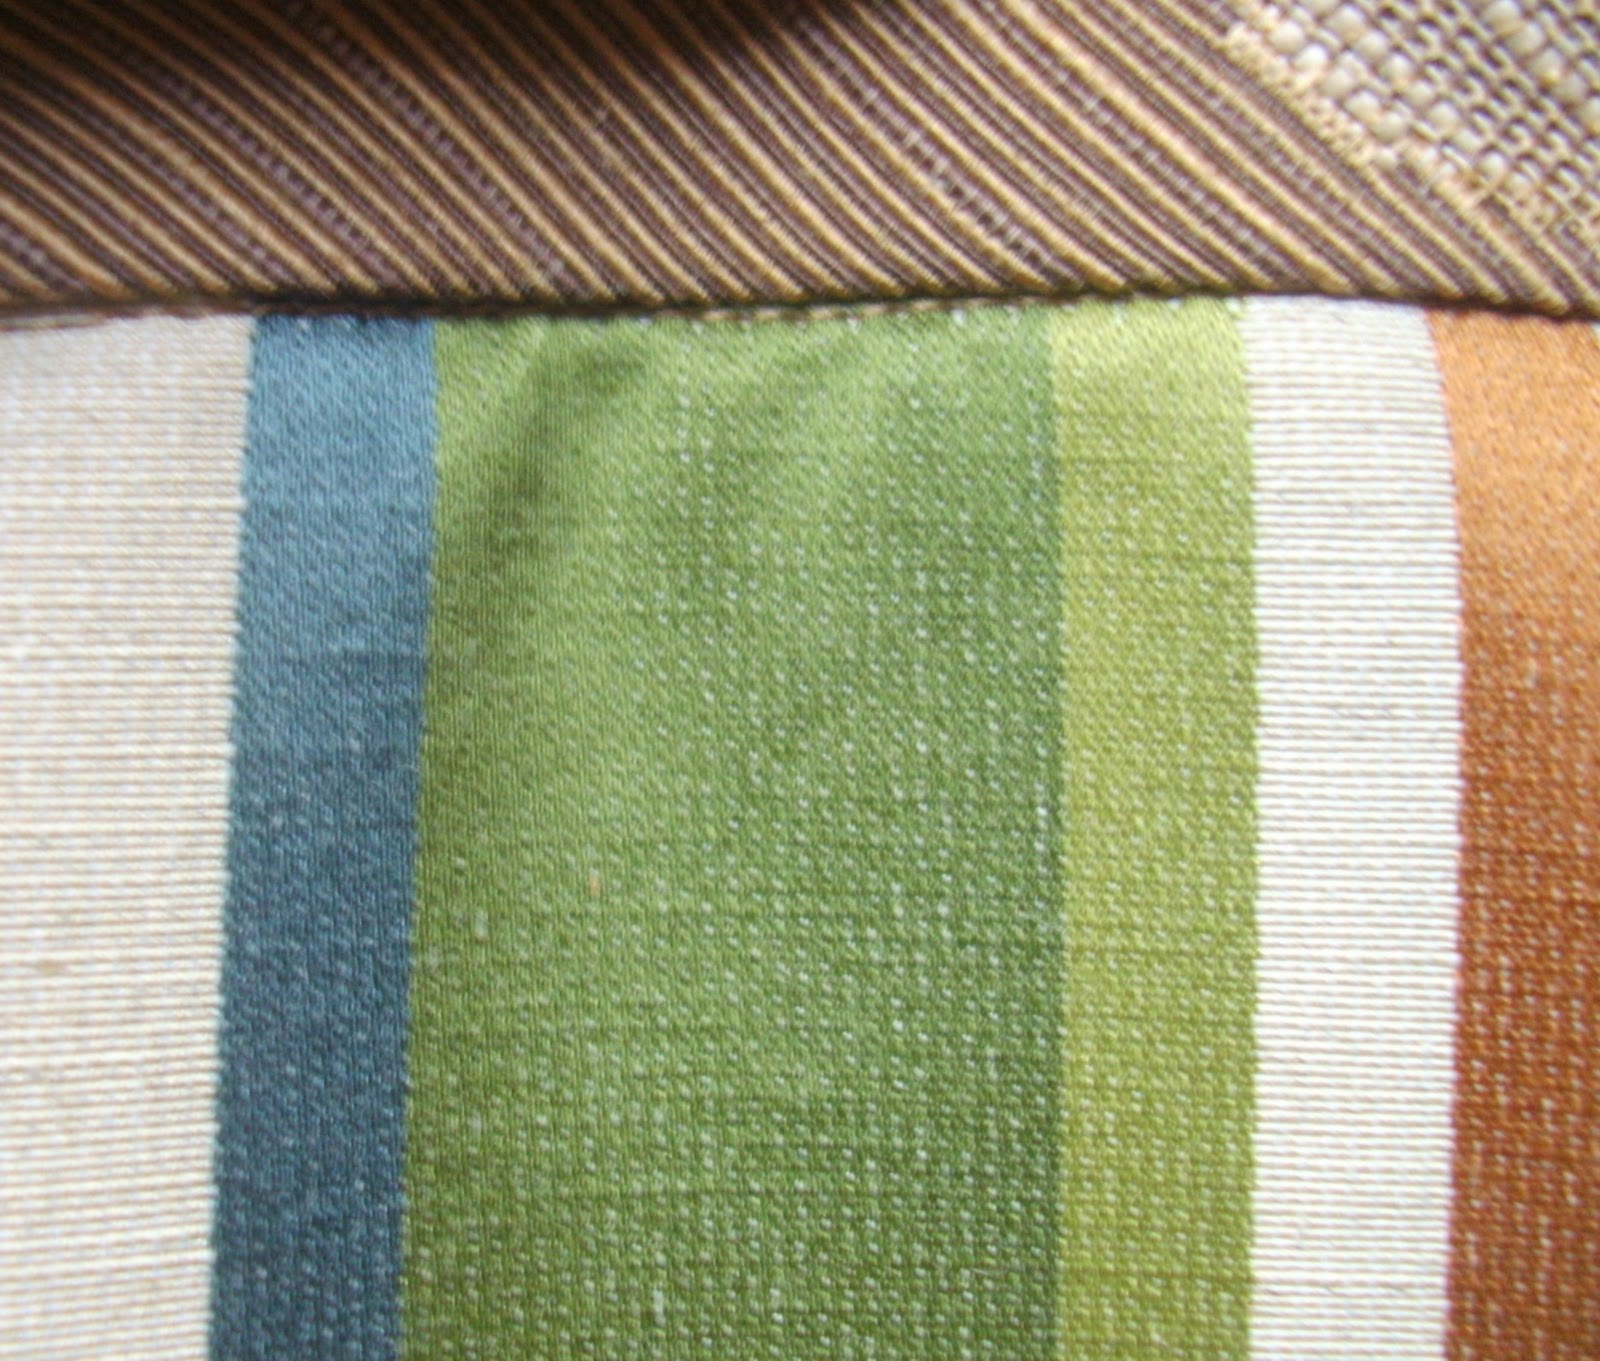
Isn’t that magical?! It will make you look so professional 🙂
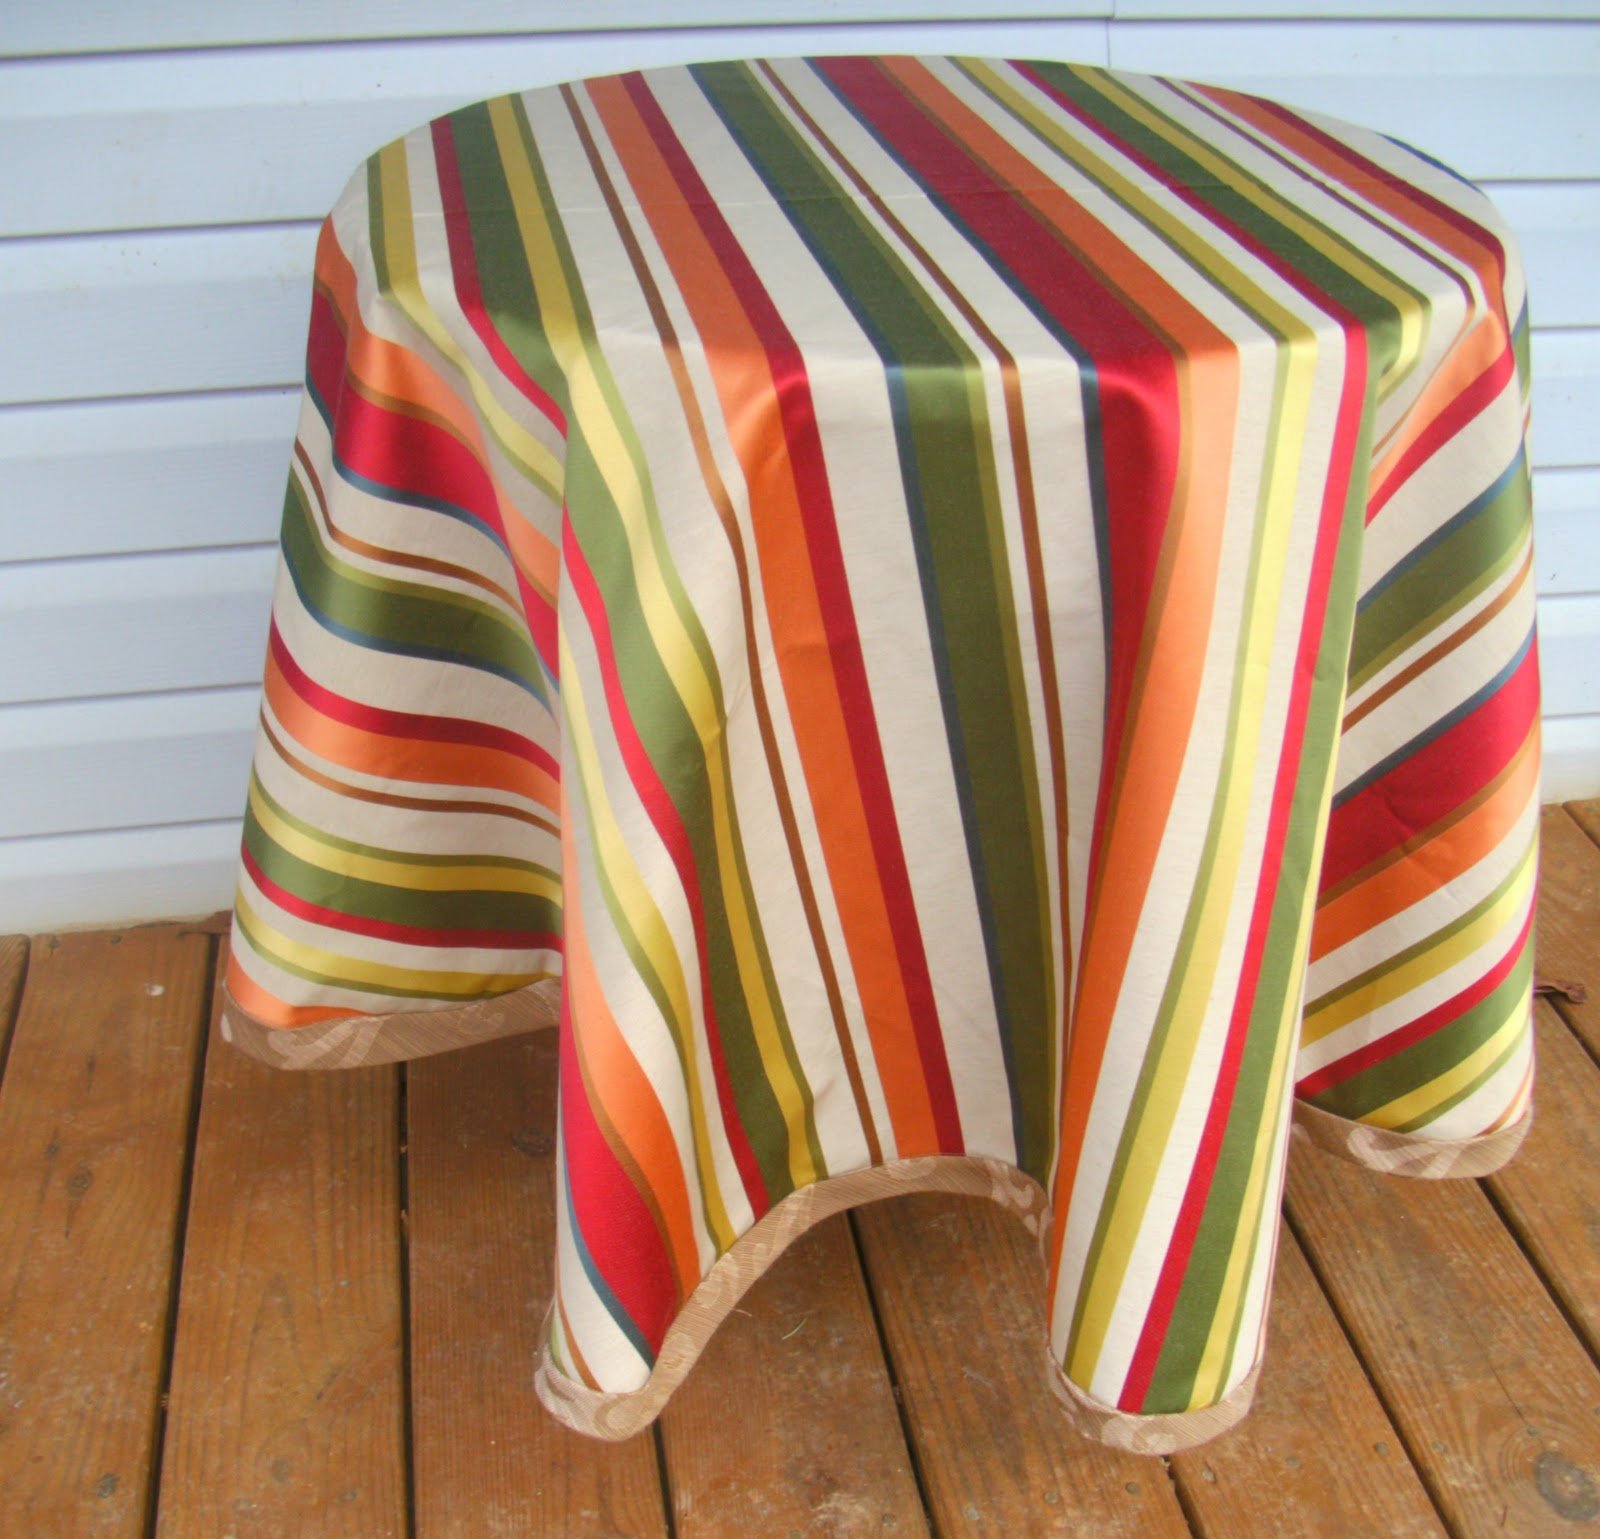
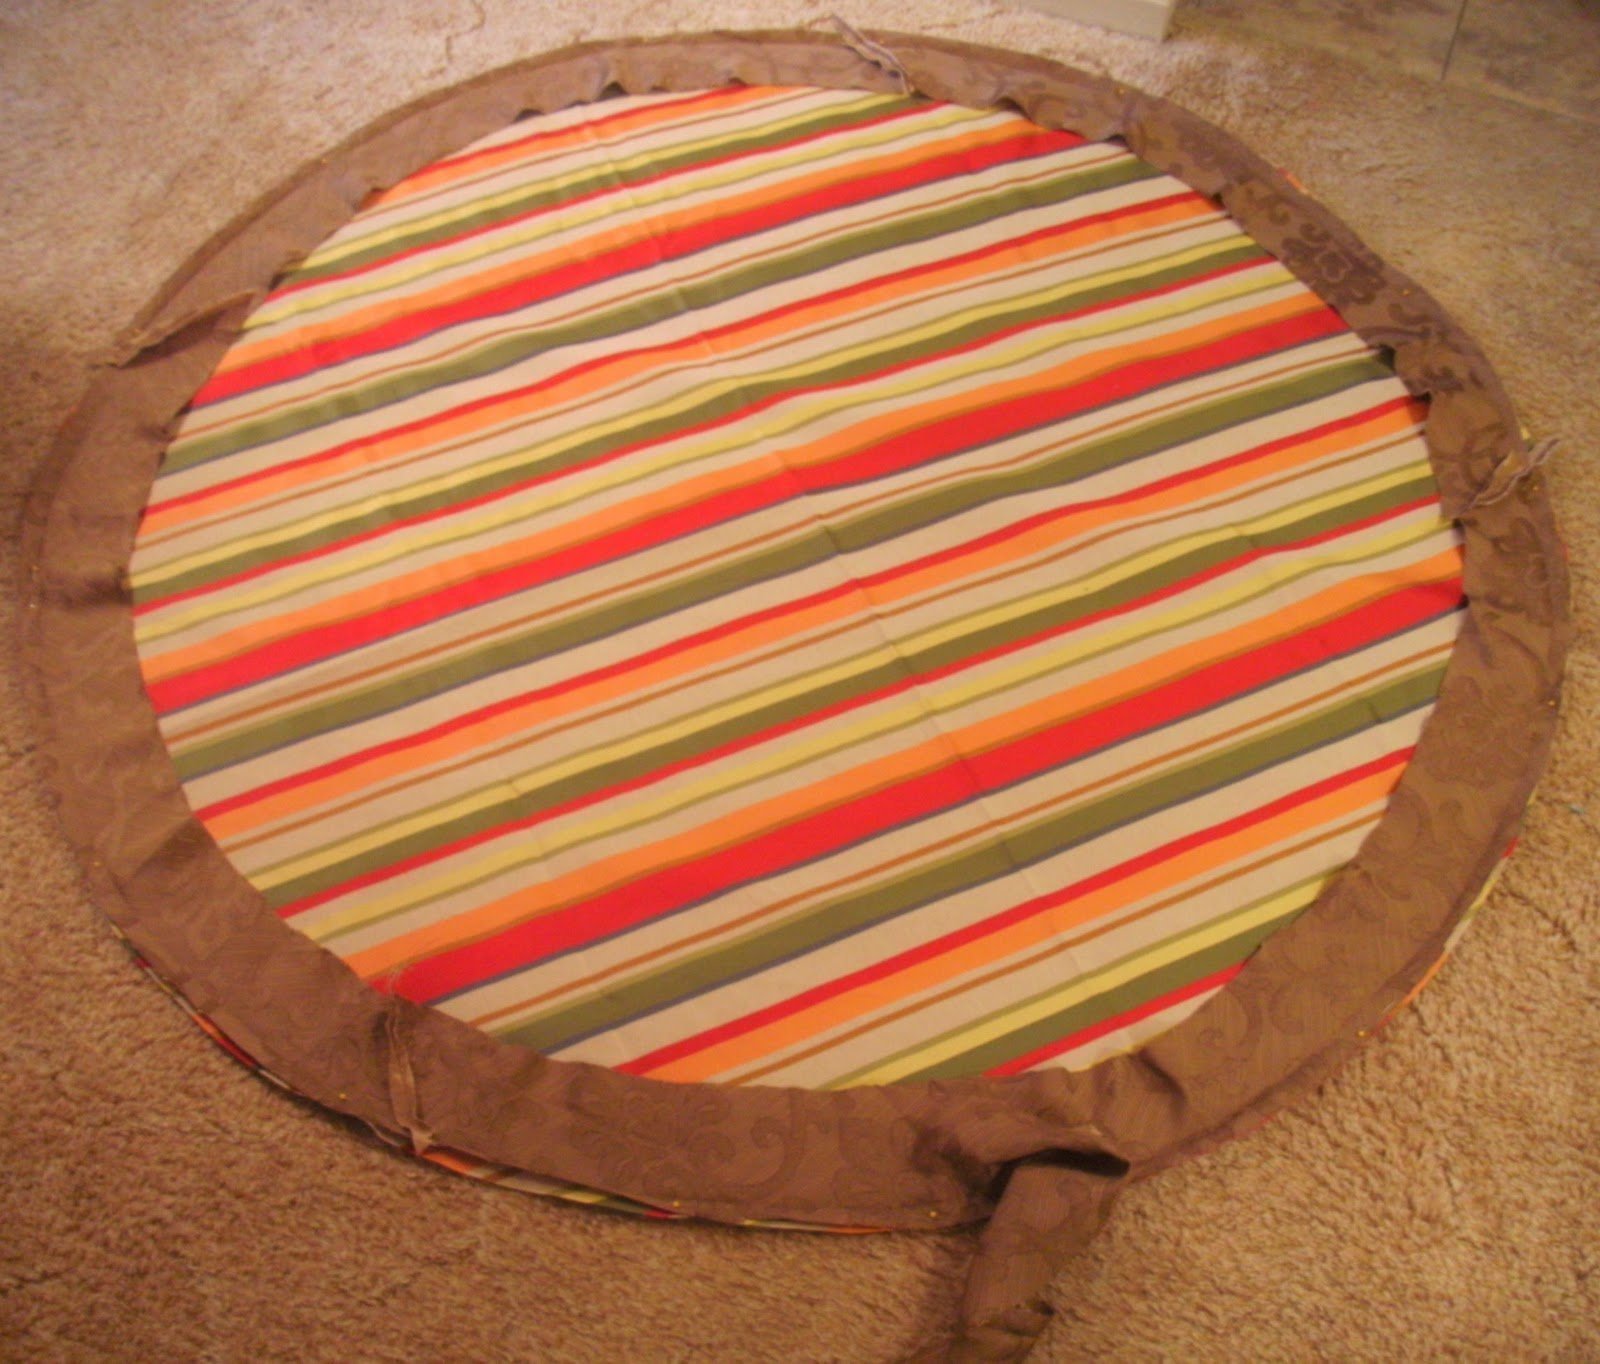
Finally, press it well, and ta-da!
You’re all set with a new tablecloth!
happy sewing,
jessica