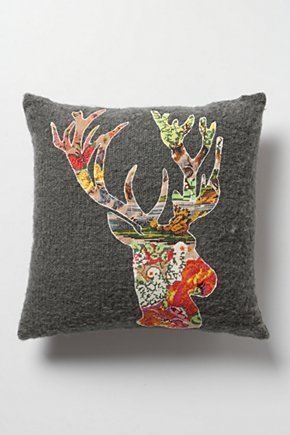
Blooming Deer Pillow $88.00
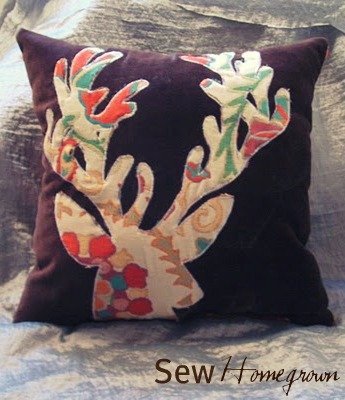
Hello! Here I am with another project inspired by something I saw while perusing my Anthro catalog that just came in the mail.
I liked it because it is seasonal, but not so literally Christmas. I commissioned my talented hubby to draw the pattern for the deer head, then I did the rest. I have made the pattern available for you here – so you can make one for yourself! I just love pillows – they are such a fast and inexpensive way to spruce up any room.
Here’s what you will need for this little number:
(I made a 14″ pillow, but the Anthro one is 20″ so adjust the measurements if you would like it to be larger)
- Deer silhouette pattern
- one 15″ square piece of fabric for pillow front
- a contrasting 15″ square piece of fabric for pillow back
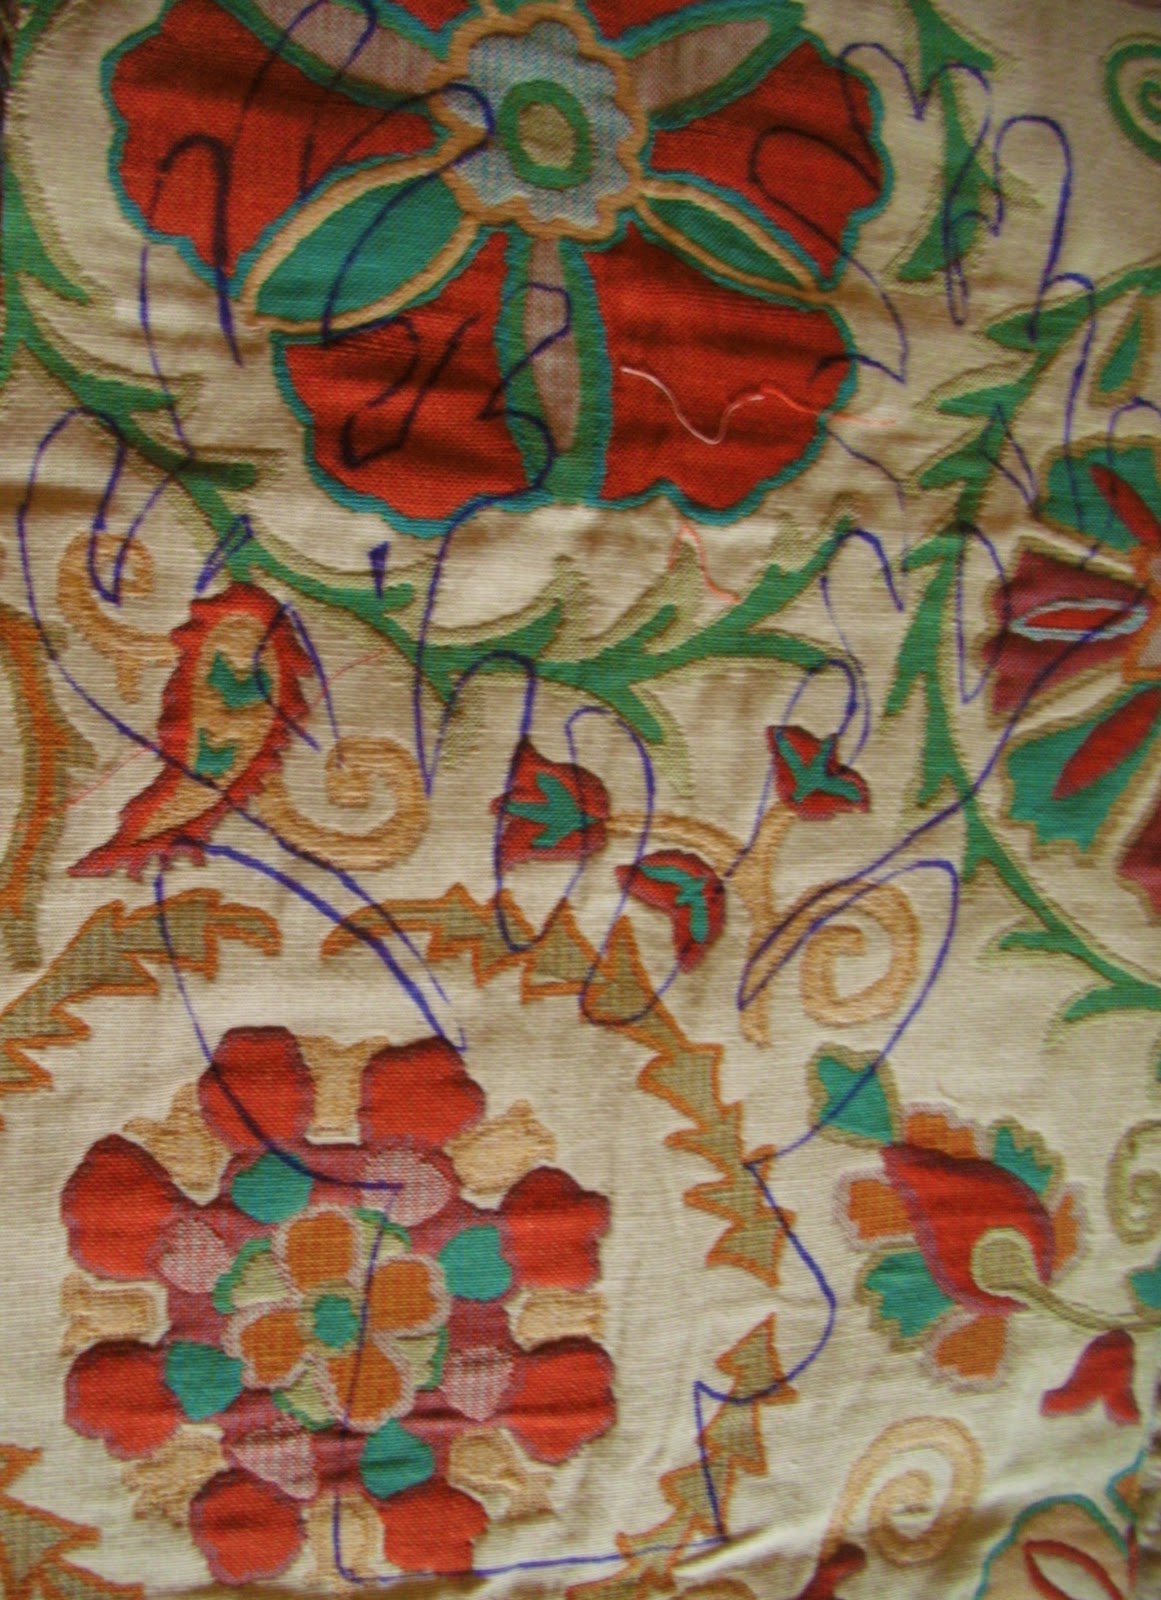
- a 15″ square of multi-colored decorator weight fabric ( I suggest home decor fabric because it usually has more texture to it and mimics the needlepoint design in the Anthropologie pillow)
- 1/2 yard of Wonder Under (when they cut it for you, be sure to ask for the directions)
- 1 spool of sulky white thread (I used the sulky type because I think it makes it look a little more professional)
- 1 bag of polyfil or a 15″ pillow form
- scissors
- fabric marker
- sewing machine
- iron
- yardstick
- craft scissors
- Step 1: Download the pattern, tape it together, then cut it out.

- Step 2: Lay it on your applique fabric and trace around the pattern.
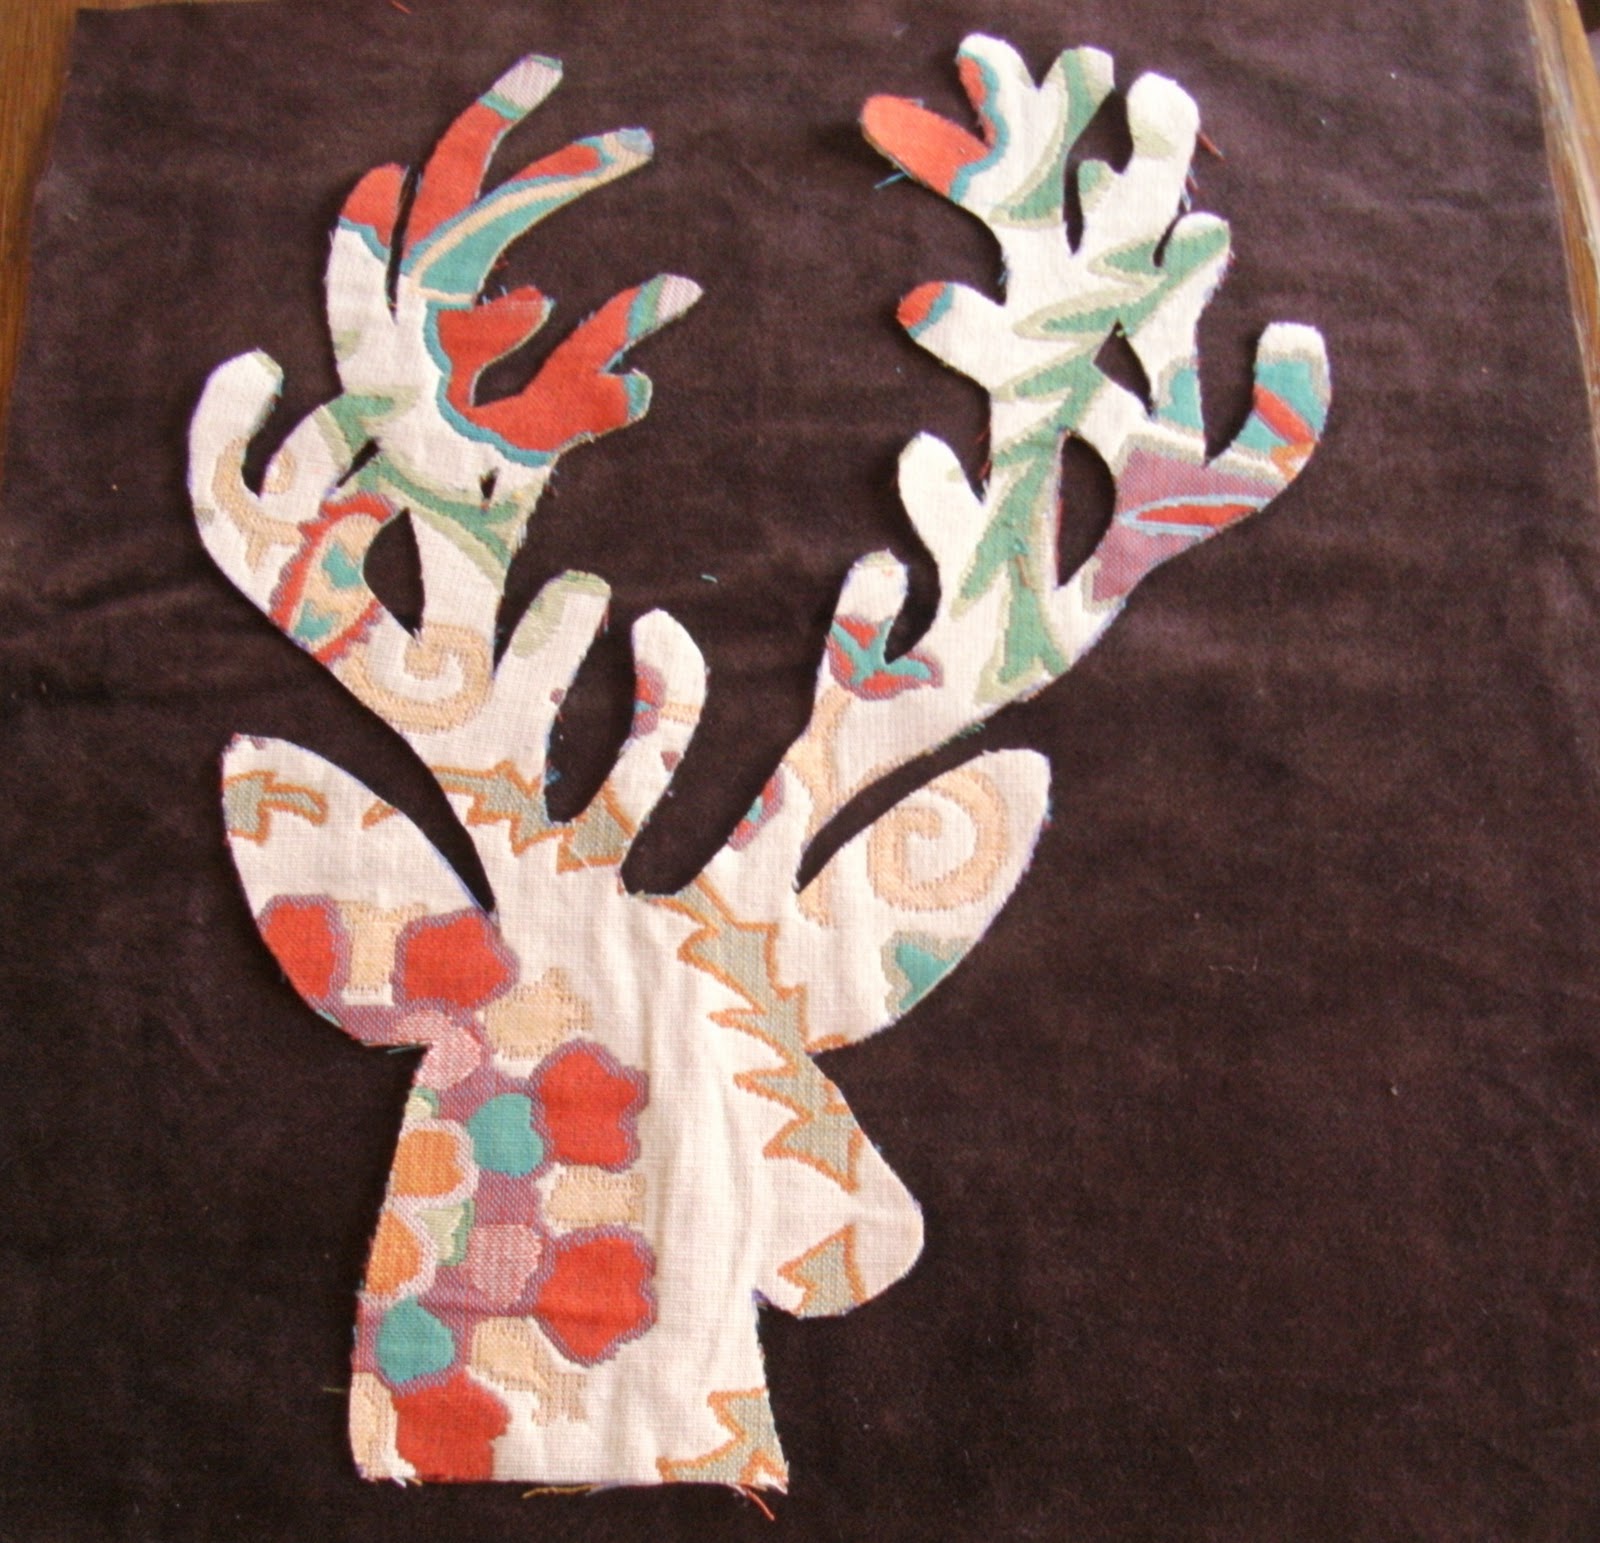
- Step 3: Cut out the deer.
Go slowly, especially around the antlers
- Step 4: Lay it right side up on top of Wonder under. The wrong side of the fabric should be in contact with the rough side of the wonder-under. Iron the deer – the heat will fuse the webbing to the back of the deer.
- Step 5: Very carefully peel the paper off the back of the deer.
There will be a film on the back of your fabric.
Position it onto the pillow top exactly where you want it to be. Iron the deer and the wonder-under film will adhere it to the pillow top. This is just to hold it in place while you stitch around. You would loose your mind trying to applique it on with pins stuck everywhere.

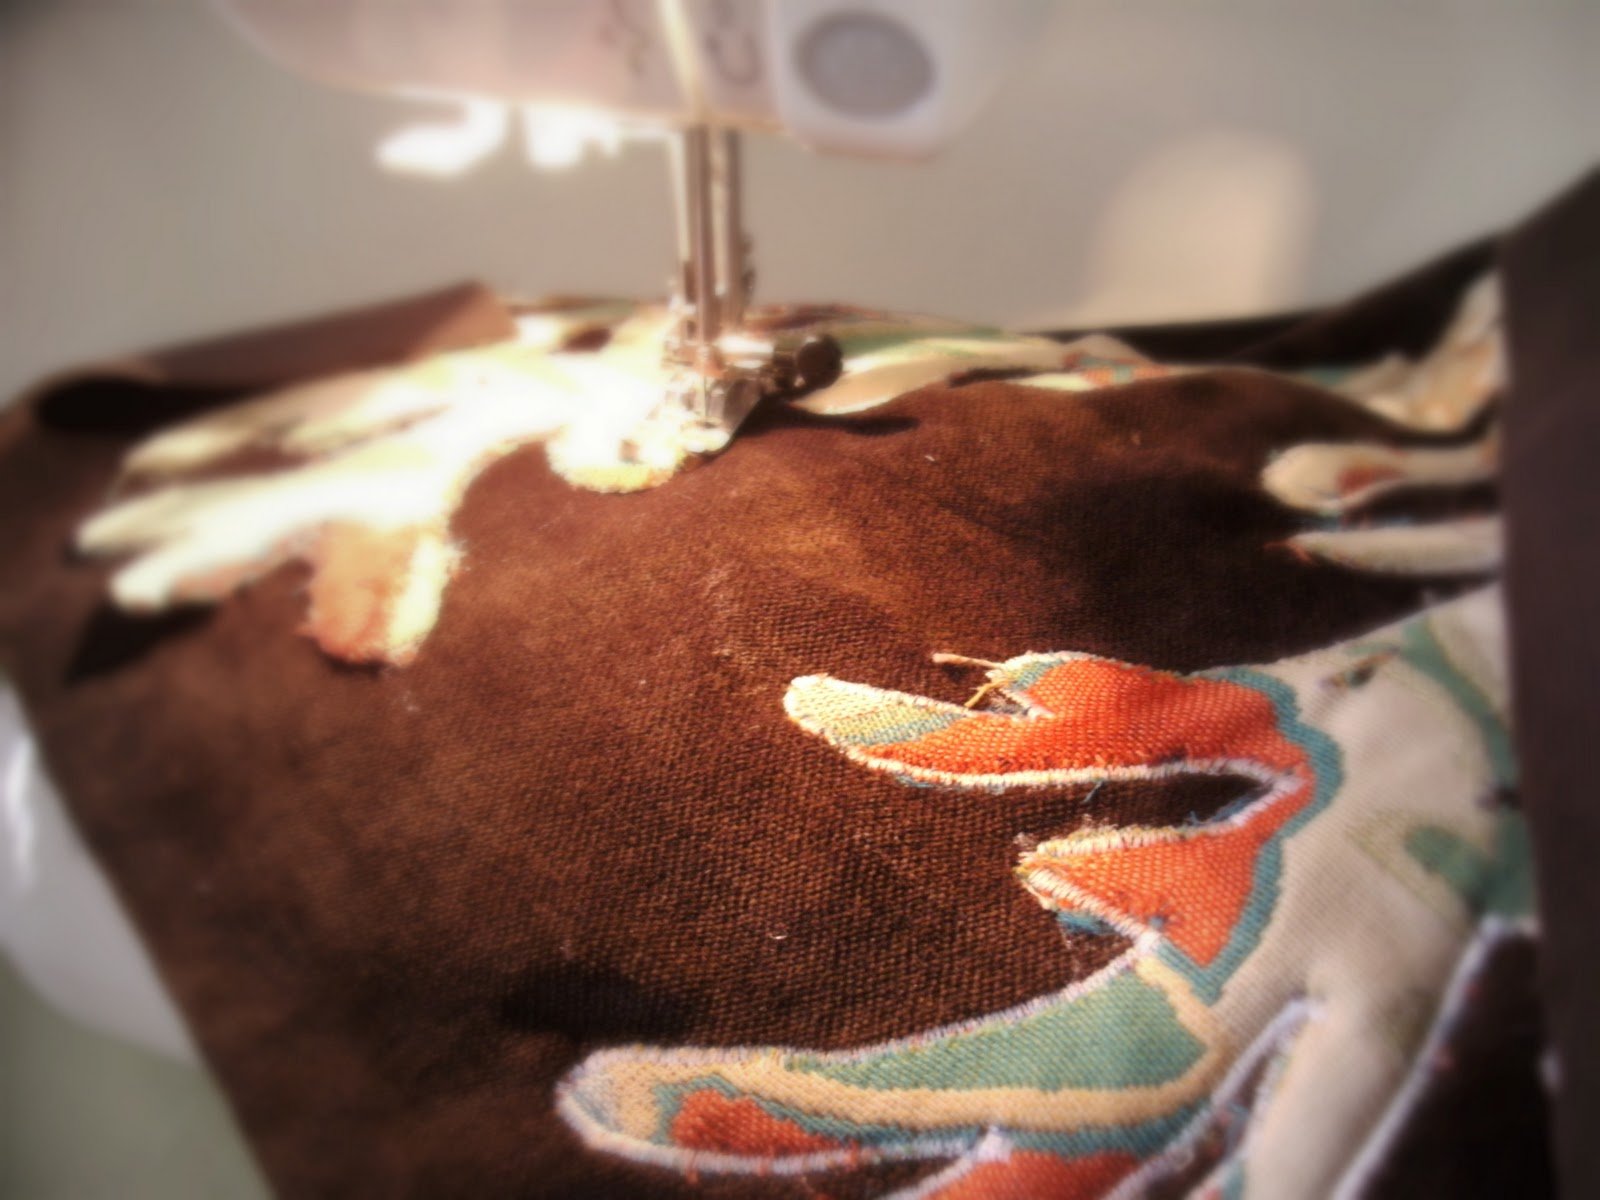
- Step 6: Find the zig-zag setting on your machine. Change the width of the stitch to 3.5 and the length to .5 – this will create a dense stitch. I practiced on a little piece first, which I suggest you do. Your machine’s length and width may be different than mine.
- Step 7: Congrats! You finished the pillow top.
Be sure to press it and trim off any stray threads.

- Step 8: Now it is time to assemble the pillow. Lay the pillow back on top of the pillow front – right sides together. Pin around the sides – leaving an opening in the bottom about 6 inches long (if you are using a pillow form, leave almost the entire bottom edge open).

Stitch around the edges, using 1/2″ seams – be sure to leave the opening. - Step 9: Flip the pillow – push out the corners using a pencil or chopstick.
Stuff it with polyfil or the pillowform until it is nice and firm.
This is a great activity for those little eager hands.
Charlotte calls it stuffing “clouds” into the pillow 🙂

Fold in the edges of the opening and pin. Top-stitch or hand-whip it closed.
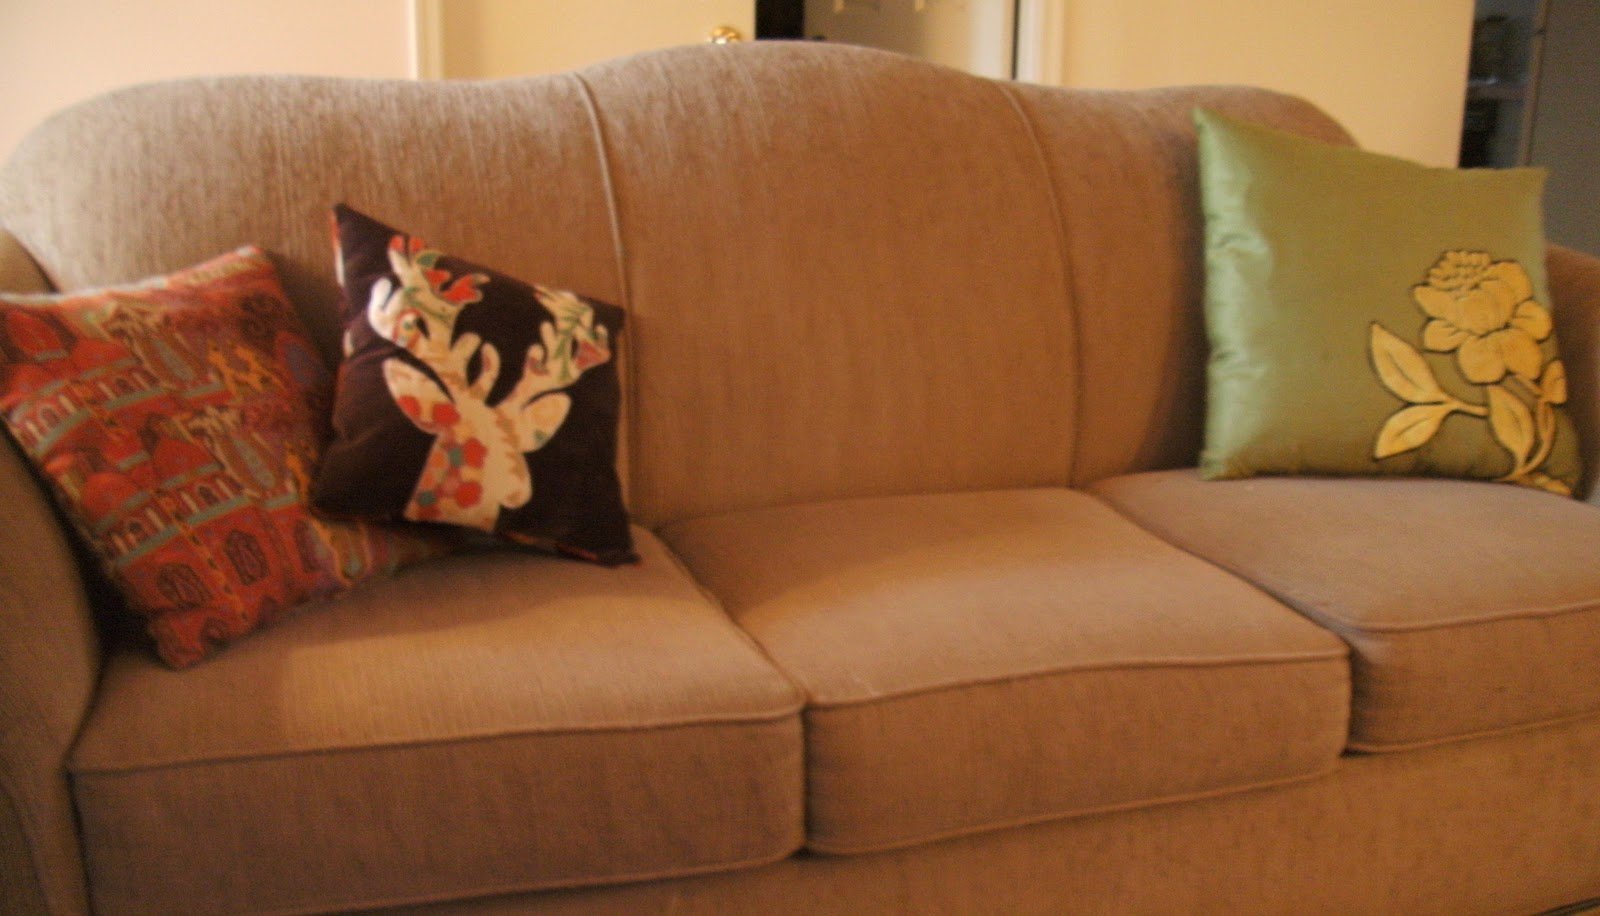
That’s it! A gorgeous new pillow to spruce up any room in your home!

happy sewing!
xoxo
jessica
please don’t use any free Sew Homegrown patterns for your profit – only for personal use -thanks!