
Well it is time for me to begin planning miss Charlotte’s birthday party. I asked her for any ideas – she said “RED!”
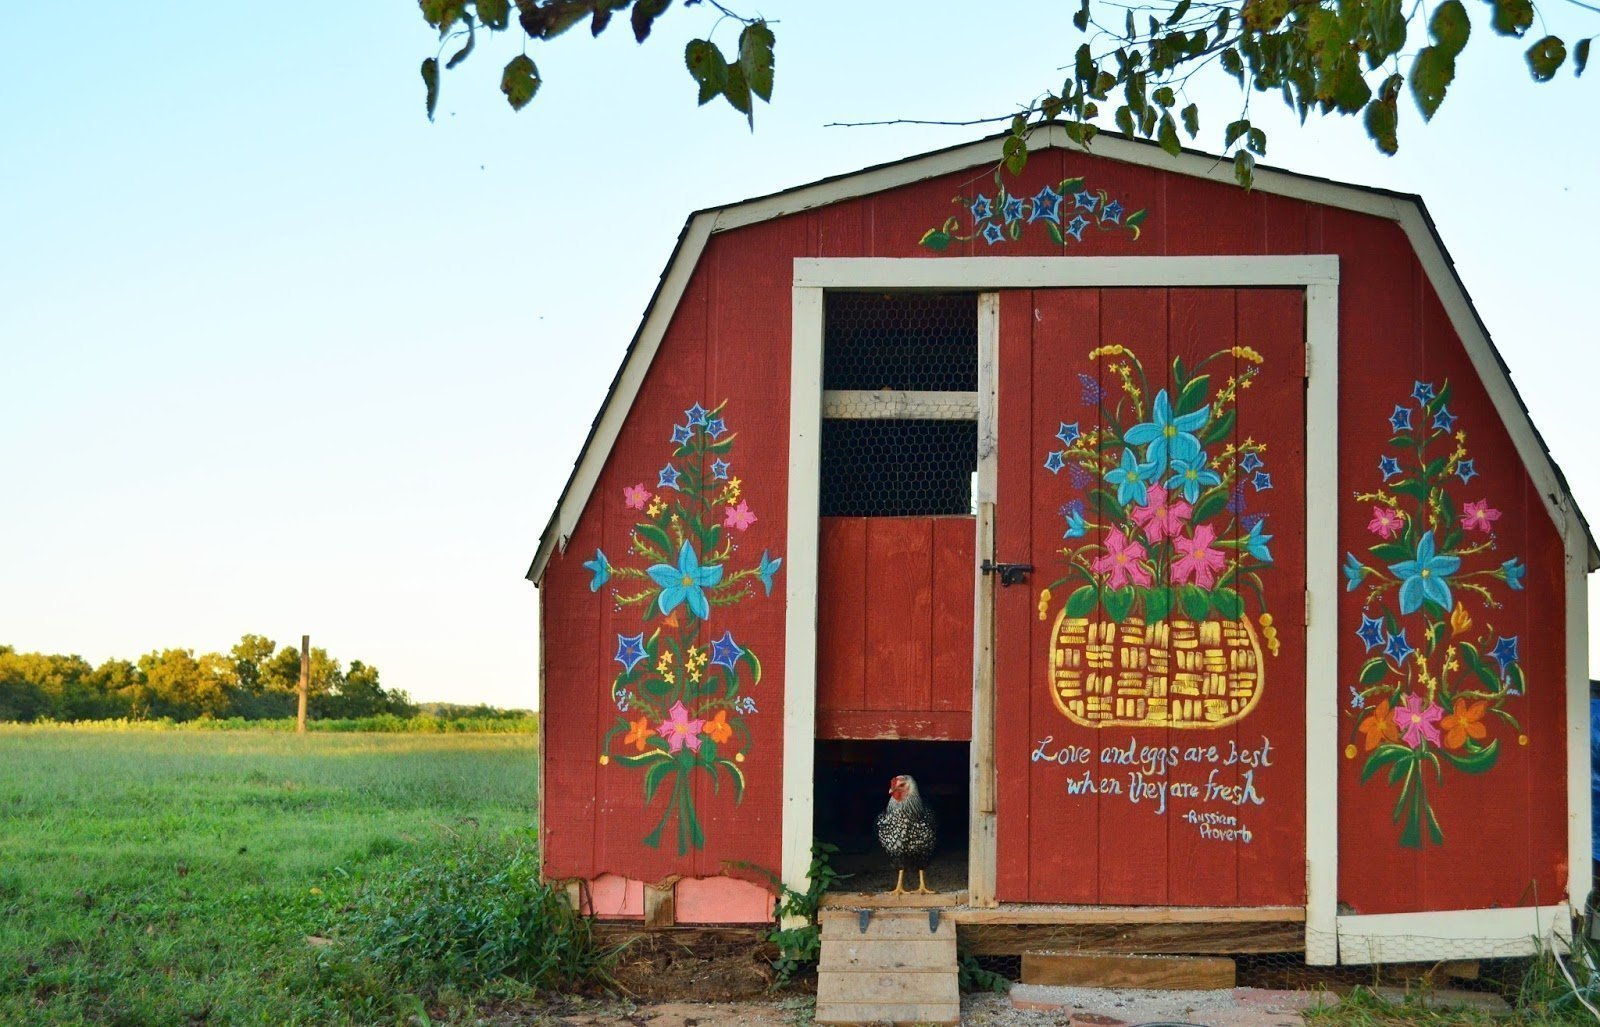
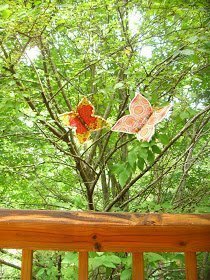
Hmmmmmmm….. Then I was so inspired by this post on Hostess with the Mostess – Woodland Fairies Birthday Party. Perfect – it incorporates the color RED (toadstools), and works great at our new home as our front yard looks like this.
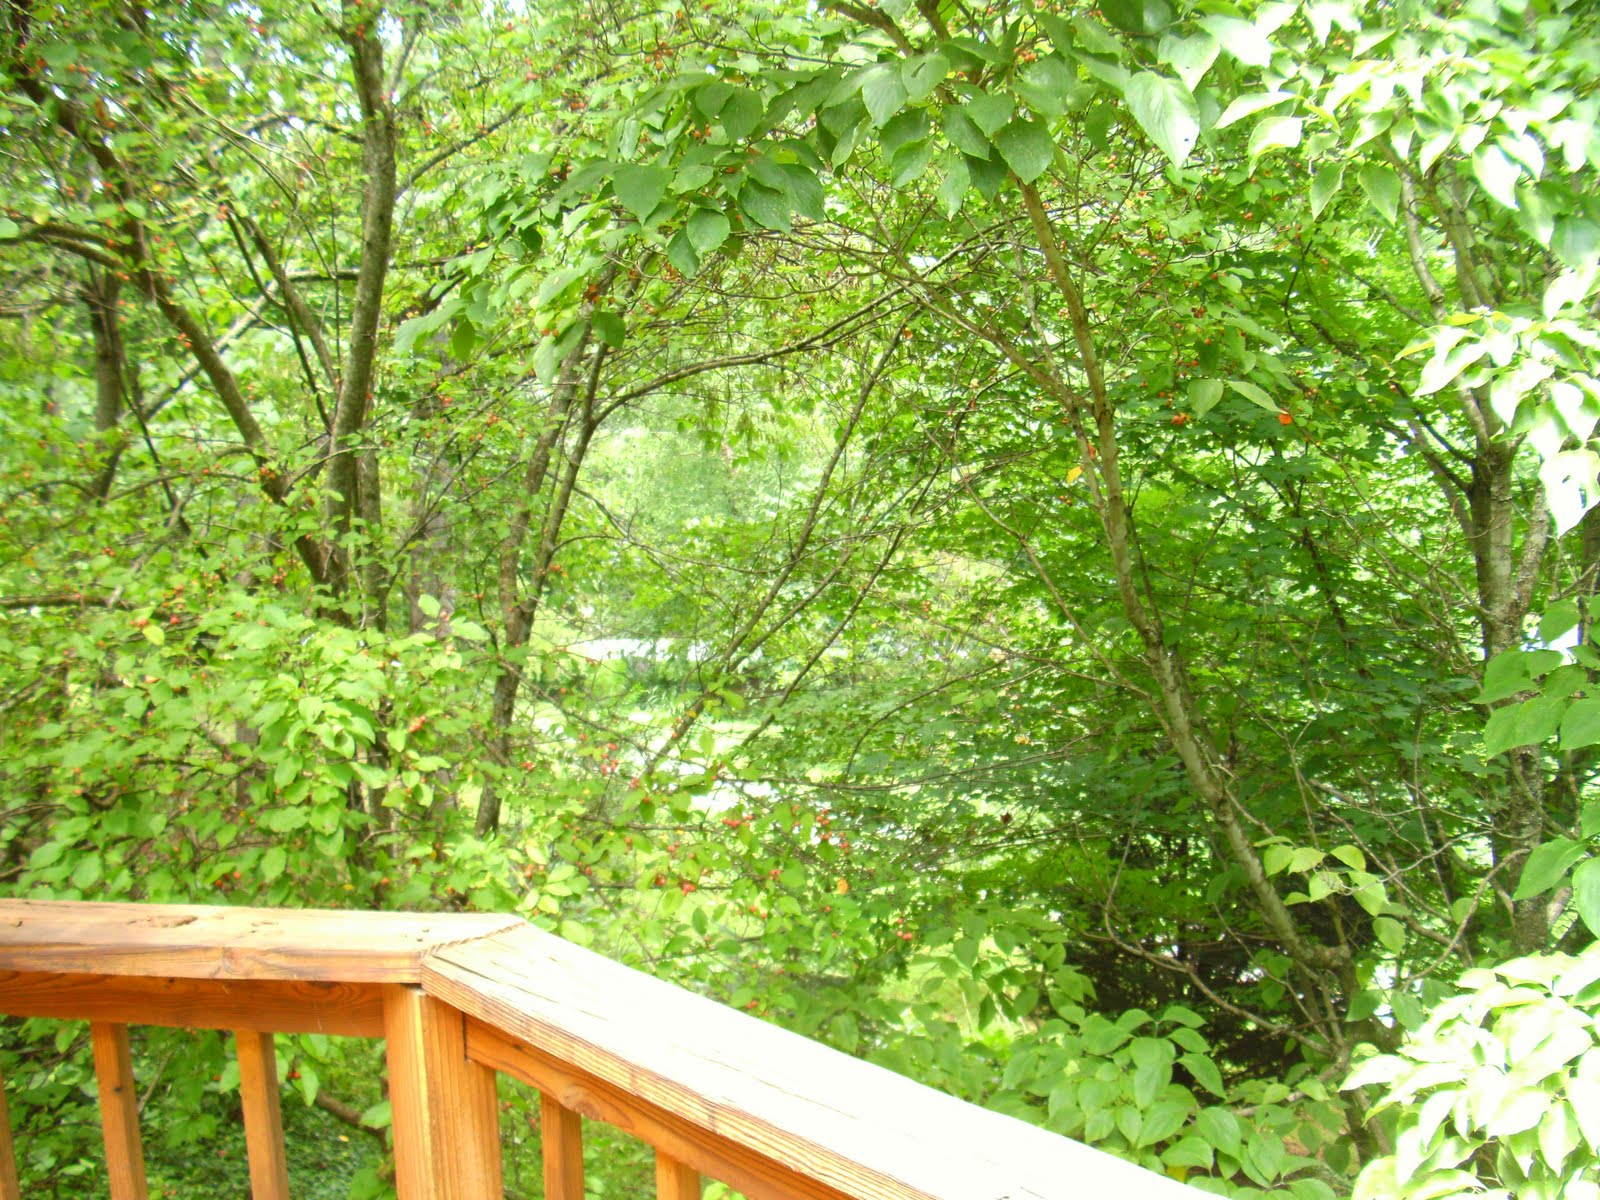
We literally live in a magical woodland. So I am doing a younger version of that party. “Enchanted Forest” In the party above, they used fairies, which I love, but Charlotte isn’t quite ready for that.
She’s only turning two. We are doing woodland creatures – butterflies, deer, owls, ladybugs, etc.
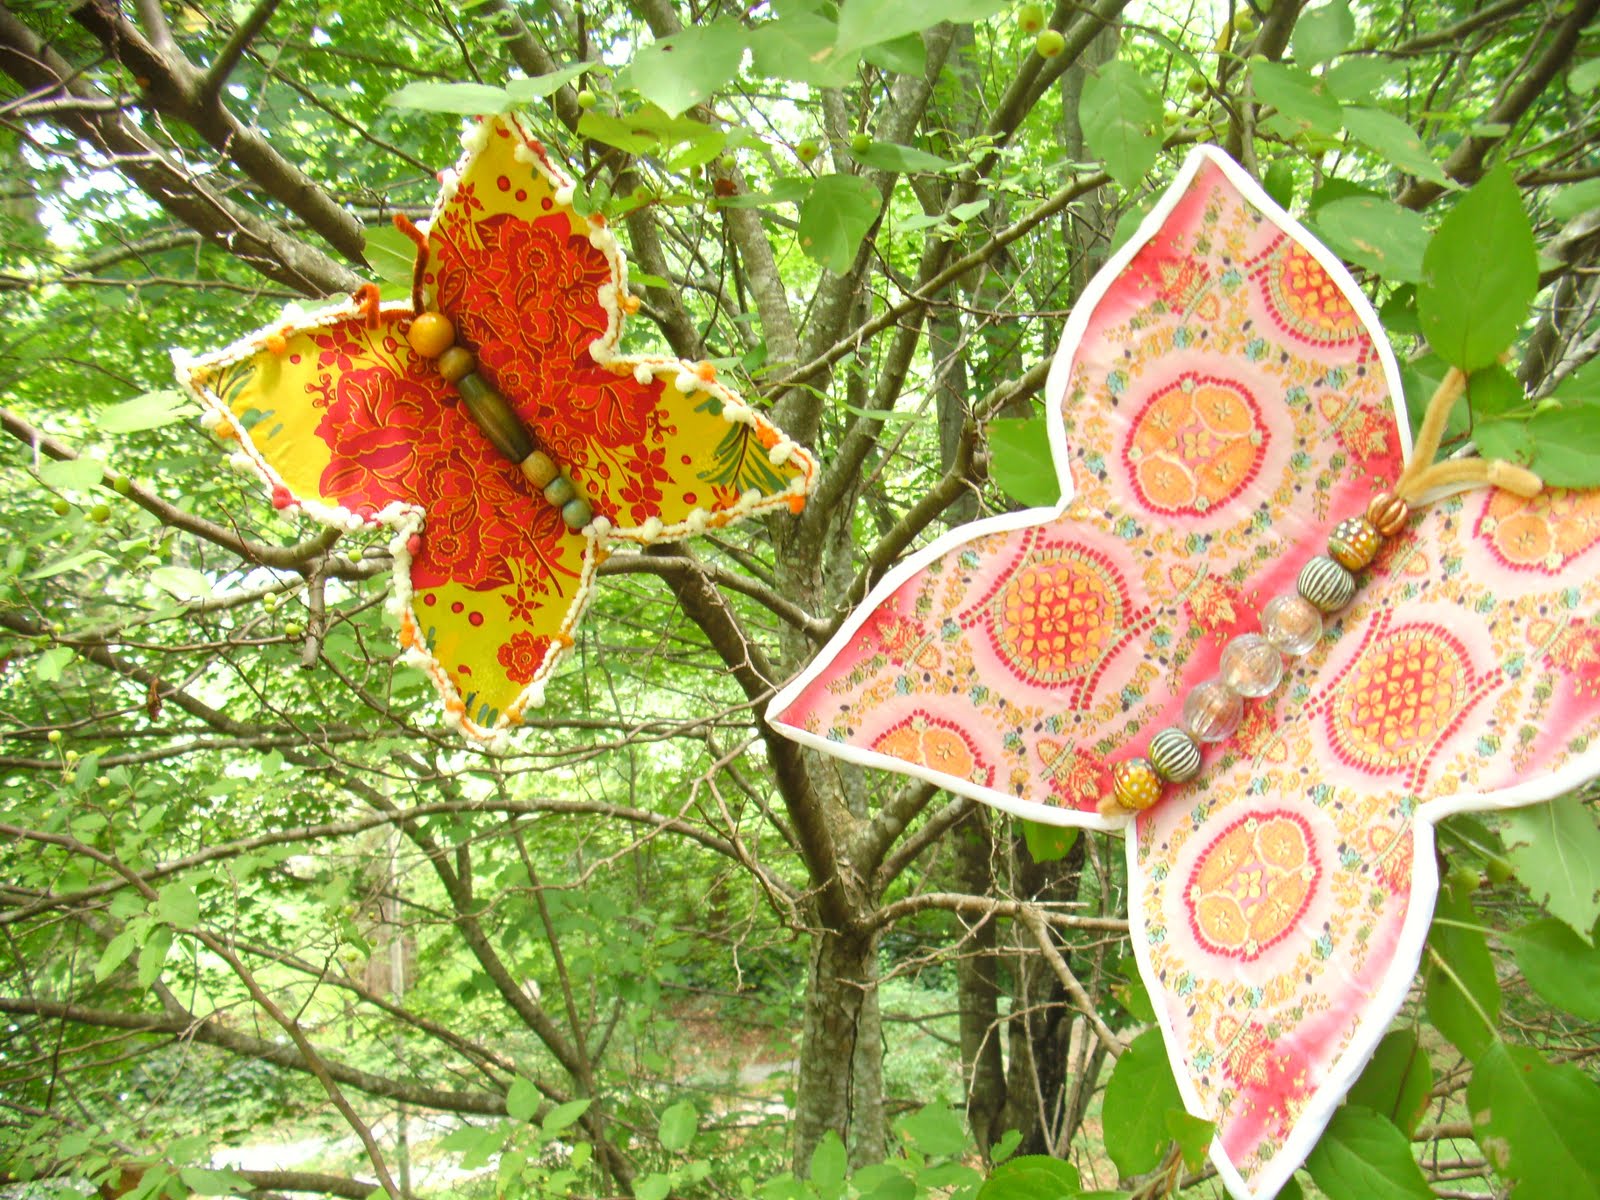
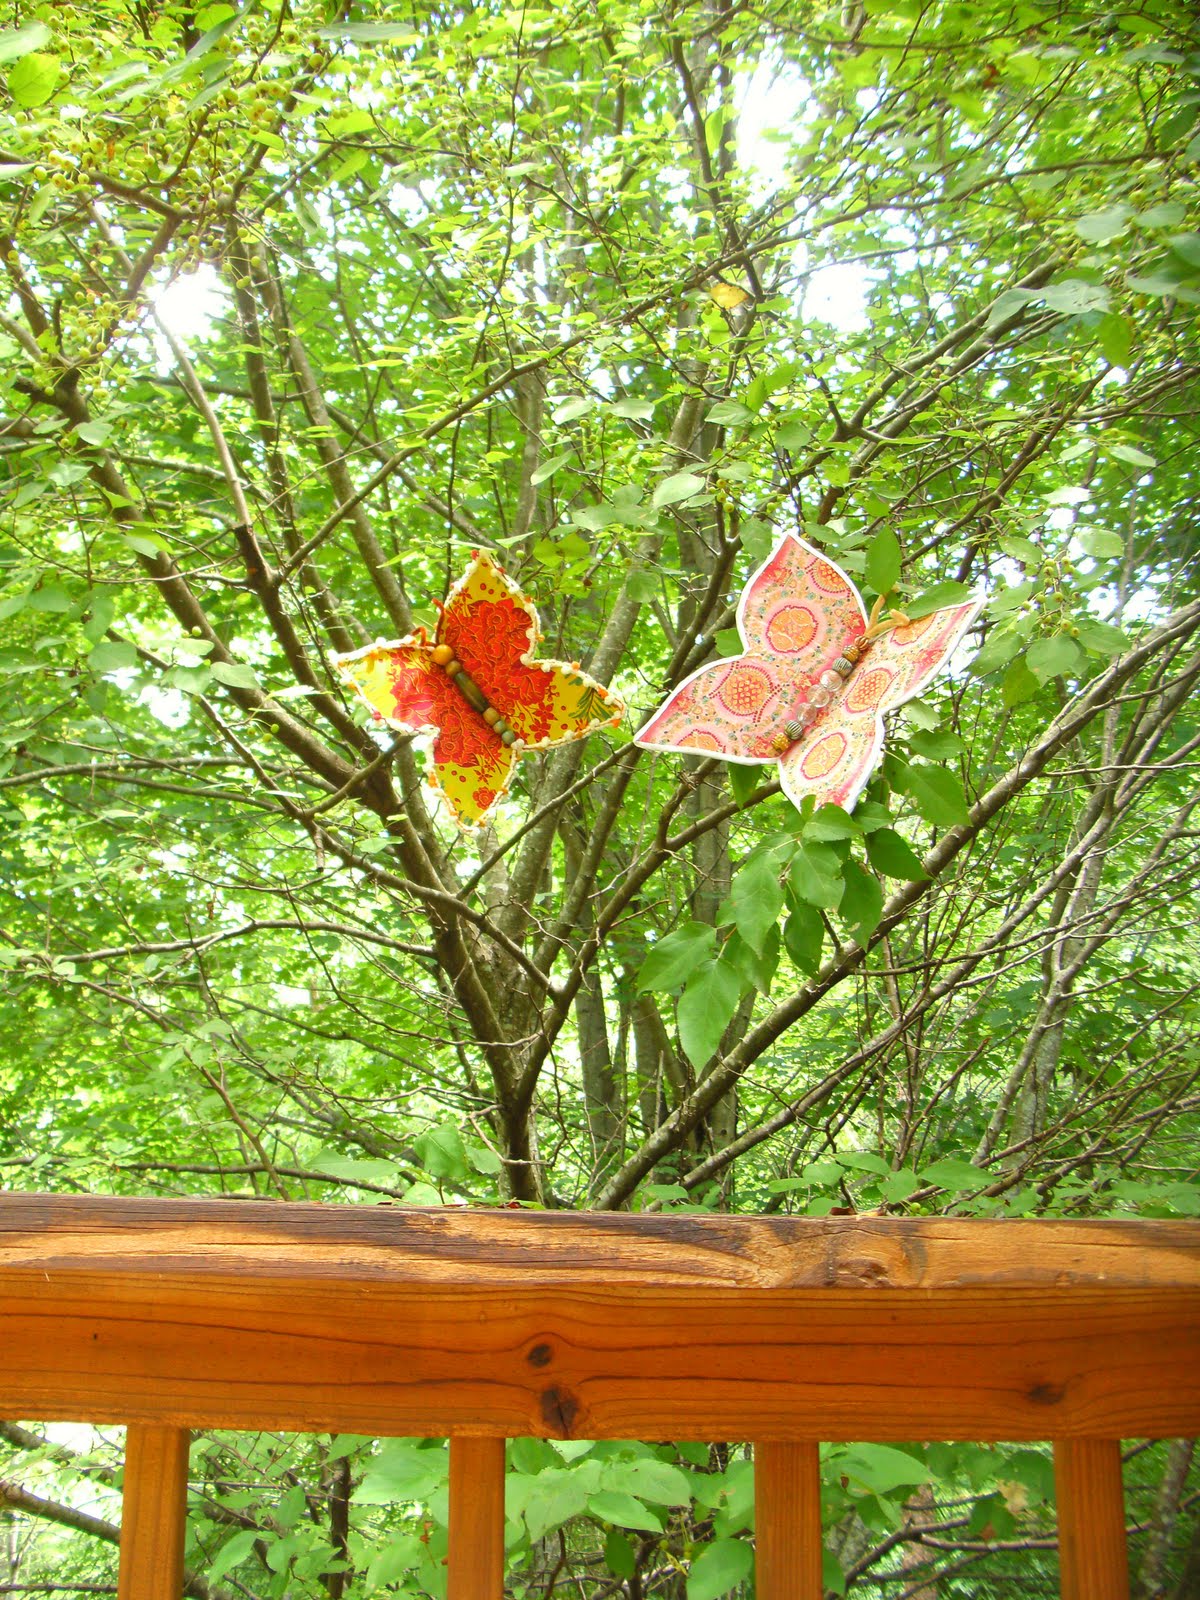
So as I am making things for her party, I will be posting lots of DIY’s so that you can do them with me 🙂 Today I made some outdoor decorations for the big day. ( I will have the invitation DIY soon as a guest post on another blog – I’ll let you know when) but today….Whimsical Butterflies!
These would also be cute at a baby shower I think.
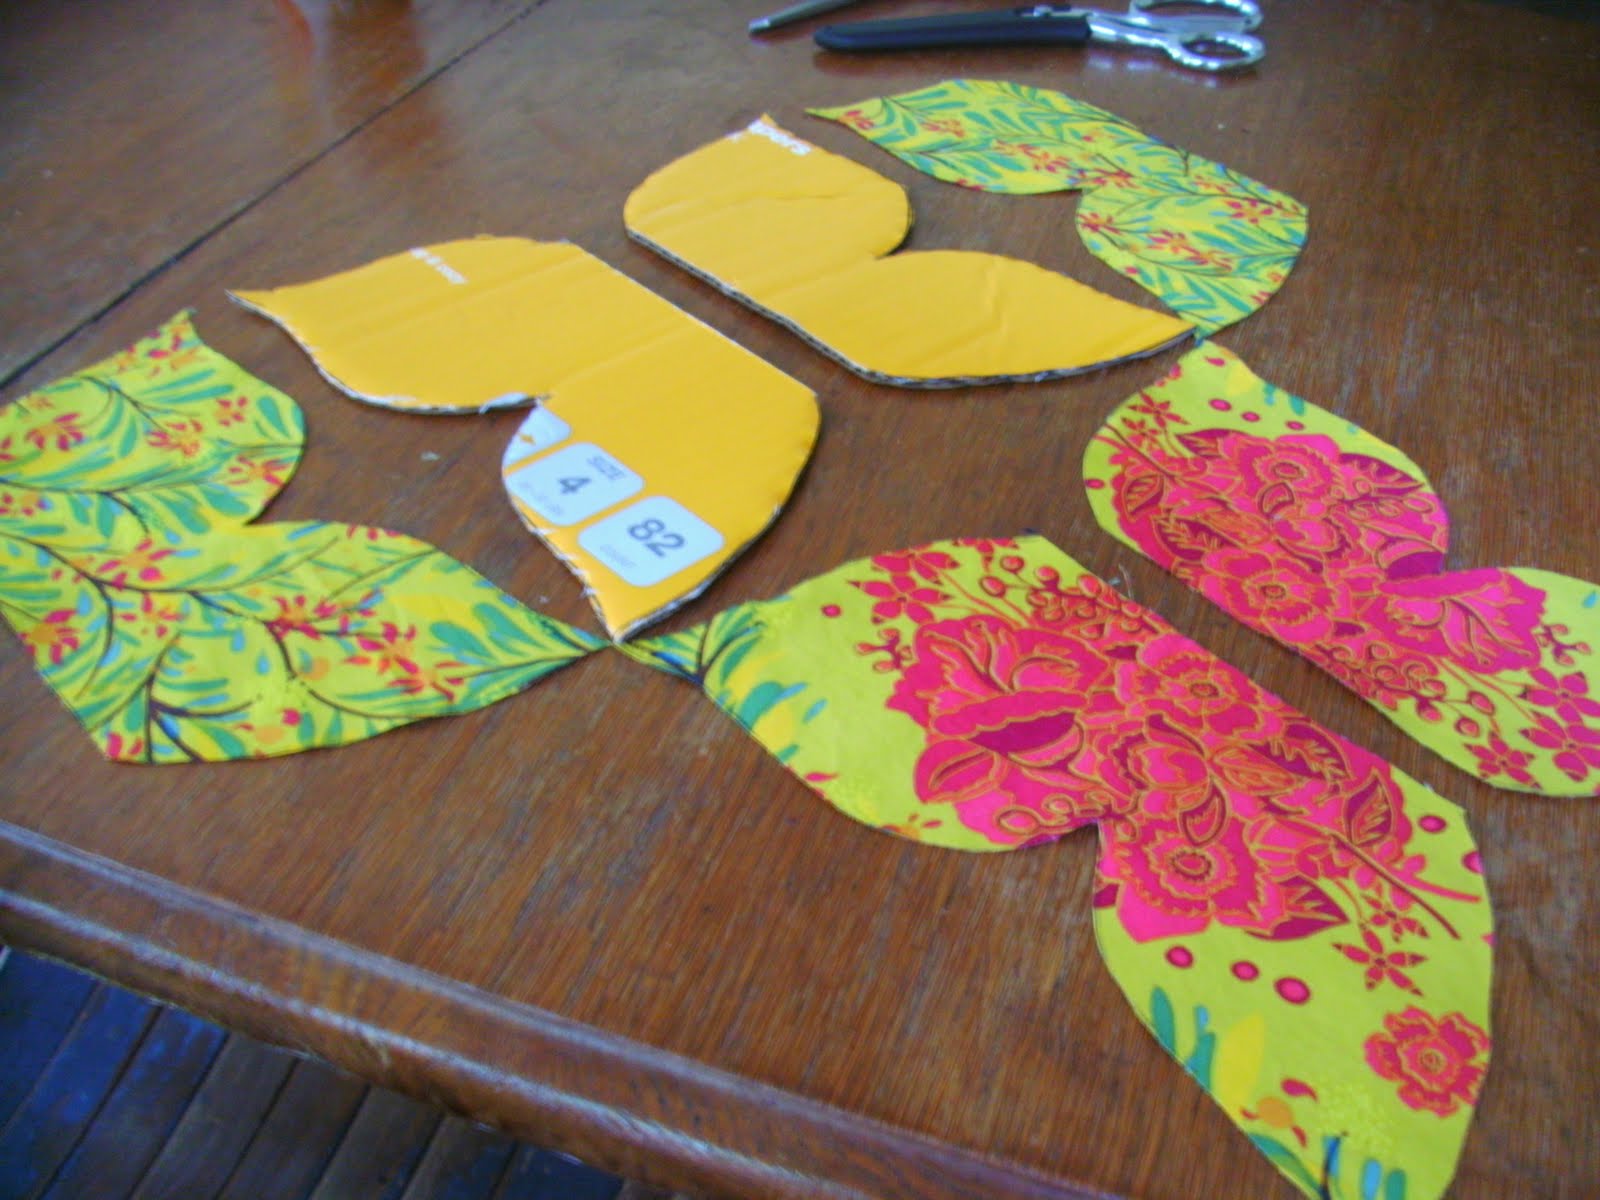
Made from diaper boxes (have a lot of those?), fabric scraps (and those?), and various trim scraps.
Want to make them with me? Here we go:
- Print out the butterfly shape here
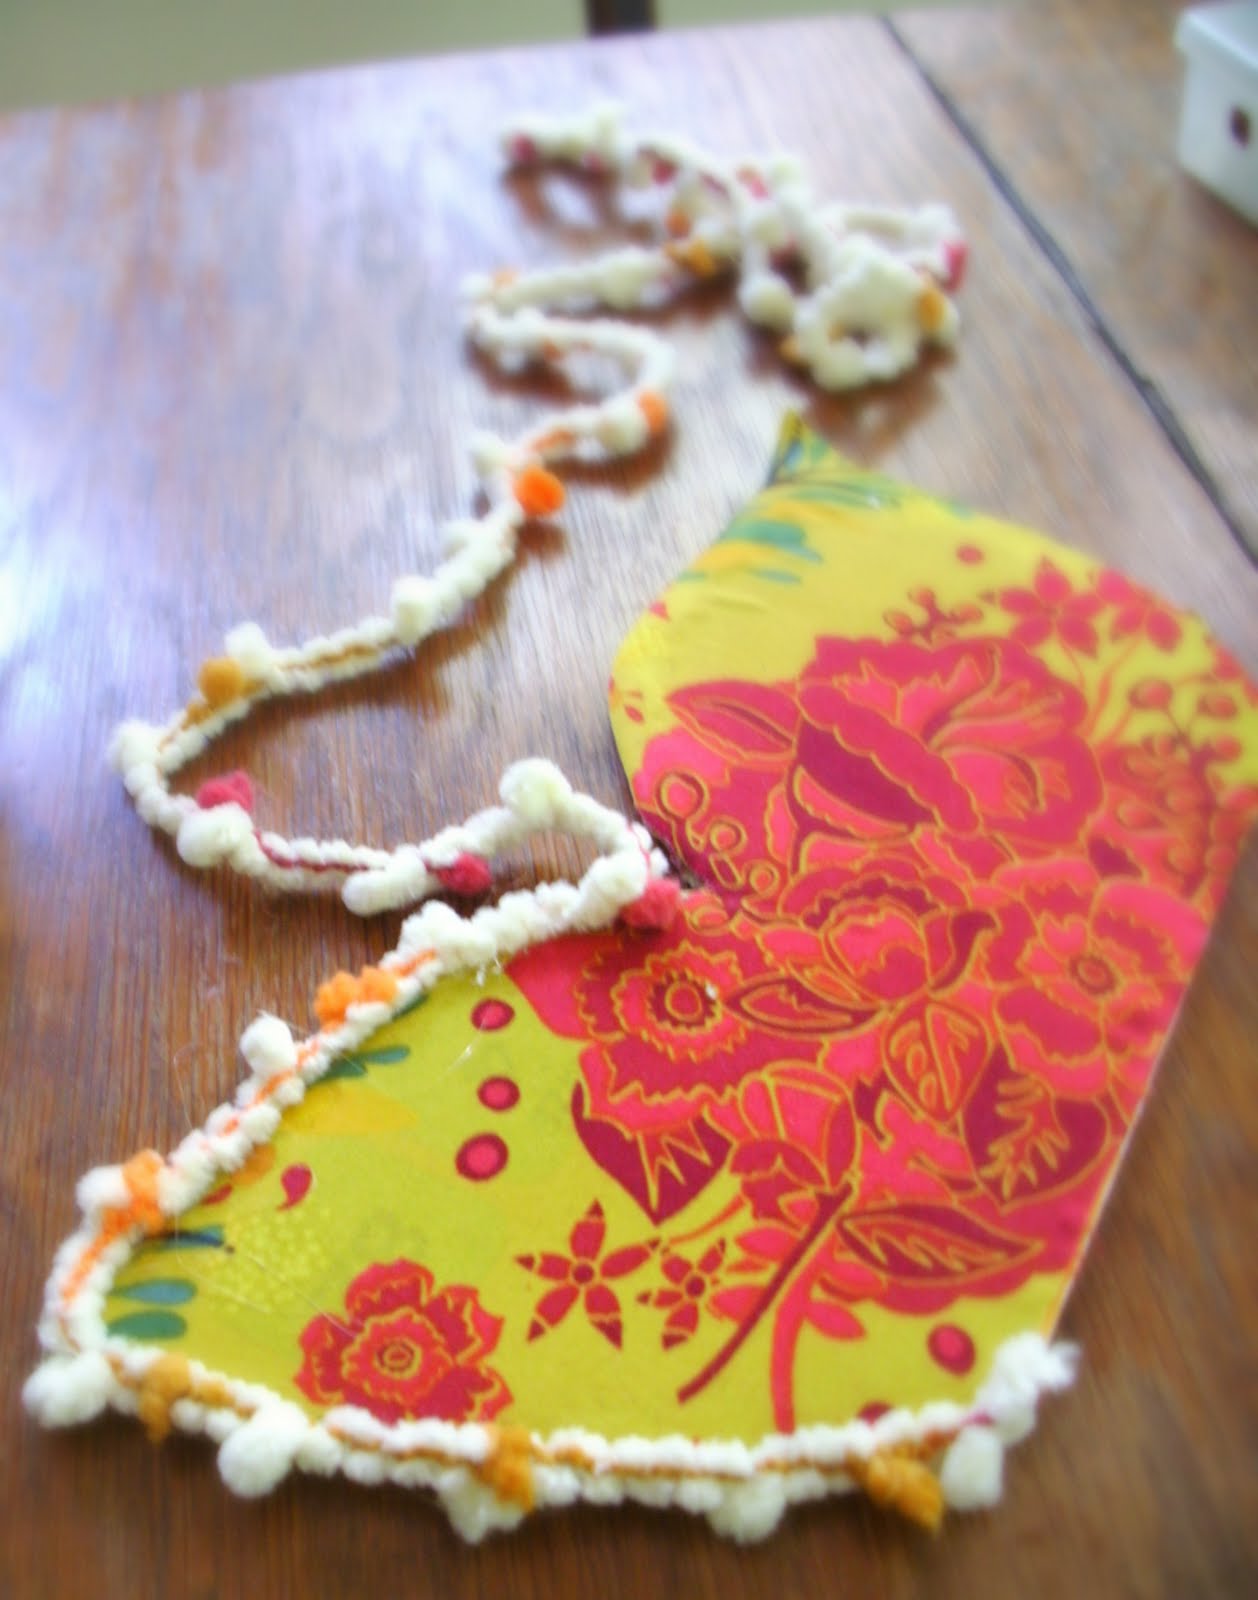
- Cut six pieces –
Three right wings – 1 cardboard, 1 front fabric, 1 back fabric (be sure to flip the pattern so it will fit to the back)
Three left wings – same as above.
- Next, decoupage the front fabric to the front wings.
Let it dry. Go do good house-wifely things like fold laundry. - Then reward yourself by coming back and decoupaging the back fabric to the back-side of the wings.
Let it dry. Go do more house-wifely things like eat chocolate and talk on the phone.
Then reward yourself for being so patient…time to finish the butterfly!

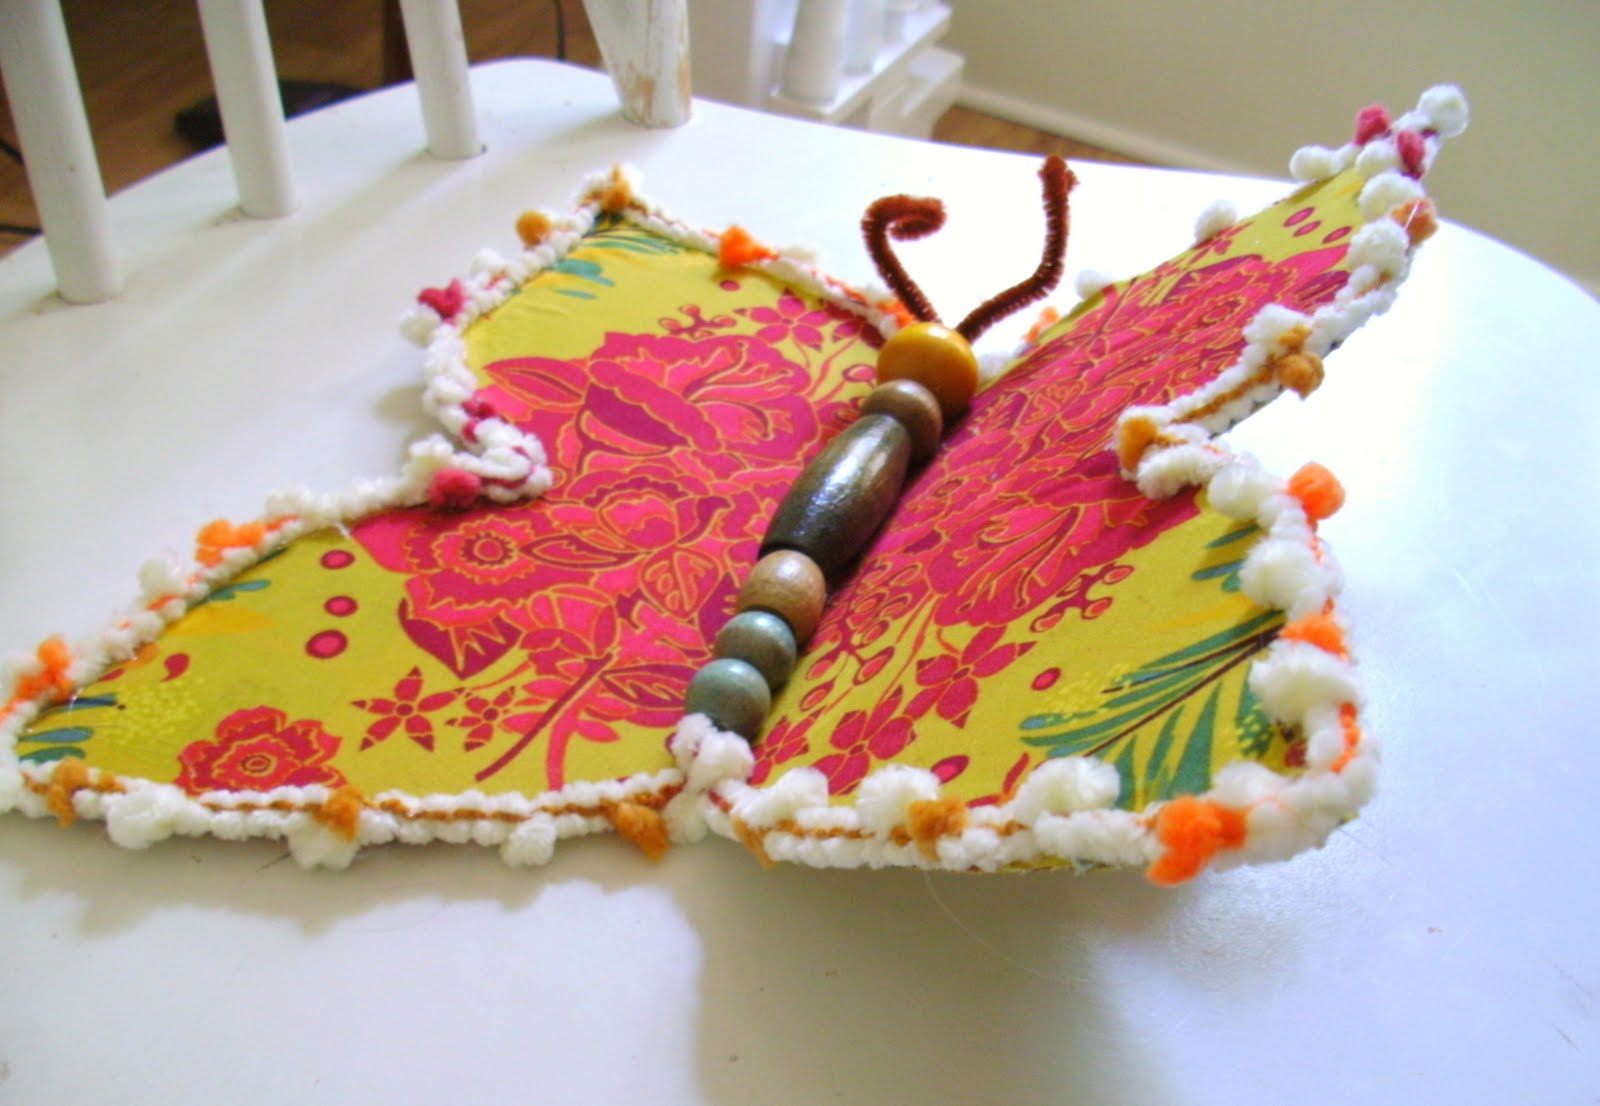
- Gather some light-weight beads and some good ole’ pipe cleaner.
- Heat up your hot glue gun.
- Slide the beads onto the pipe cleaner, and scoot them down to the end (double the end over so they don’t fall off. Loop the top piece like this and tuck it back inside the top bead.

- Snip at the top of the loop to make your antennae.
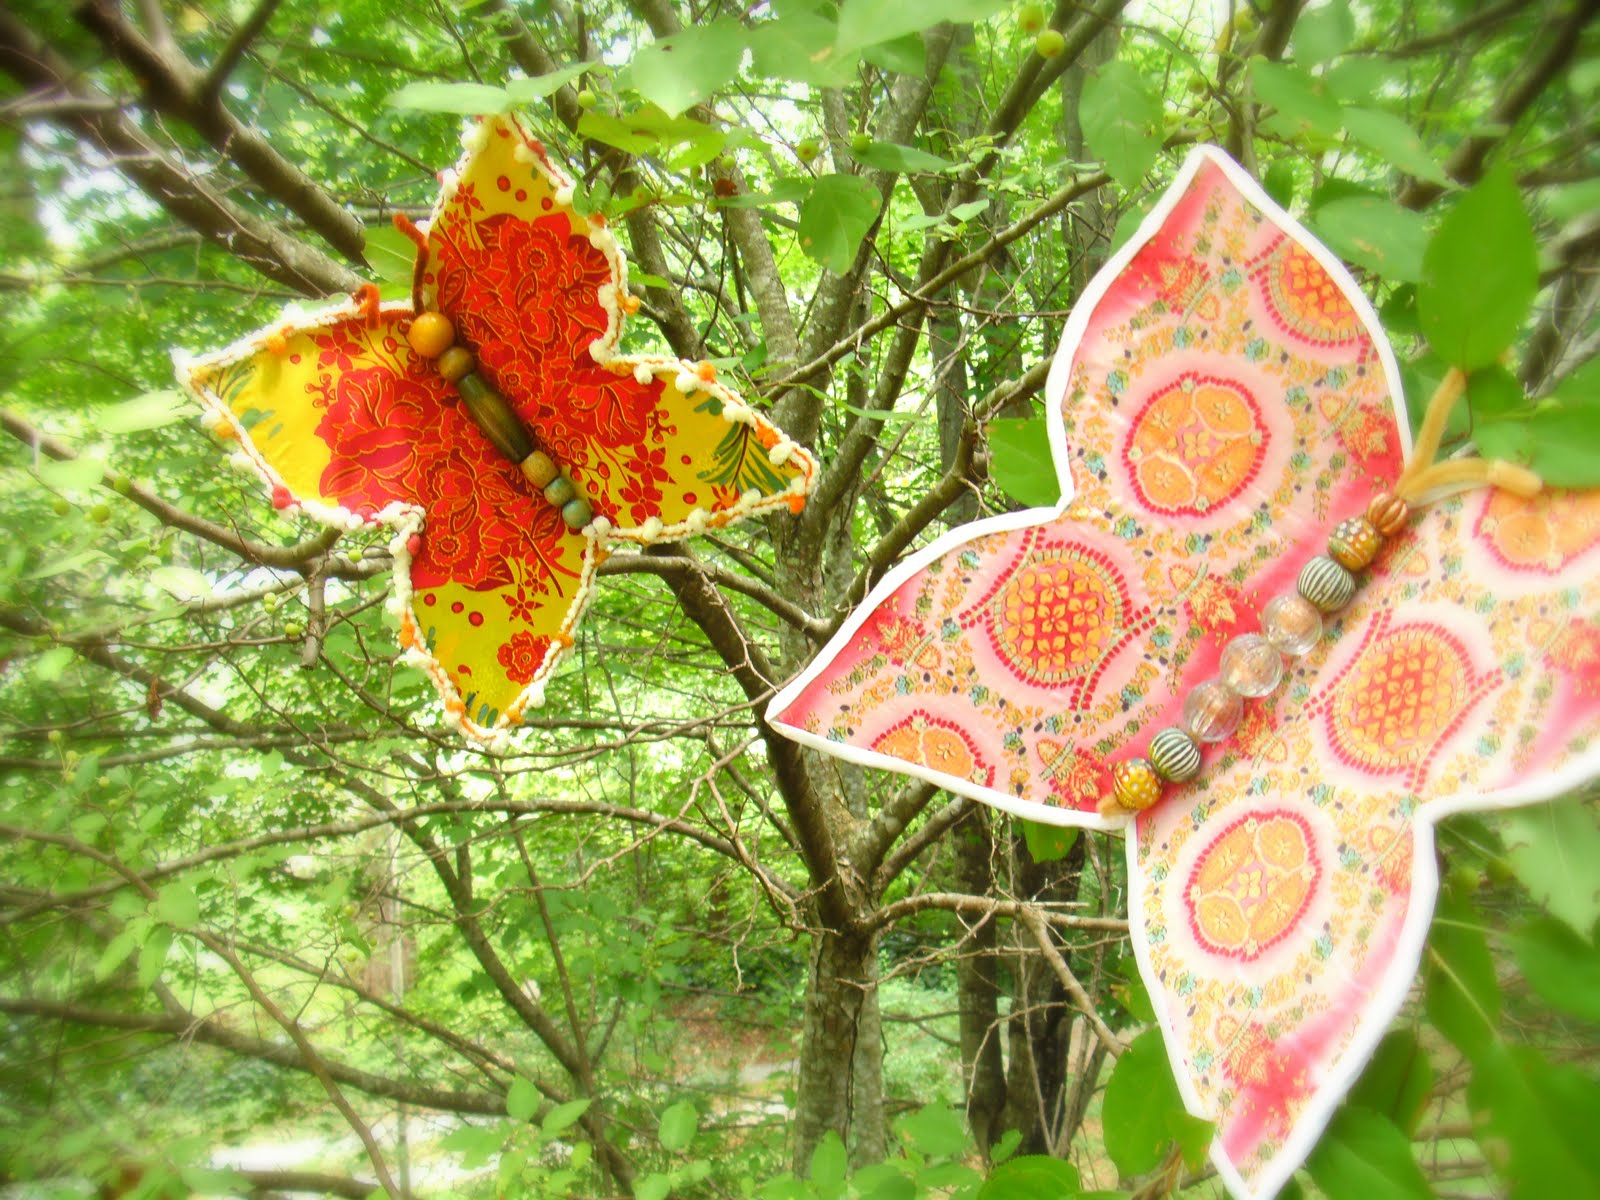
- Next you need to trim the edges of your butterfly with something. I used bias tape on the pink one, and a yarn scrap for the red/yellow one.
Honestly the yarn was WAY easier to hot glue, so I would go with something like that.
Hot glue your trim on. - Now hot glue the two pieces together, down the middle. Hold them at whatever angle you want until the glue has dried (only about a minute).

- Now hot glue the little body to the middle of the wings – really squirt a lot of glue in there.
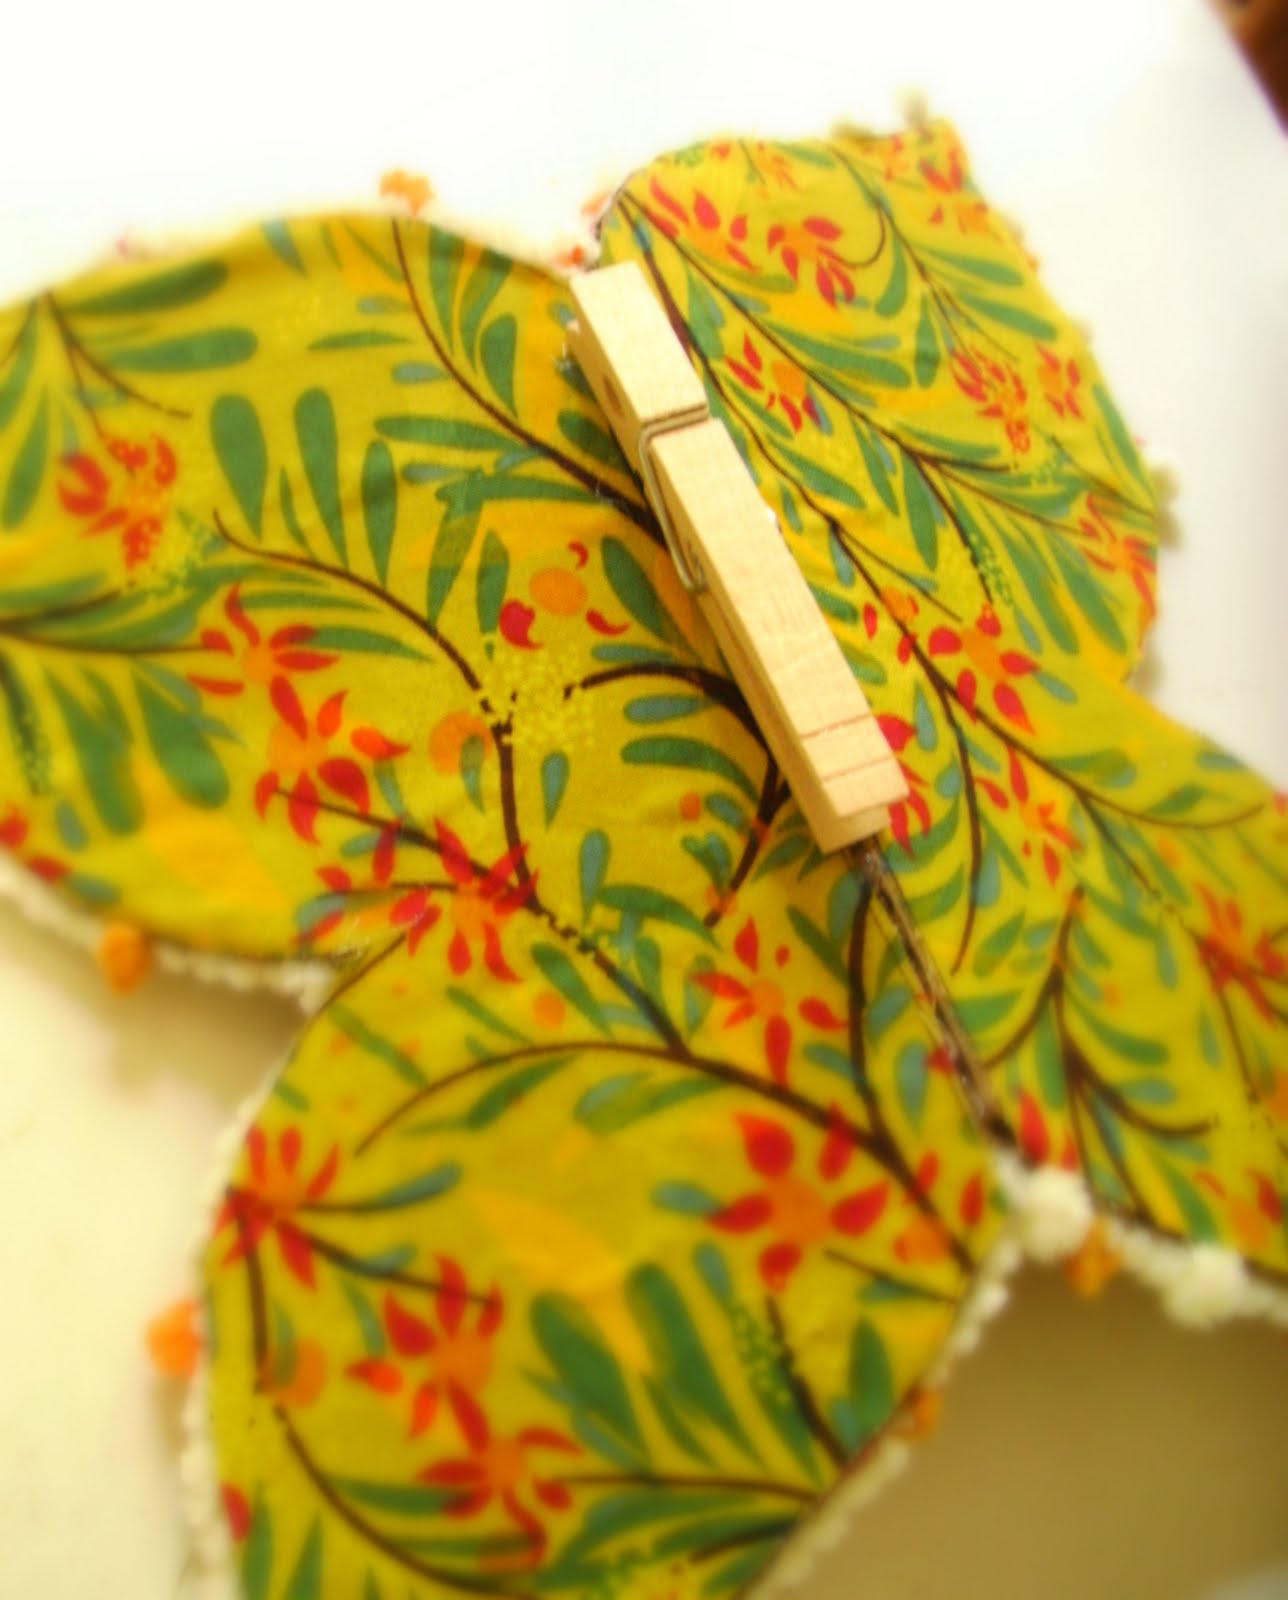
When that has dried, carefully turn it over and hot glue the clothes pin to the back. This will enable you to clip it all kinds of places like….a tree, a basket, a tablecloth, a garland or banner…etc.
- Now go decorate your life with butterflies!
 More birthday fun to come.